-
Getting Started
-
Model Library & Asset Management
-
News & Product Update
-
Kitchen, Bathroom, Closet, Custom Modelling
-
[Enterprise] 3D Viewer & Virtual Showroom
-
Payment & Billing
-
Version 5.0
-
Upload & Export
-
Personal Account
-
Photo & Video Studio
-
Material&Component
-
Floor Plan Basic
-
Images/Videos & Light
-
Tips & Tricks
-
Privacy & Terms
-
Inspiration Spaces
-
Testimonials
-
Construction Drawings
-
AI Tools
-
Customer Service Team
-
Projects Management
-
FAQ
-
Coohom Online Training
-
Lighting Design
-
Coohom Architect
[Enterprise] How to Create Virtual Model?
This services applies to fittings, hinges, rails and other models that do not need uploading.
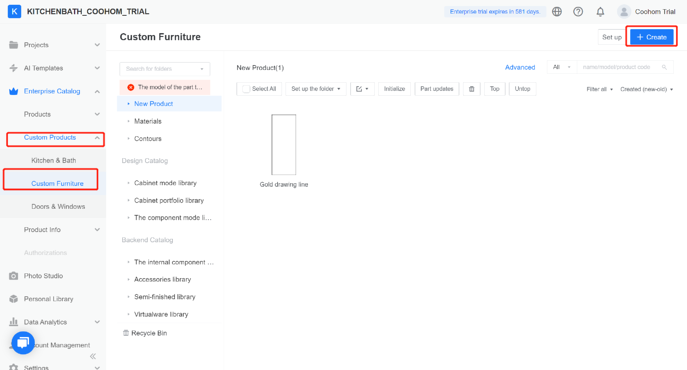
1.Go to Merchant platform > Enterprise Catalog > Custom Products > Custom Furniture > Create
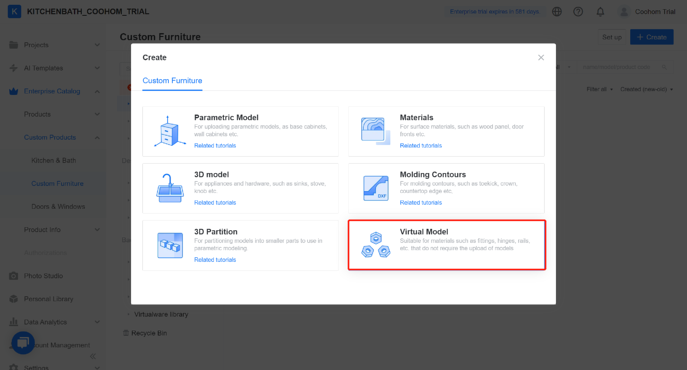
2. Choose Virtual Model
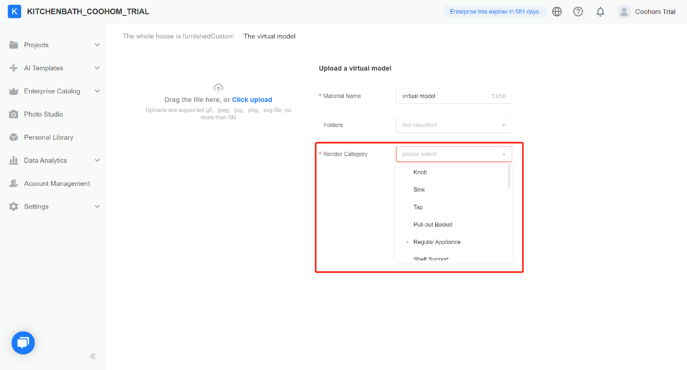
3.Drag a file or click to upload. And don't forget to edit these information:
-
material name
-
folder (optional, depends on how you want to classify your products)
-
render category (what kind of render it needs
material name
folder (optional, depends on how you want to classify your products)
render category (what kind of render it needs
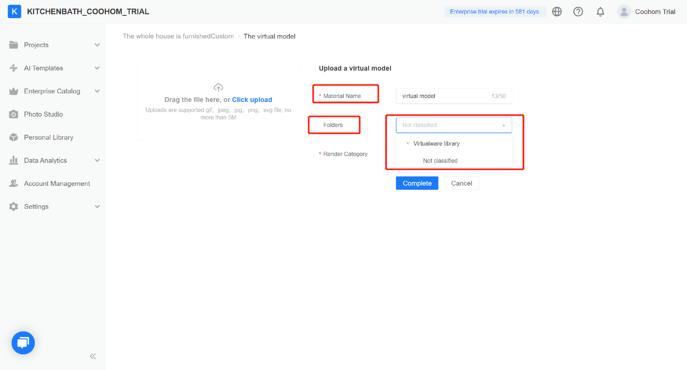
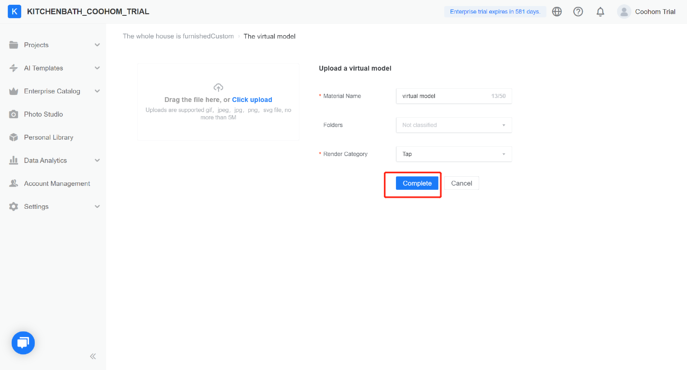
4. Click Complete to save the changes.
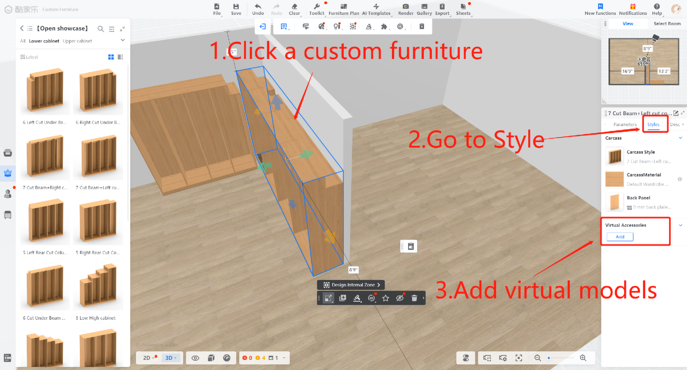
How to use virtual models?
