- Helpcenter
- Material&Component
- Modeling in Material&Component Tool
-
Getting Started
-
Model Library & Asset Management
-
News & Product Update
-
Kitchen, Bathroom, Closet, Custom Modelling
-
[Enterprise] 3D Viewer & Virtual Showroom
-
Payment & Billing
-
Version 5.0
-
Upload & Export
-
Personal Account
-
Photo & Video Studio
-
Material&Component
-
Floor Plan Basic
-
Images/Videos & Light
-
Tips & Tricks
-
Privacy & Terms
-
Inspiration Spaces
-
Testimonials
-
Construction Drawings
-
AI Tools
-
Customer Service Team
-
Projects Management
-
FAQ
-
Coohom Online Training
-
Lighting Design
-
Coohom Architect
Material&Component: How to Add Boundaries?
1. Select Material&Component in the left panel.

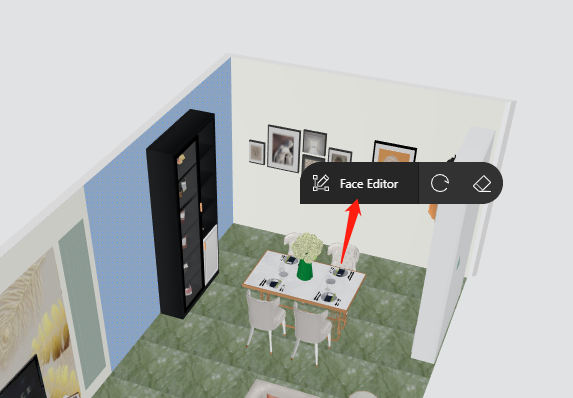
2. Click the face you want to edit.
3. Click Face Editor in the floating toolbar.

4. Click the face.
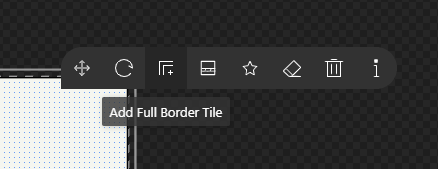
5. Choose Multi-Boundary in the floating toolbar.

6. Hold down Ctrl to select only one boundary.
7. Edit in the floating toolbar or under Boundary Settings in the left panel.
8. Click Done to confirm.