After drawing the room, go to the 2D-ceiling view. In the 2D view, it is more convenient to operate the design.
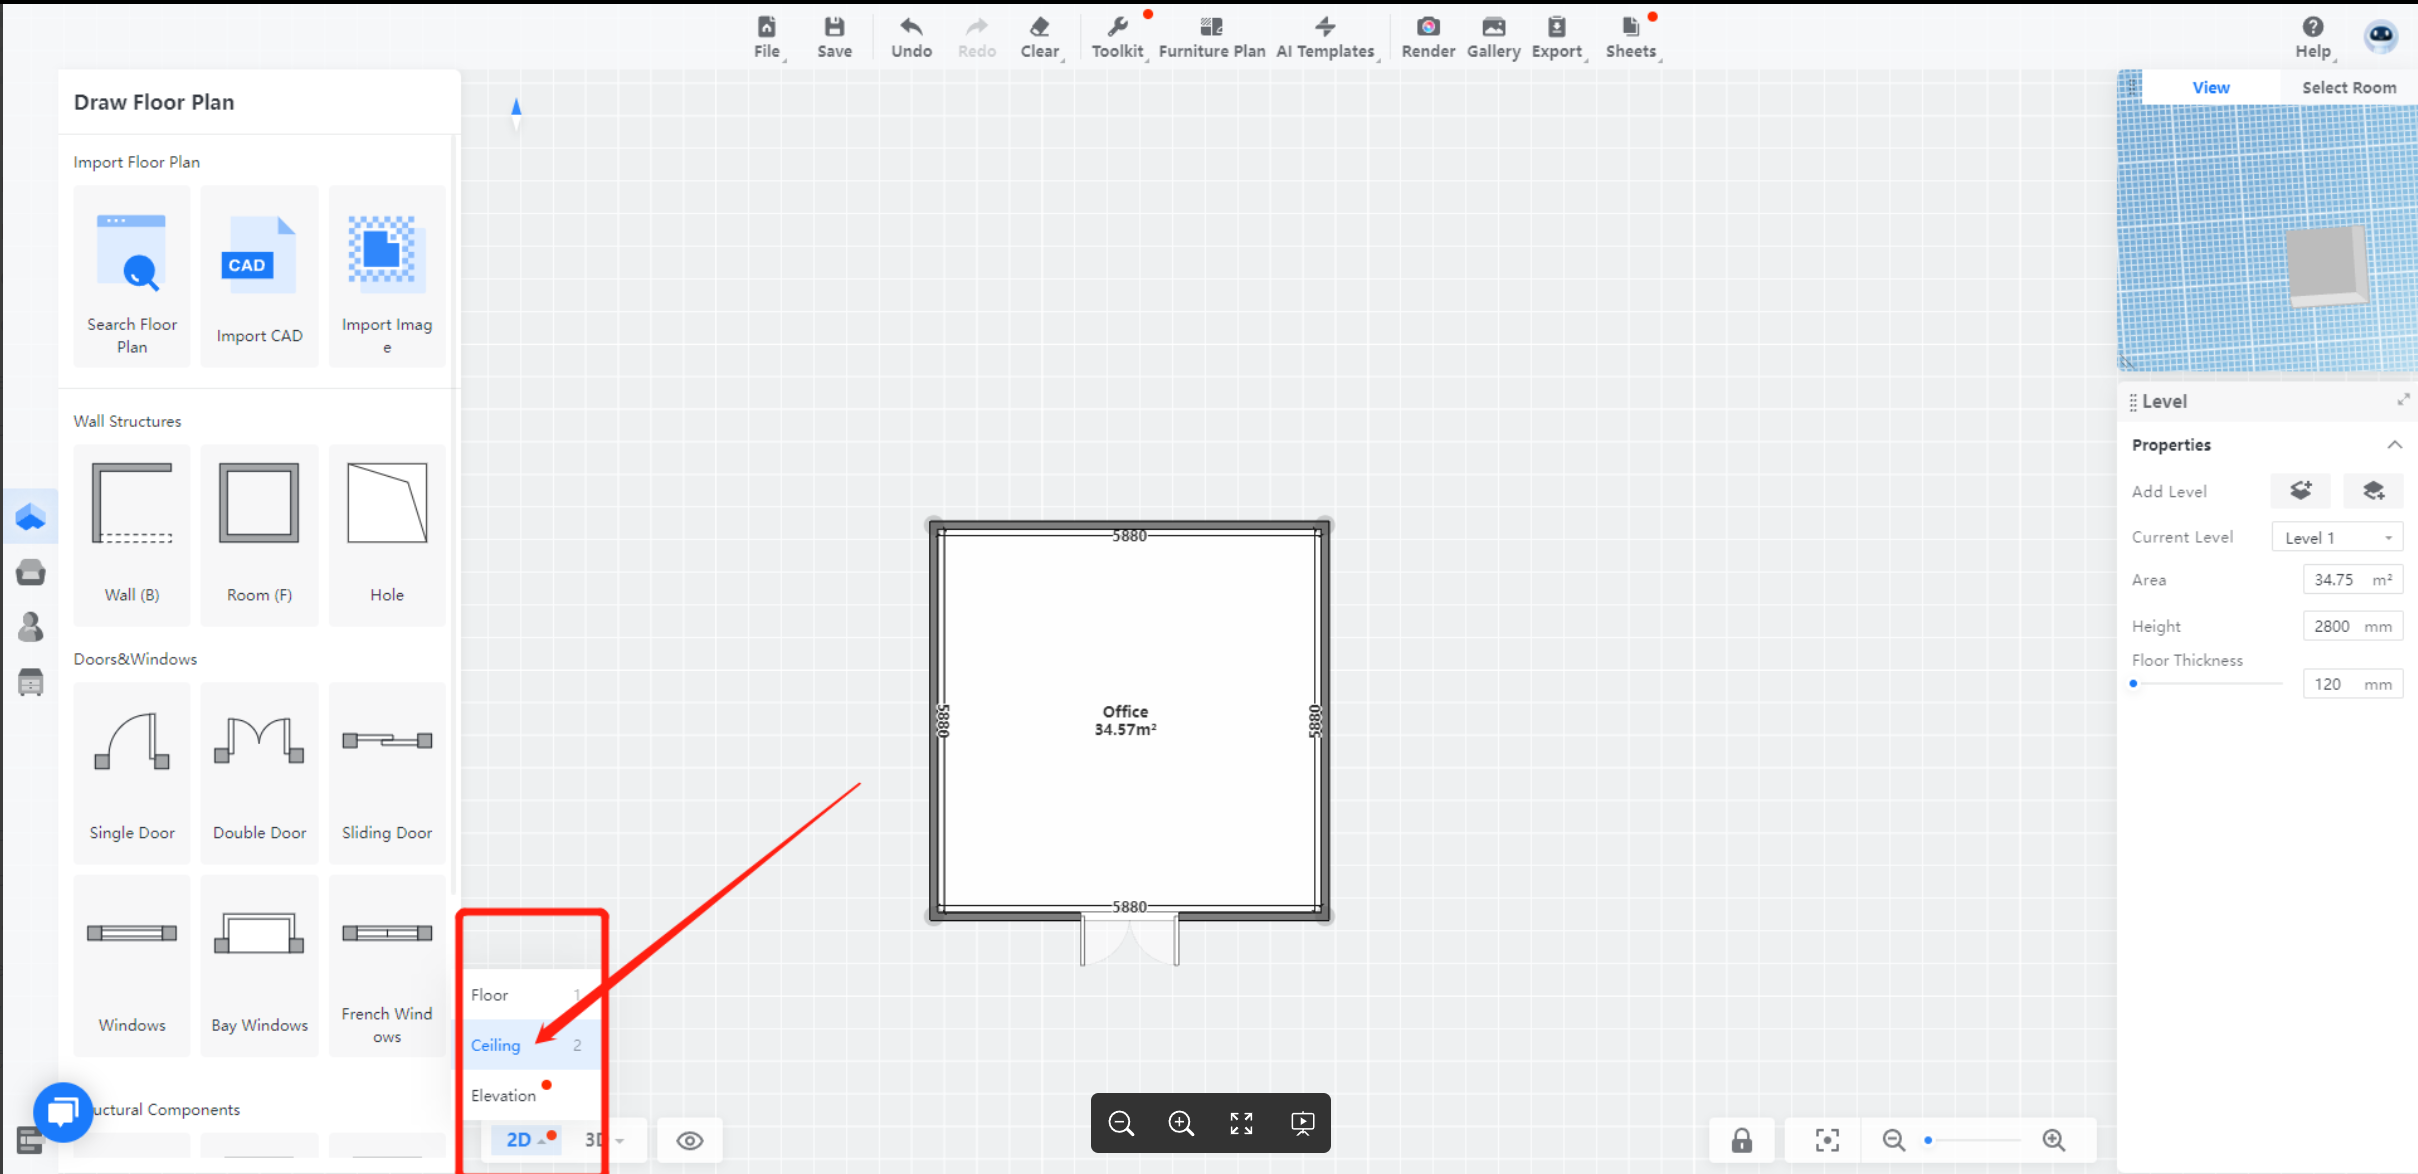
Now there are three different ways to create your ceiling.
-
Suspended Ceiling
Suspended Ceiling
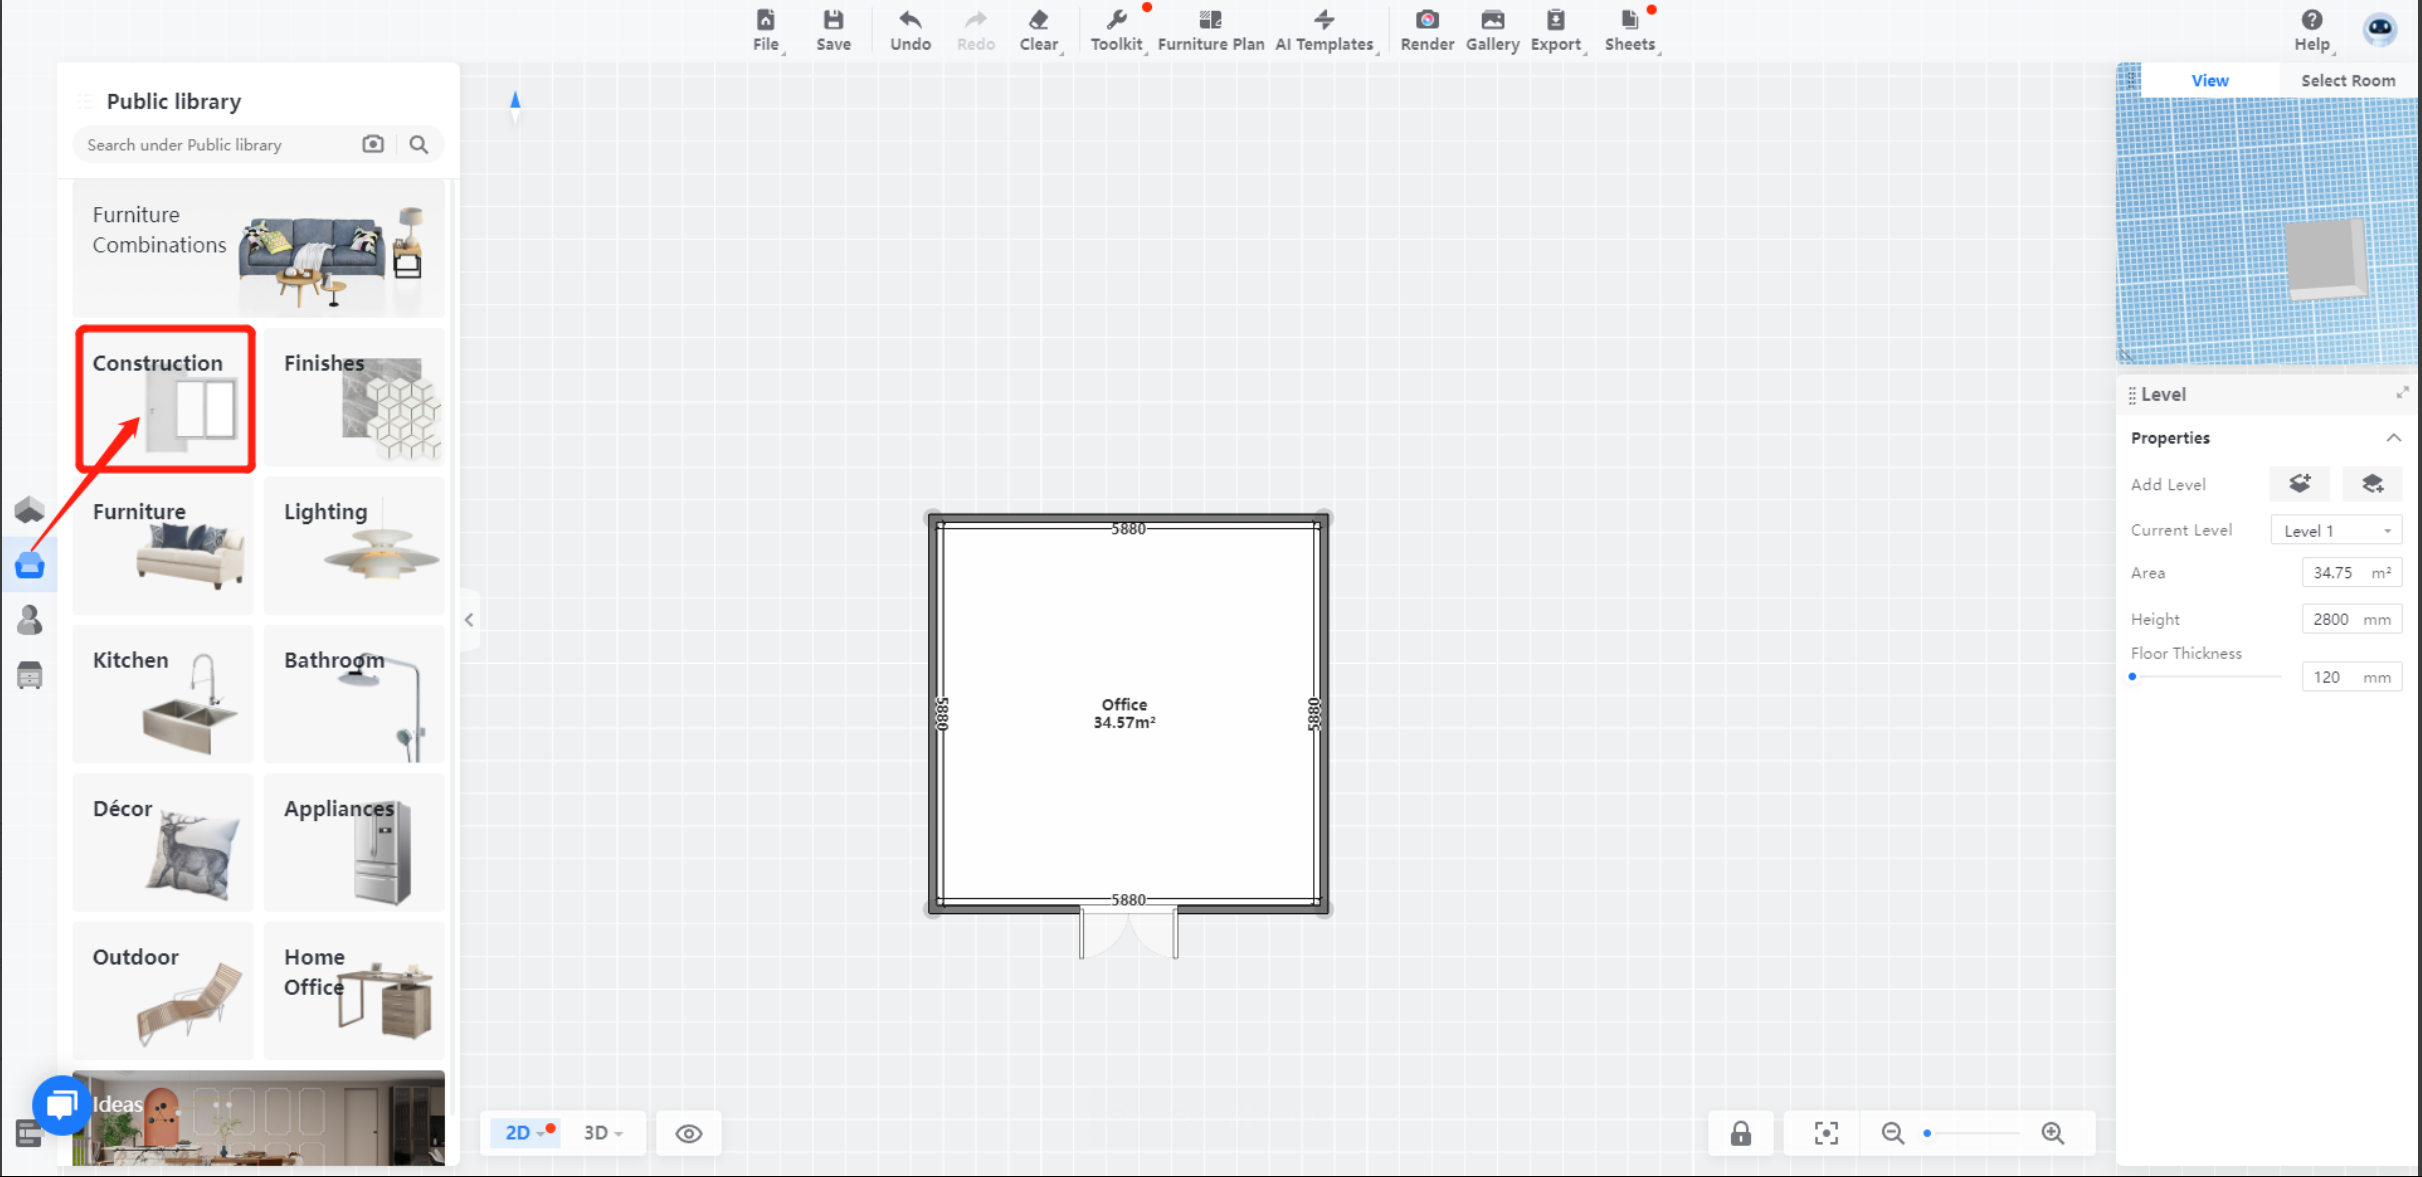
Suspended ceiling can be found Public Library > Construction > Suspended Ceilings.
Try to drag and drop. It will be automatically adapted to your room while you have to add some lights by yourself.
-
Parametric Ceiling
Parametric Ceiling
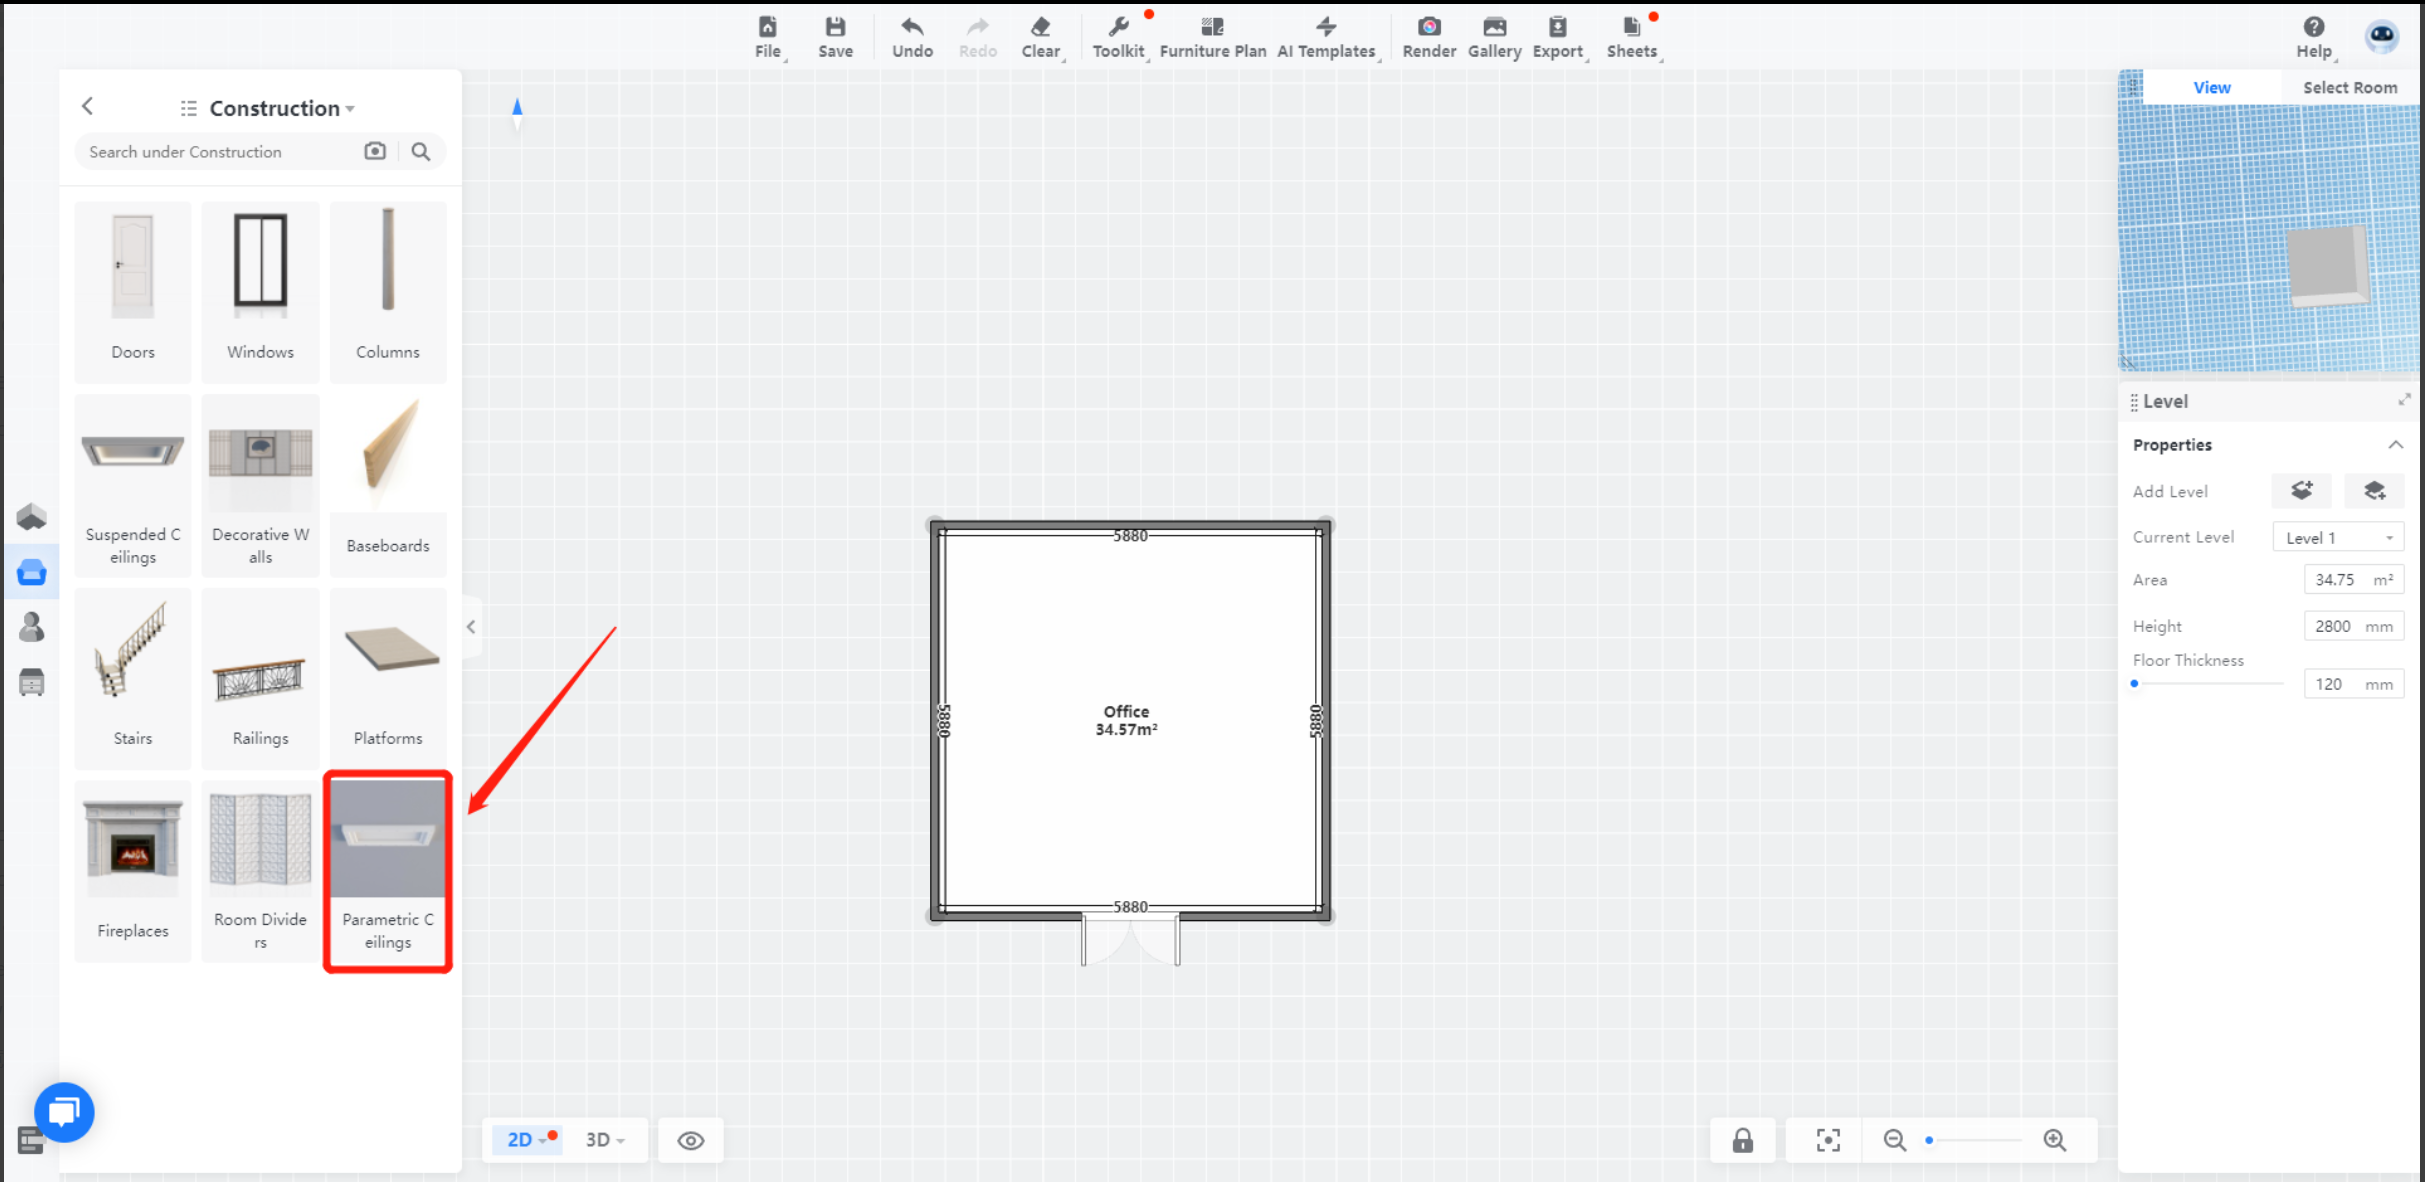
Parametric ceiling is strongly recommended to use for beginners. You can find the tool also Public Library > Construction > Parametric Ceilings.
Below there is the detailed instruction.
-
Bespoke Ceiling
Bespoke Ceiling
If you want a ceiling that is more complicated, uses the customized library > construction, then design your own style of the ceiling.
Here comes the instructions for para-ceiling:
1. Intro
Para-ceiling is an editable module, by which you can model very fast by adjusting the dimension, materials, and lighting system.
2. Where is the tool
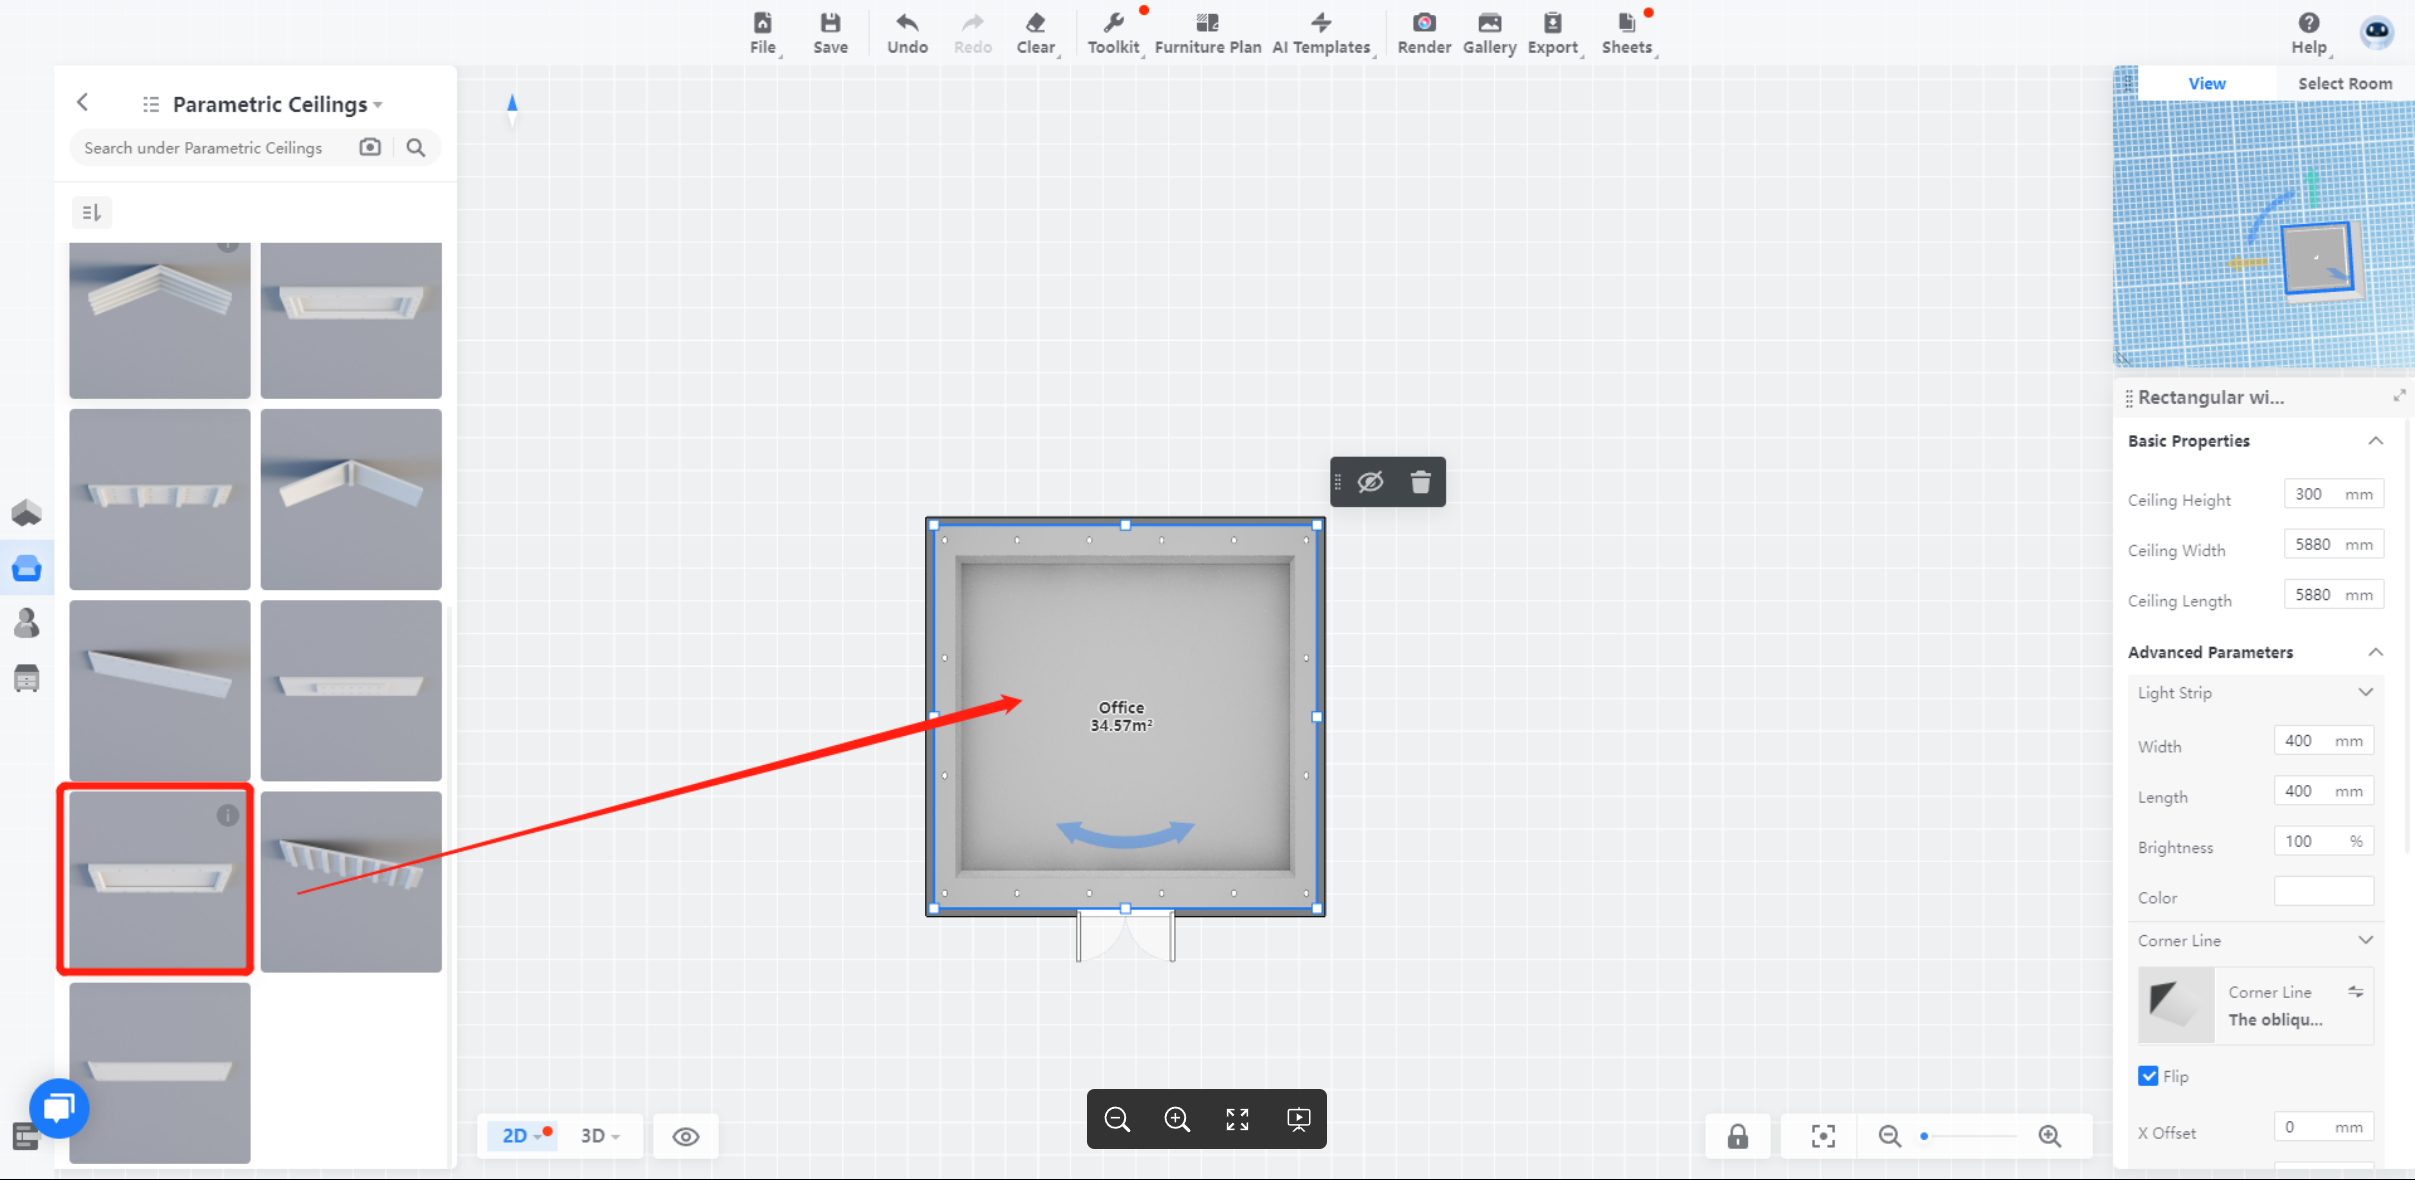
Go to Public Library > Construction > Parametric Ceilings, drag one type of the ceiling, and drop it to the room.
3. Modify your model
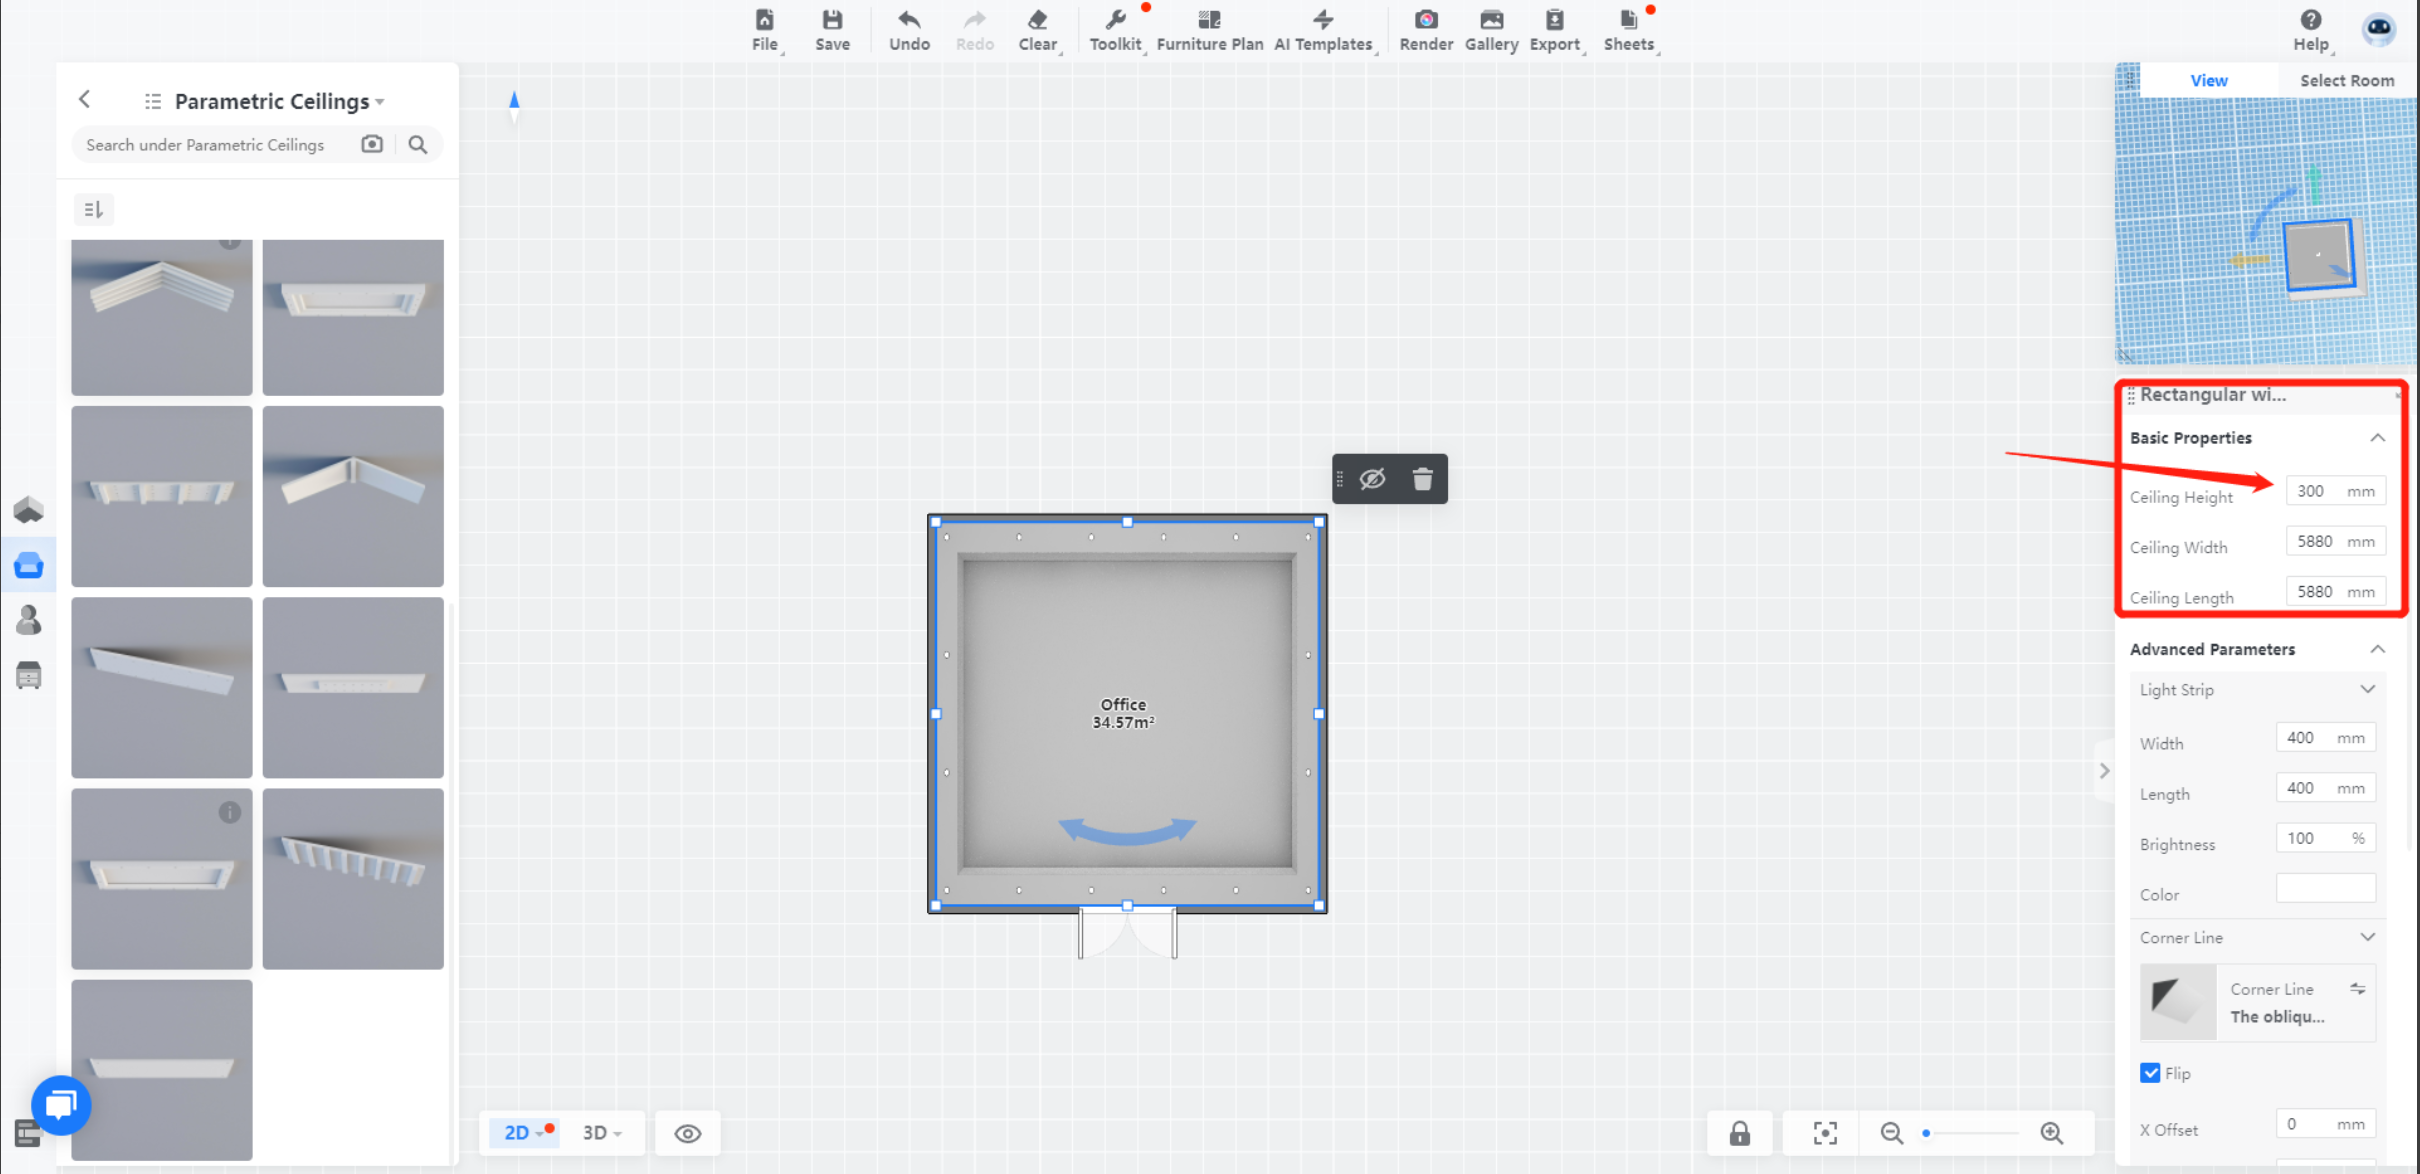
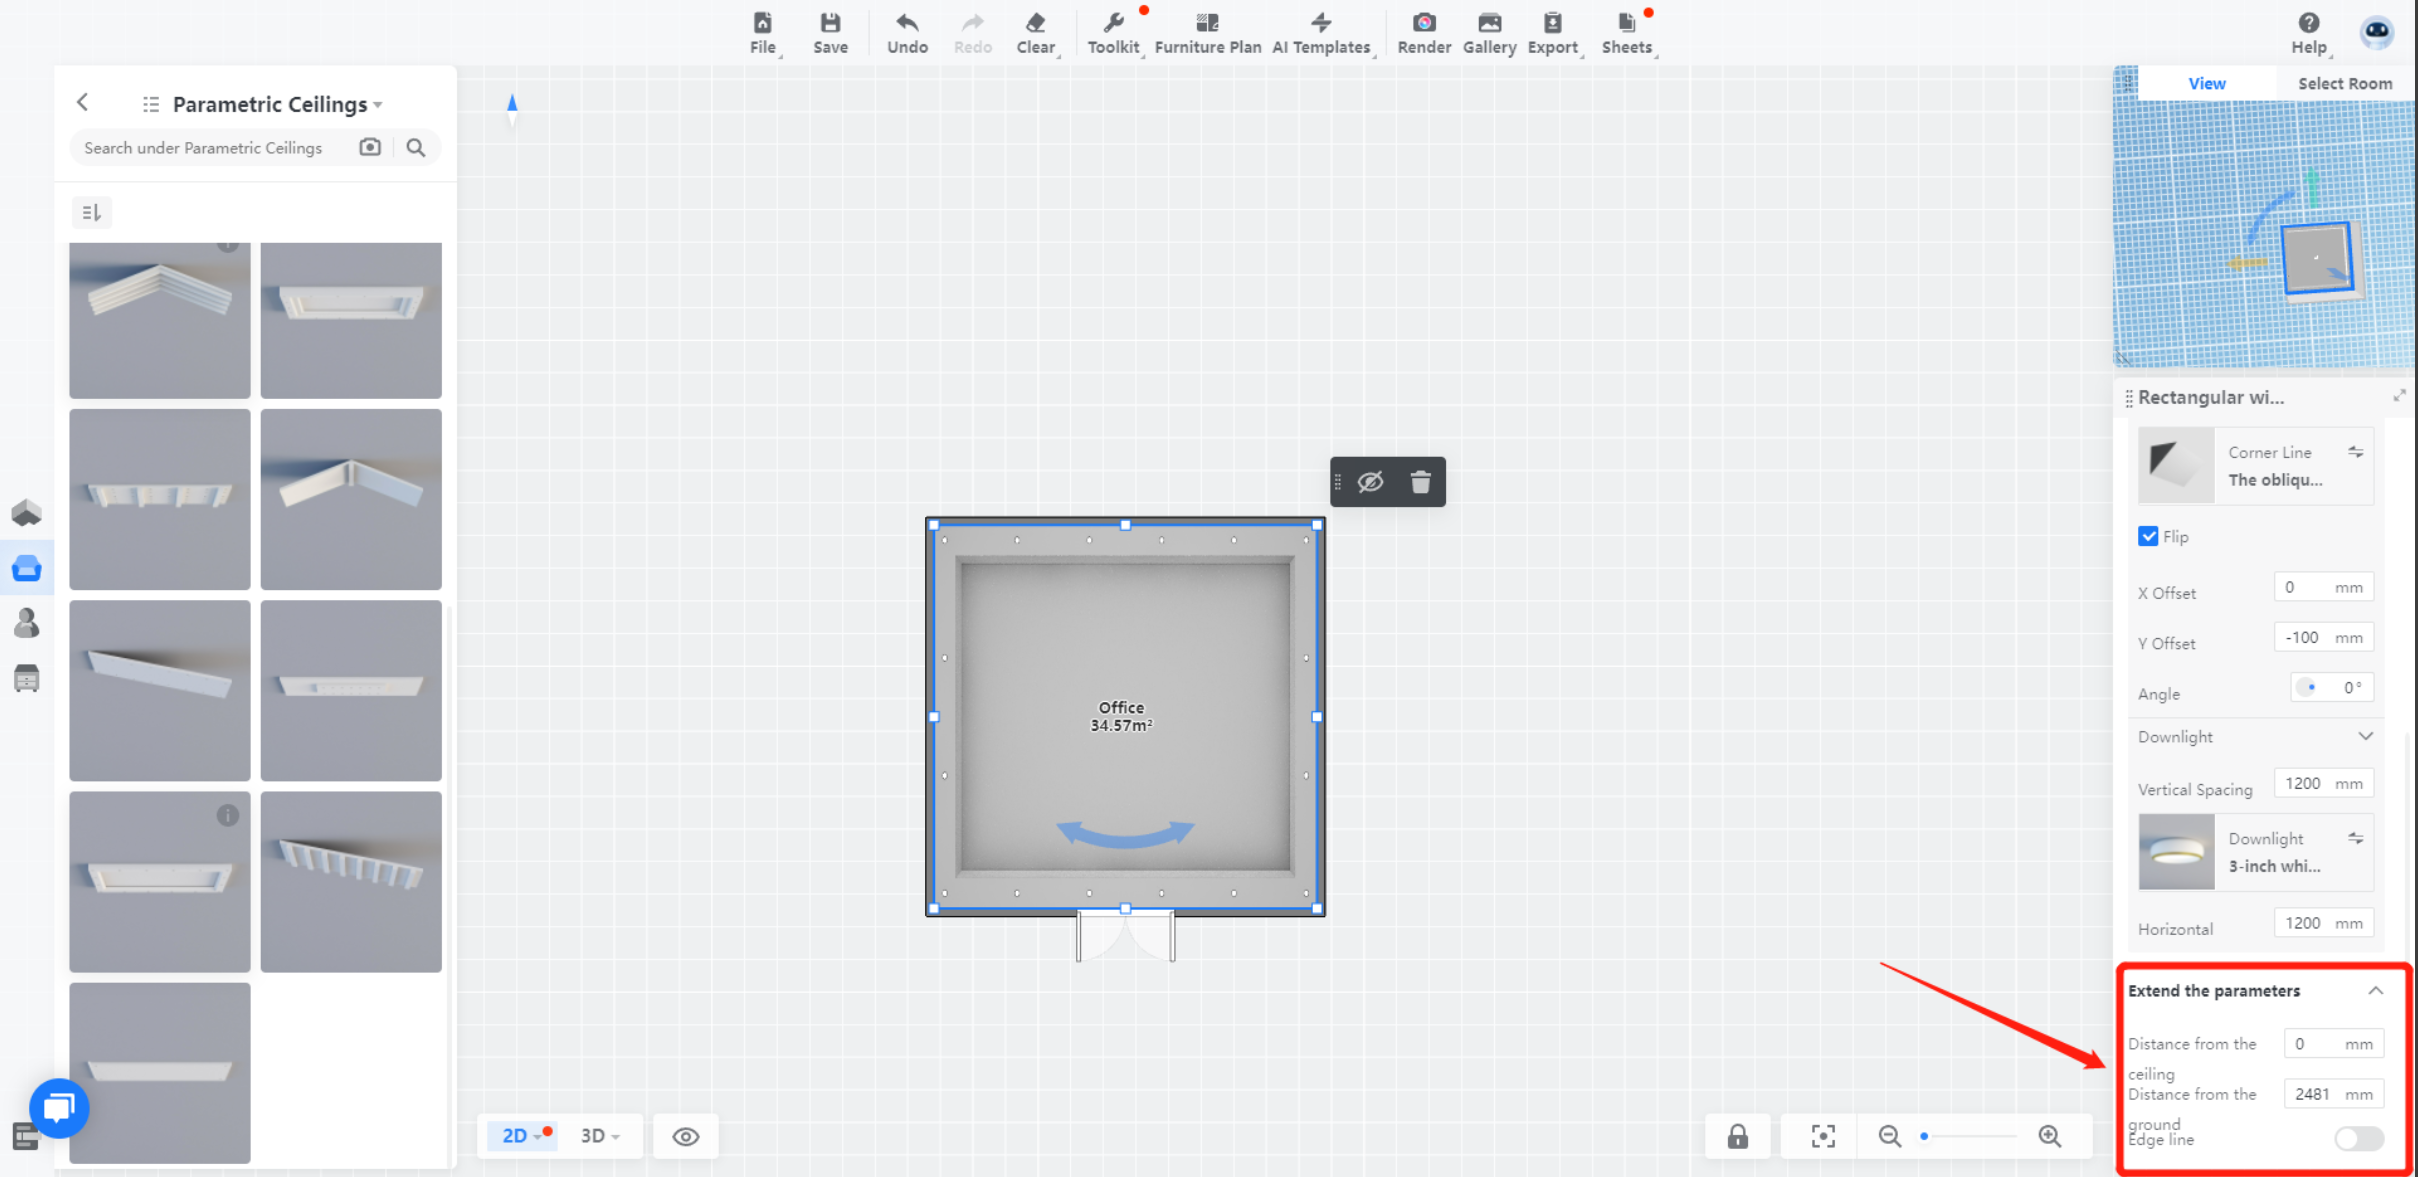
By adjusting some specifications on the right bar, you can redefine the form of your ceiling.
4. Lighting design
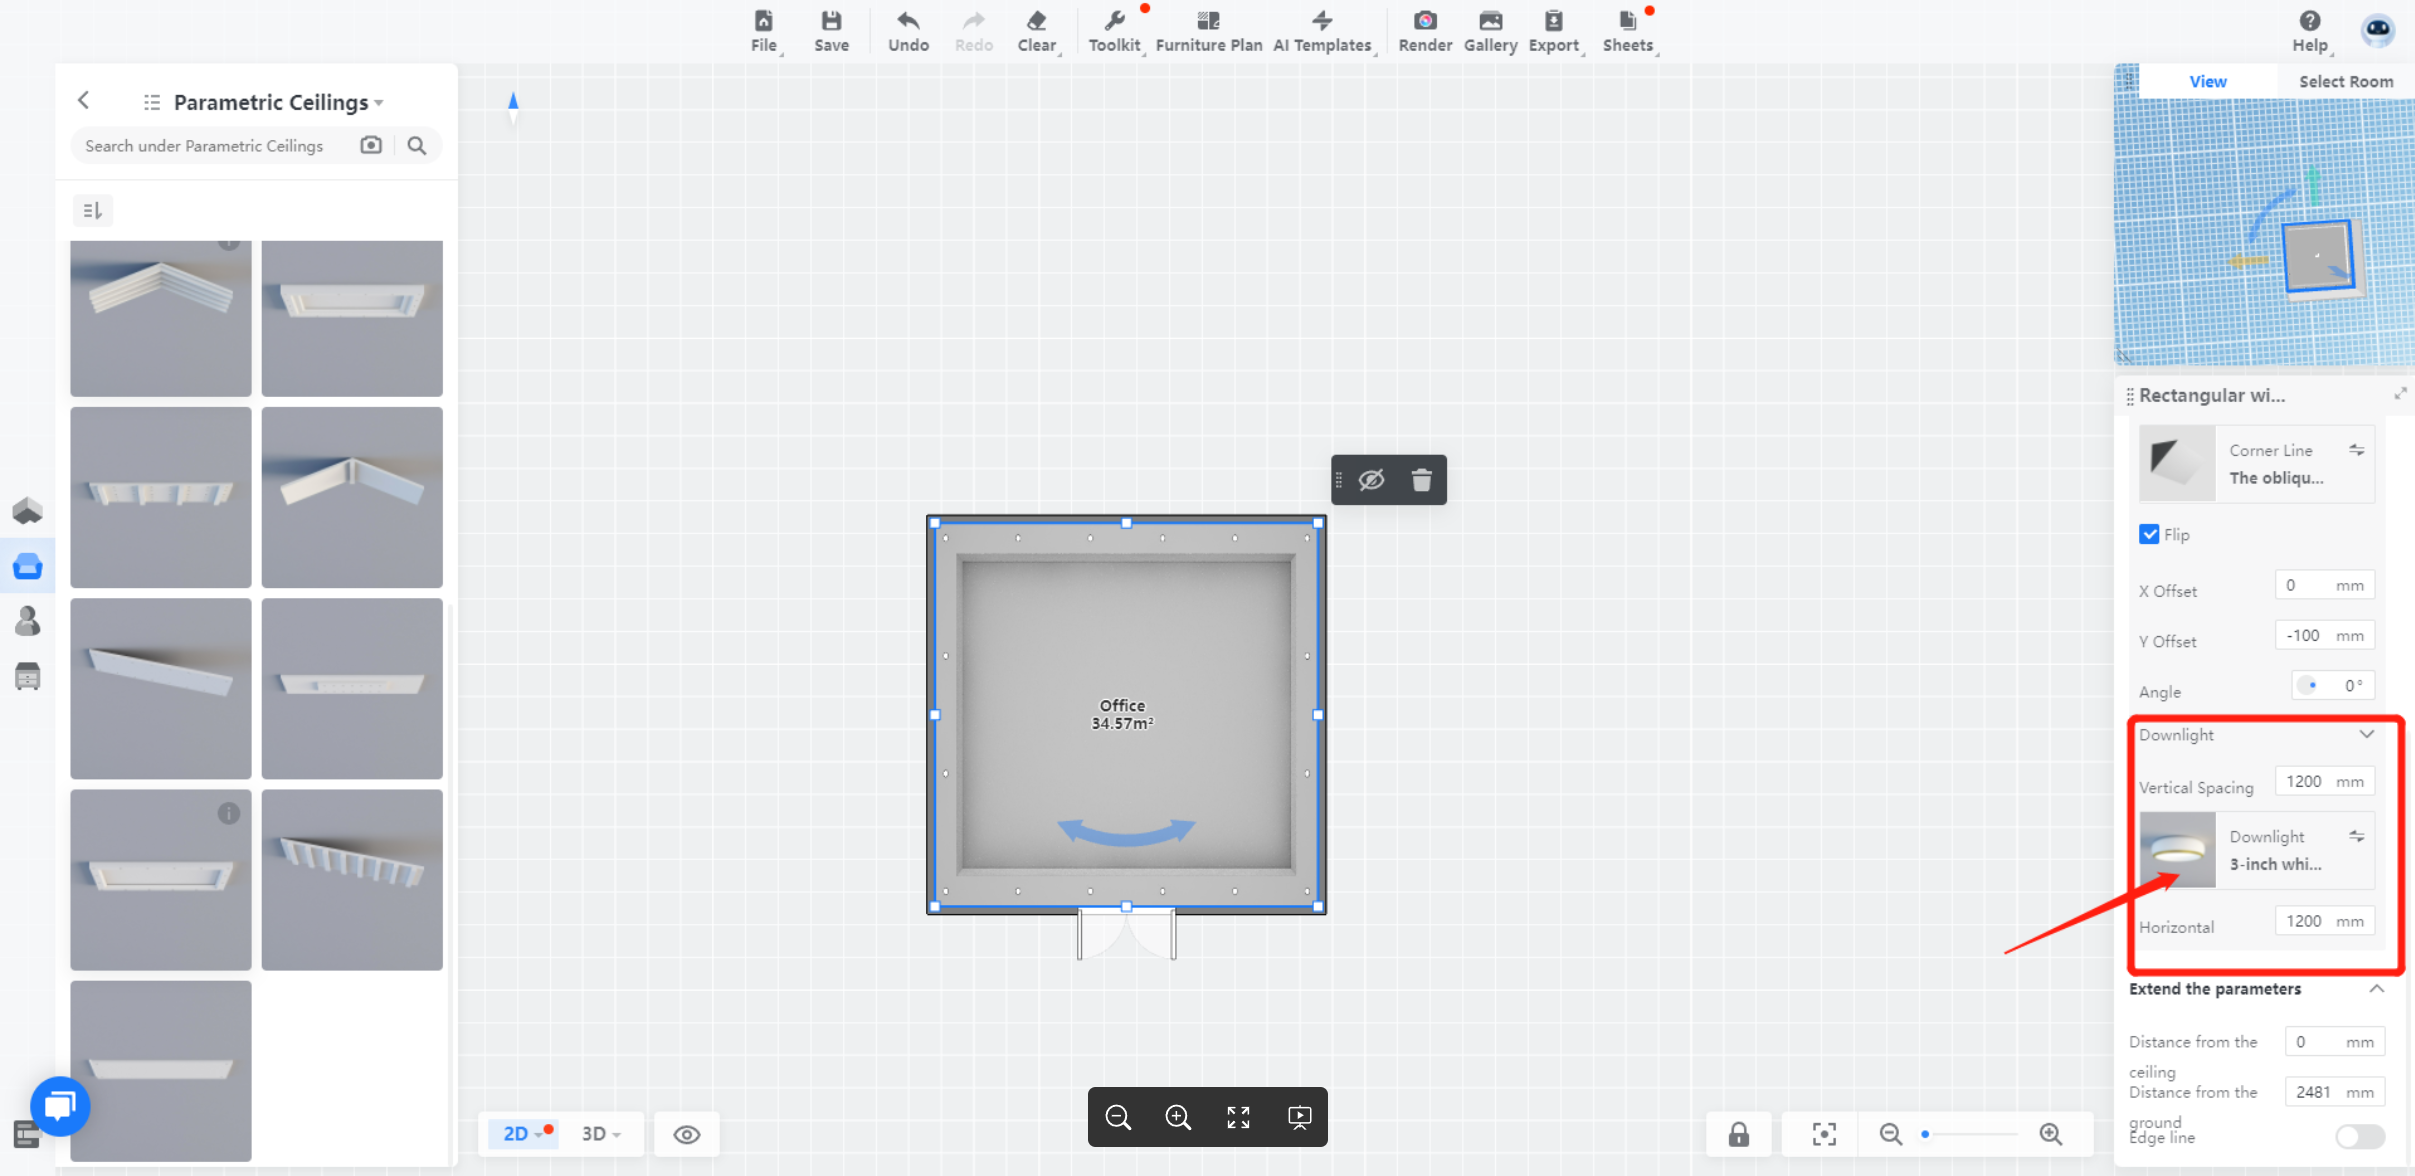
On the right bar, you can define the type of your lights, brightness, the color temp of the light products. In my case, the lightning system is stripe lights and downlights.
5. Design the corner line
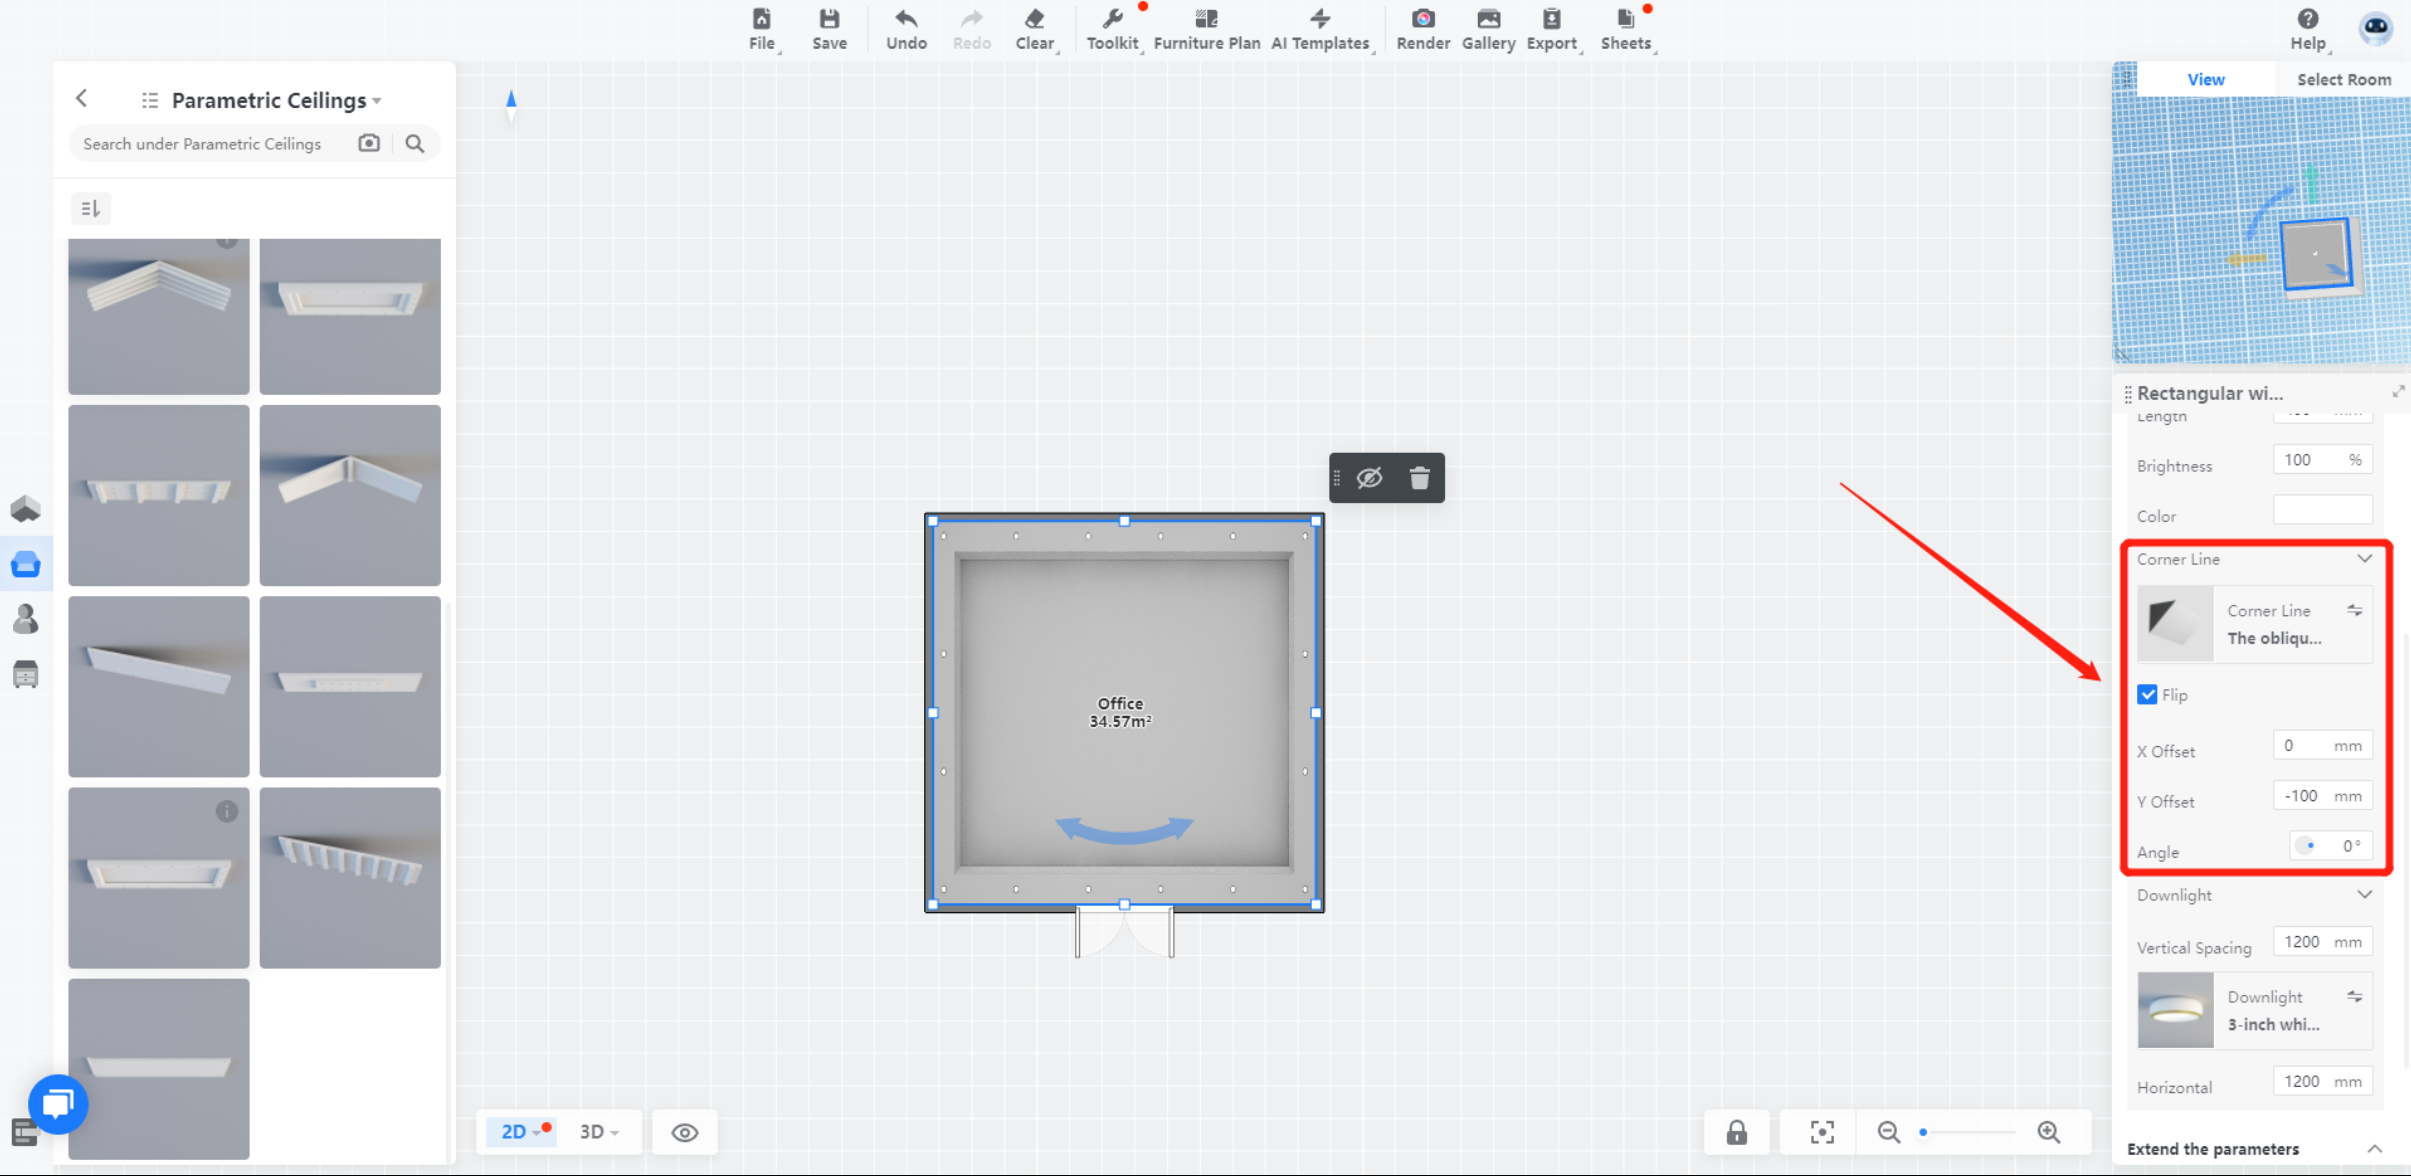
The corner line, also named skirting, is a significant part of your design. Also on the right bar, you can choose the product that fits your style.
6. Position
Lastly, define the height and position of your ceiling by defining the distance from the ground.
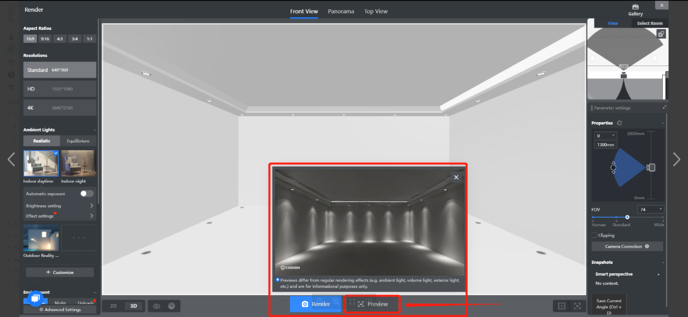
7. Check the preview of the lighting effect with the rendering tool.
