- Helpcenter
- Material&Component
- Face Editor
-
Getting Started
-
Model Library & Asset Management
-
News & Product Update
-
Kitchen, Bathroom, Closet, Custom Modelling
-
[Enterprise] 3D Viewer & Virtual Showroom
-
Payment & Billing
-
Version 5.0
-
Upload & Export
-
Personal Account
-
Photo & Video Studio
-
Material&Component
-
Floor Plan Basic
-
Images/Videos & Light
-
Tips & Tricks
-
Privacy & Terms
-
Inspiration Spaces
-
Testimonials
-
Construction Drawings
-
AI Tools
-
Customer Service Team
-
Projects Management
-
FAQ
-
Coohom Online Training
-
Lighting Design
-
Coohom Architect
Face Editor: How to Draw Lines and Rectangles?
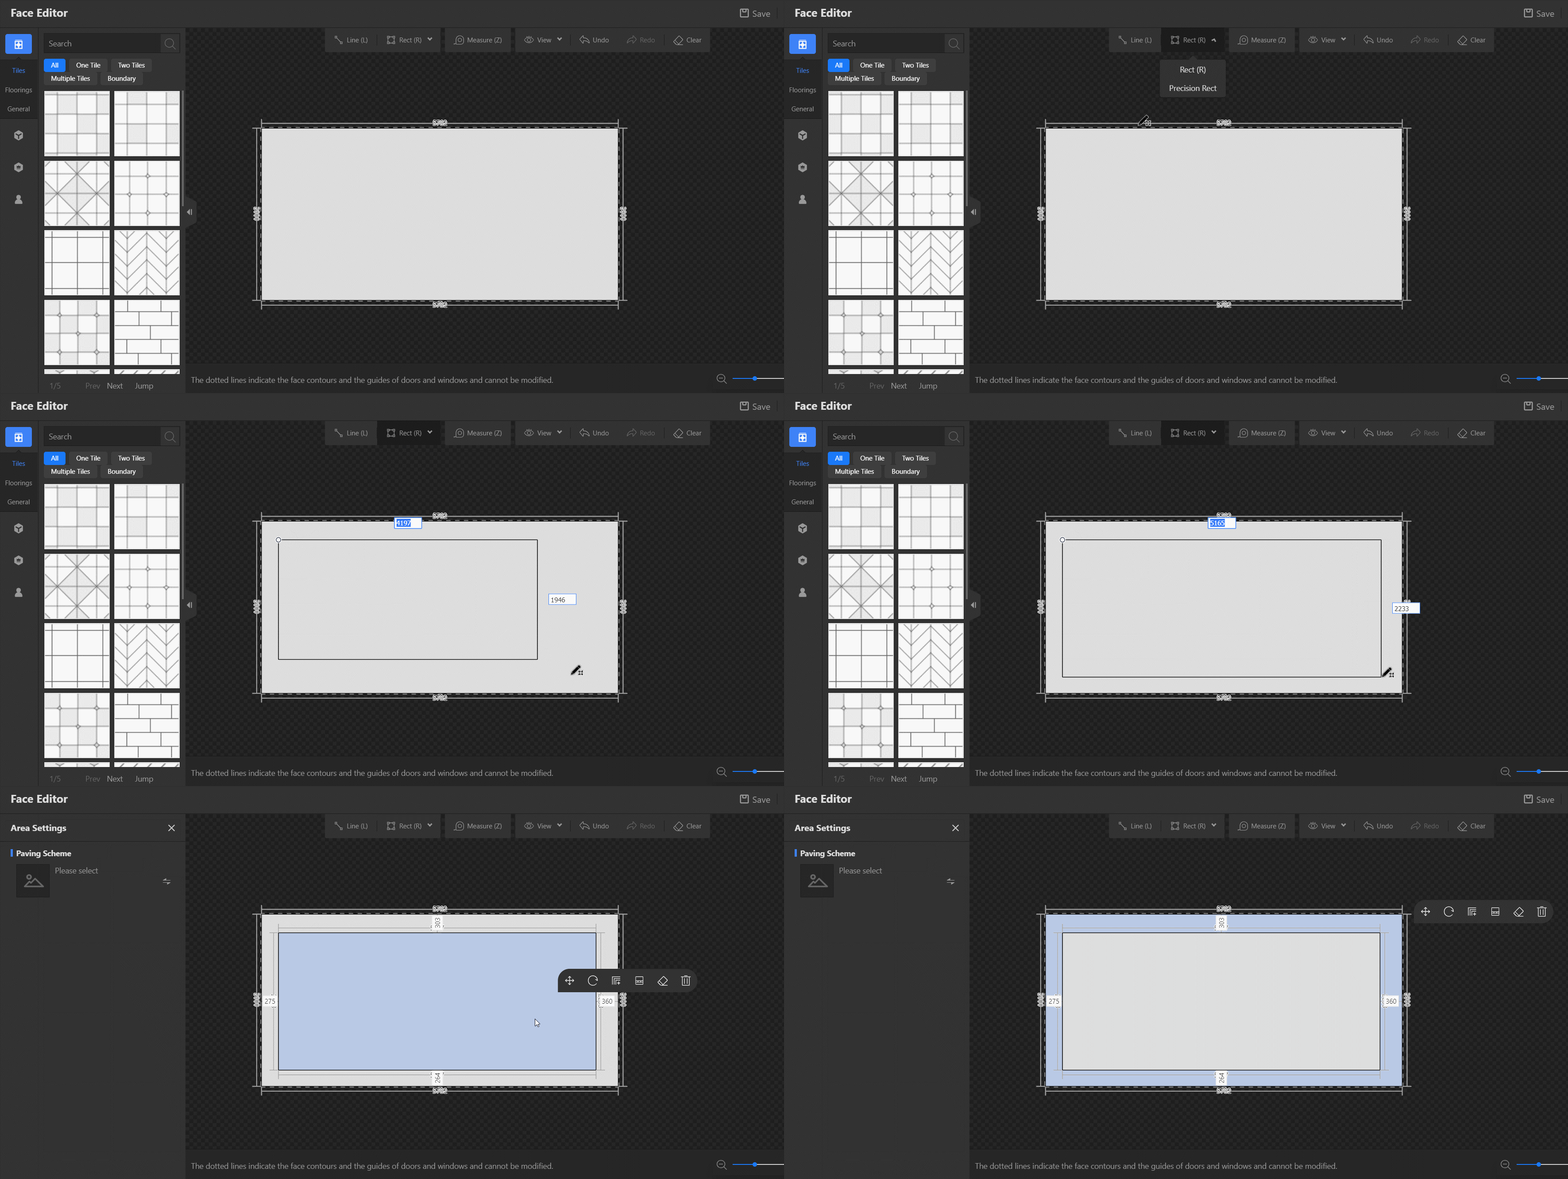
We can divide the entire face to several different parts with personalized design.
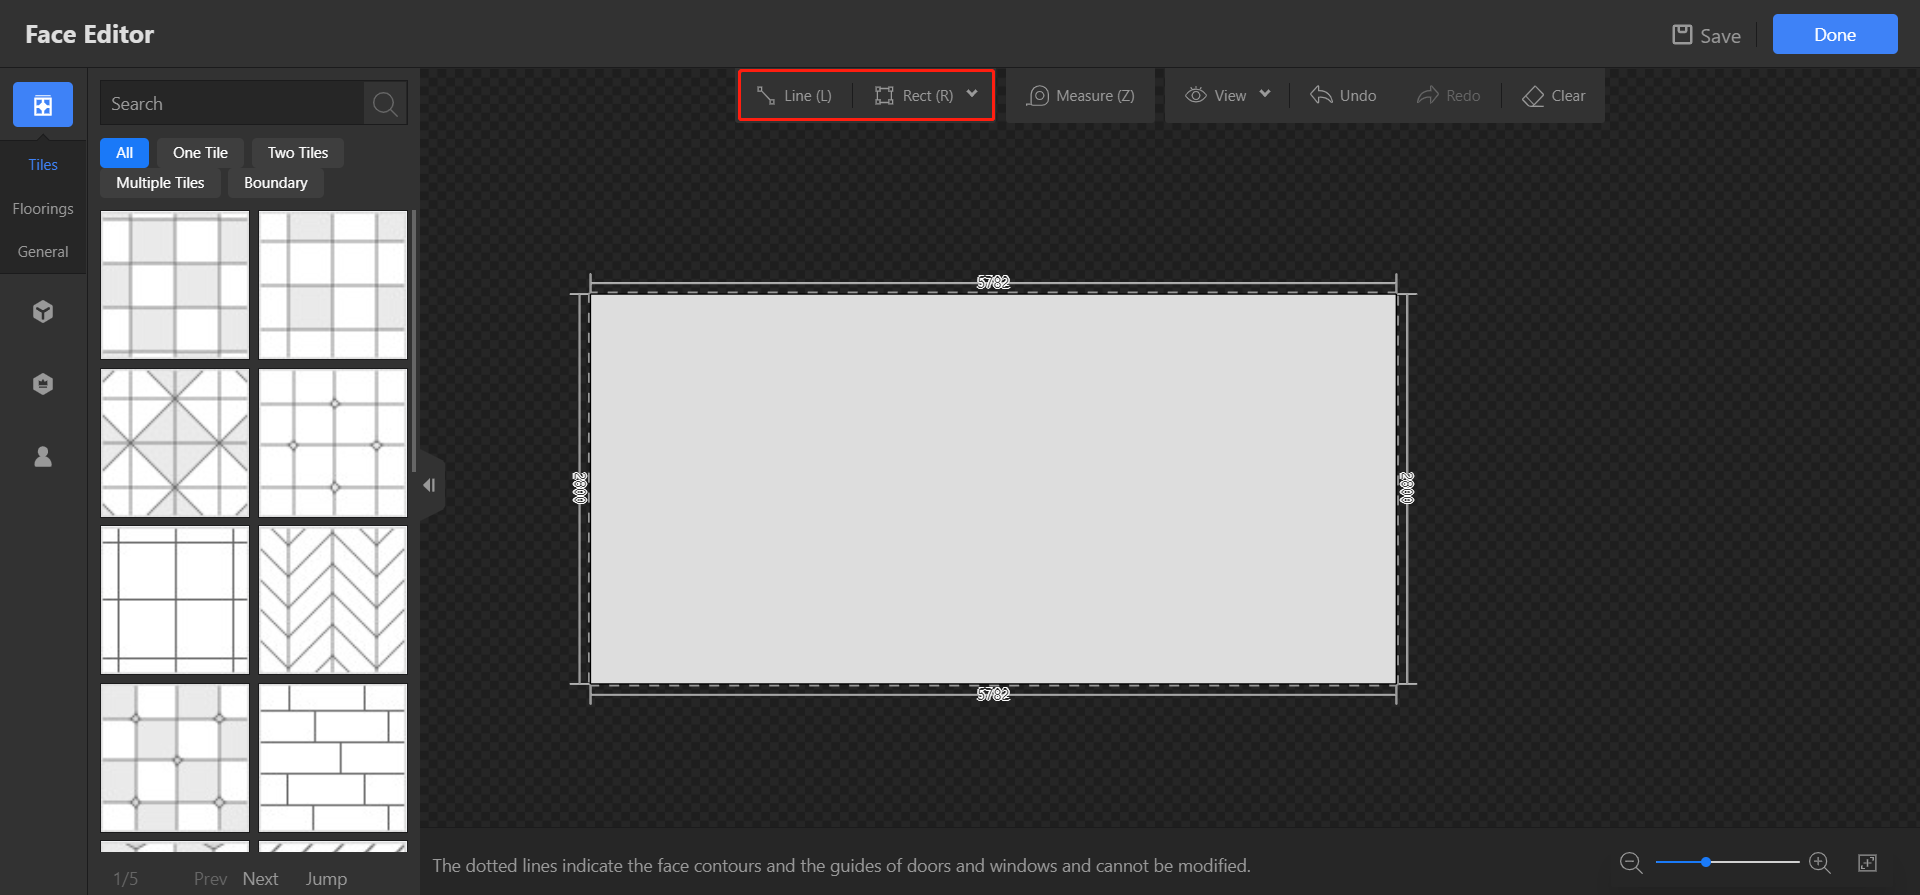
Click Line or Rect to draw.
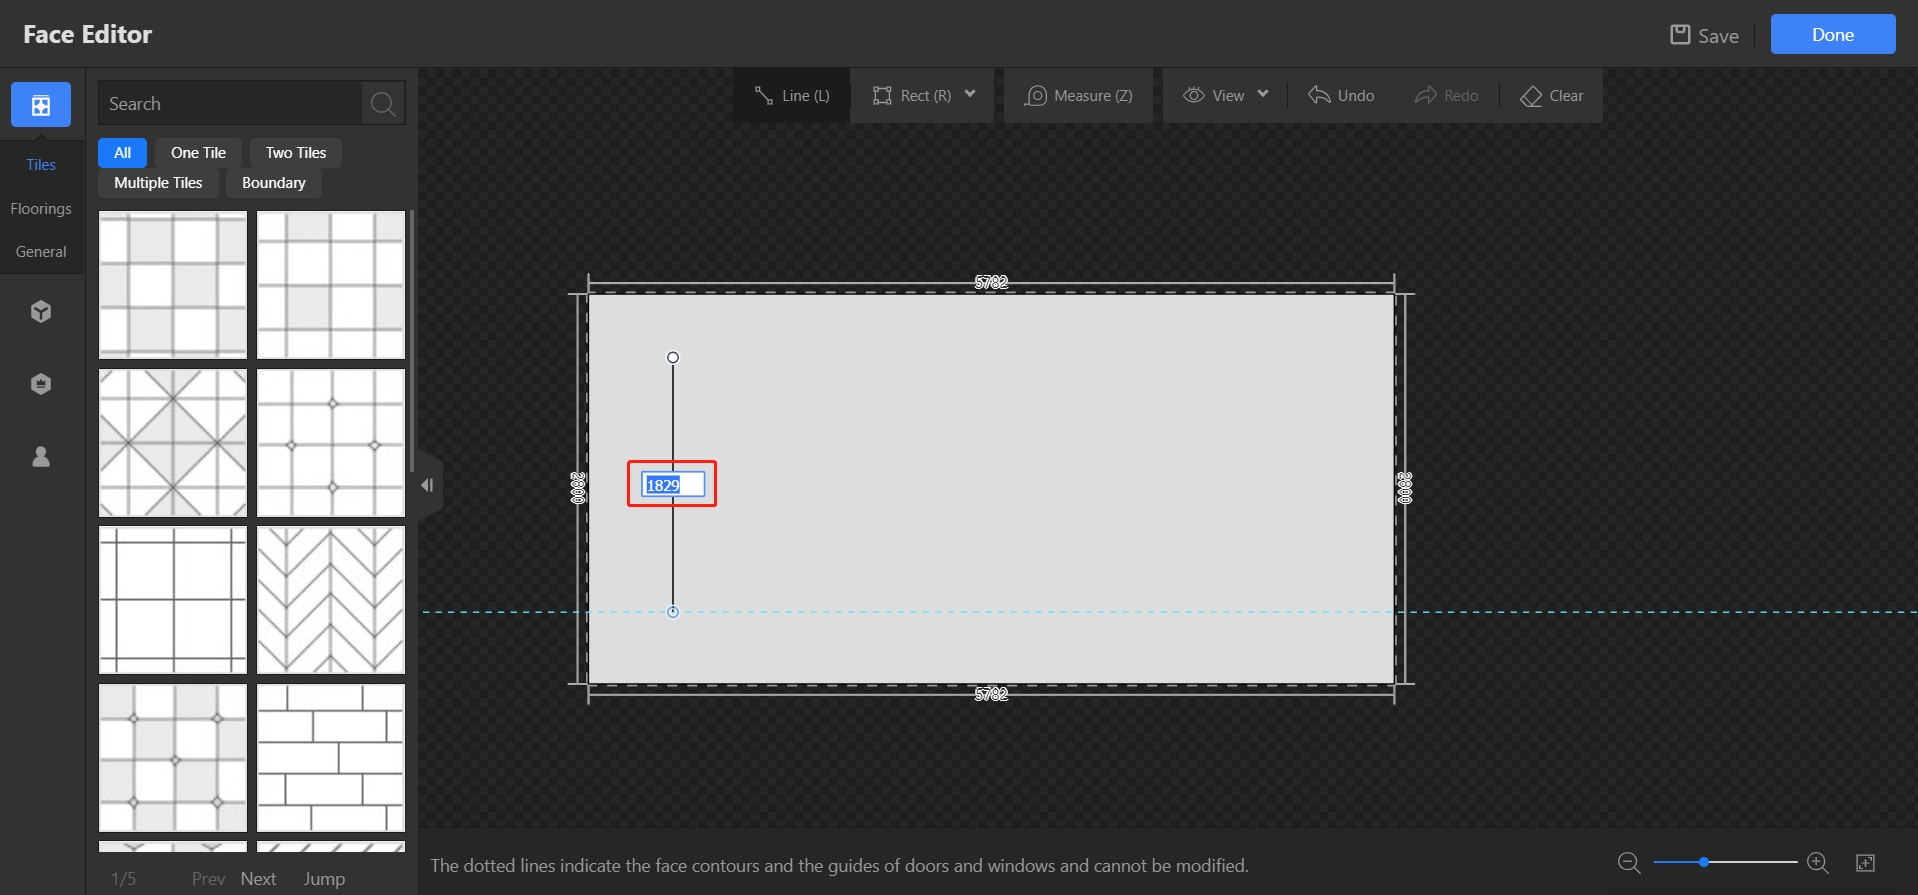
Select anywhere as the start point, then move the mouse, input the length of the line. Draw continuous lines until you draw a closed face.
Notice, all the faces should be closed.
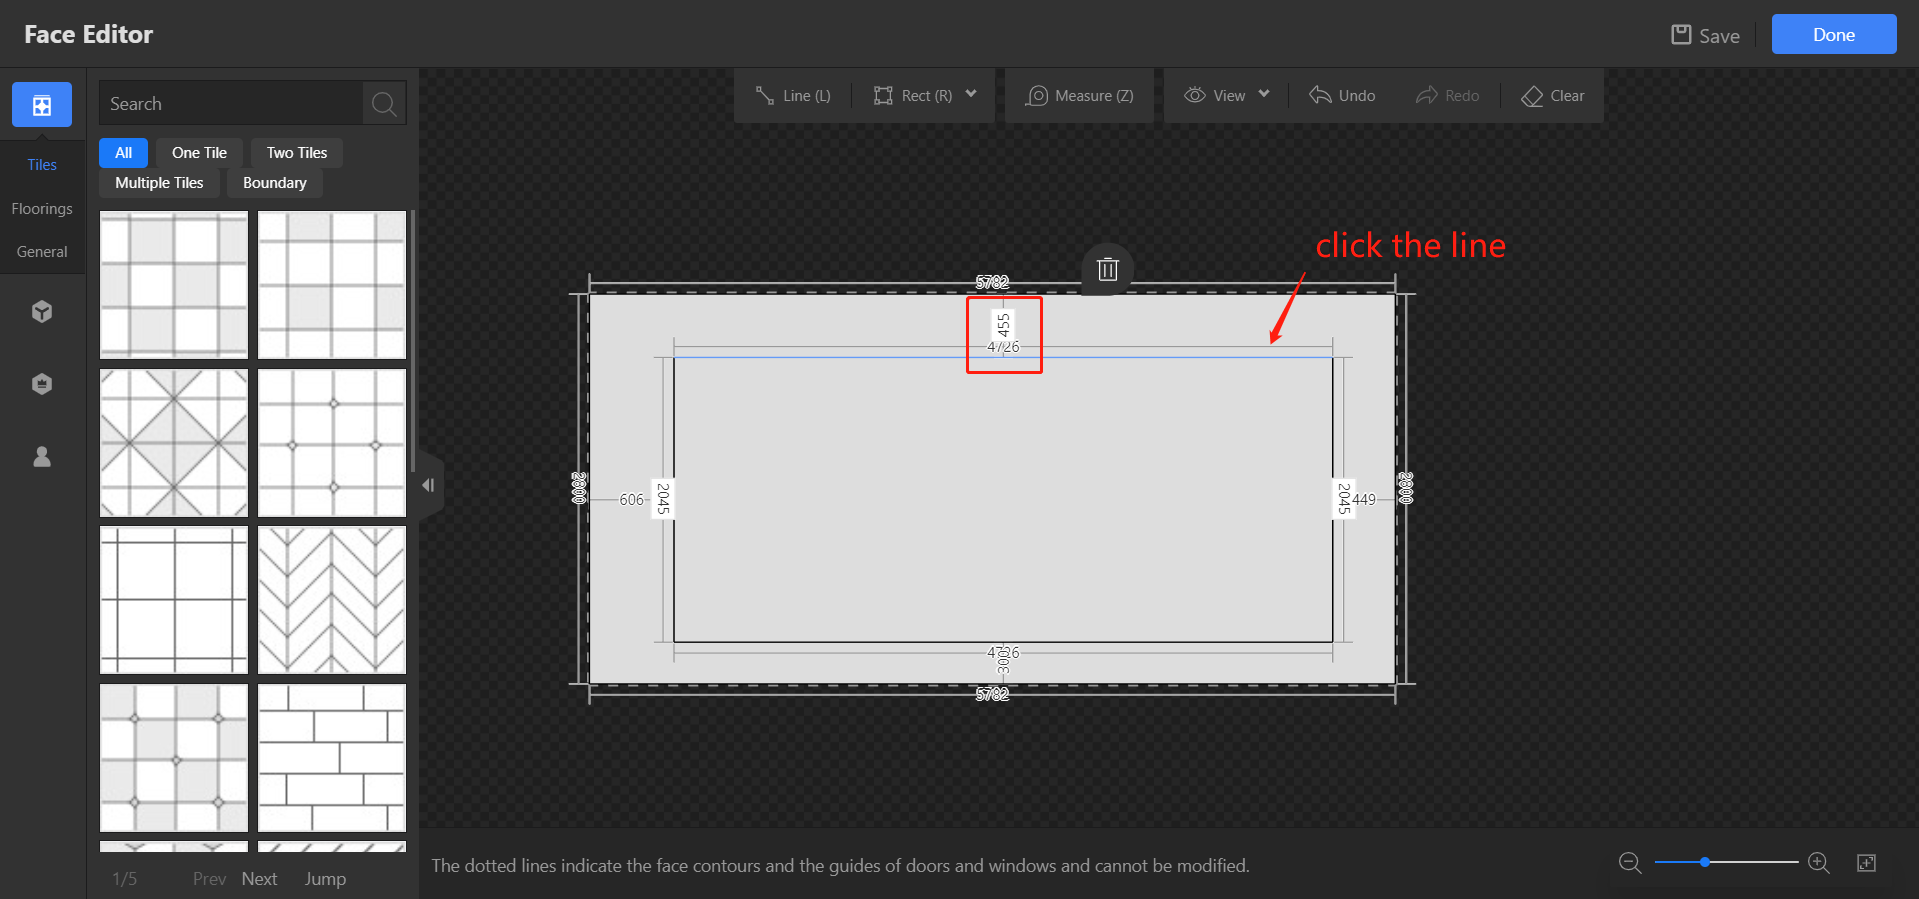
Click any lines, then you can input the distance to the edge to make the face you drew more accurately.
Rect tool is similar to this.
With these tools, we can draw any shapes of the faces as we need. Then pave materials to different areas.
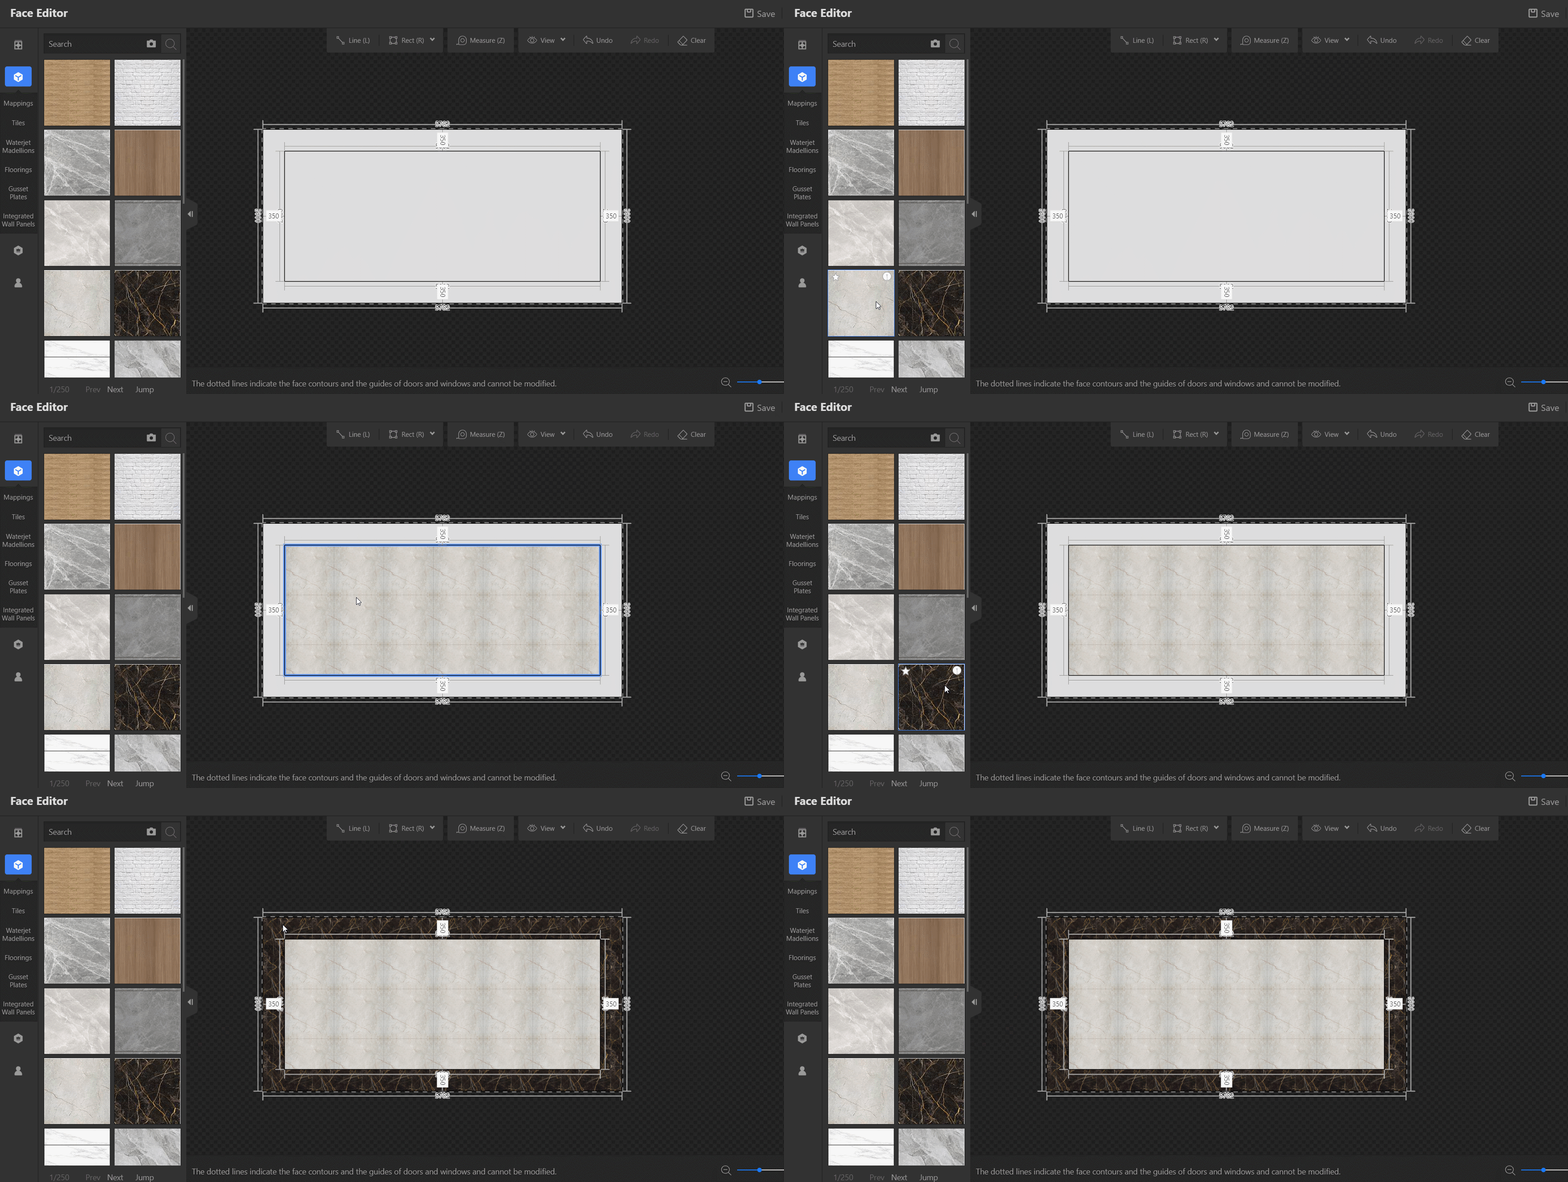
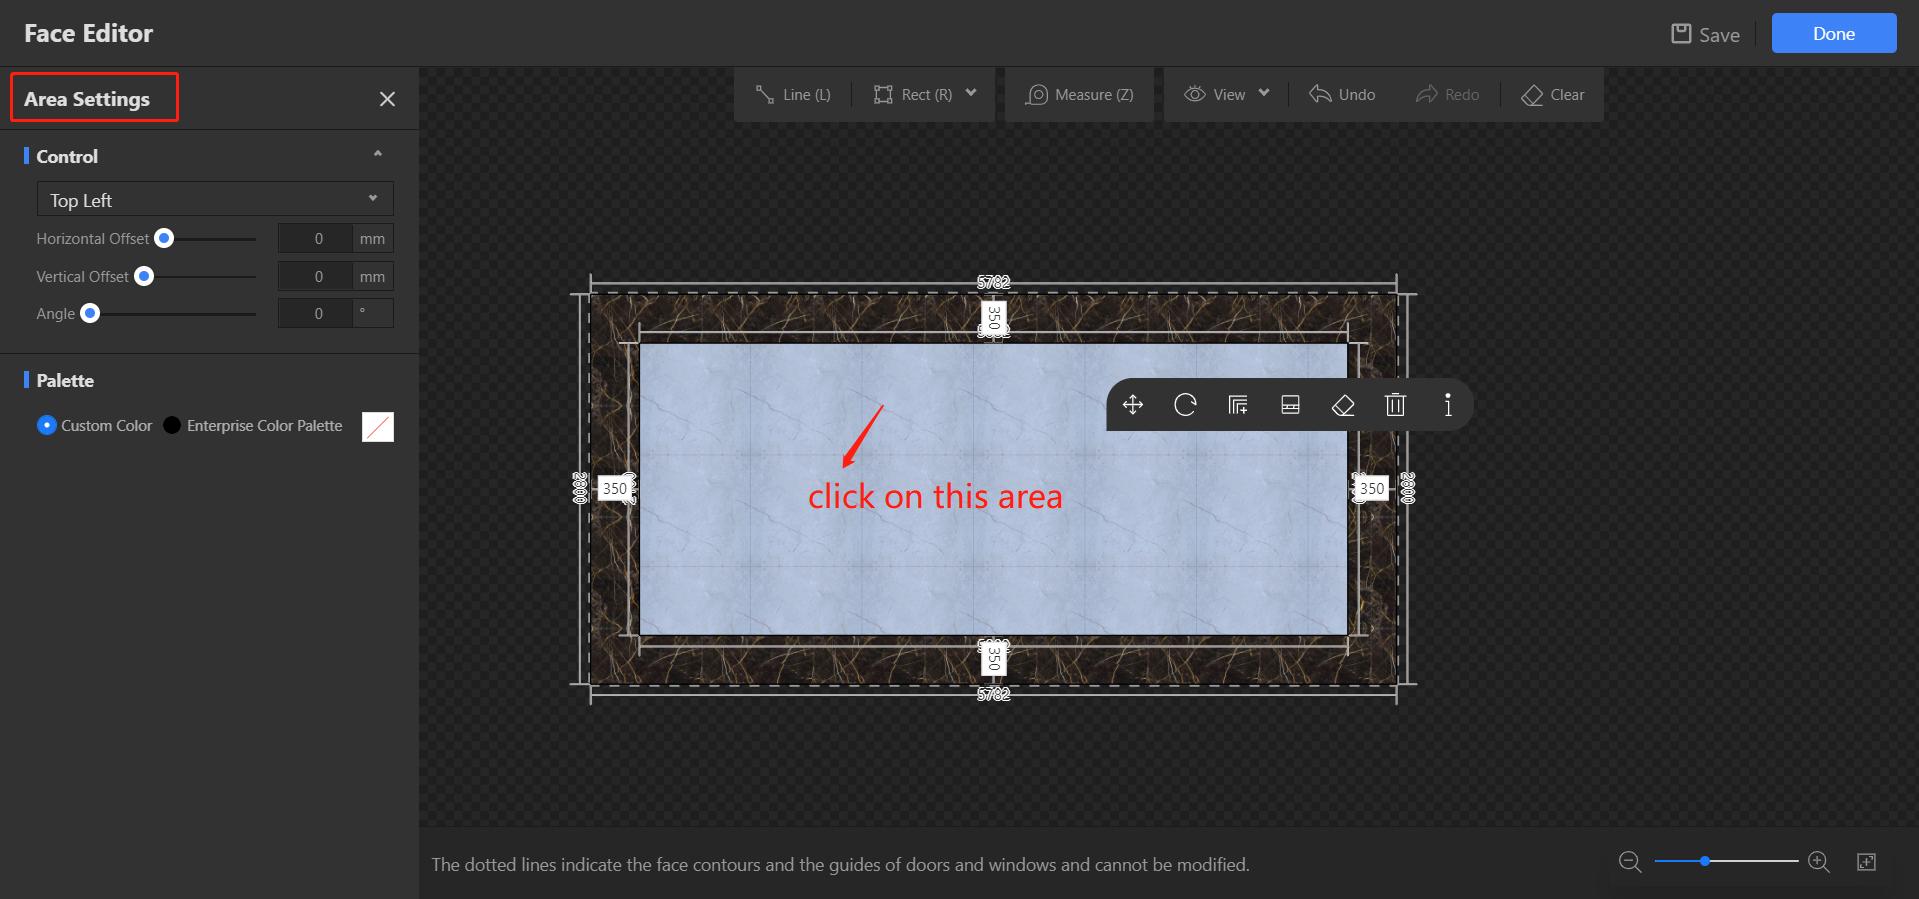
Also, each area can be edited separately. Select one area, you can see Area Settings on the left. There, you can control the start point of paving, adjust the angle of materials.
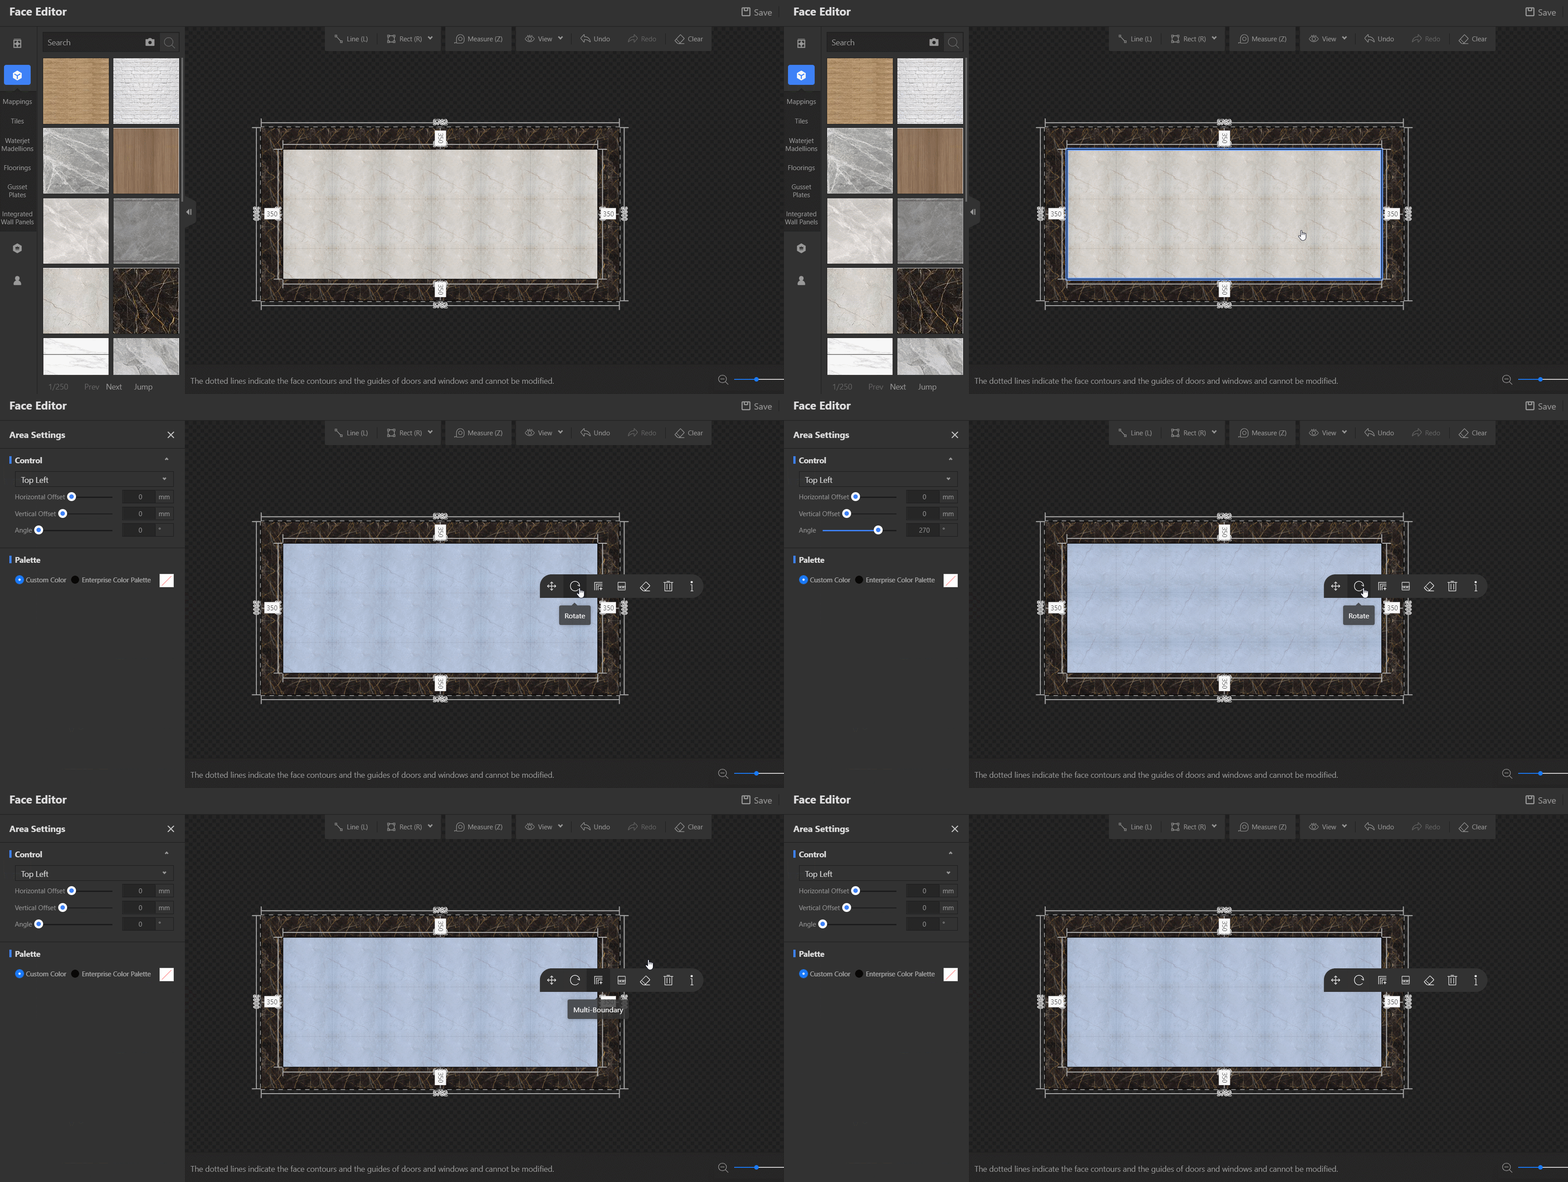
Rotate can be used in the float bar, too. But this option can only rotate the material with 45 degrees or multiples of 45 degrees.
This is how to draw lines and rectangles in face editor.