-
Getting Started
-
Model Library & Asset Management
-
News & Product Update
-
Kitchen, Bathroom, Closet, Custom Modelling
-
[Enterprise] 3D Viewer & Virtual Showroom
-
Payment & Billing
-
Version 5.0
-
Upload & Export
-
Personal Account
-
Photo & Video Studio
-
Material&Component
-
Floor Plan Basic
-
Images/Videos & Light
-
Tips & Tricks
-
Privacy & Terms
-
Inspiration Spaces
-
Testimonials
-
Construction Drawings
-
AI Tools
-
Customer Service Team
-
Projects Management
-
FAQ
-
Coohom Online Training
-
Lighting Design
-
Coohom Architect
How to Make the Light Brighter or Dimmer?
Sometimes we find our projects just like haunted houses, even if we added enough light sources in the floor plans.
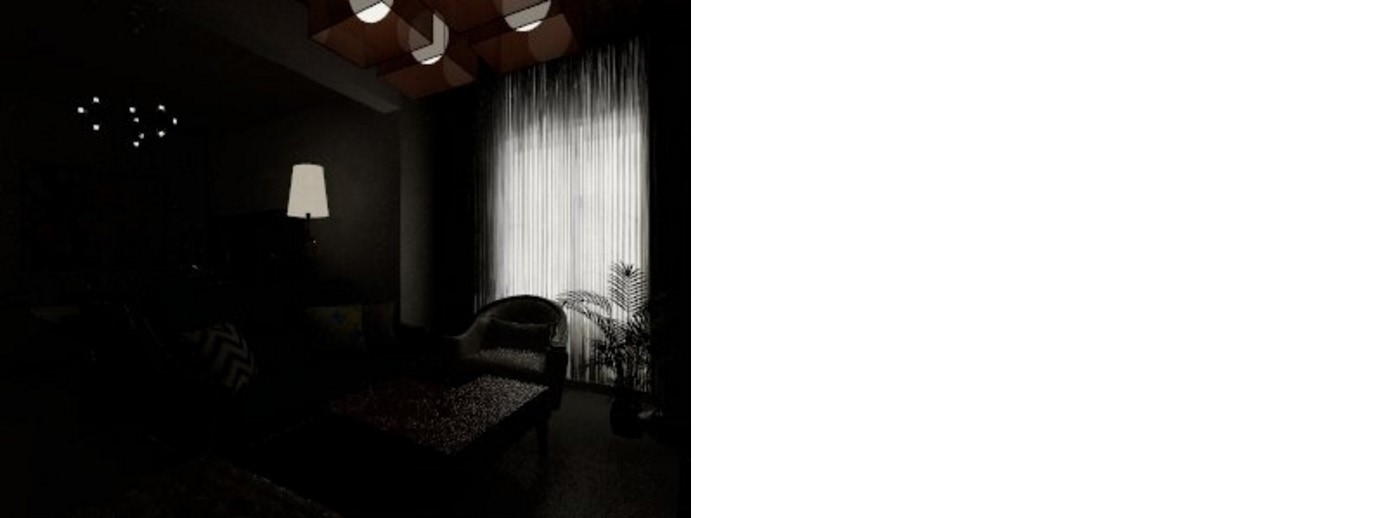
To solve this problem, you may:
1. Click Render in the header of our 3D floor planner.

2. Click Customize under Ambient Lights to go to the New Scheme window.
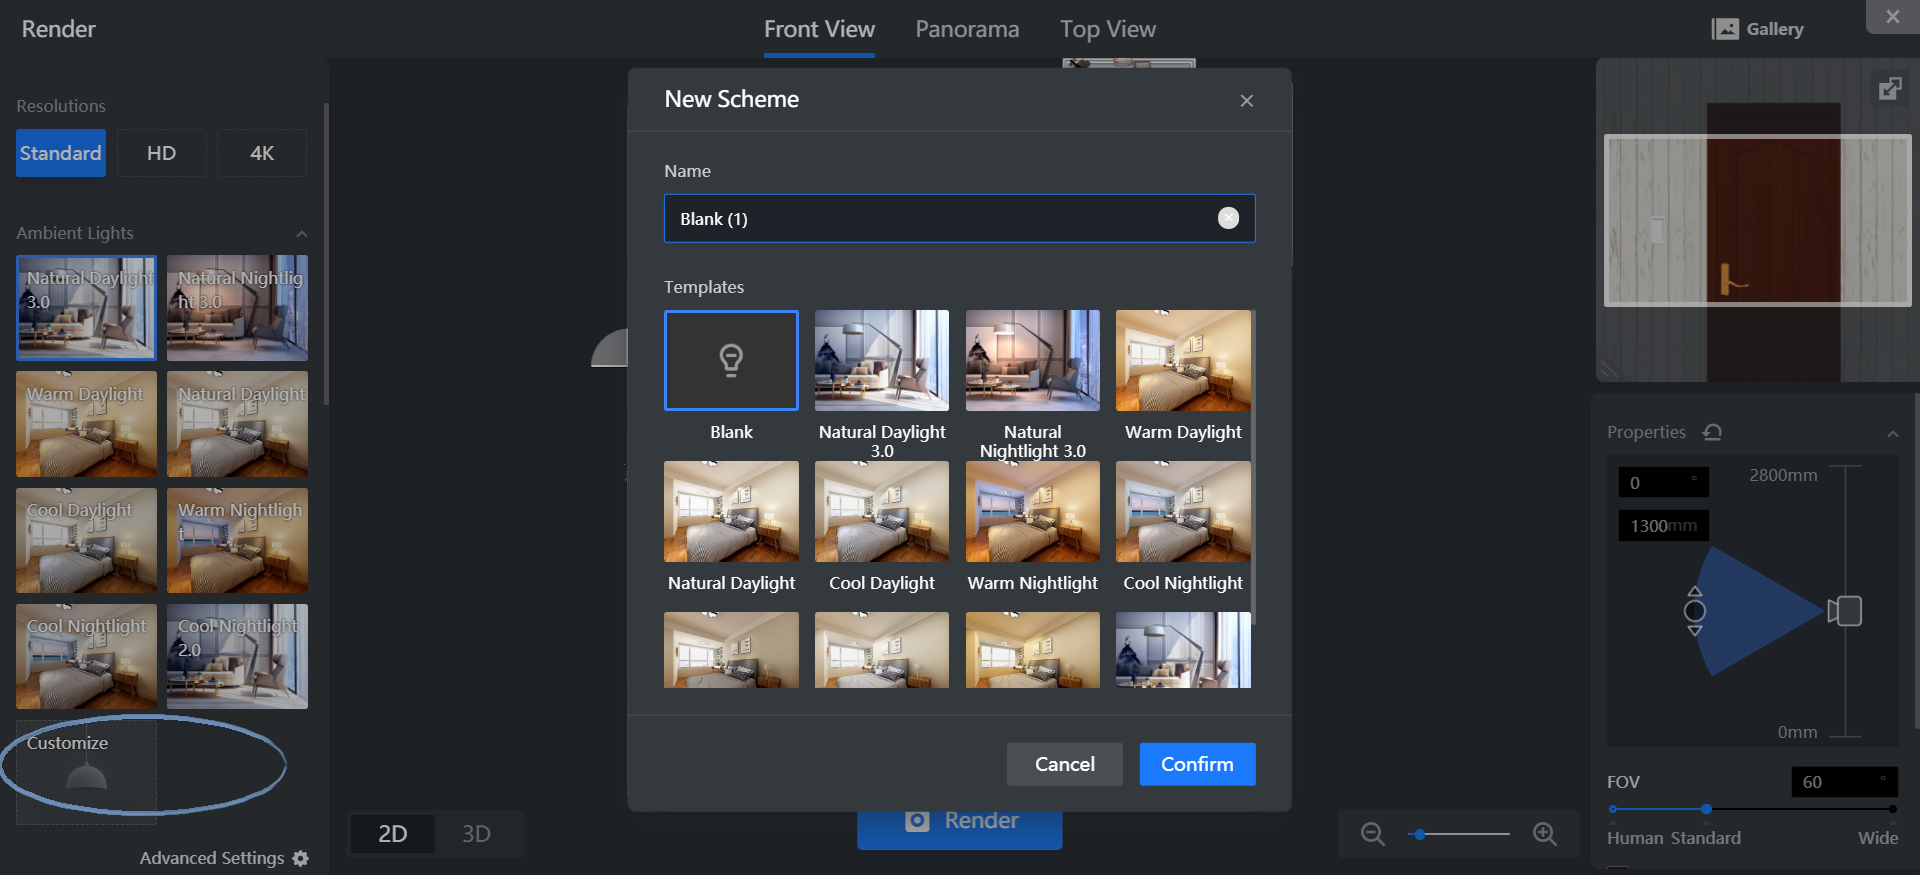
3. Save the new lighting scheme and go to Customize Light page.
4. Left-click the lights in the target room.
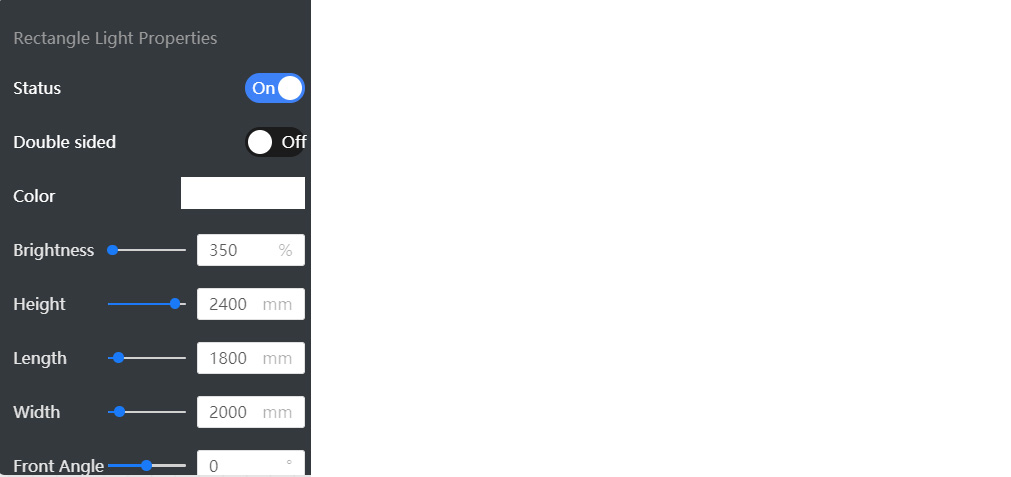
5. Modify light properties in the right panel to make the room brighter or dimmer.
-
Adjust the brightness of your light. (Spotlight and downlight with 300-400 brightness; area light with 300 brightness.)
-
Height decides the position of the light.
-
Length, Width, and Radius determine the size of the light.
Adjust the brightness of your light. (Spotlight and downlight with 300-400 brightness; area light with 300 brightness.)
Height decides the position of the light.
Length, Width, and Radius determine the size of the light.
6. You can select Off under Status to deactivate the light.

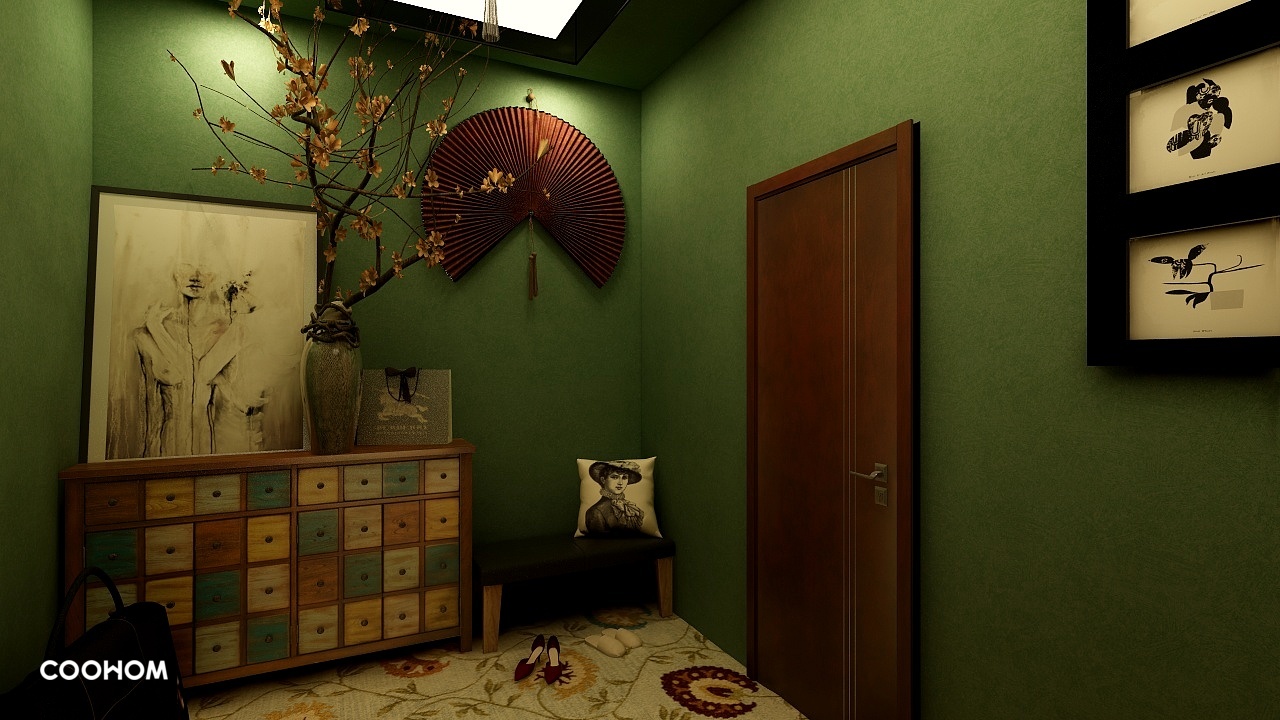
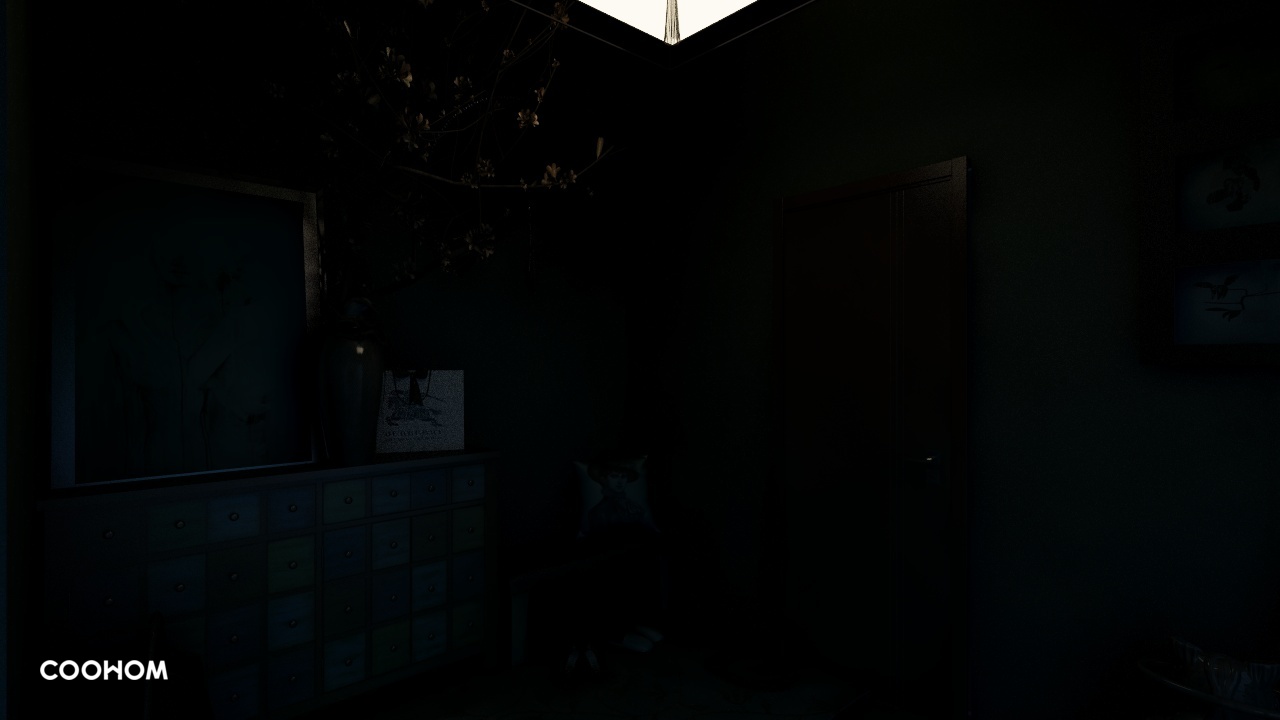
Below, we will show you two images for the same hallway. They have the same template, environment, and sunlight settings. The only differences are the brightness and light height.
-
Default settings
Default settings
-
Brightness: 700%
Brightness: 700%
