- Helpcenter
- Images/Videos & Light
- Camera Settings
-
Getting Started
-
Model Library & Asset Management
-
News & Product Update
-
Kitchen, Bathroom, Closet, Custom Modelling
-
[Enterprise] 3D Viewer & Virtual Showroom
-
Payment & Billing
-
Version 5.0
-
Upload & Export
-
Personal Account
-
Photo & Video Studio
-
Material&Component
-
Floor Plan Basic
-
Images/Videos & Light
-
Tips & Tricks
-
Privacy & Terms
-
Inspiration Spaces
-
Testimonials
-
Construction Drawings
-
AI Tools
-
Customer Service Team
-
Projects Management
-
FAQ
-
Coohom Online Training
-
Lighting Design
-
Coohom Architect
Camera Setting Tips
Camera composition settings
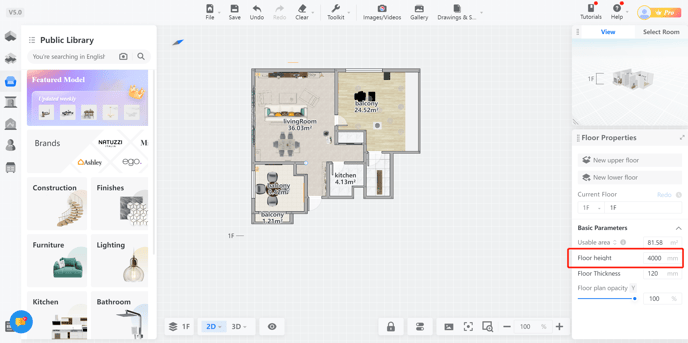
Note: Camera height is mainly decided by floor height. To adjust the camera's maximum height, you need to set the floor height first.


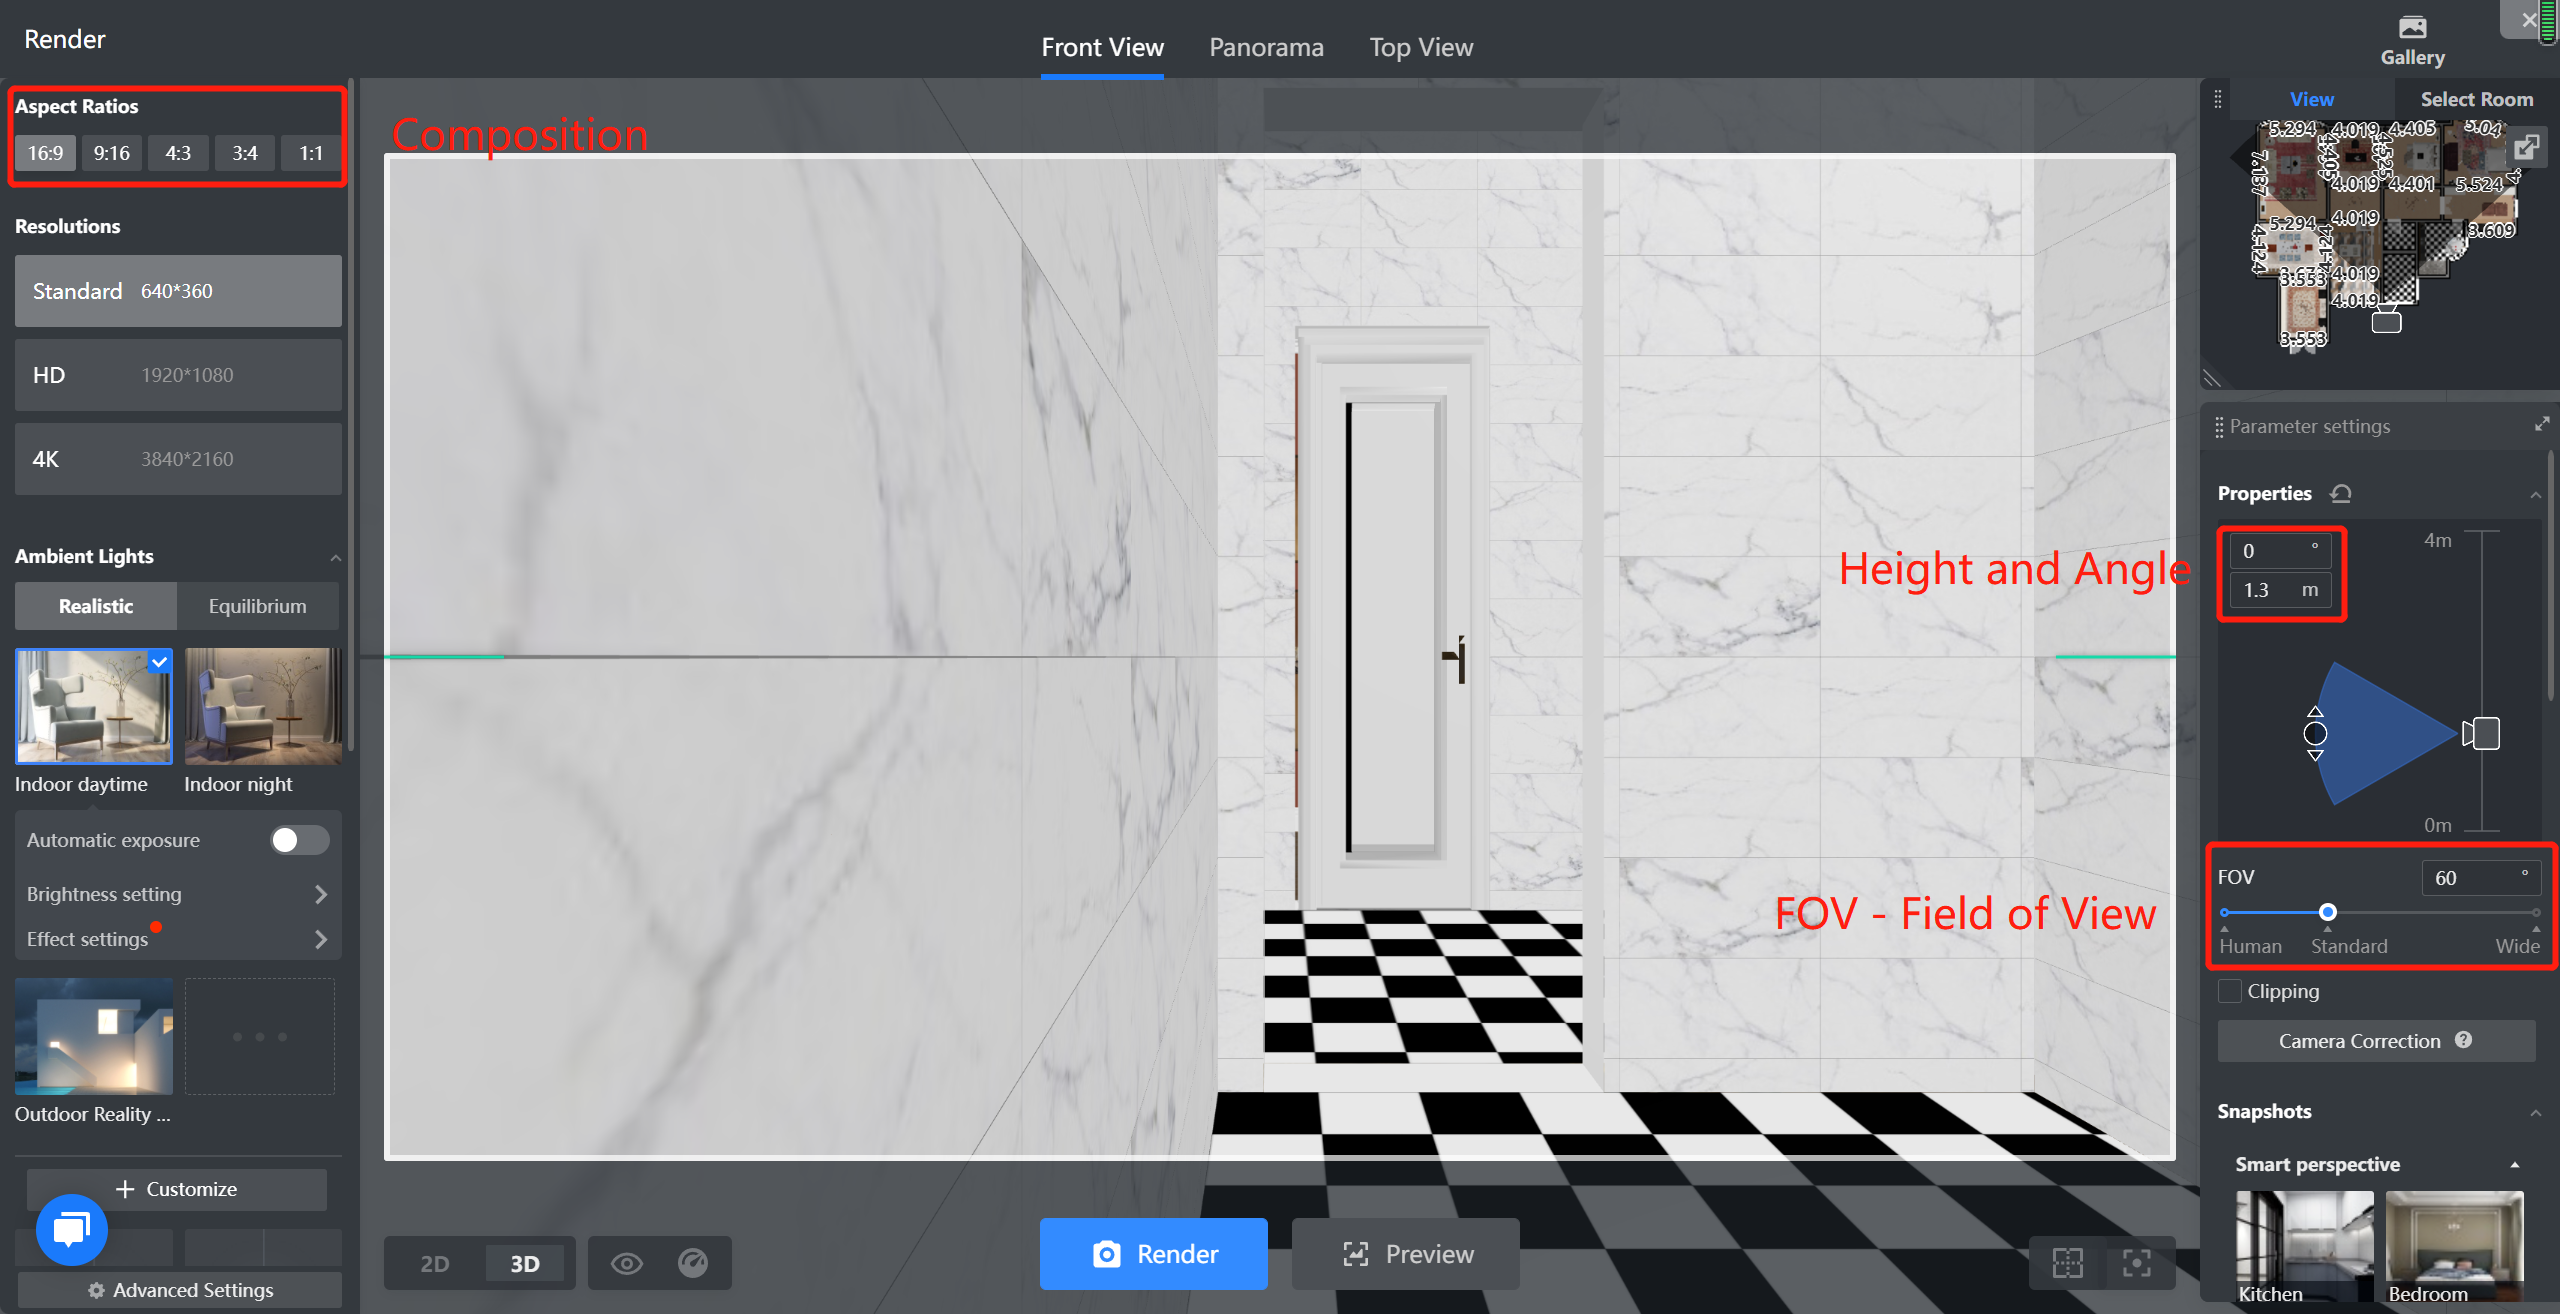
Step 1:Adjust height and Angle
Height is best between 1100 and 1300. Camera Angle better keeps 0 degrees.
Step 2: FOV(Field of view) and crop
For an overview spatial representation, 60-80 of FOV degrees performs best. The 0-30 degree FOV is suitable for partial rendering. The view can be used in conjunction with camera clipping to make it easier to find good angles.
Step 3:Choose composition
The tool provides four different compositions, with 16:9 and 4:3 being the most commonly used. Detail representation can be used 3:4.
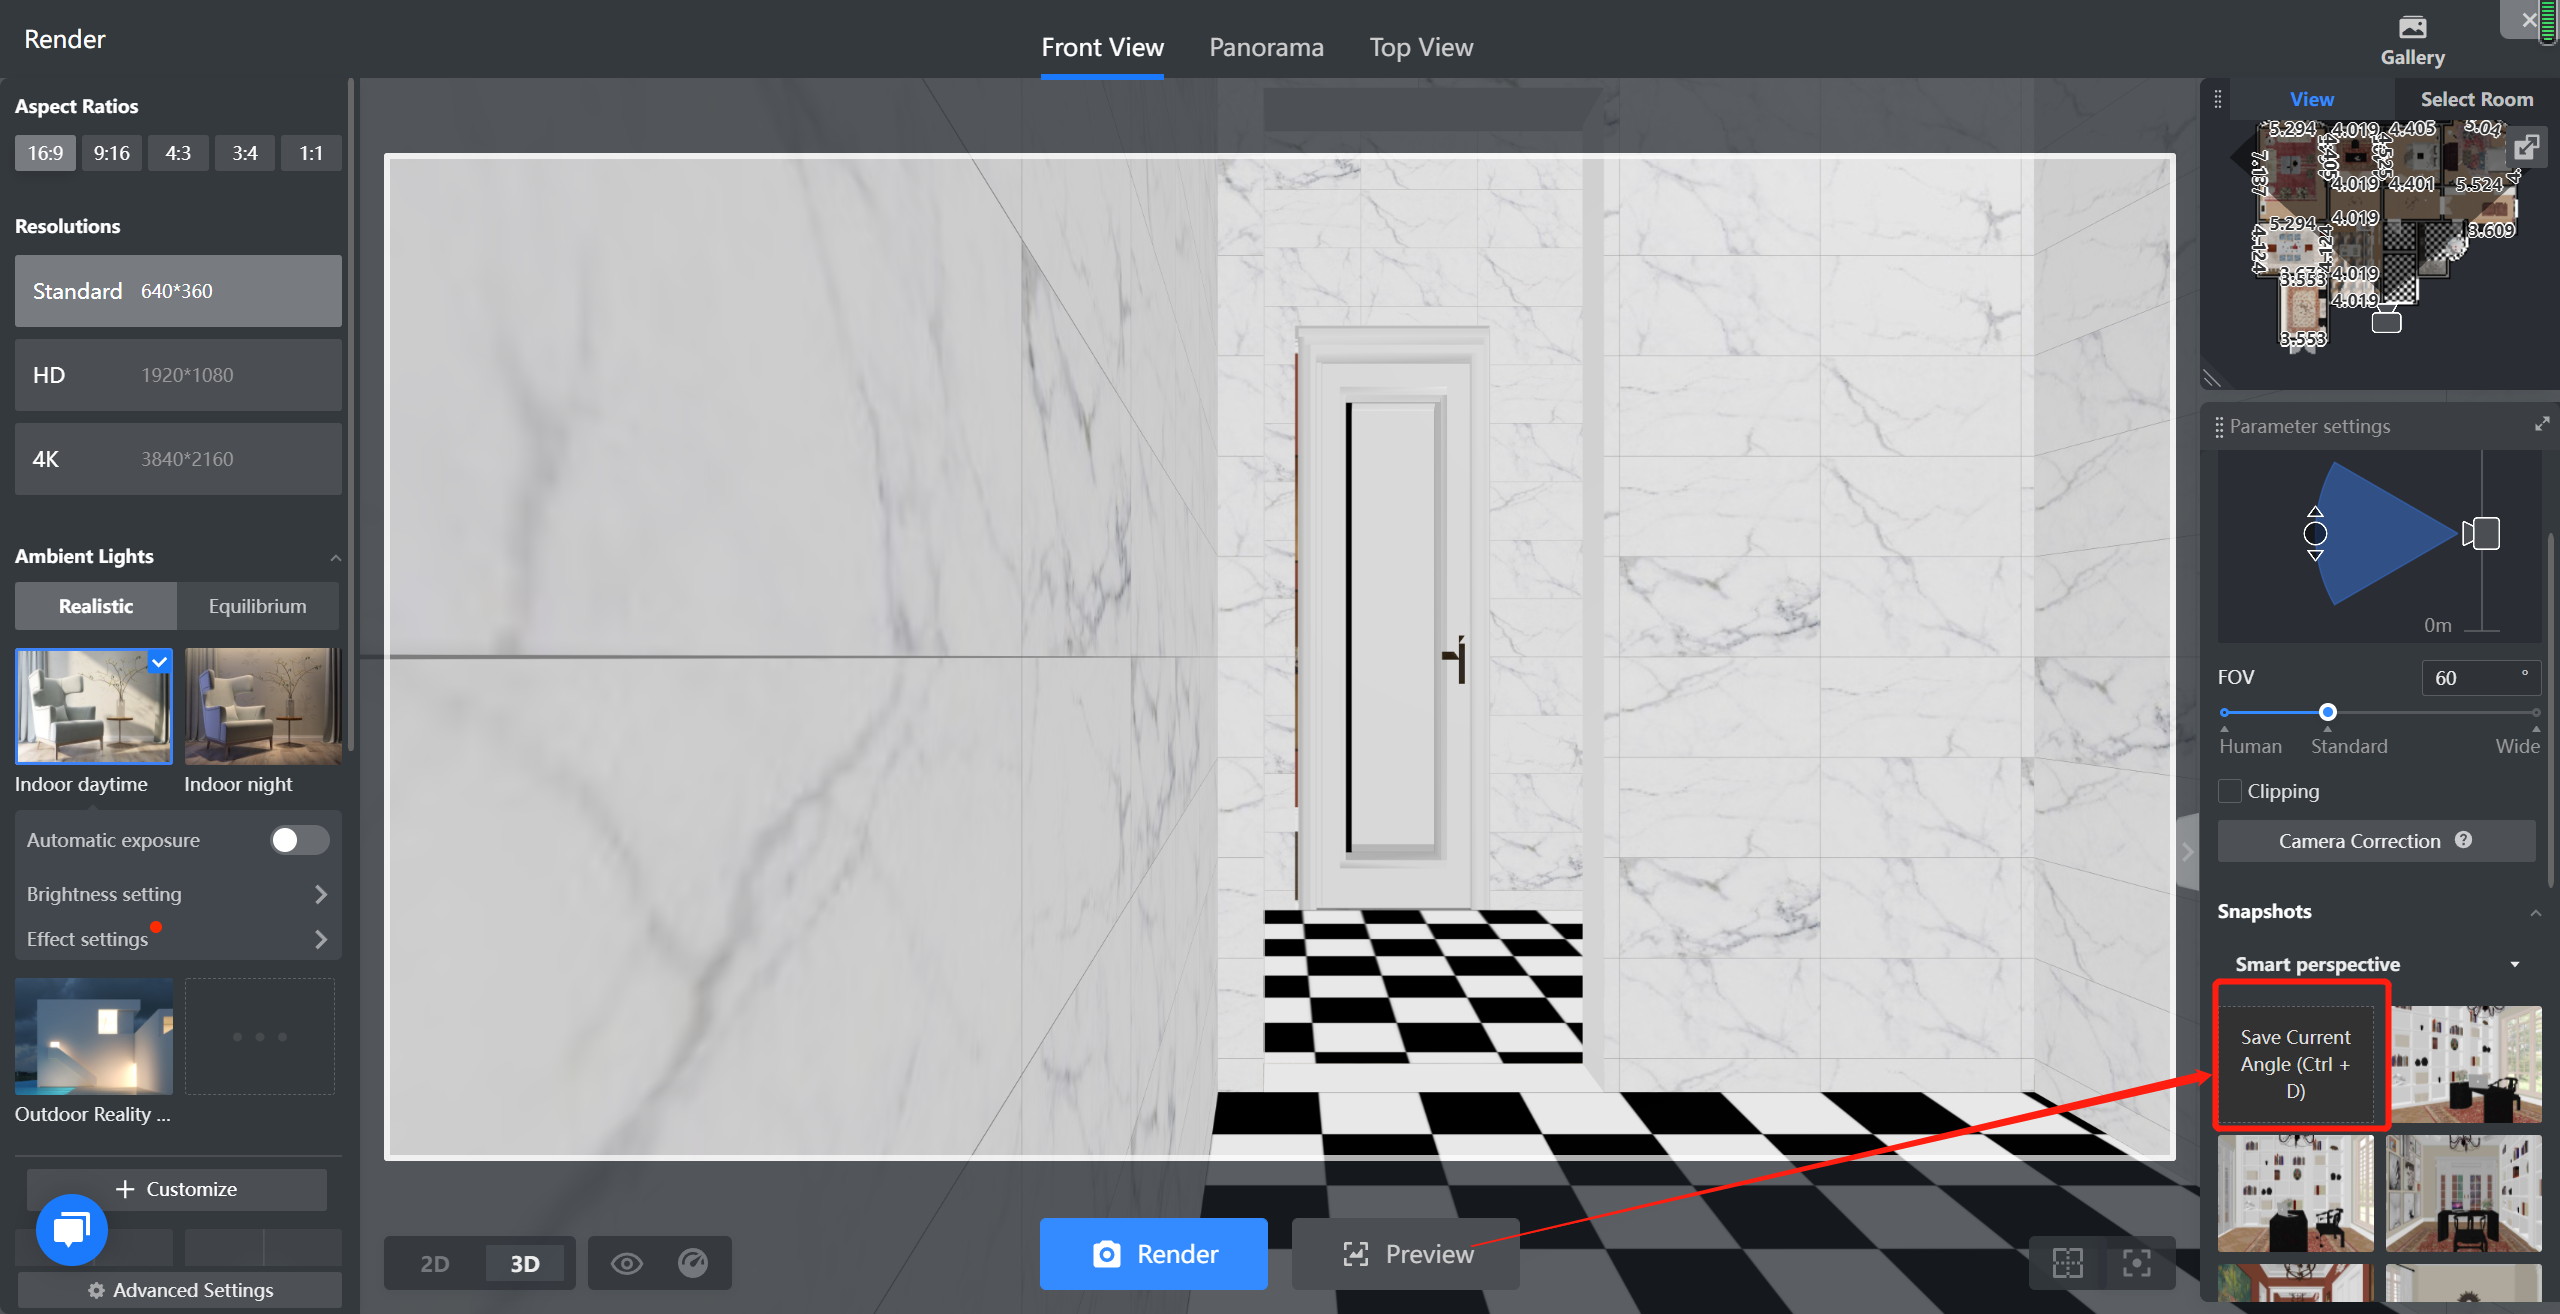
Step 4: Save the view
A very practical and important function, when you adjust a satisfactory perspective, keep in mind to save. (Ctrl+D as Shortcut)

-
Clipping: create a realistic view
-
Camera Correction:
-
A rectification method for perspective images of scene planes using multiple constraints was proposed in this paper without knowing any camera parameters.
-
Clipping: create a realistic view
Camera Correction:
-
A rectification method for perspective images of scene planes using multiple constraints was proposed in this paper without knowing any camera parameters.
A rectification method for perspective images of scene planes using multiple constraints was proposed in this paper without knowing any camera parameters.