-
Getting Started
-
Model Library & Asset Management
-
News & Product Update
-
Kitchen, Bathroom, Closet, Custom Modelling
-
[Enterprise] 3D Viewer & Virtual Showroom
-
Payment & Billing
-
Version 5.0
-
Upload & Export
-
Personal Account
-
Photo & Video Studio
-
Material&Component
-
Floor Plan Basic
-
Images/Videos & Light
-
Tips & Tricks
-
Privacy & Terms
-
Inspiration Spaces
-
Testimonials
-
Construction Drawings
-
AI Tools
-
Customer Service Team
-
Projects Management
-
FAQ
-
Coohom Online Training
-
Lighting Design
Floor/Solid wood laminate flooring (highlights)
-
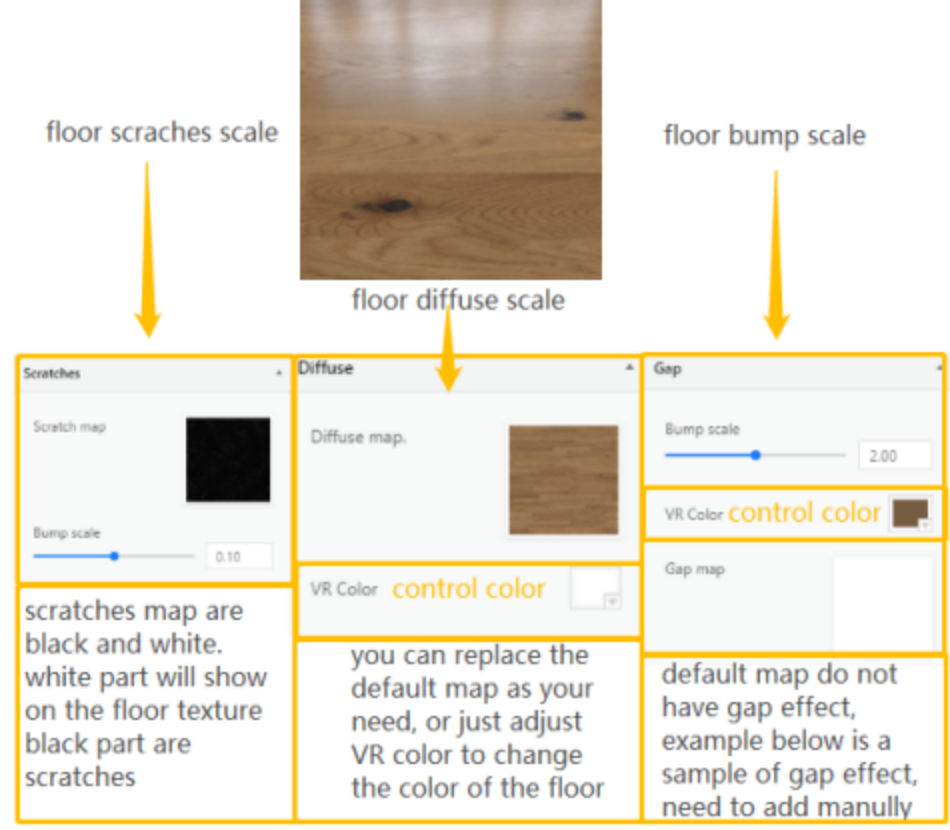
Adjust diffuse map and add VR color
When using default map, adjust VR color will change the floor color.
(Size not exceed 5M, resolution not exceed 5000pixels)
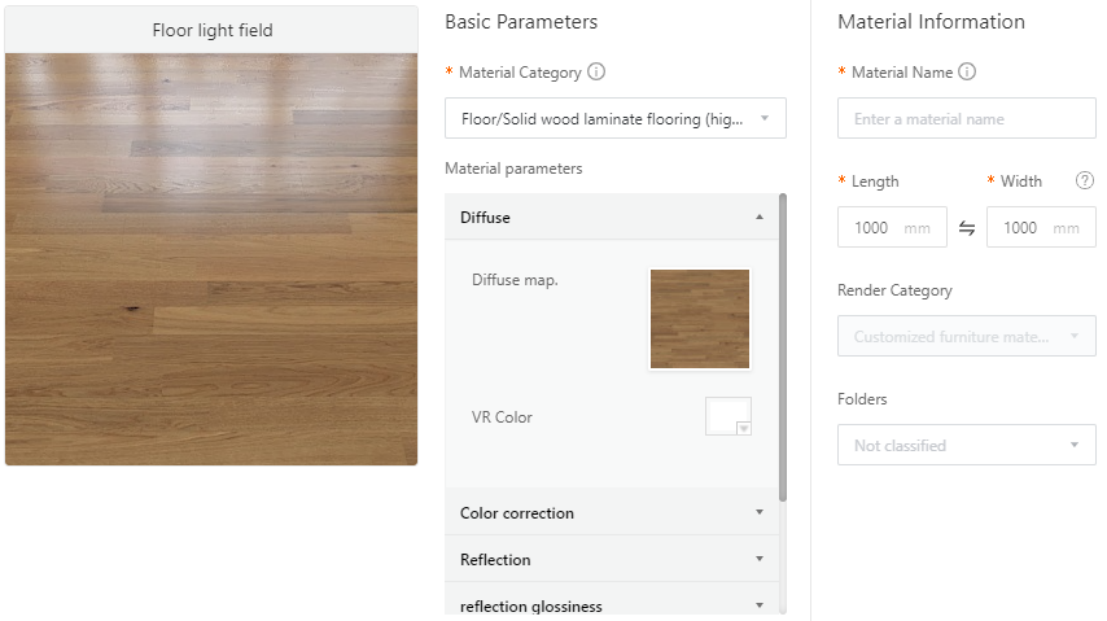
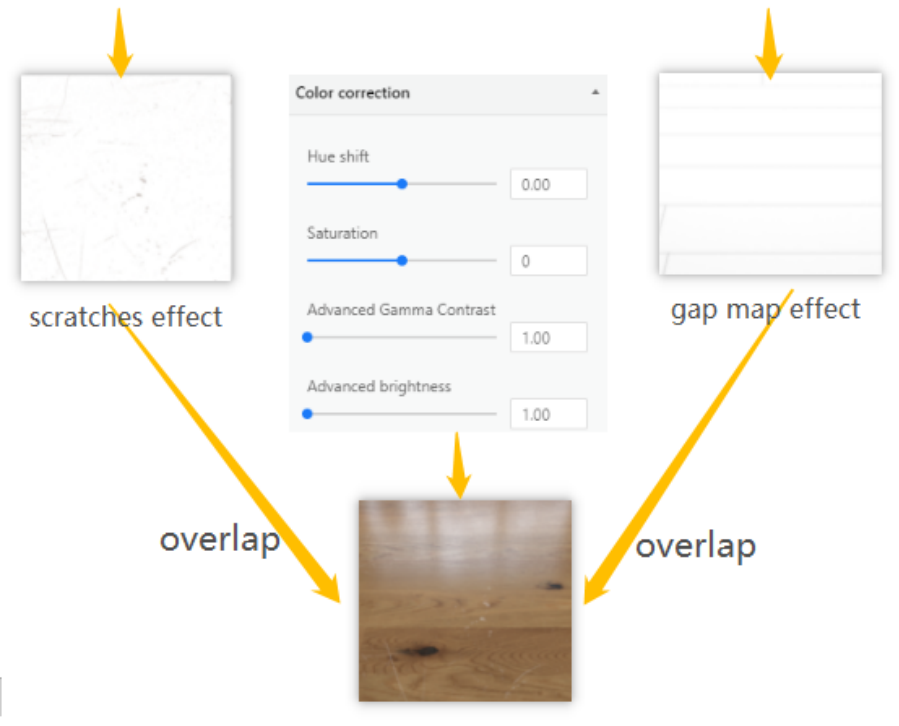
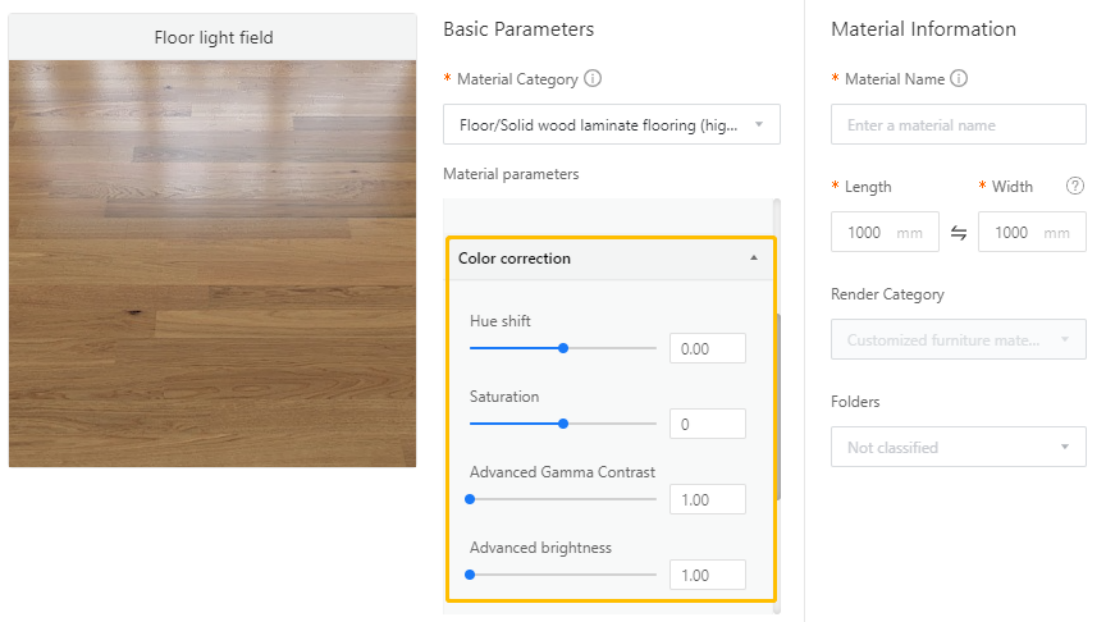
2. Color correction: Do not need to adjust except special cases.
(see detail specification in the end of this tutorial for special cases)
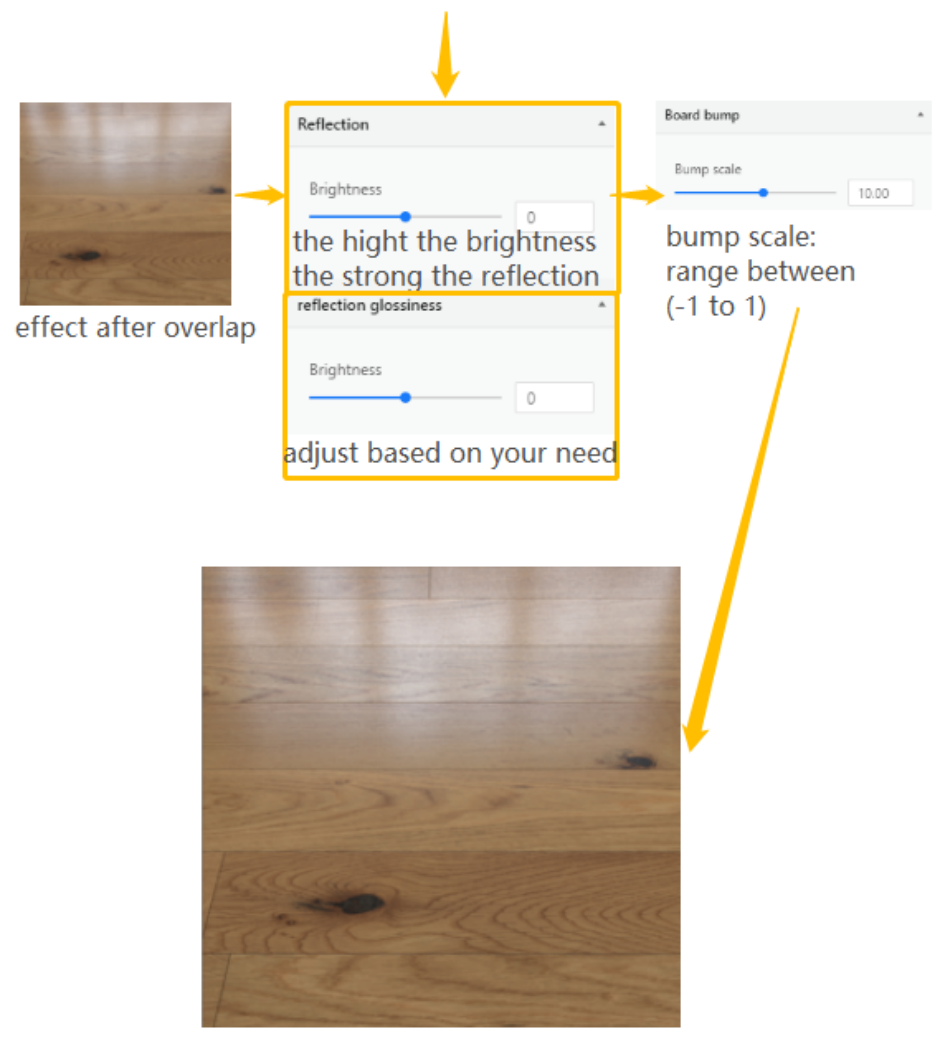
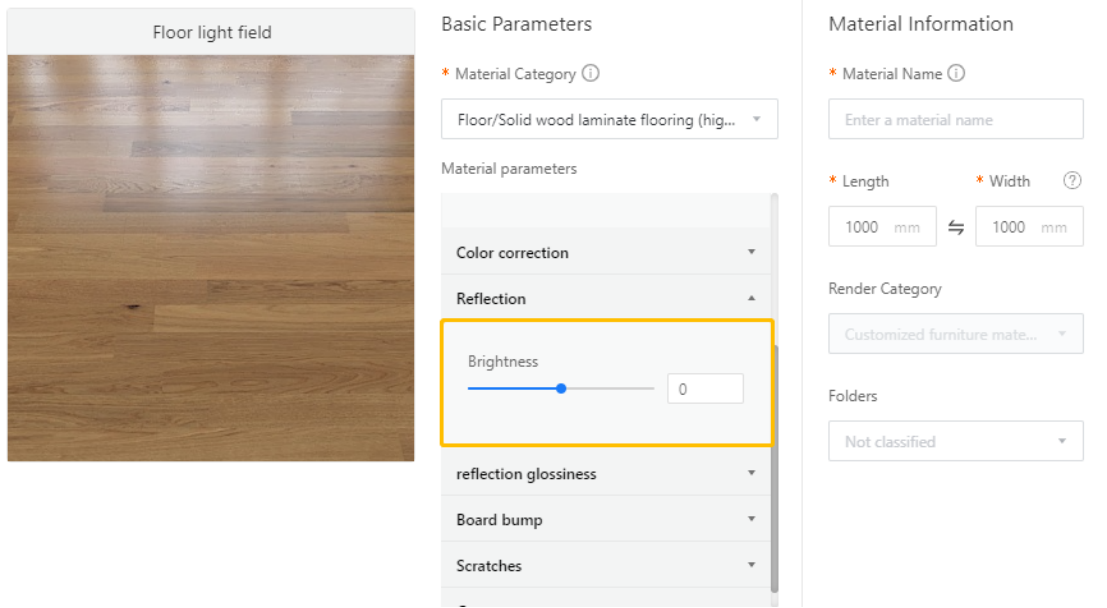
3. Adjust Reflection scale.
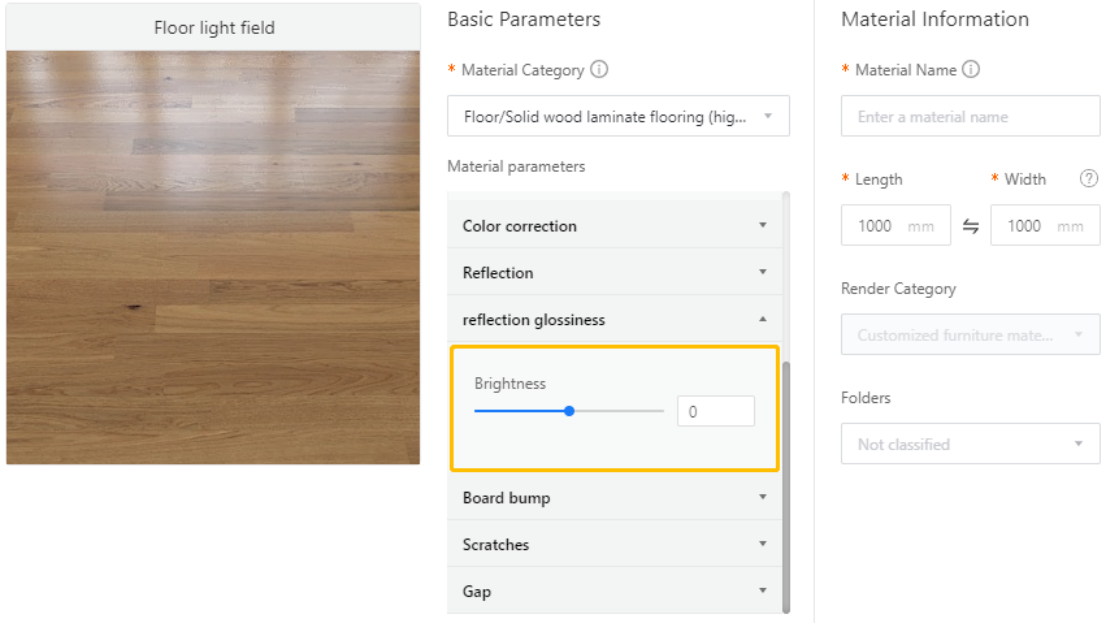
4.Adjust Reflection glossiness.
5. Adjust Scratches
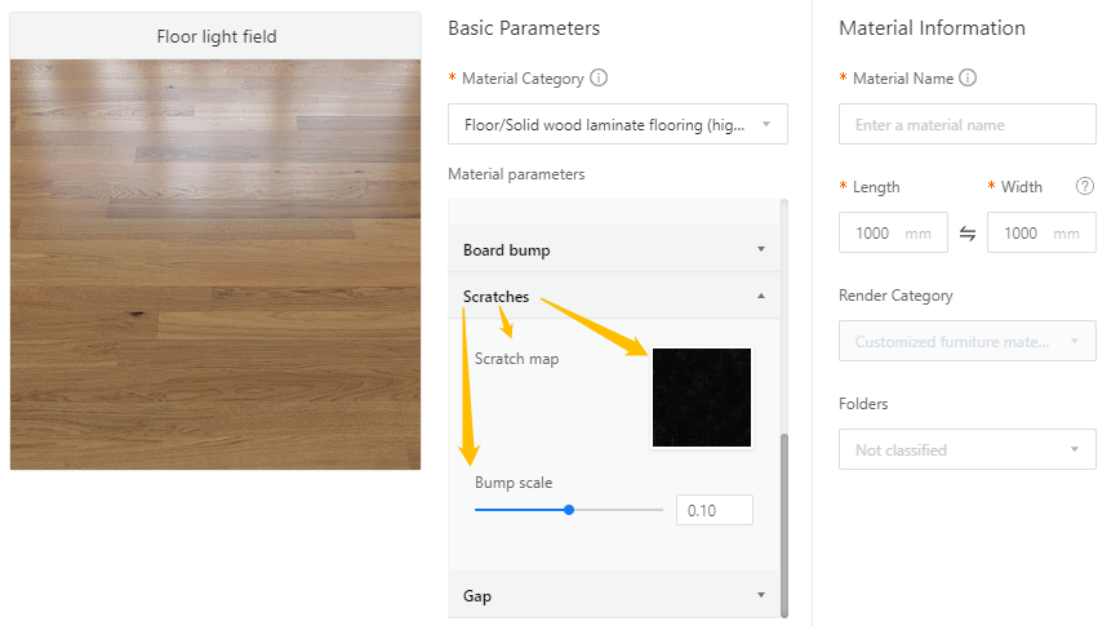
Note:
