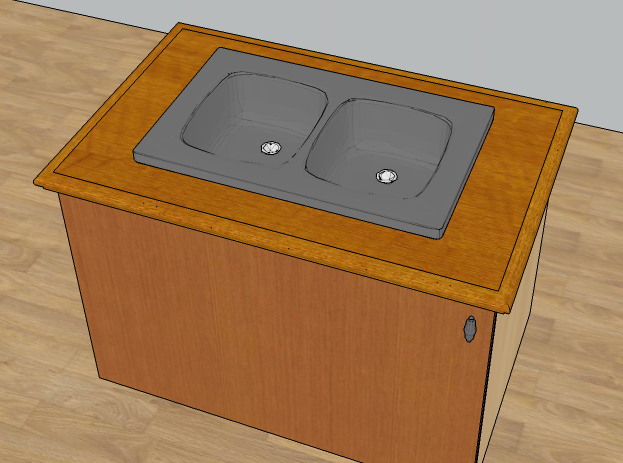
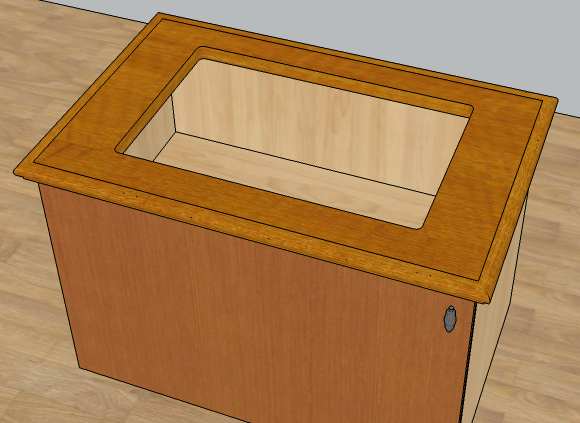
1. Sink 3D model requirements
1. There are no extra models in the max file, that is, only the models that need to be uploaded in the file (excess models will cause upload failure)
2. The model is centered in 3D MAX
3. The max file size should be less than 100M
4. The number of polygons in the model should not exceed 800,000 polygons (click '7' to view after all converted to editable mesh)
5. The size of the model should be (mm) mm; (the setting path is: custom menu-unit setting)
6. The size of the model in the scene should not exceed 10 meters.
7. Archiving and uploading the leading model into a compressed package (recommended)
Note: If there is an angle at the outlet of the faucet model, there is no need to adjust it, just save it as normal.
2. Upload steps
1. Merchant background-commodity management-commodity management-Custom Furniture -upload material-3D model
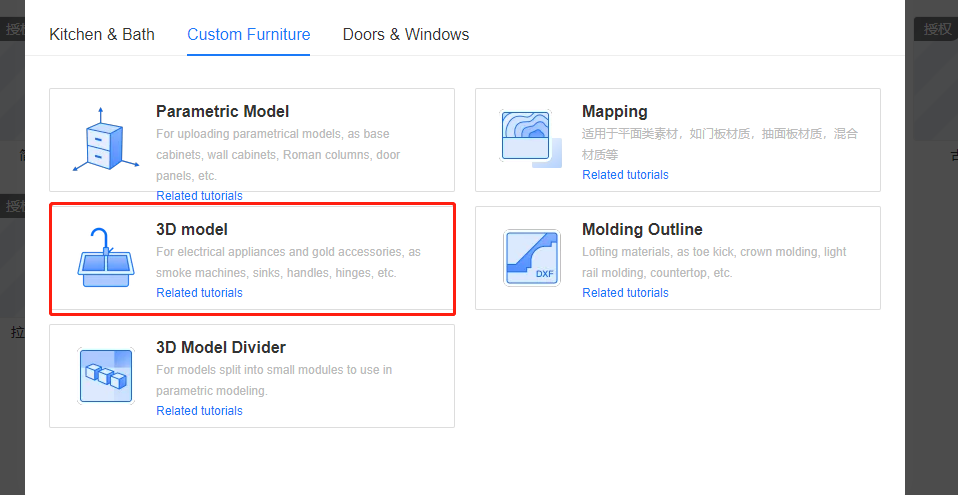
2. Jump to the 3D model upload page and click "+Add File", find the 3D model file that needs to be uploaded, enter the material name (the name will automatically select the 3D file name or you can modify it yourself), and select the rendering category. The 3D model rendering takes a certain amount of time, and you need to wait for the successful processing in the blank box below to upload it.
3. Select the rendering classification Sink
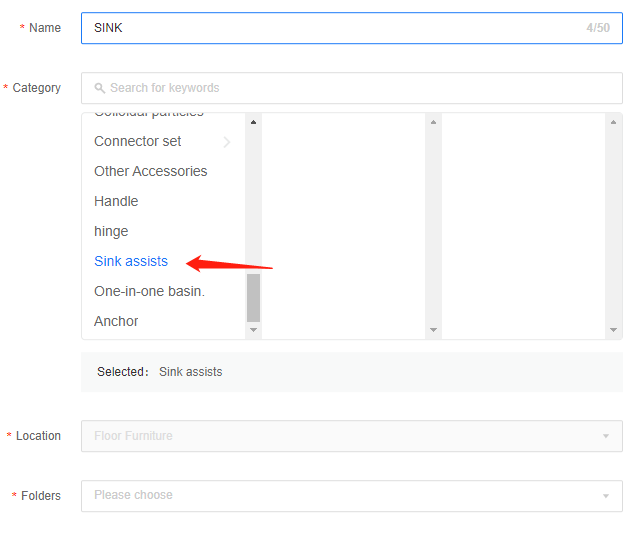
4. Enter the required parameter information for the faucet model

The sink location of the sink example in the tutorial: 155 sink height: 184 faucet location: 373.4,417,180
The faucet position input requires the form of X, Y, Z.
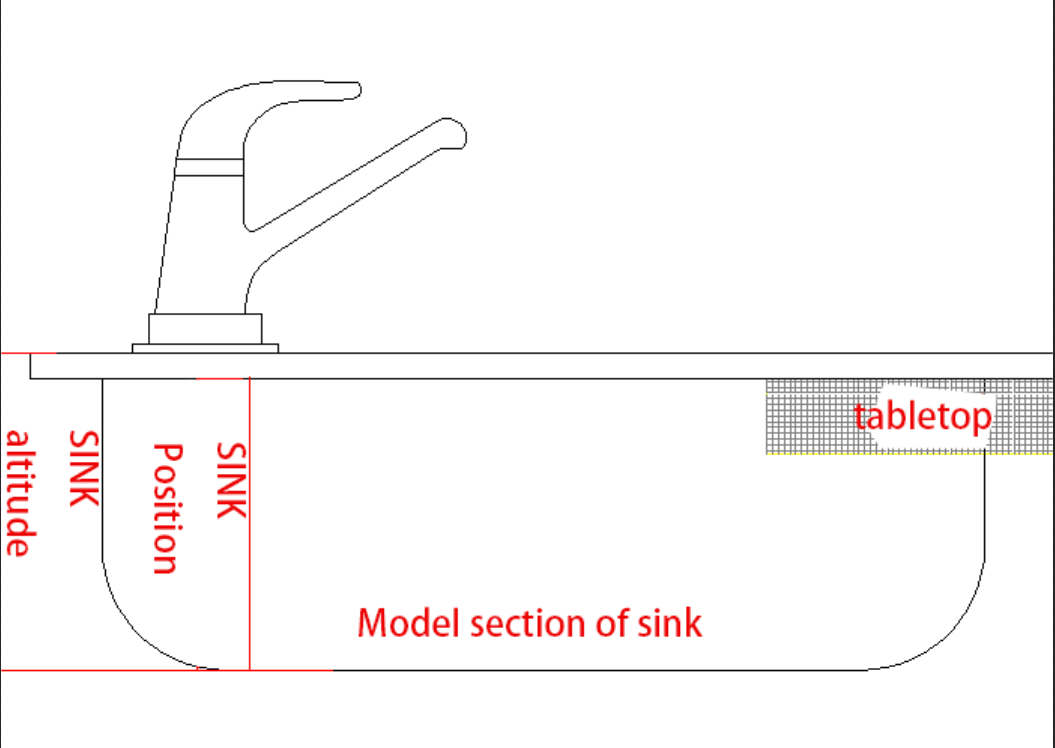
As shown
Sink height: the distance from the bottom of the sink model (if the model includes a water pipe, the water pipe is also included) to the upper surface of the sink, it can also be understood as the height of the remaining part of the model after removing the faucet.
Sink position: the distance from the bottom of the sink model (if the model includes a water pipe, the water pipe is also included) to the contact between the sink and the table.
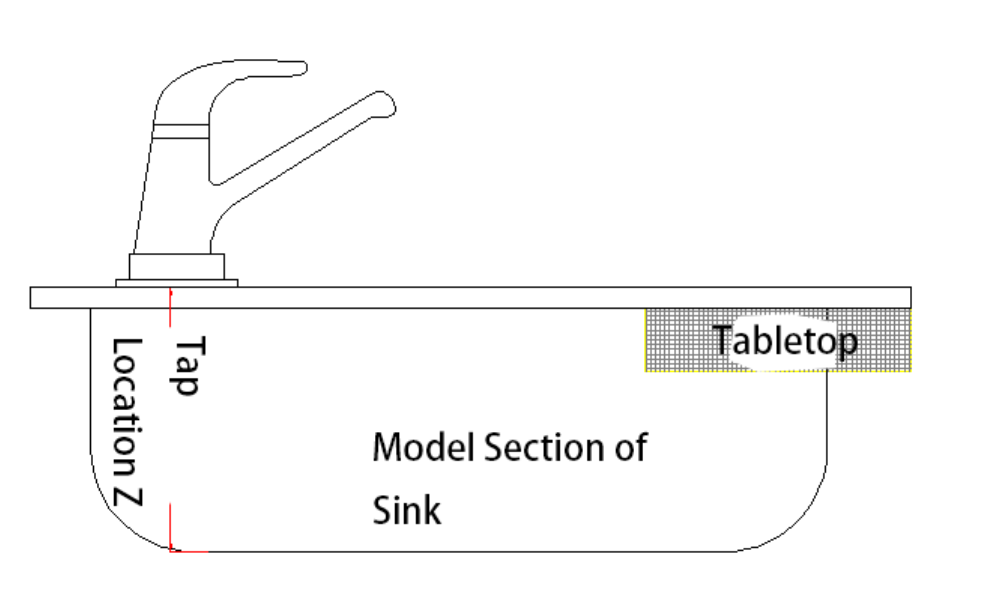
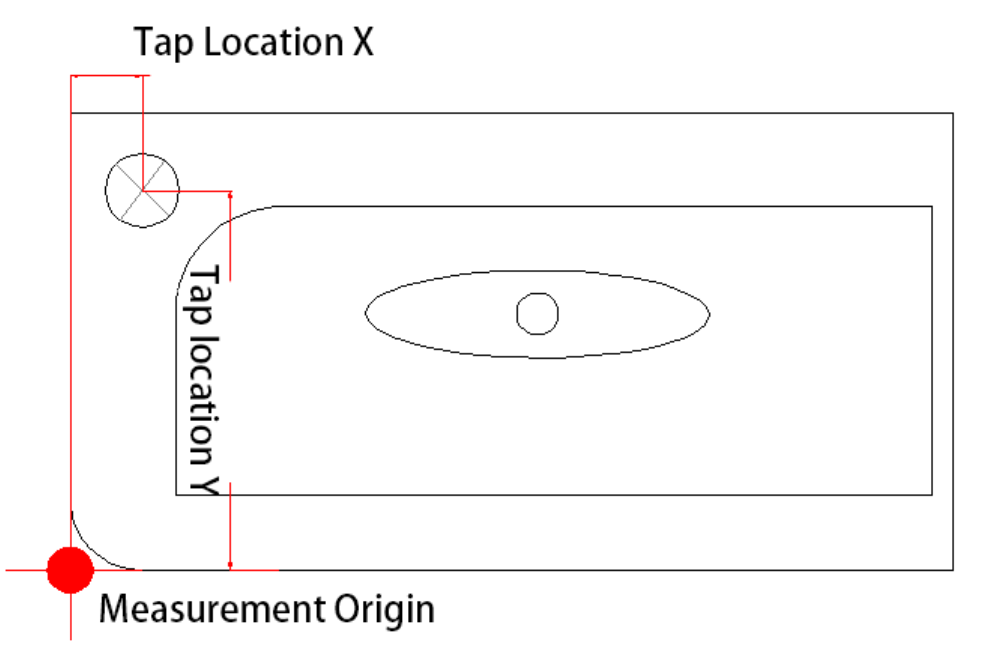
As shown
The faucet position X of the sink: the distance in the X direction from the center of the circle of the faucet installation position of the sink to the lower left point of the sink as a whole
The faucet position Y of the sink: the distance in the Y direction from the center of the circle of the faucet installation location of the sink to the lower left point of the sink as a whole
The faucet position Z of the sink: the distance from the center of the circle of the faucet installation location to the bottom of the overall model of the sink (considering the uneven surface of the sink, the distance Z can be appropriately reduced to allow the faucet to sink a few millimeters below the surface)
5. After confirming the information, complete the upload
6. Find this sink model in the background and click to view
7. Enter the product details, enter the edit model
8. Modify the contour limit of the water tank model and save after setting
Sink contour restriction: used for digging holes on the countertop corresponding to the sink generated in the tool
