- Helpcenter
- Material&Component
- Modeling in Material&Component Tool
-
Getting Started
-
Model Library & Asset Management
-
News & Product Update
-
Kitchen, Bathroom, Closet, Custom Modelling
-
[Enterprise] 3D Viewer & Virtual Showroom
-
Payment & Billing
-
Version 5.0
-
Upload & Export
-
Personal Account
-
Photo & Video Studio
-
Material&Component
-
Floor Plan Basic
-
Images/Videos & Light
-
Tips & Tricks
-
Privacy & Terms
-
Inspiration Spaces
-
Testimonials
-
Construction Drawings
-
AI Tools
-
Customer Service Team
-
Projects Management
-
FAQ
-
Coohom Online Training
-
Lighting Design
-
Coohom Architect
Material&Component Tool: How to Loft?
Lofting is to create a 3D solid in the space between several cross-sections.
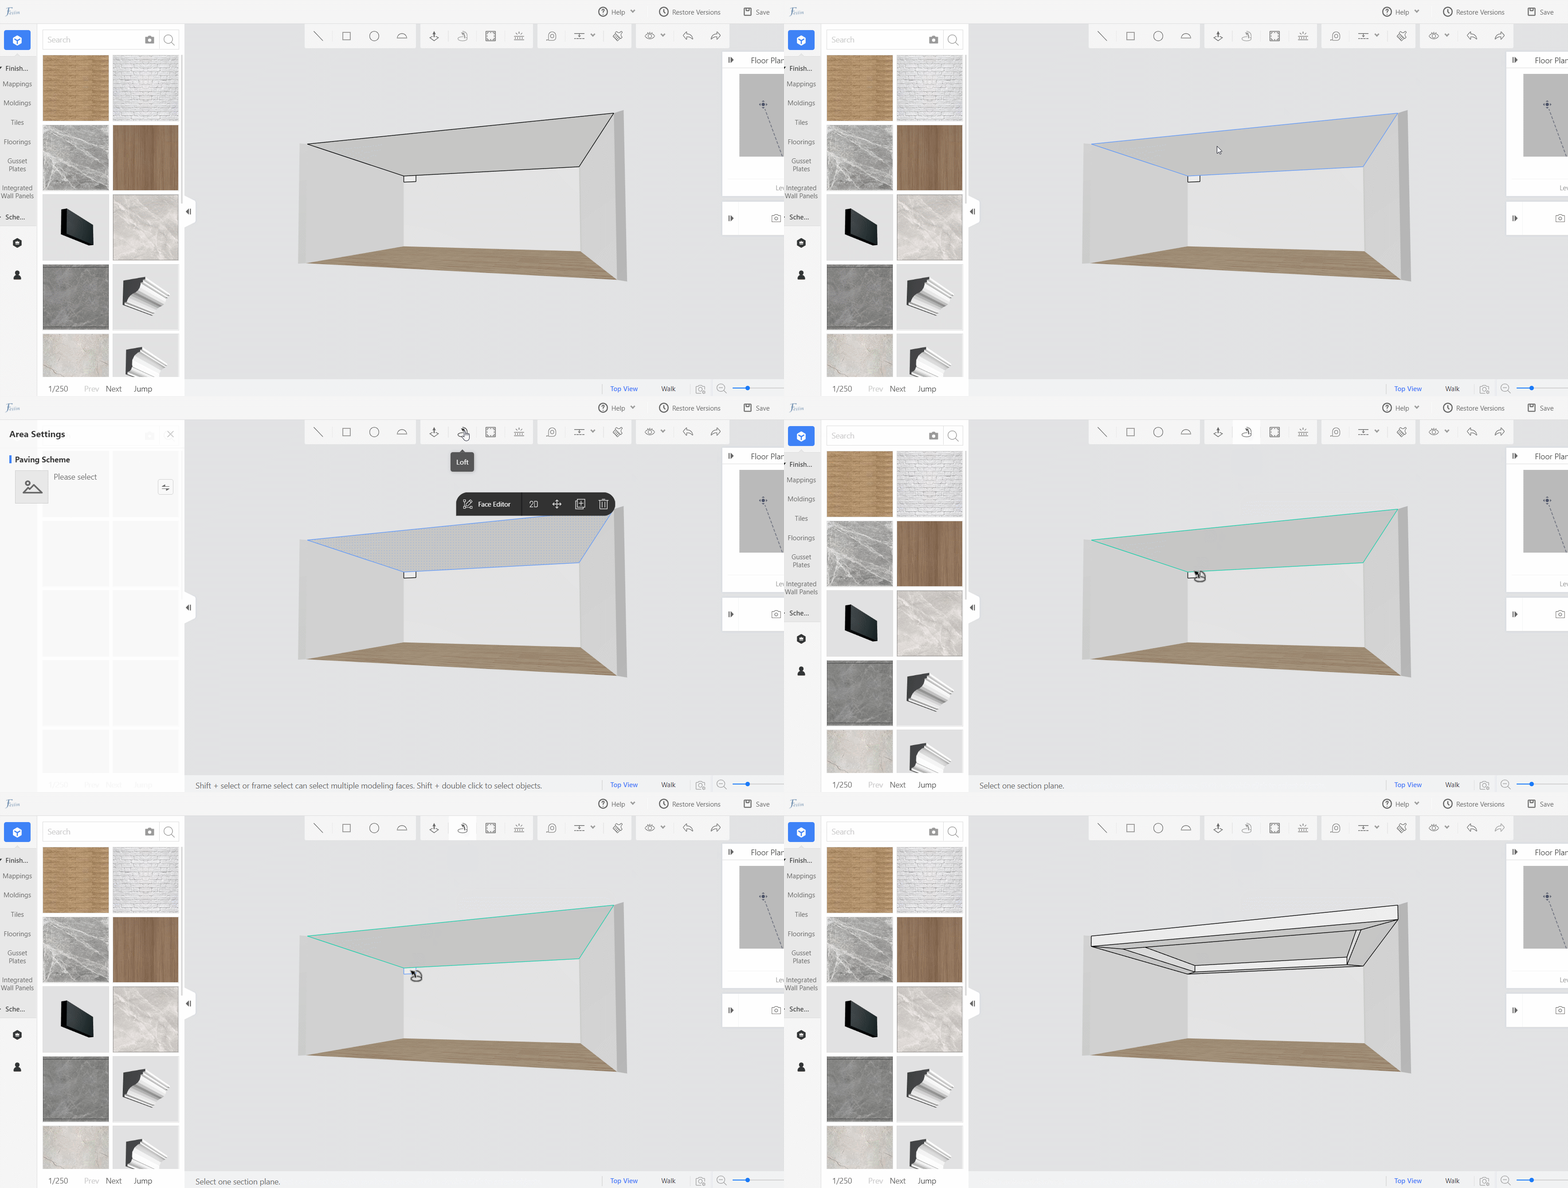
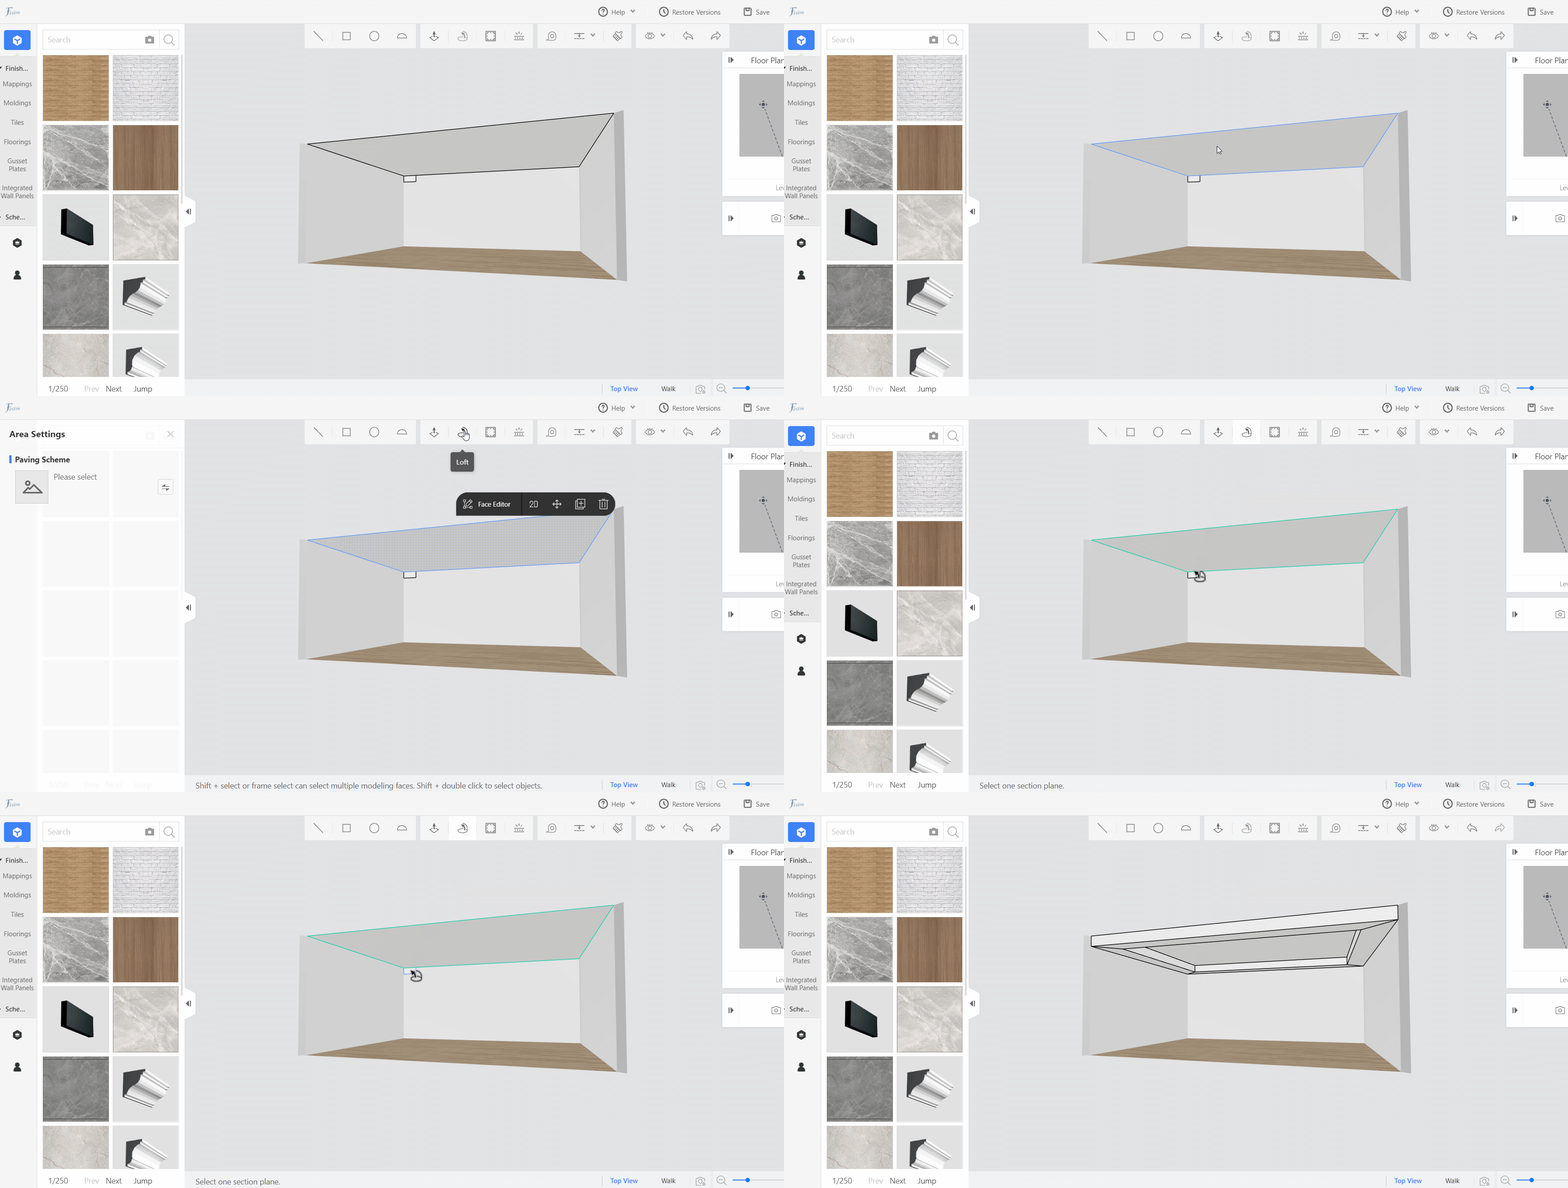
Note: Select a shape as the loft path first and then Loft is enabled. Click Loft in the toolbar and select a surface that is perpendicular to the loft path (cross-section) to loft the surface.

Procedures
Step One: Select a shape.
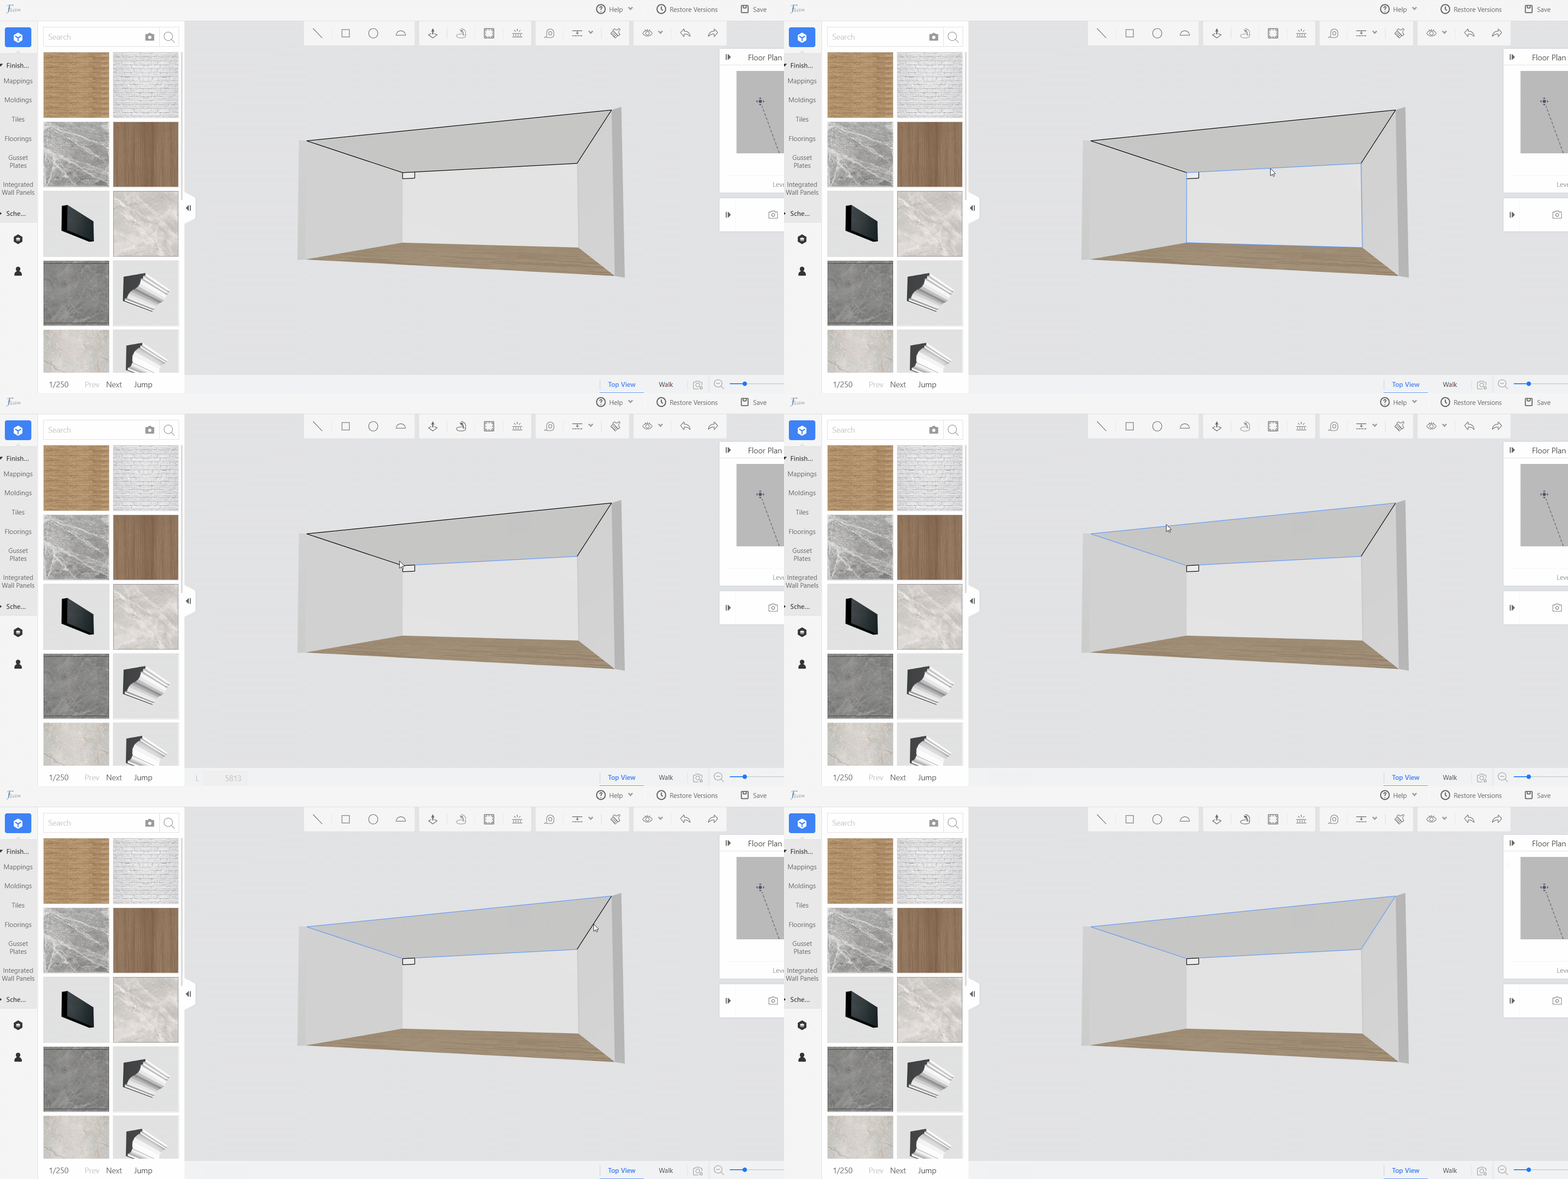
Shapes include closed areas and lines. When you click a closed area, you select all lines that surround the area. For selecting a continuous line that is formed by multiple lines, perform the following steps.
1. Hold Shift and click all lines that form the continuous line.

2. Click Loft.
3. Click to select a surface to loft.

Must know:
When the loft path is a continuous line, hold Shift and click to select all lines that form the continuous line. Or you can hold Shift and drag-select all lines.
In the new version of Material&Component, all Multi-select operations are completed by holding Shift. Shift is a frequently-used key.
Note: Only surfaces (cross-sections) that are perpendicular to the loft path can be selected to loft. We recommend that you draw the surface (cross-section) at the start point of the loft path.
Did this answer your question?