-
Getting Started
-
Model Library & Asset Management
-
News & Product Update
-
Kitchen, Bathroom, Closet, Custom Modelling
-
[Enterprise] 3D Viewer & Virtual Showroom
-
Payment & Billing
-
Version 5.0
-
Upload & Export
-
Personal Account
-
Photo & Video Studio
-
Material&Component
-
Floor Plan Basic
-
Images/Videos & Light
-
Tips & Tricks
-
Privacy & Terms
-
Inspiration Spaces
-
Testimonials
-
Construction Drawings
-
AI Tools
-
Customer Service Team
-
Projects Management
-
FAQ
-
Coohom Online Training
-
Lighting Design
-
Coohom Architect
[Enterprise] How to edit a studio and save it as a new one to My Studio
Steps
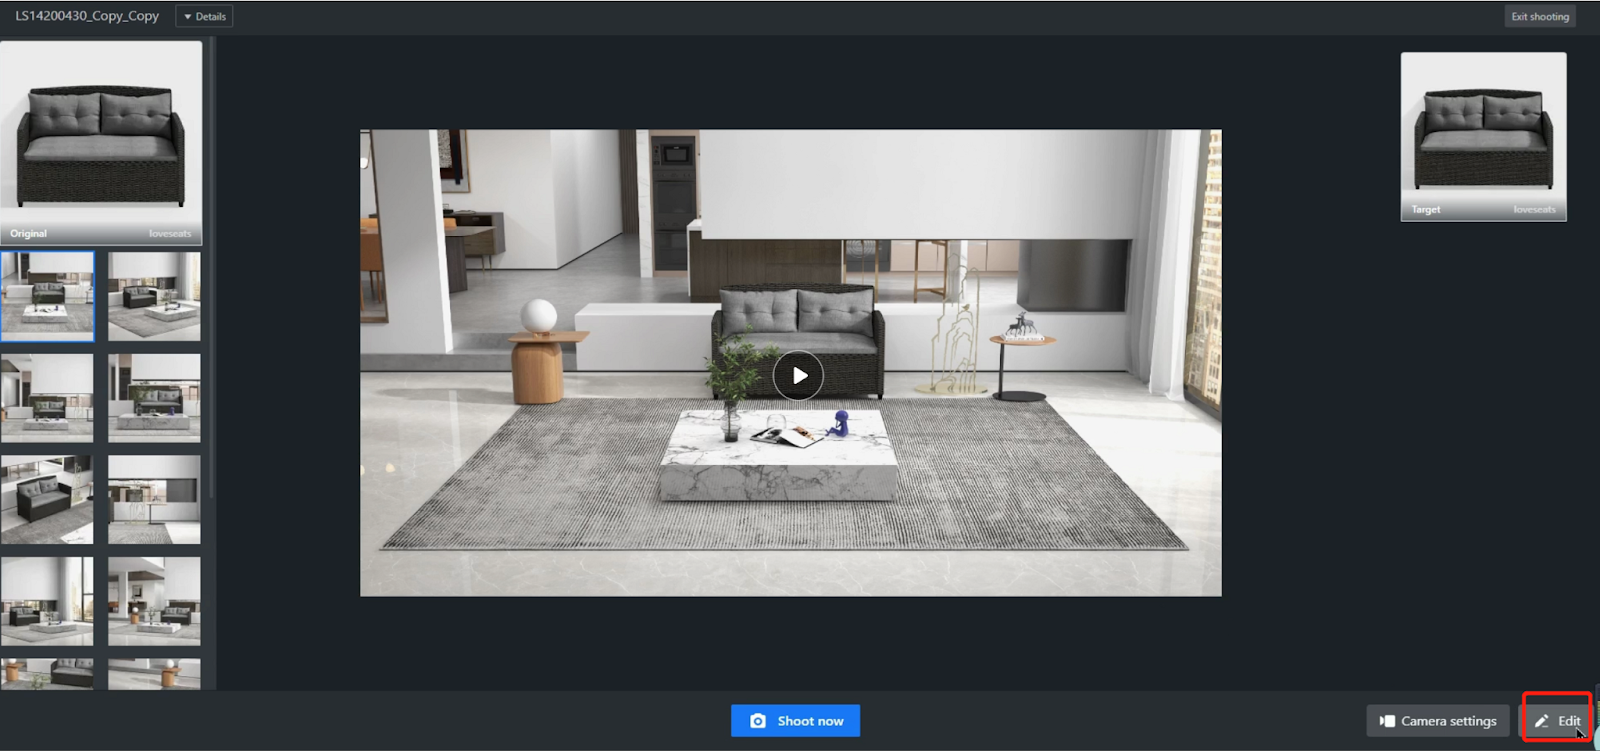
1. After you are on the page showing a studio scene with the product model properly placed in, you can view the scenes from various pre-set camera angles.
To edit the studio scene, click the Edit button in the bottom-right corner of the page.
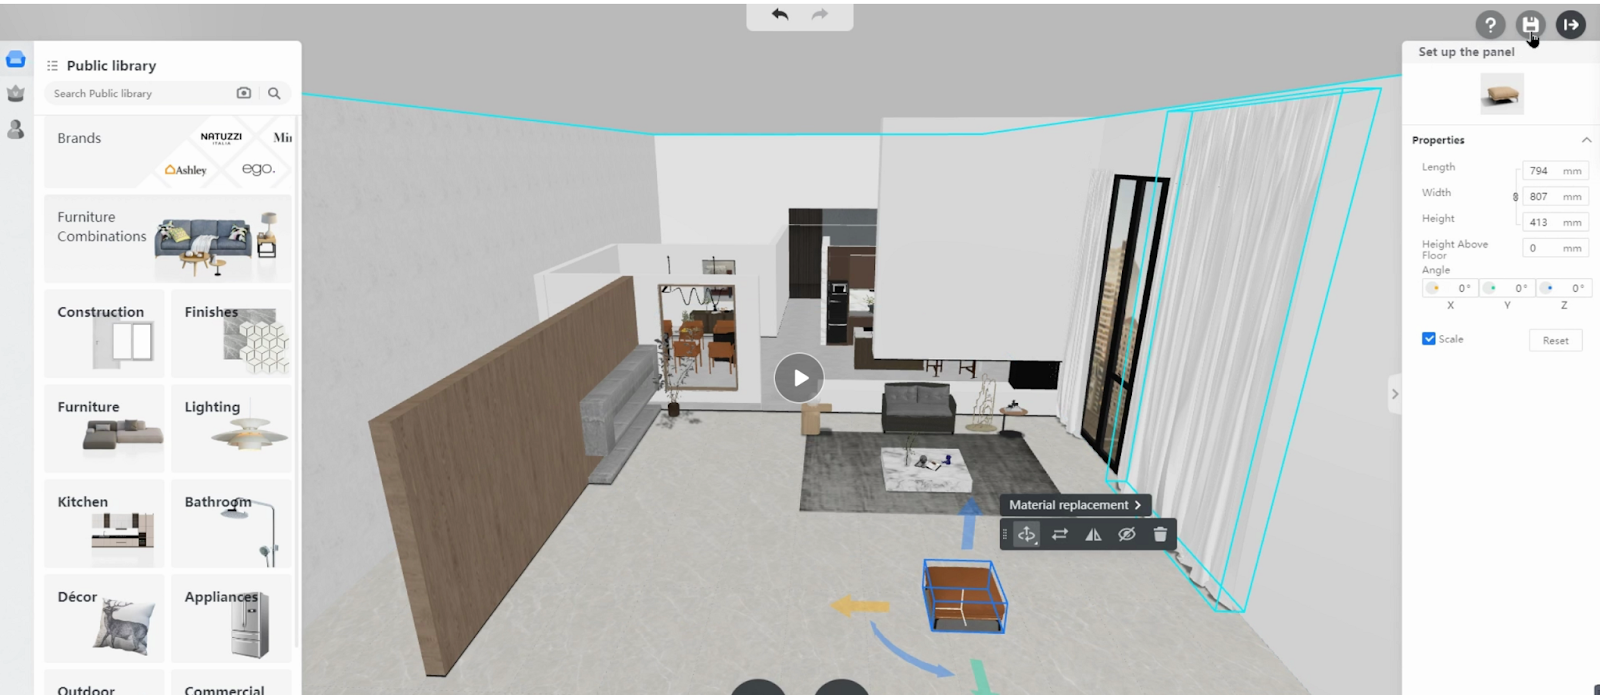
2. You can modify the layout of the scene by editing the walls, floors and ceilings.
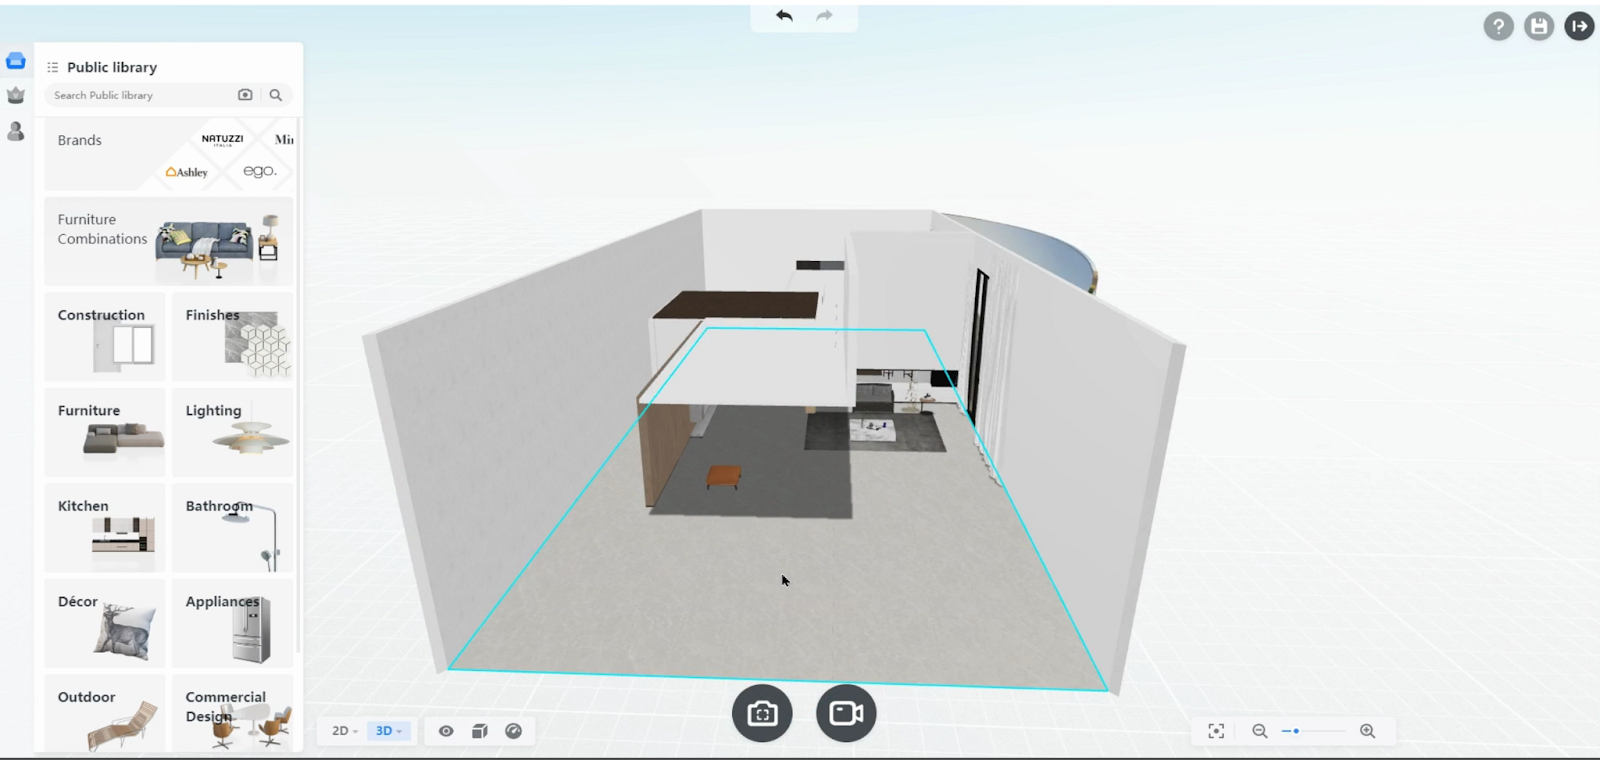
You can replace and move the items that you select as well.
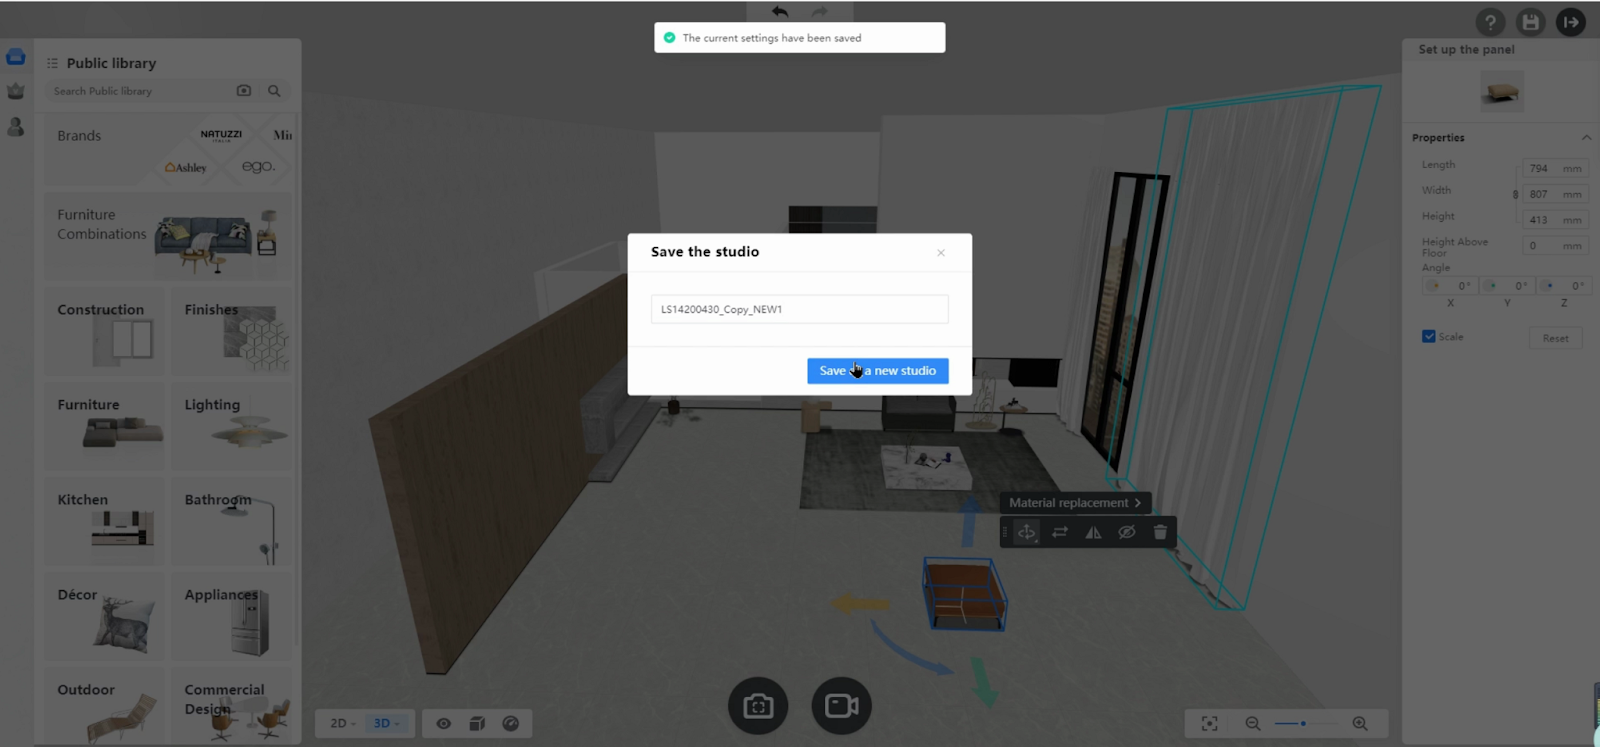
3. Since the studio scene has changed, you can save this edited studio as a new version and store it in My Studio.
First, click the Save button on the top-right corner of the page.
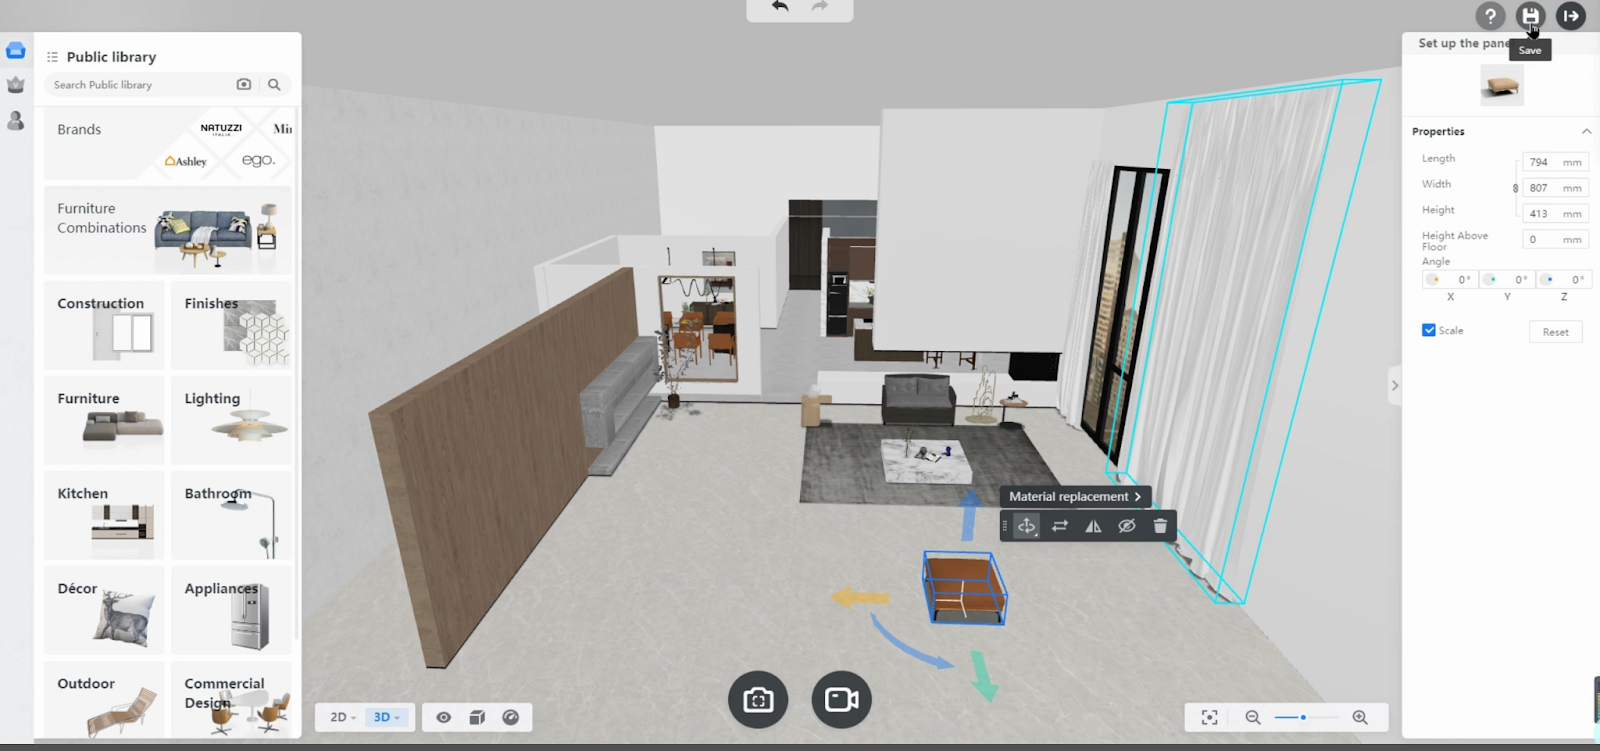
Next, rename the scene and click “Save as a new studio”.