- Helpcenter
- Tips & Tricks
-
Getting Started
-
Model Library & Asset Management
-
News & Product Update
-
Kitchen, Bathroom, Closet, Custom Modelling
-
[Enterprise] 3D Viewer & Virtual Showroom
-
Payment & Billing
-
Version 5.0
-
Upload & Export
-
Personal Account
-
Photo & Video Studio
-
Material&Component
-
Floor Plan Basic
-
Images/Videos & Light
-
Tips & Tricks
-
Privacy & Terms
-
Inspiration Spaces
-
Testimonials
-
Construction Drawings
-
AI Tools
-
Customer Service Team
-
Projects Management
-
FAQ
-
Coohom Online Training
-
Lighting Design
-
Coohom Architect
Draw 3D Geometry with Material&Component Tool
How to draw such a 3D Geometry? It looks a little bit complicated
Previously called Construction in Advanced tool, now its name has been changed to Material&Component tool.
-
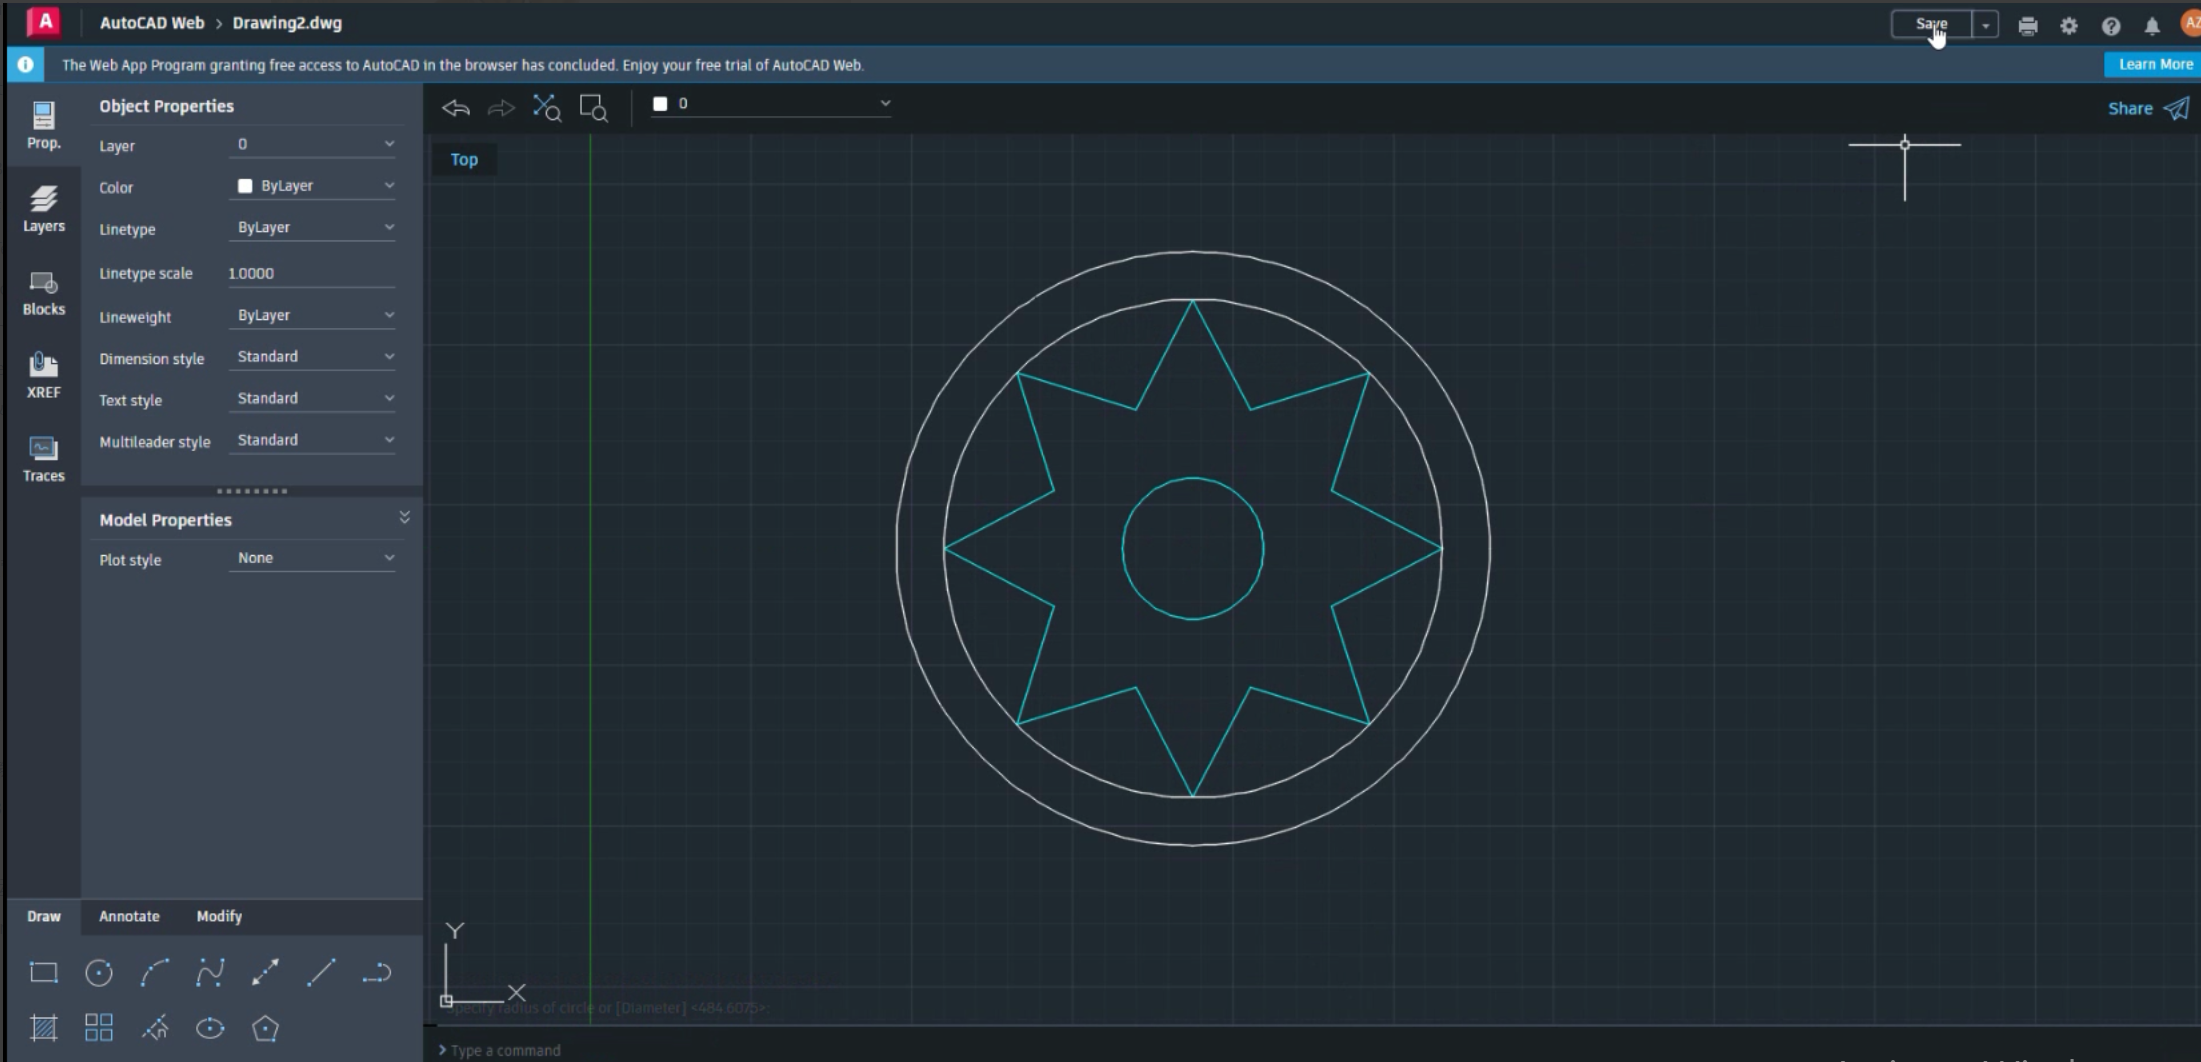
Draw a geometry with AutoCAD and download it.
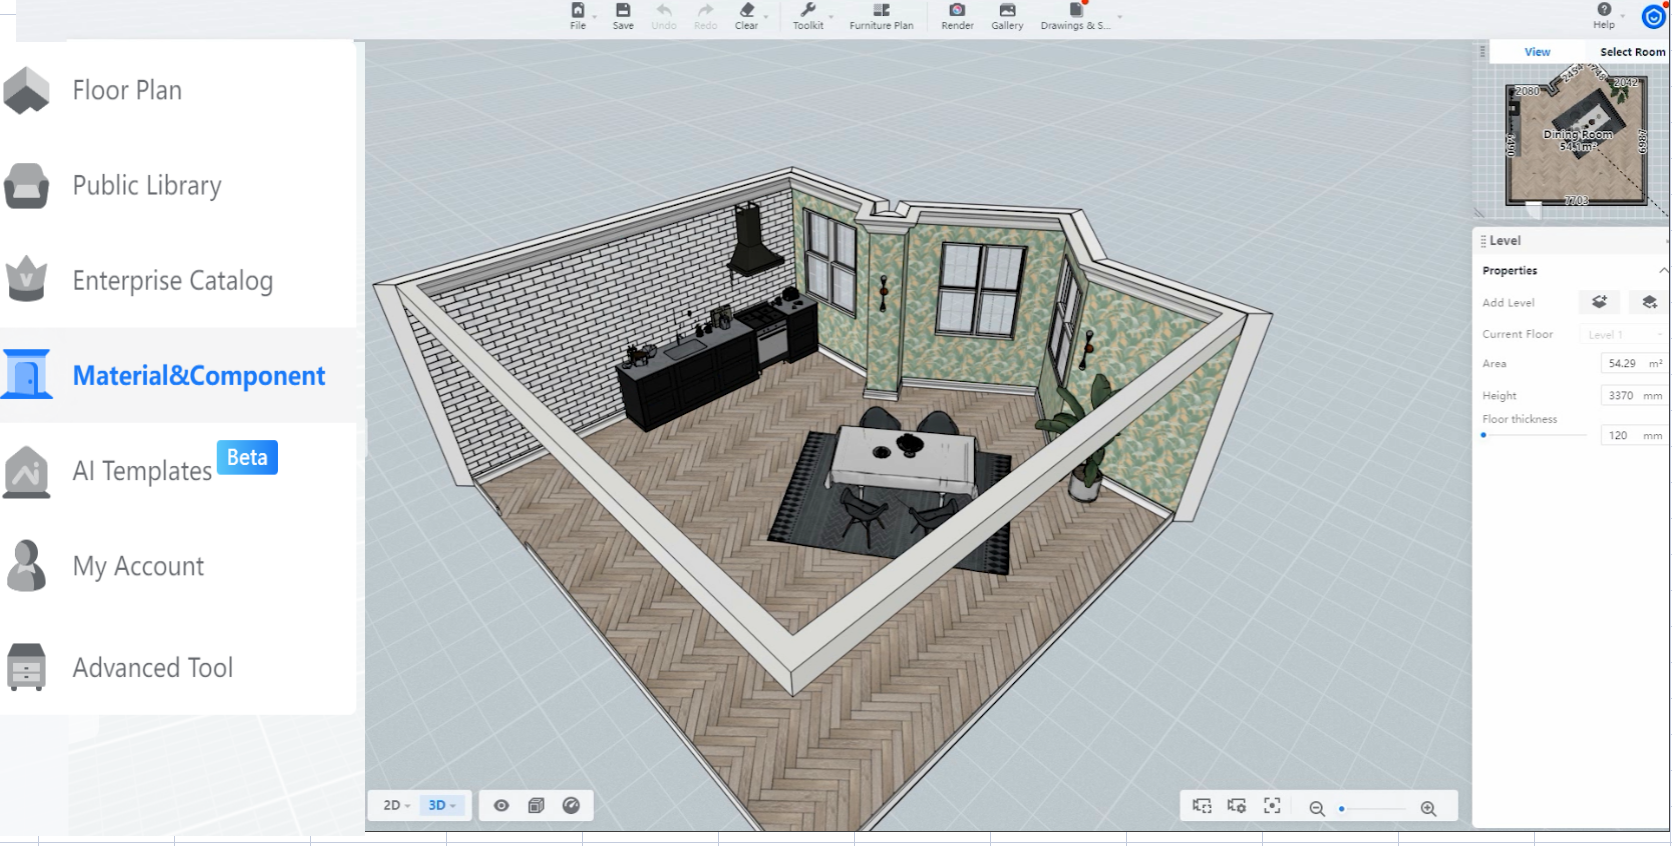
2. Enter the Coohom tool and go to the Material&Component tool.
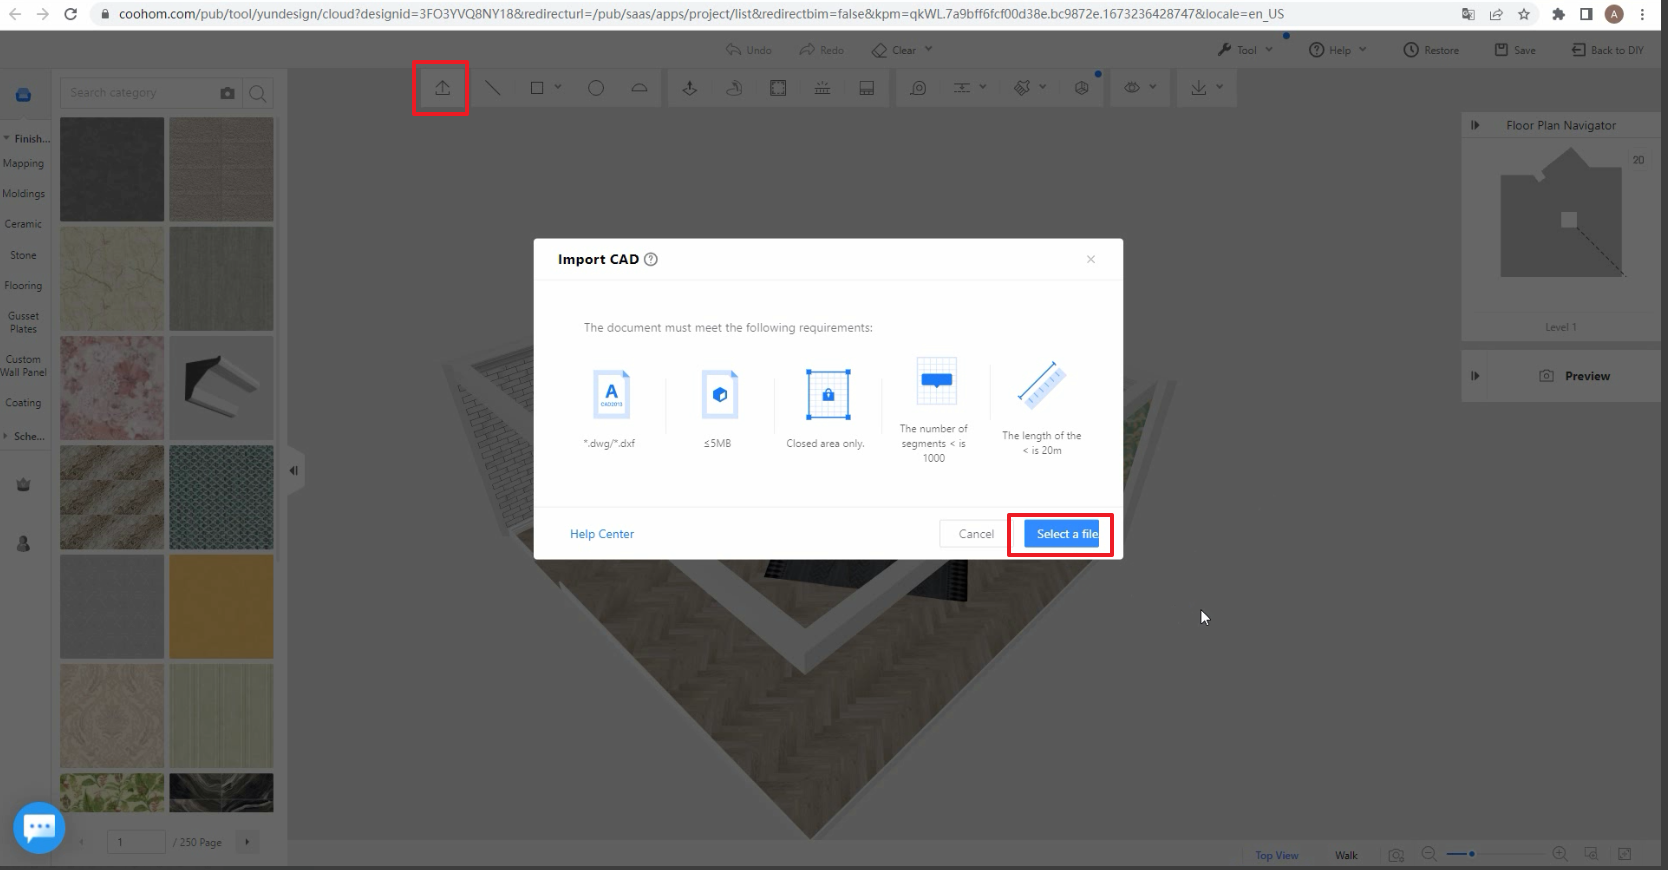
3. Import CAD file.
4. Put the geometry on the desired area in 3D plan.
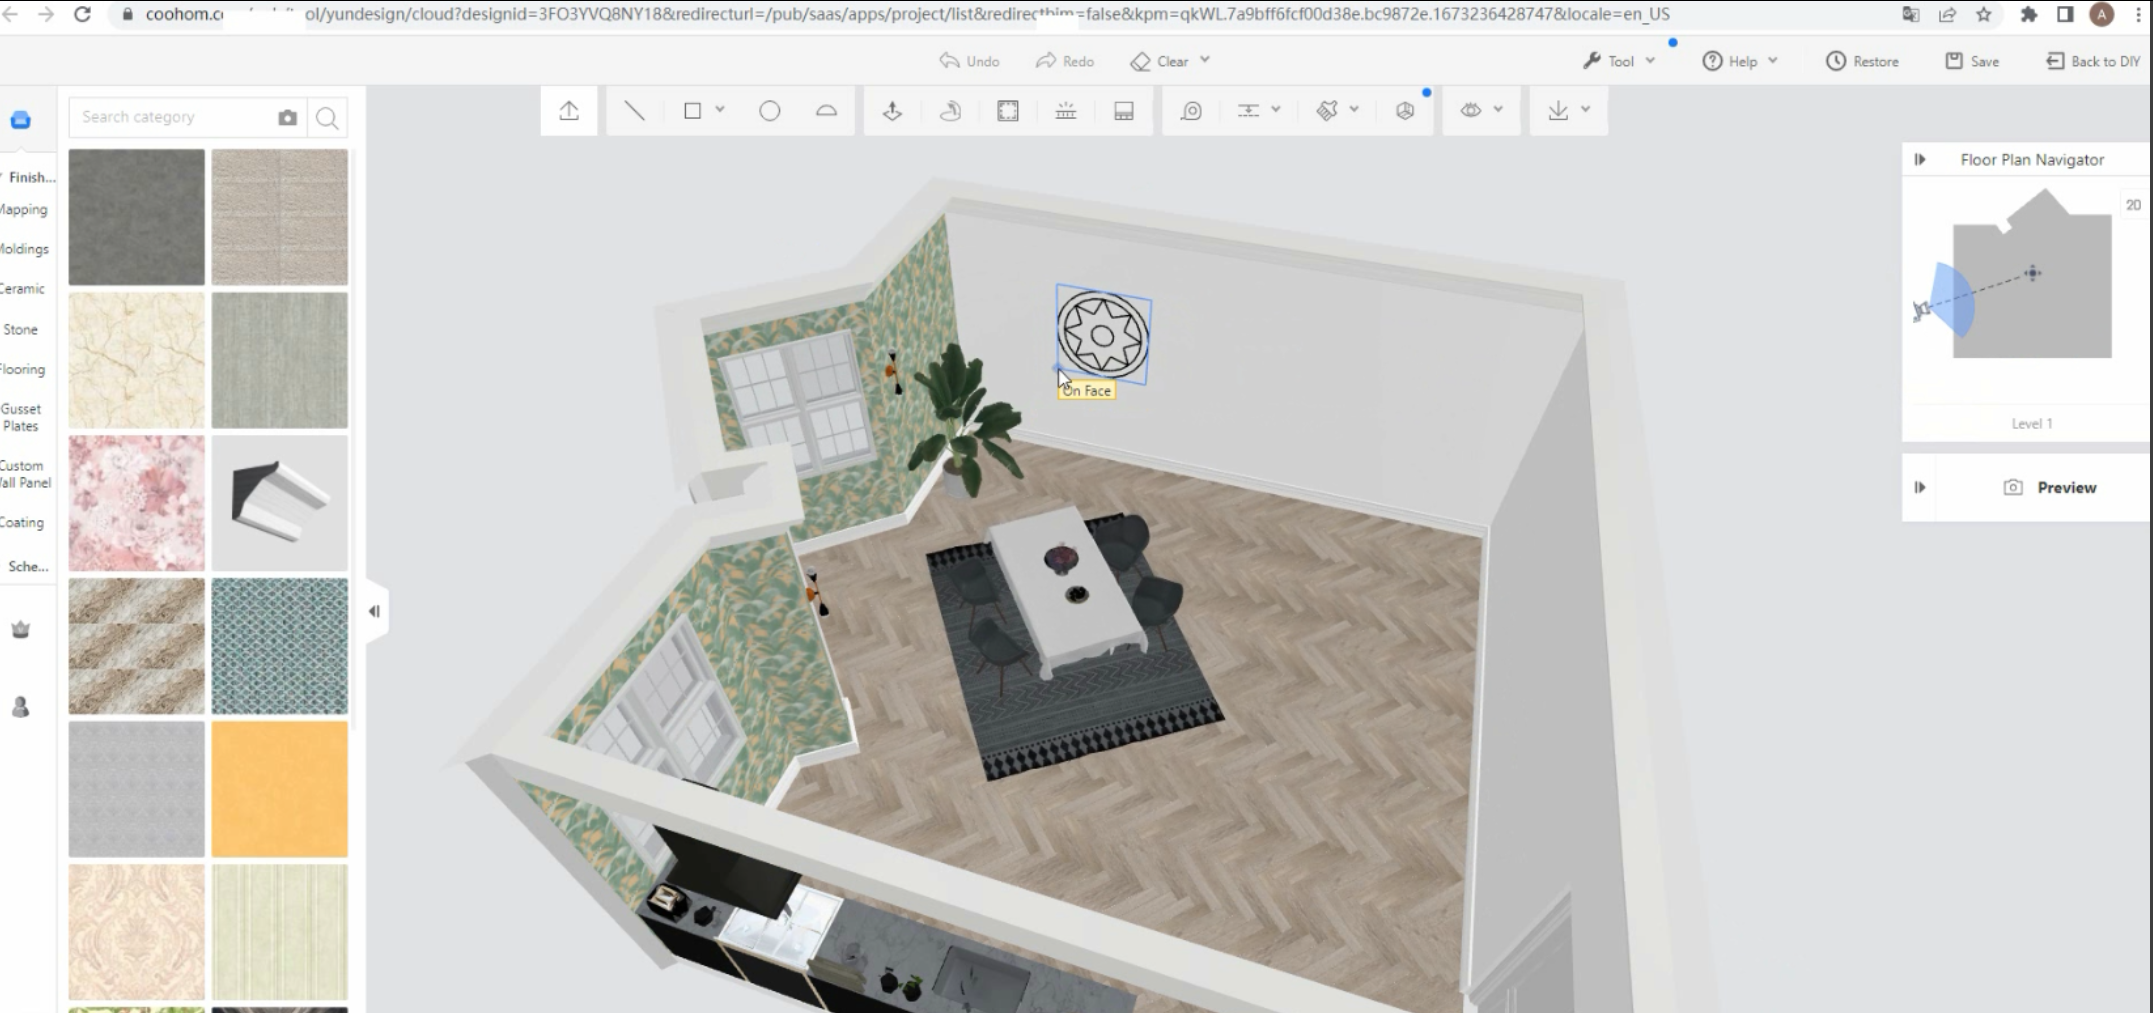
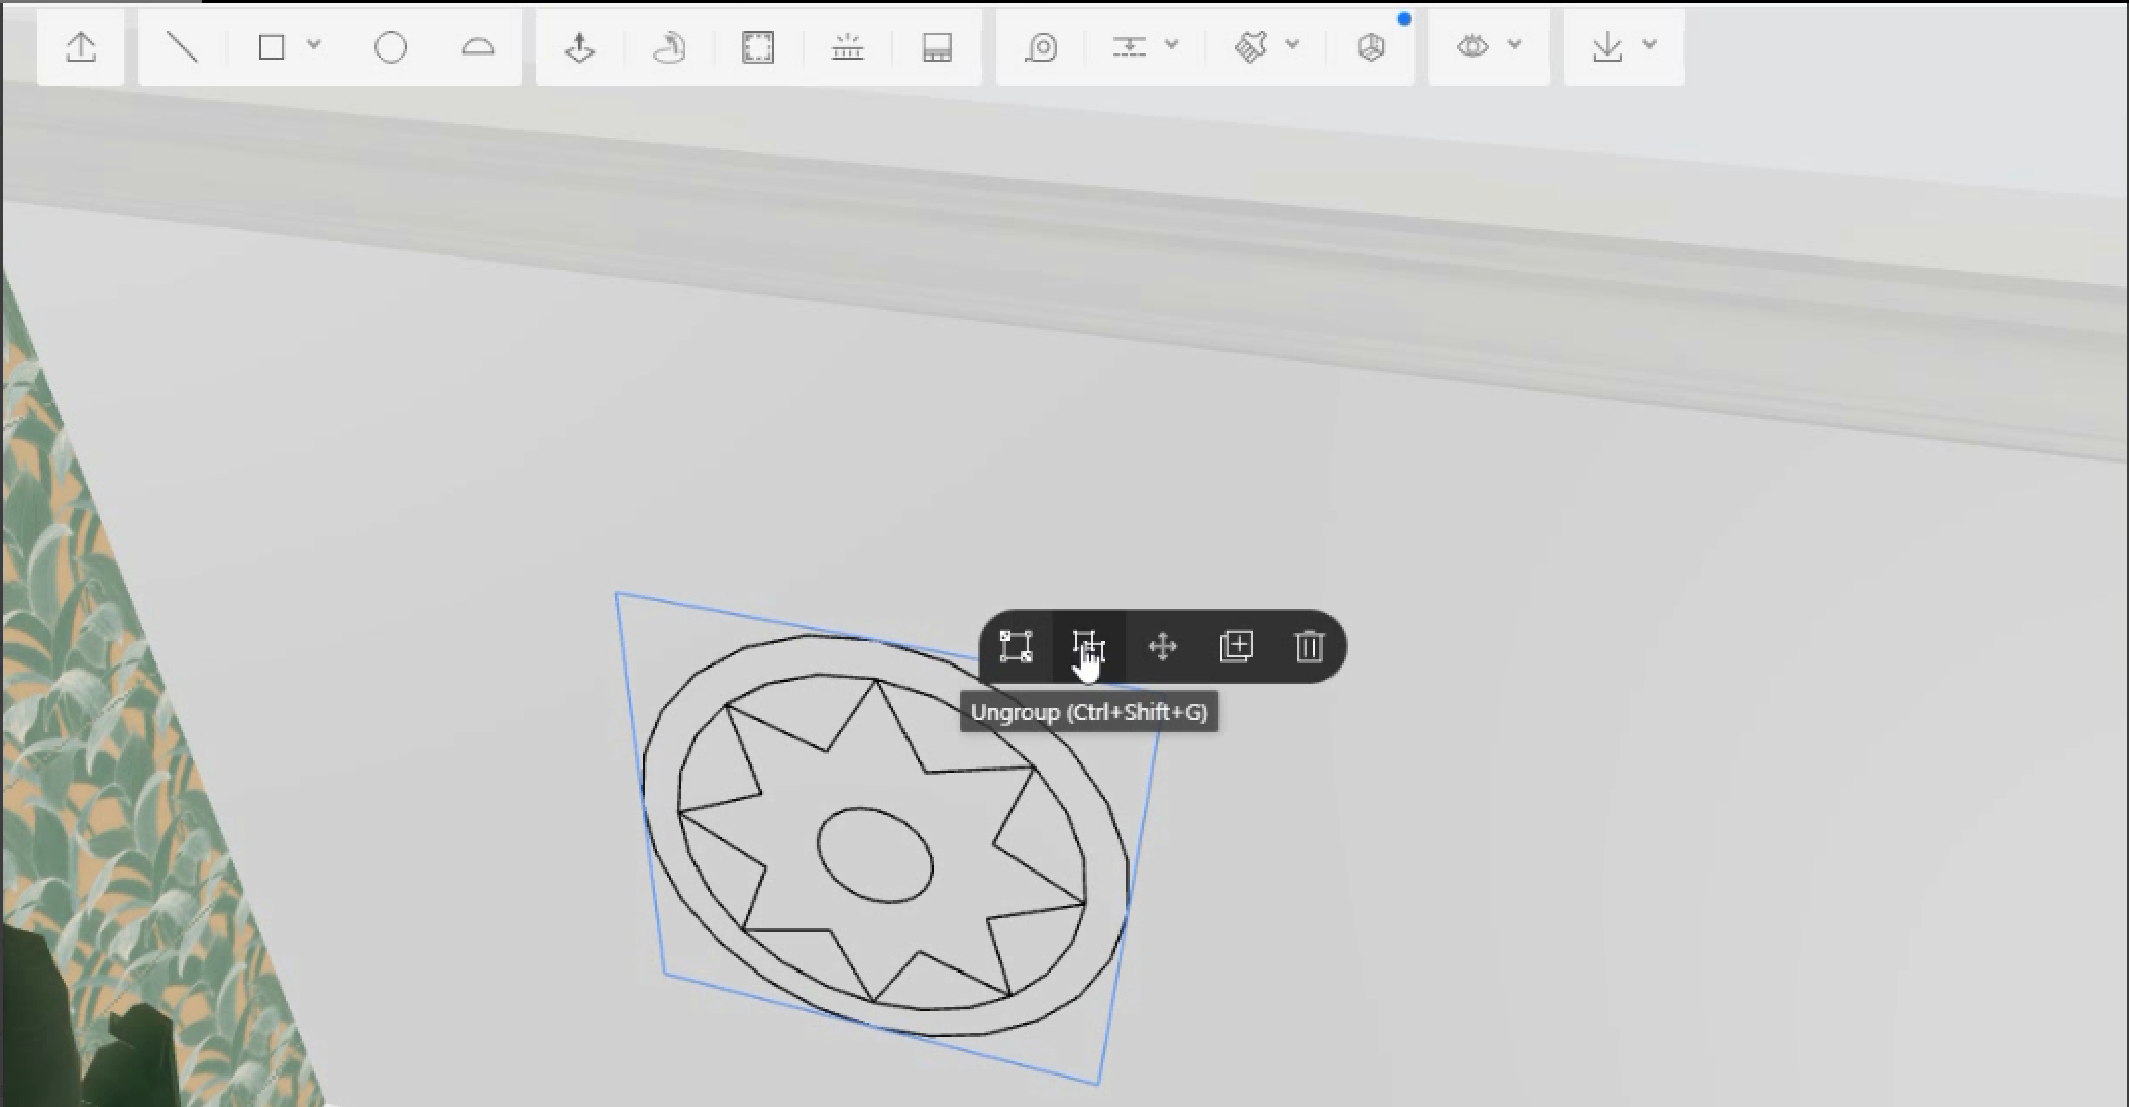
5. Ungroup the geometry.
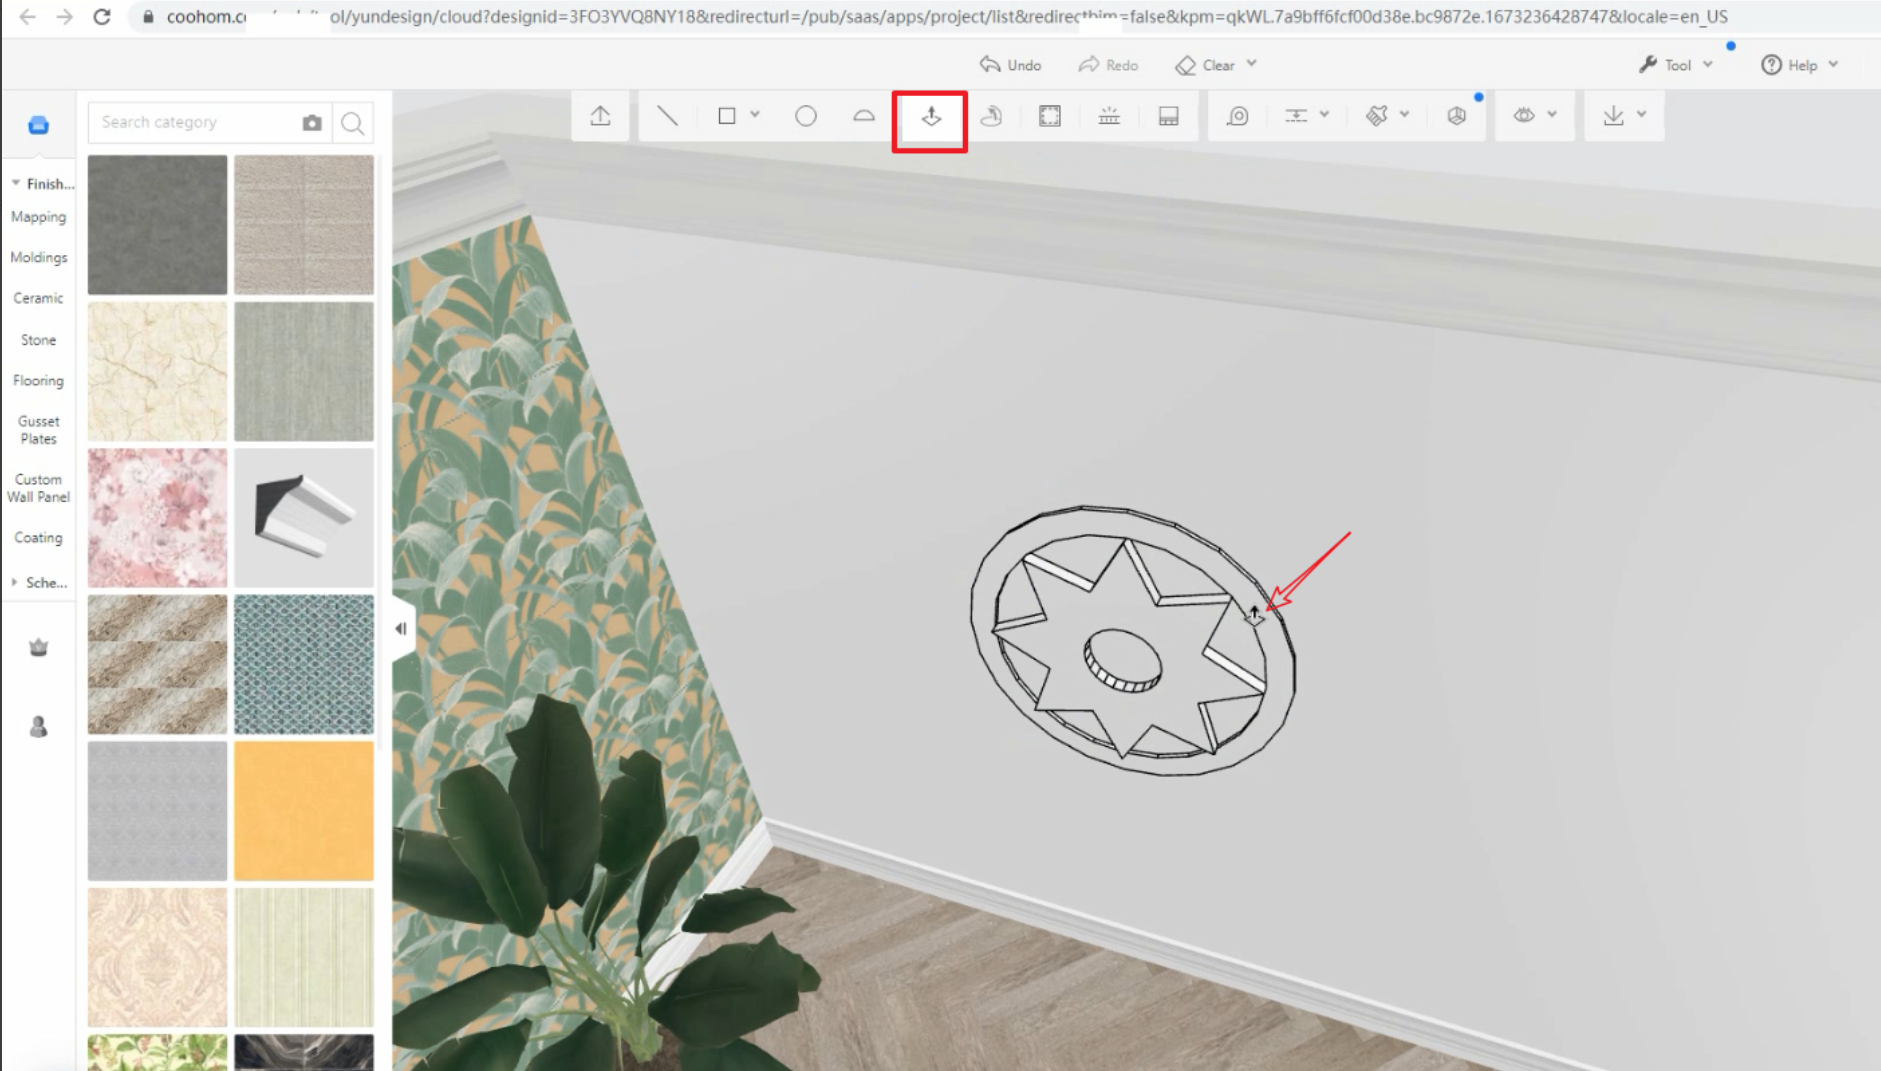
6. Using the Push/Pull tool, create the thickness.
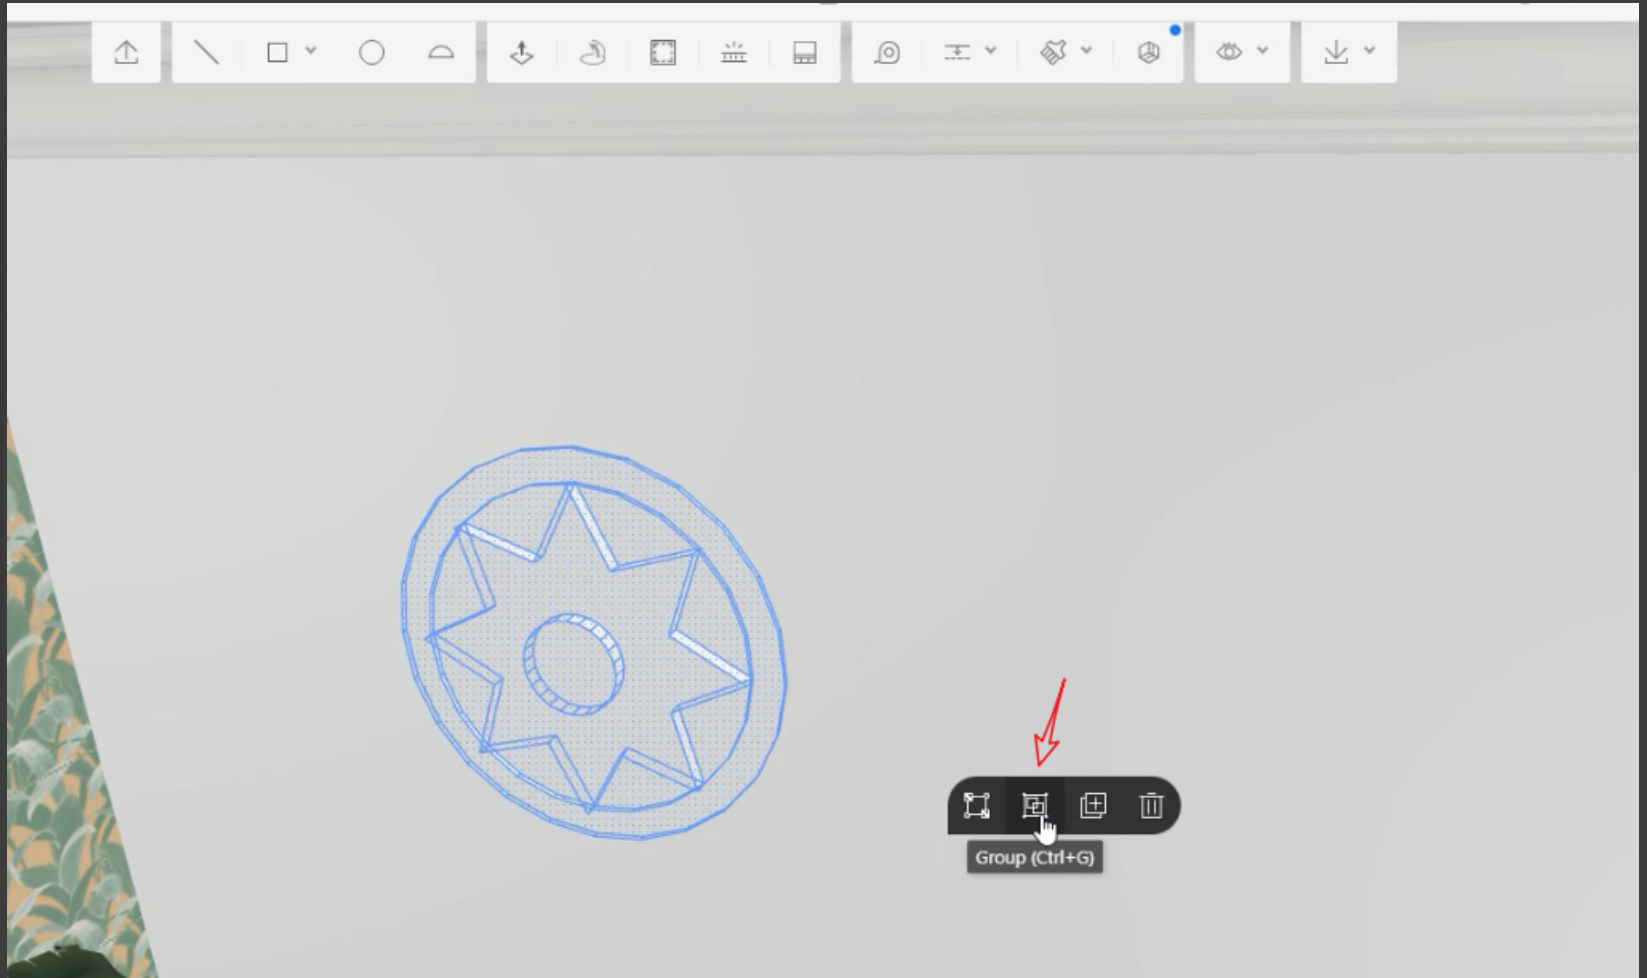
7. Press on the shift button and click on left on mouse to select all geometry face, then Group.
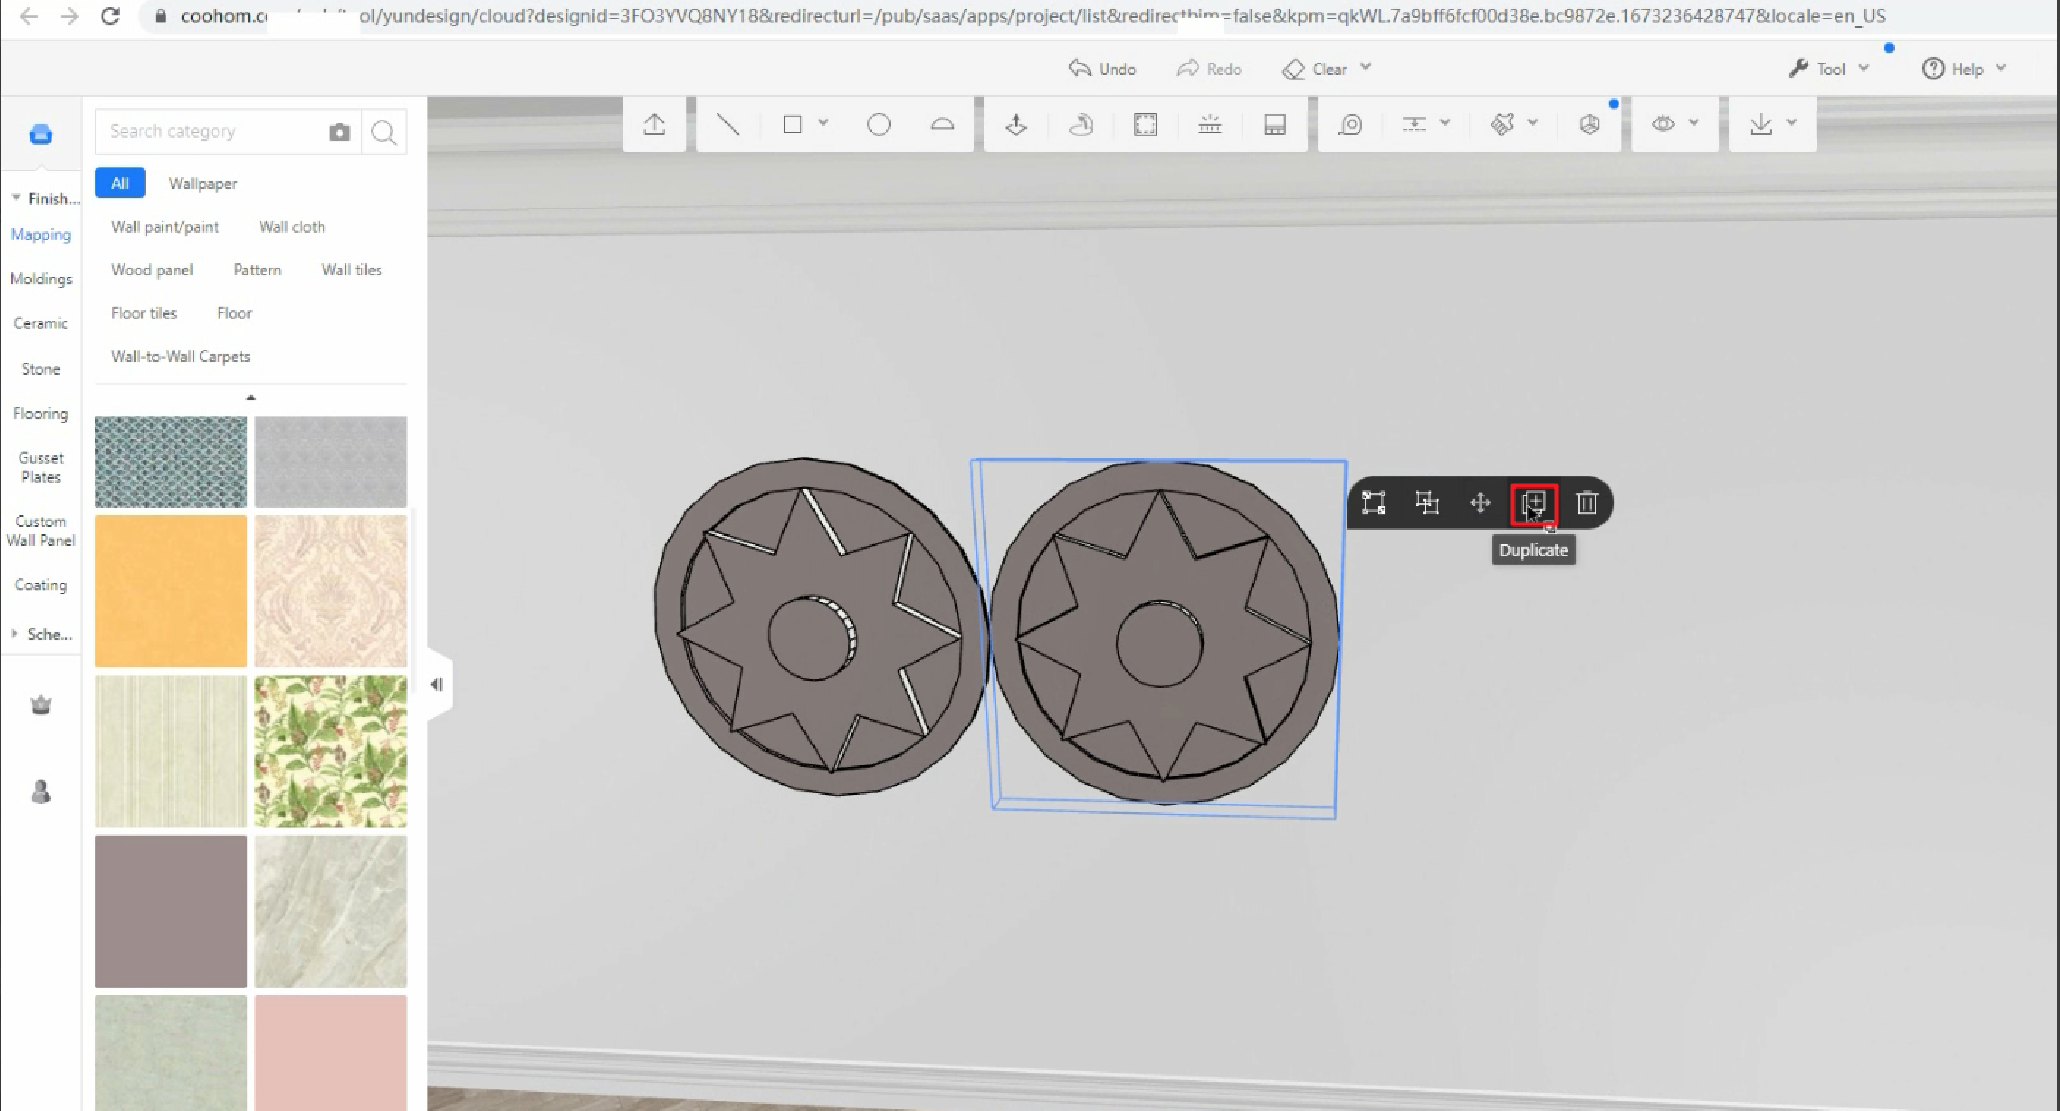
8. Drag the texture onto Geometry.
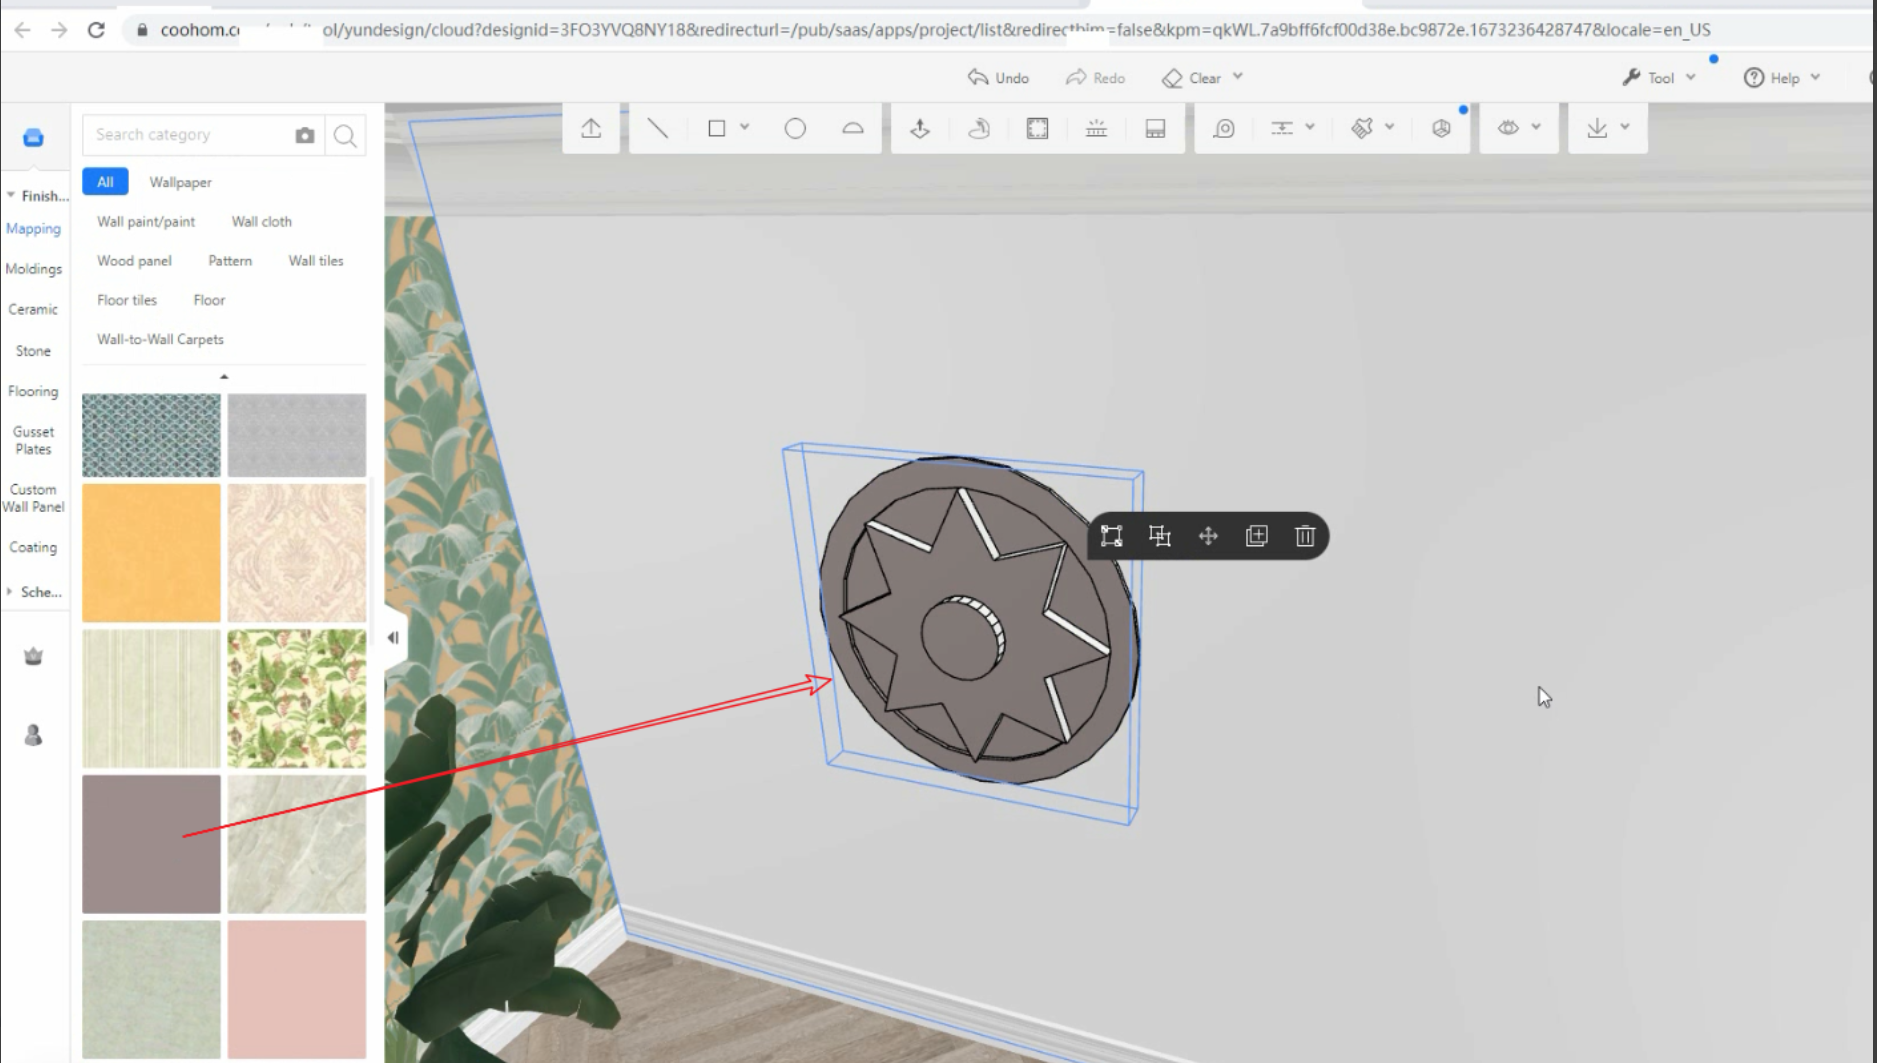
9. Then can duplicate more Geometrys
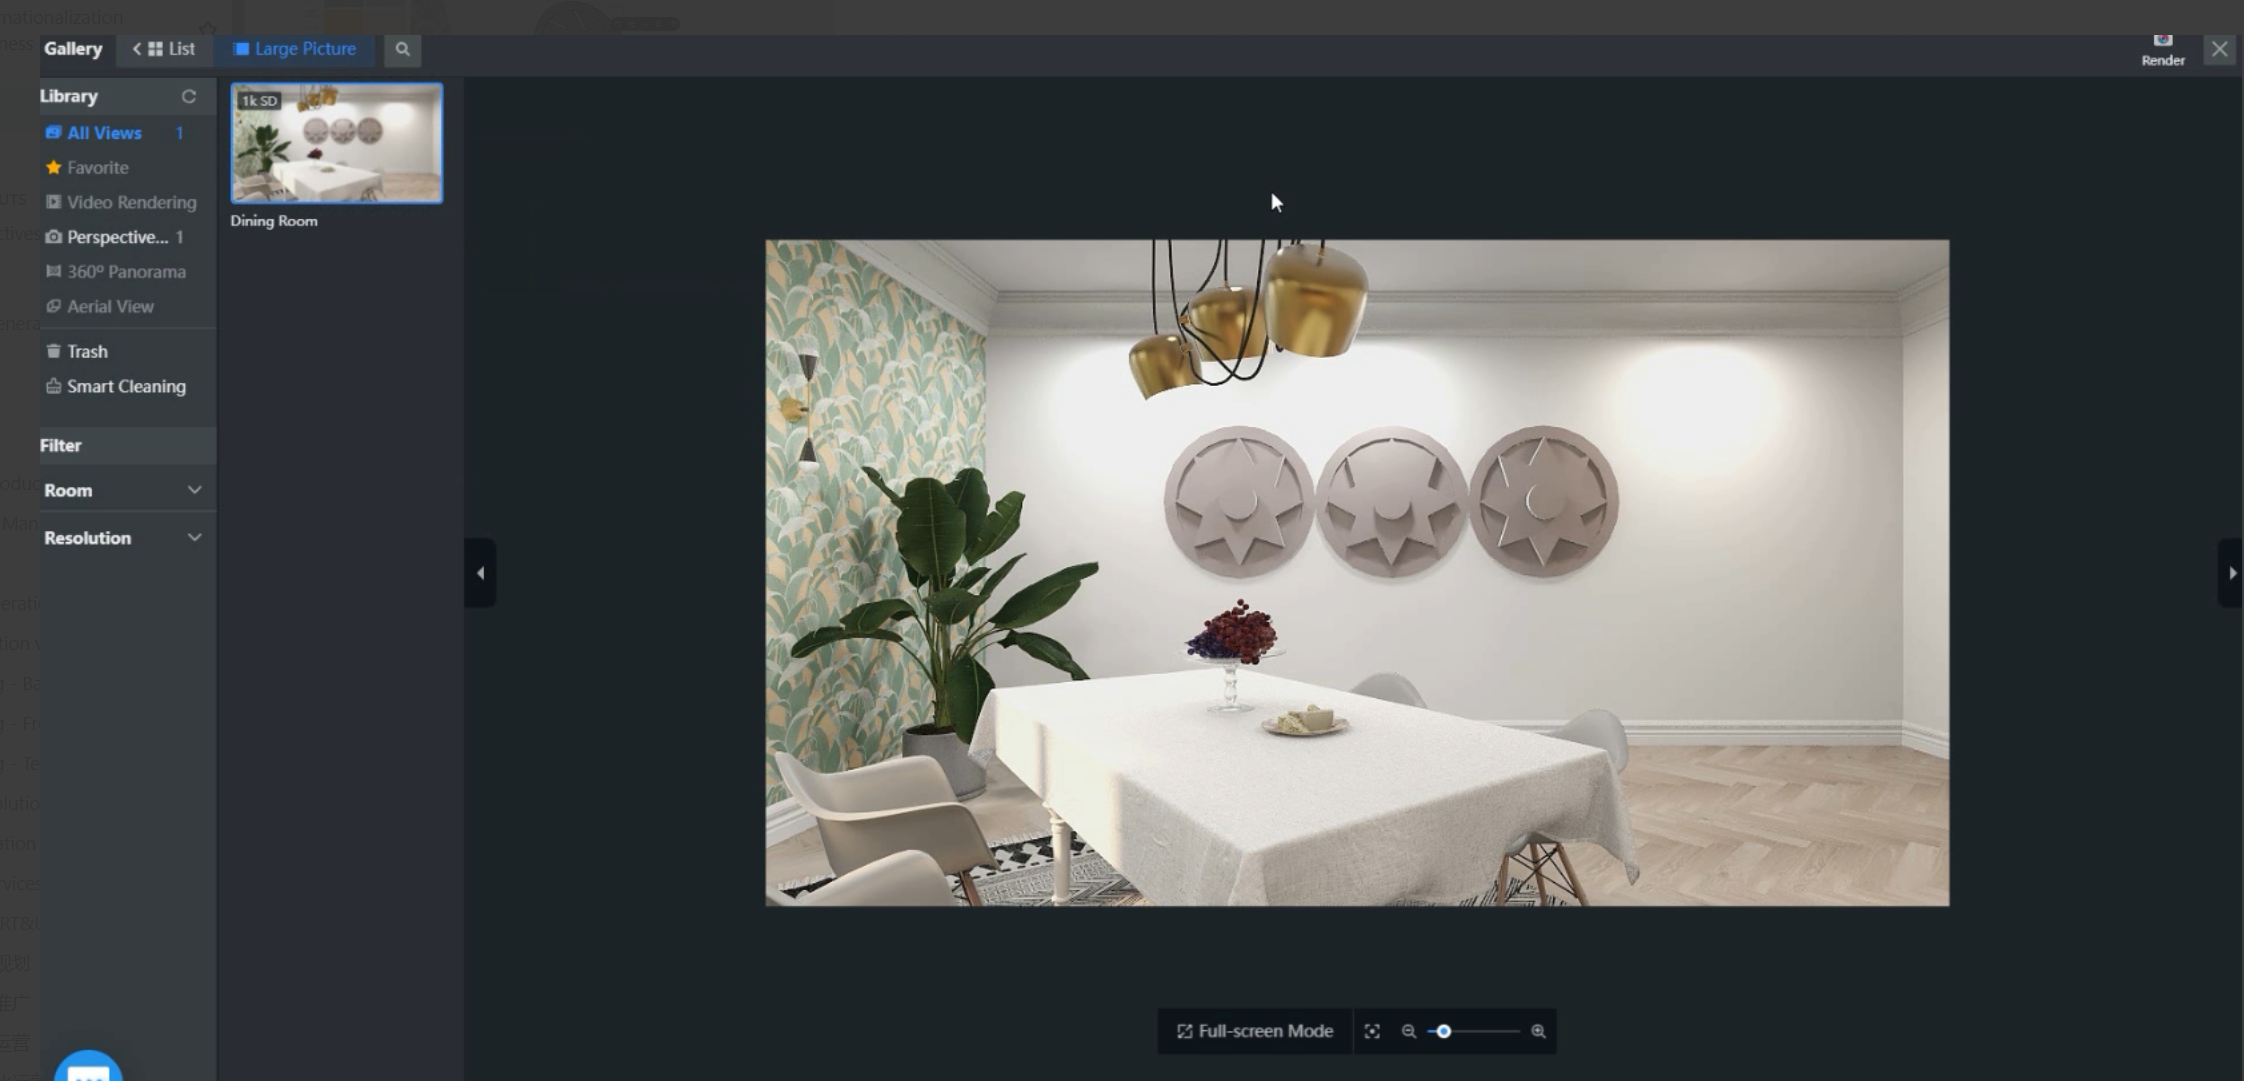
10. That's it. You can render it and see what it looks like.
Please check out the tutorial video as below: