- Helpcenter
- Upload & Export
-
Getting Started
-
Model Library & Asset Management
-
News & Product Update
-
Kitchen, Bathroom, Closet, Custom Modelling
-
[Enterprise] 3D Viewer & Virtual Showroom
-
Payment & Billing
-
Version 5.0
-
Upload & Export
-
Personal Account
-
Photo & Video Studio
-
Material&Component
-
Floor Plan Basic
-
Images/Videos & Light
-
Tips & Tricks
-
Privacy & Terms
-
Inspiration Spaces
-
Testimonials
-
Construction Drawings
-
AI Tools
-
Customer Service Team
-
Projects Management
-
FAQ
-
Coohom Online Training
-
Lighting Design
-
Coohom Architect
How to match uploaded texture with frame well?
Hello Coohomers,
This article will introduce a guide on how to match the uploaded texture(image) with the frame well. Here is the guide below:
-
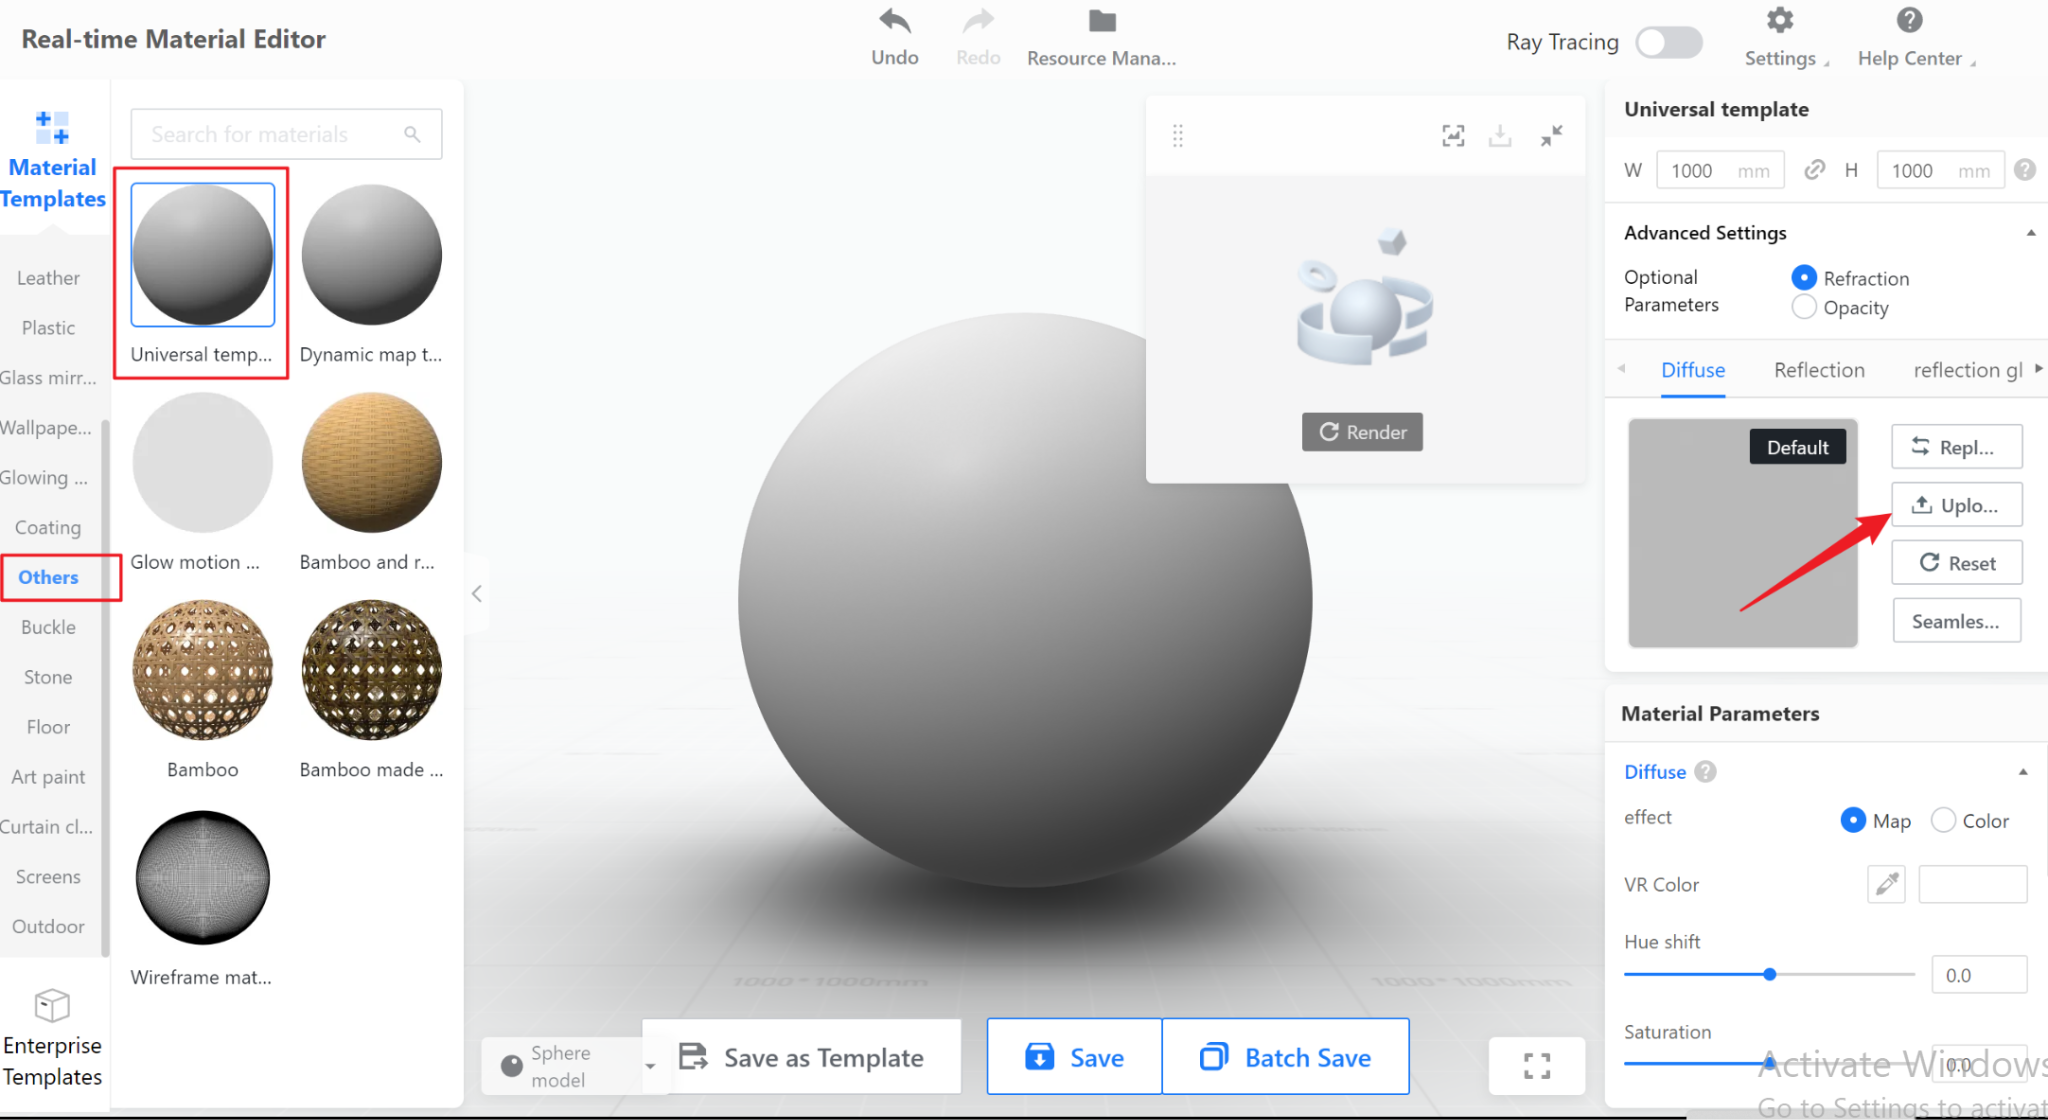
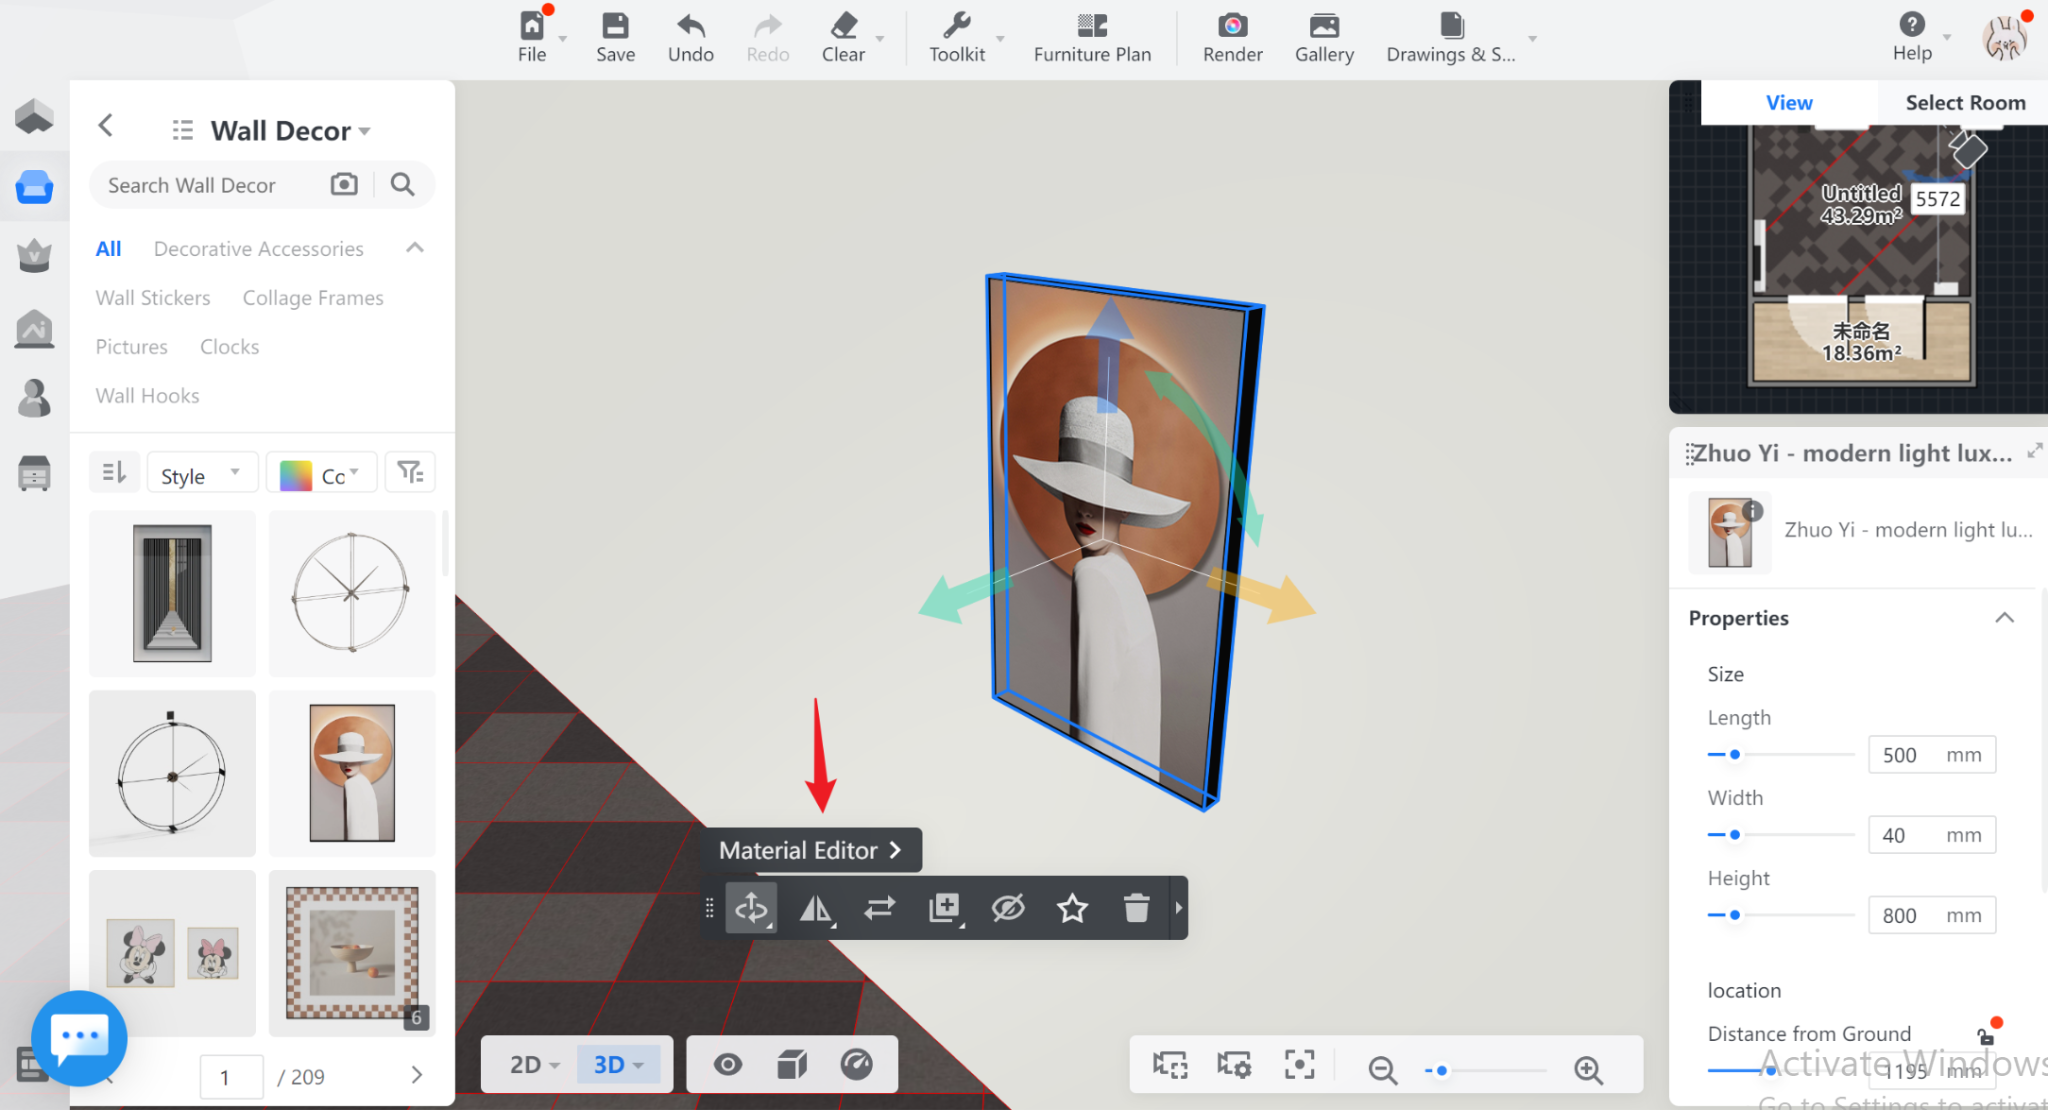
Please click a frame(board etc.) where you want to apply your own texture to enter the material editor first.
Please click a frame(board etc.) where you want to apply your own texture to enter the material editor first.

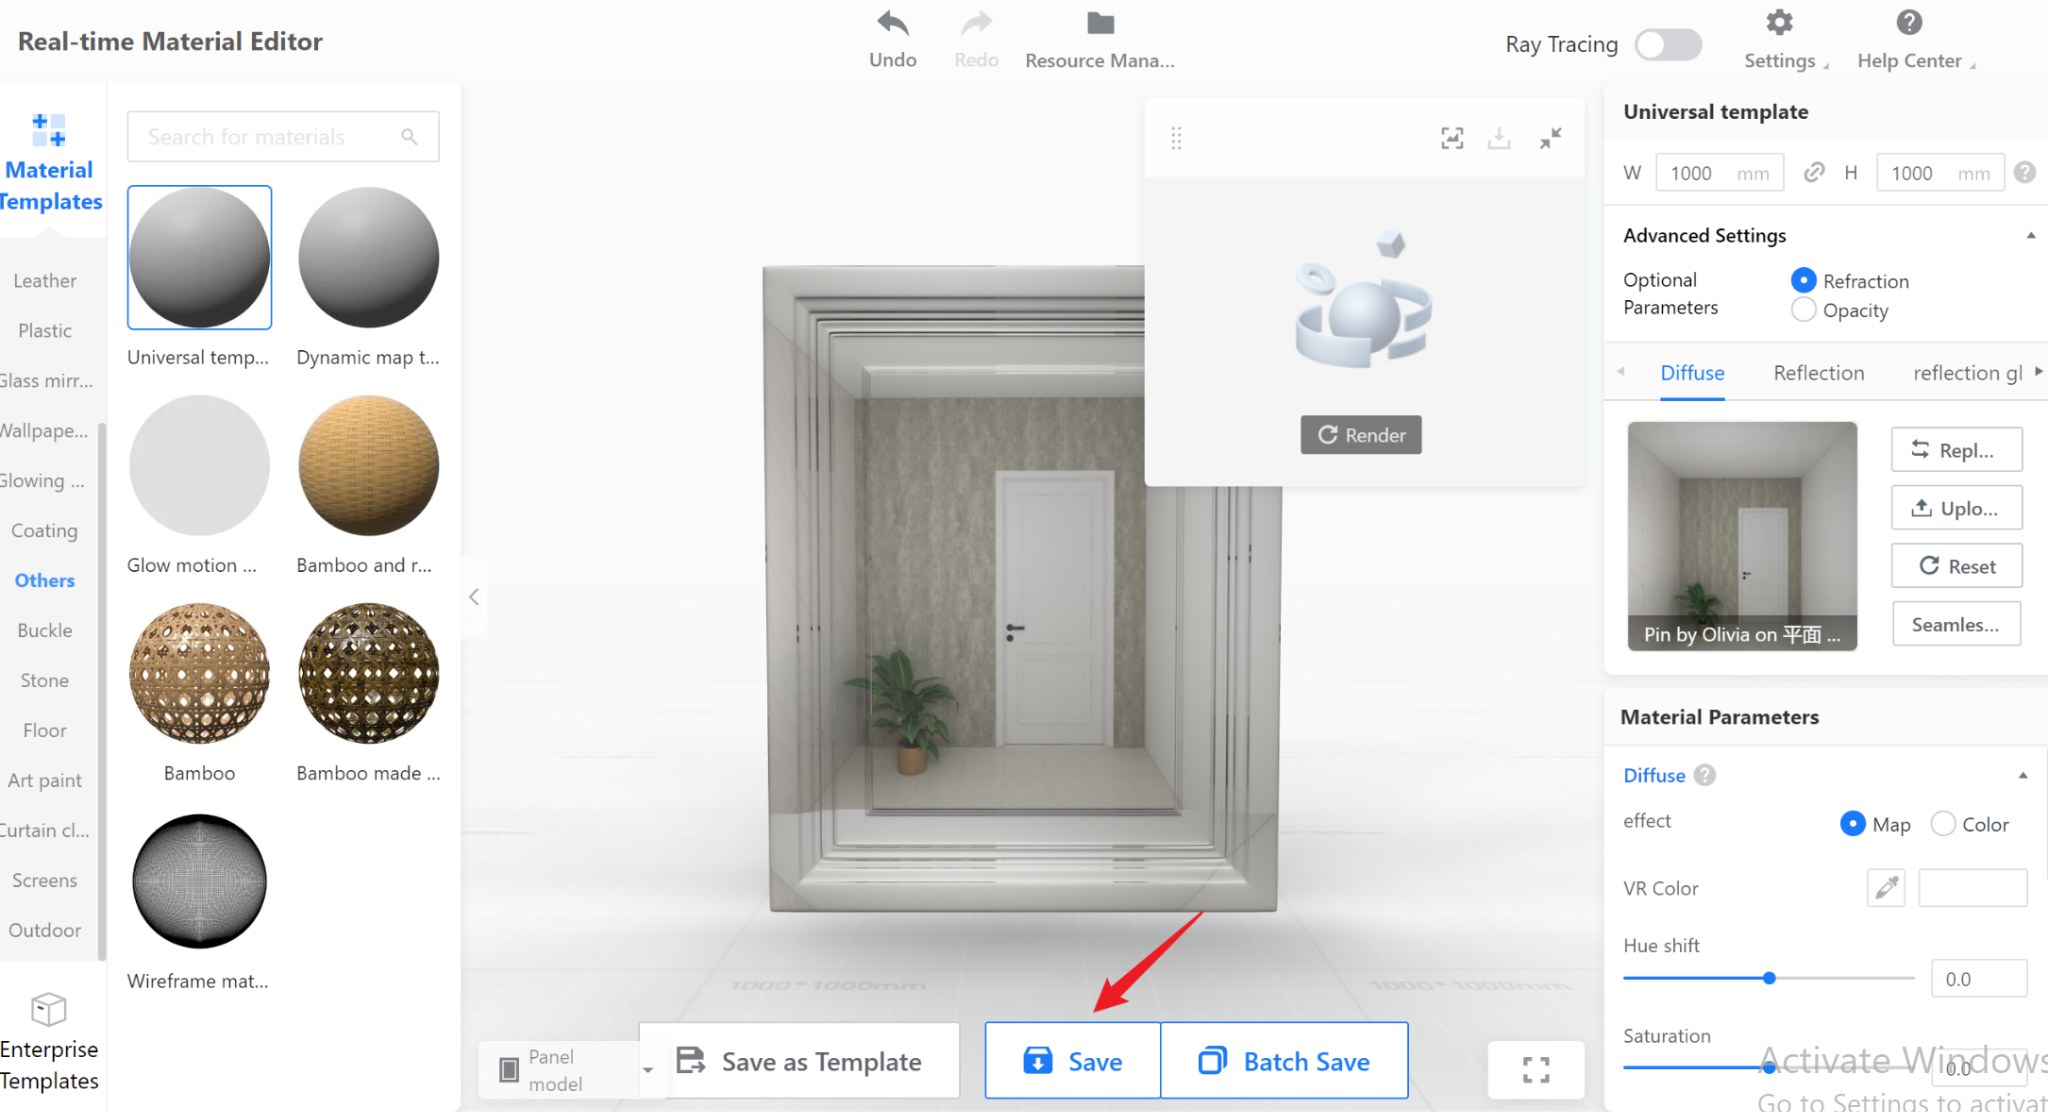
2. Please click the Realtime Material

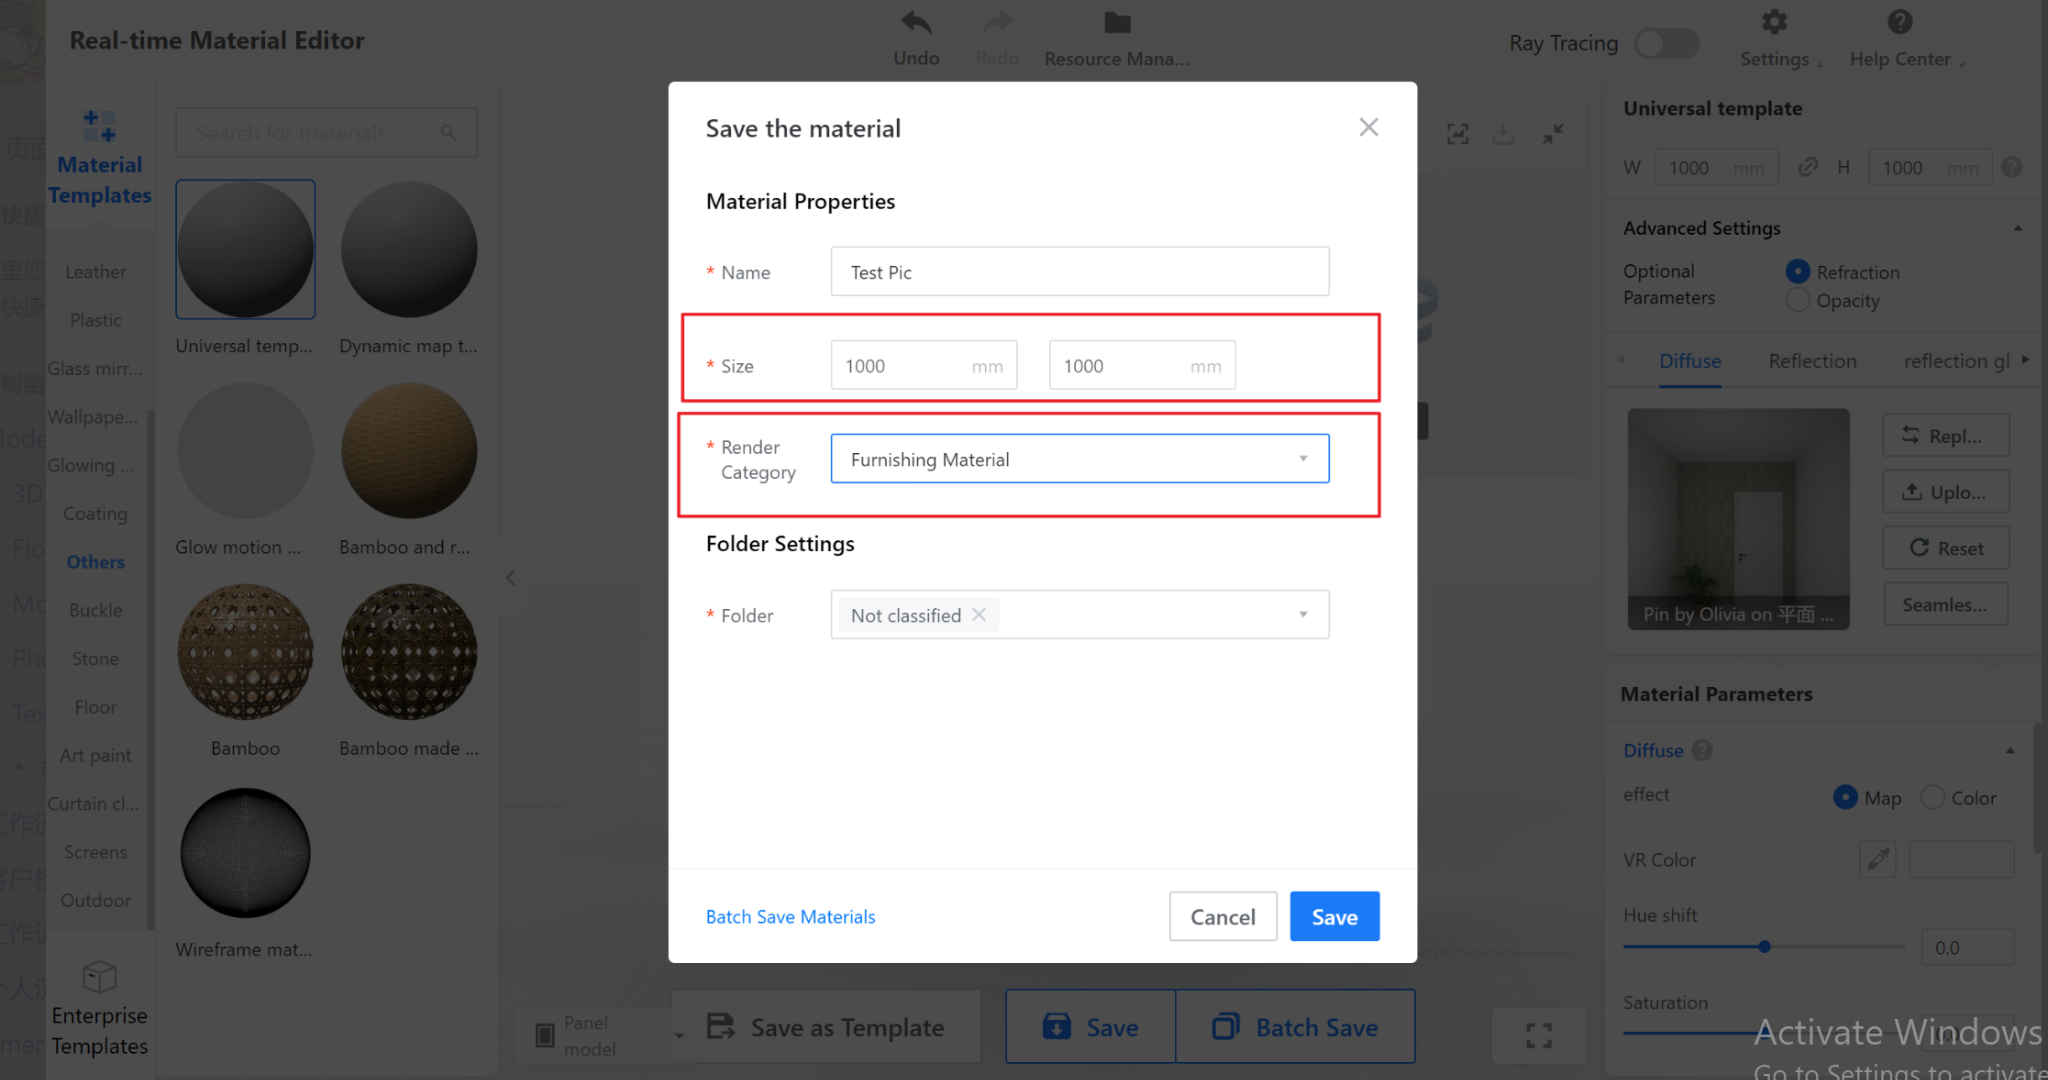
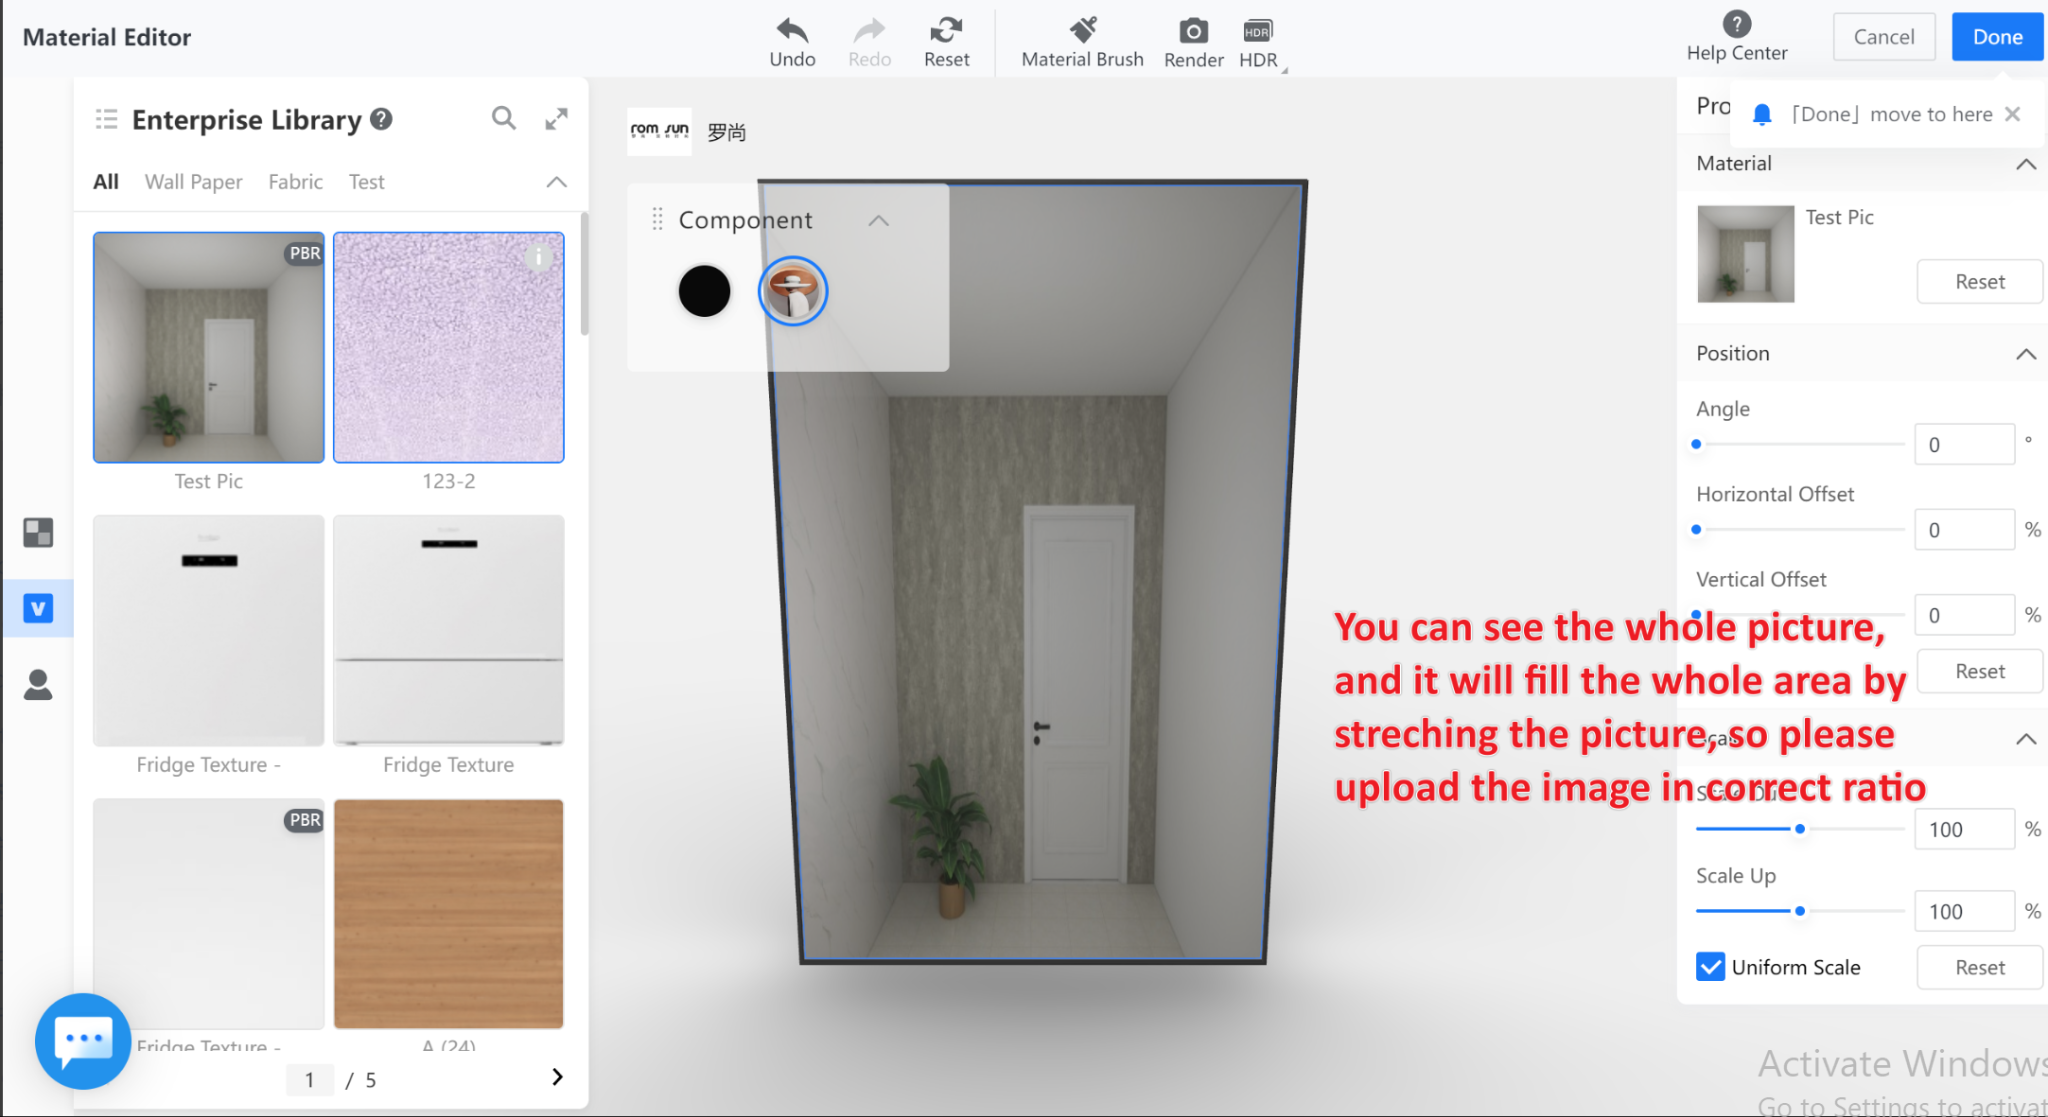
3. Please ensure the picture ratio is the same as the frame ratio. If not, crop in Image editing software.
4. When uploading the textures, please choose the category of furnishing/3d material.