Definition of panel quotation
The result of the width * depth * unit price of the panel.
Example: The solid wood panel from XX merchant is priced at 500 per square meter, and the painted panel is priced at 300 per square meter. This example uses the panel in component mode. Whether it’s a product in Interim Parts or a component library, the panel quotation setting is the same.
Entering the quotation setting page
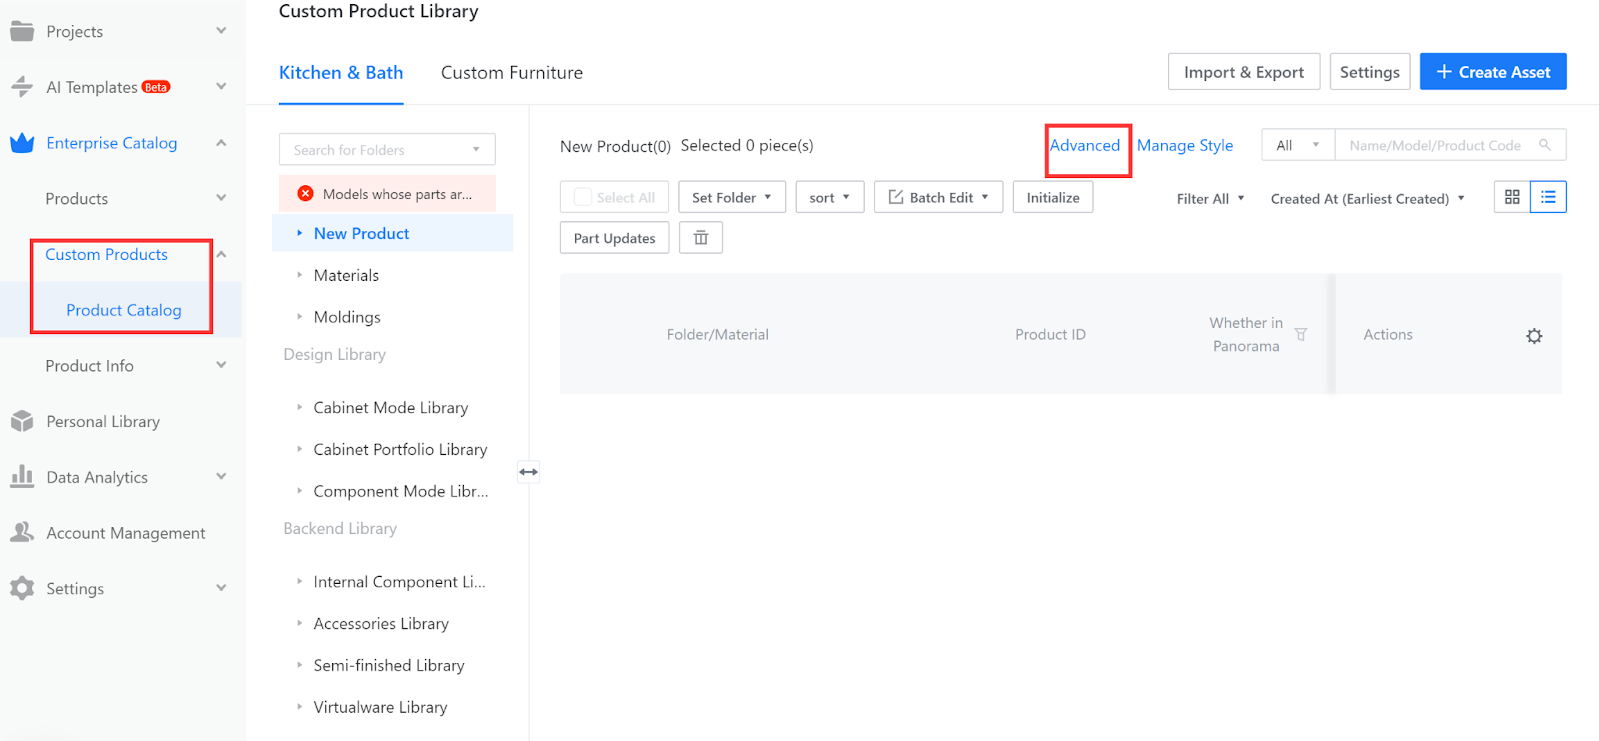
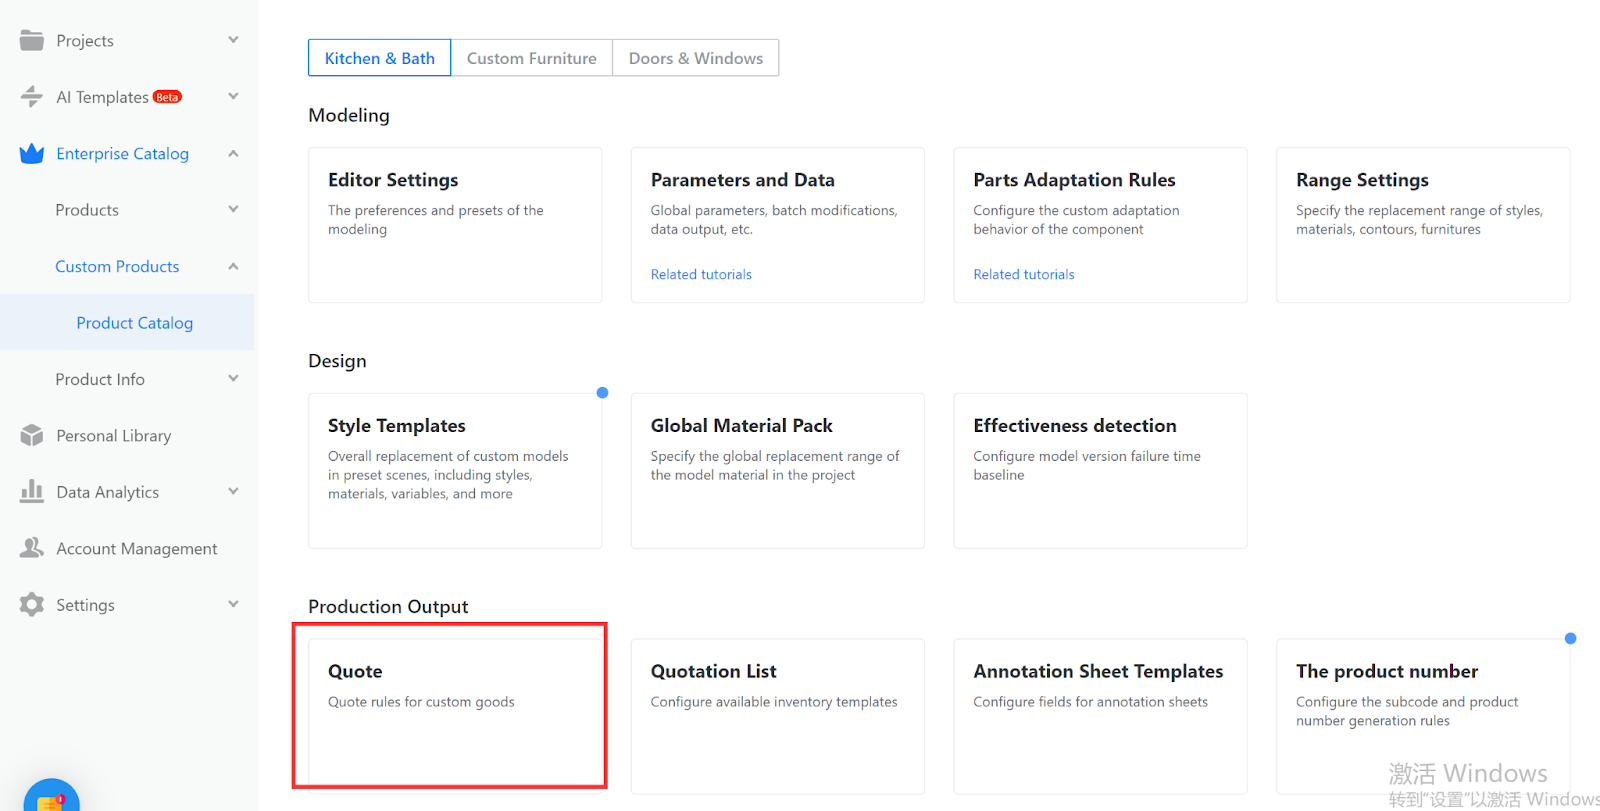
Product Catalog-Advanced-Quote
Creating a new quotation category
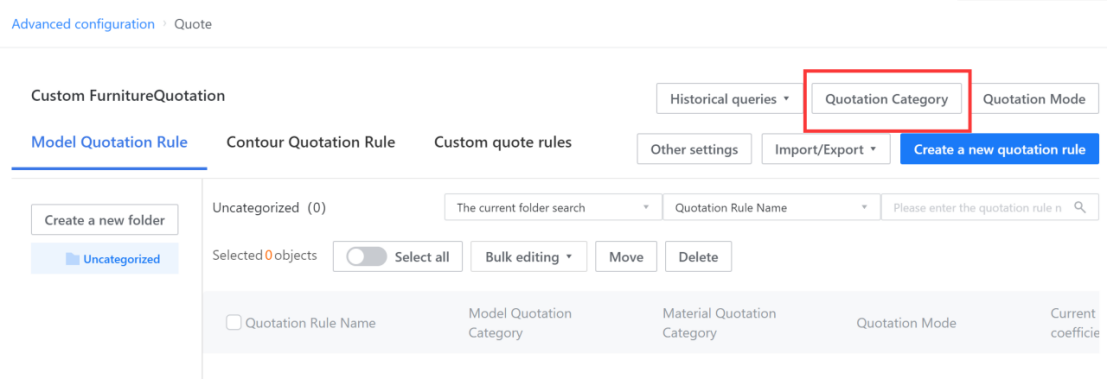
Advanced-Quote-Quotation Category (in the upper right corner).
Select "Quotation Category", enter the quotation category , and click "+Add Model Quotation Category"; Select "Material Quotation Category", enter the quotation category name, and click "confirm". If there are several different material prices, please create several quotation categories.

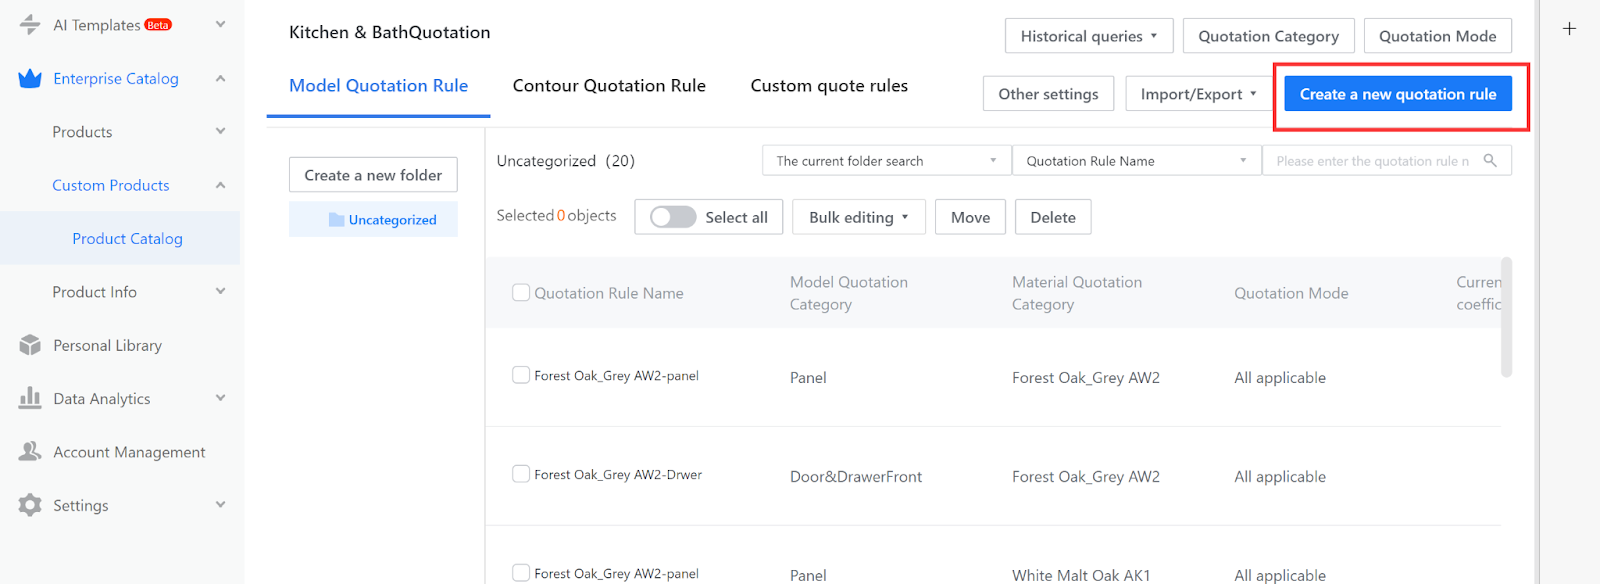
Creating a new quotation rule
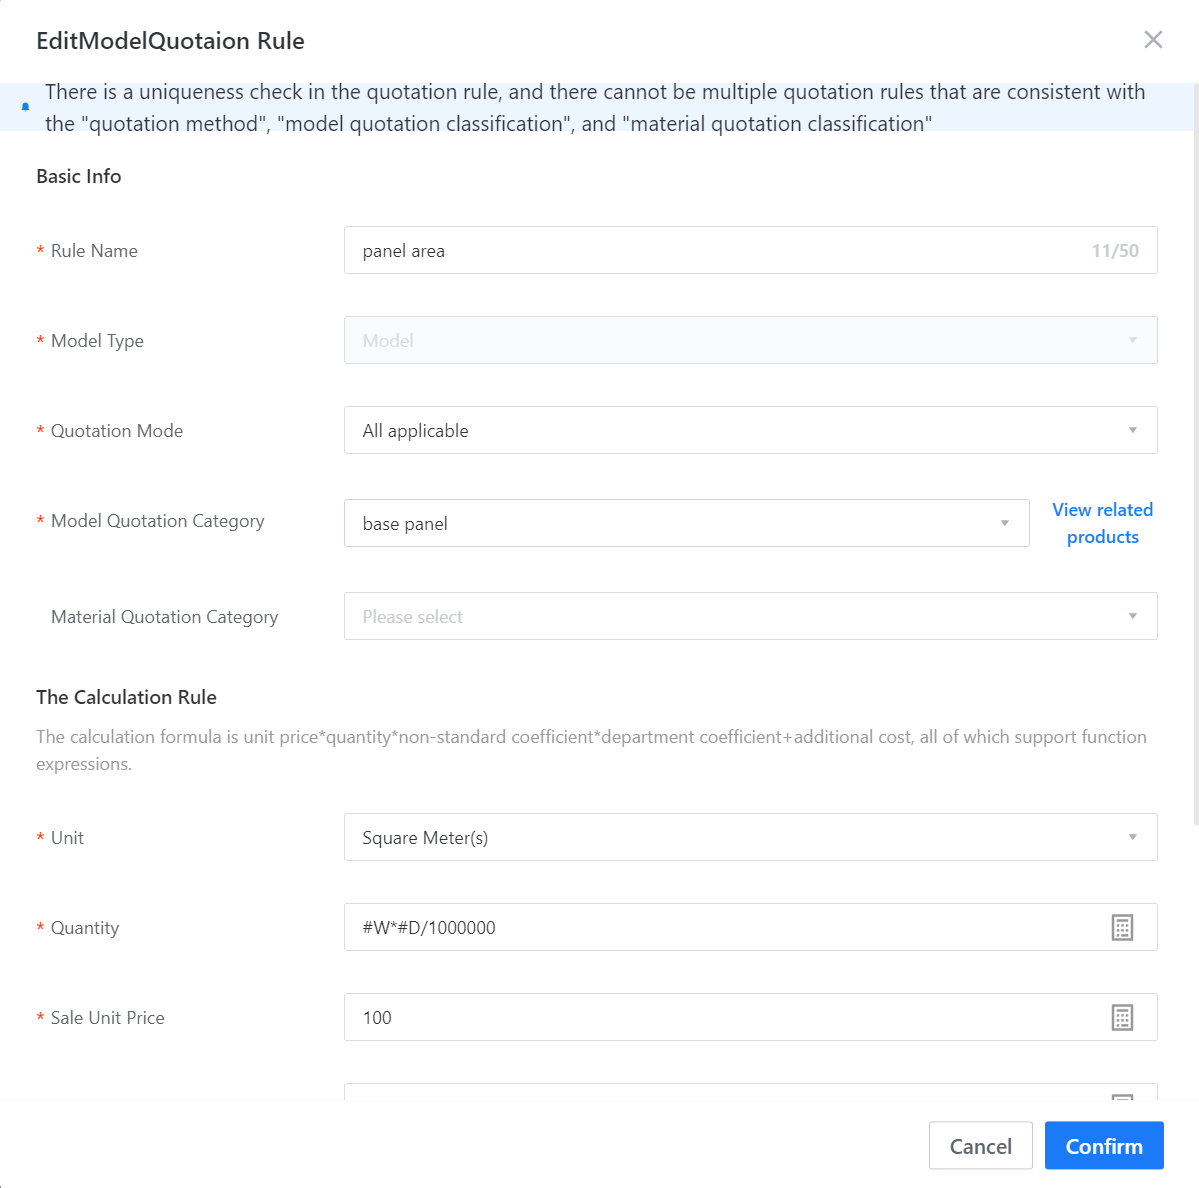
1.Click “Create a New quotation rule” in the upper right corner to pop up the quotation rule setting window.
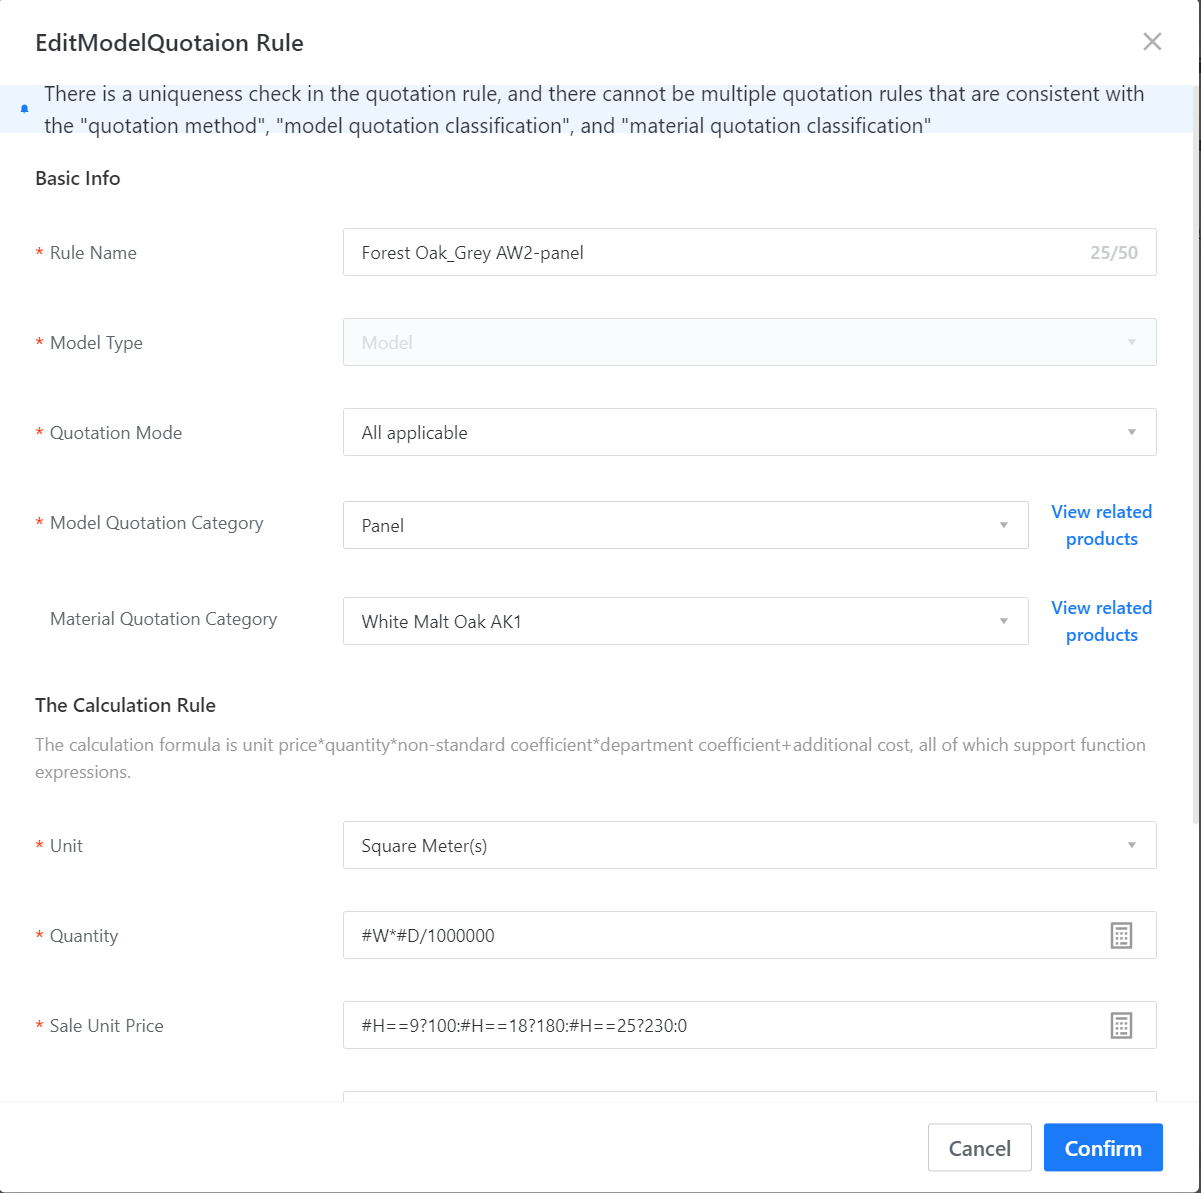
2.Define the quotation rules for the panel in the pop-up window. The options marked with “*” are required fields. Material quotation categories are optional. If the quotation does not need to change according to the material, you can skip this step. In this example, there are two material quotation categories. In practice, you should create a quotation rule for each type of material quotation.
Follow the steps above to define the quotation rules for the painted panel.
The final price of the model = unit price * quantity * non-standard coefficient + additional fees.
The quotation name refers to the name of the current quotation rule and can be different from the quotation category name.
Material quotation categories are optional. If the model quotation is related to the material, the rules should be set separately for each material. Otherwise, it is not necessary to select.
Unit price can be filled with a formula or a constant, and supports conditional judgments.
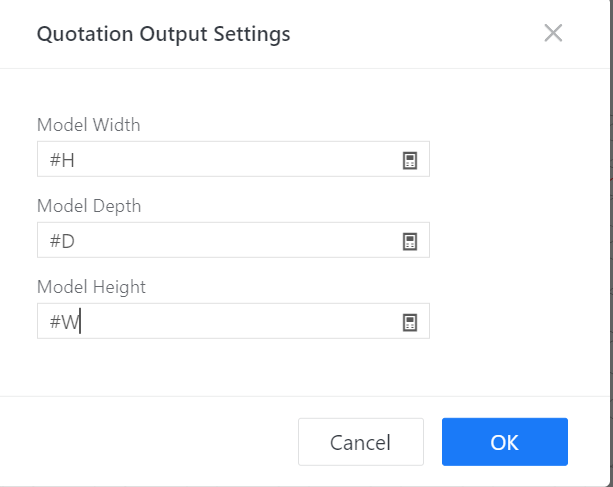
Quantity can be filled with a formula or a constant. Here, quantity refers to the area of the panel. It is important to note that in the quotation calculation formula, WDH corresponds to the output width, output depth, and output height in the model, not the physical attributes of the model's width, depth, and height. The output width, depth, and height can be customized based on the actual situation, so we need to modify the output properties of the panel in different directions. In this way, we only need to make one set of quotation rules.
The unit in the editor is MM, so please pay attention to unit conversion when using it.
The non-standard coefficient refers to the coefficient multiplied on the basis of the original, and the default is 1 if not filled.
Additional fees refer to additional costs added on top of the original ones, which can include costs such as processes and labor.
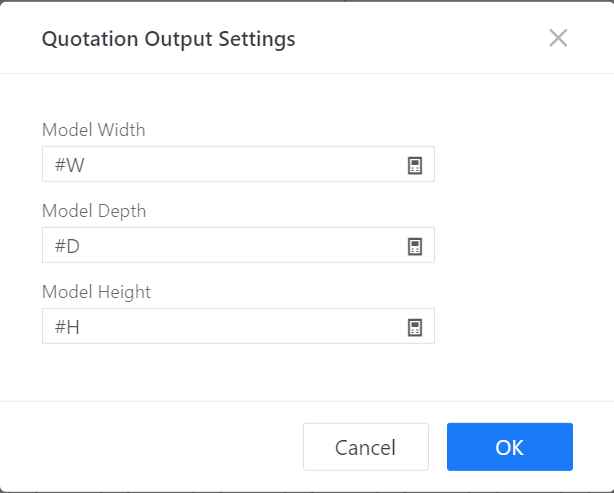
It is recommended to write the plate thickness in the output height, the size of the grain direction in the output width, and the size of the vertical grain direction in the output depth (just like the correct physical properties of a rectangular solid).
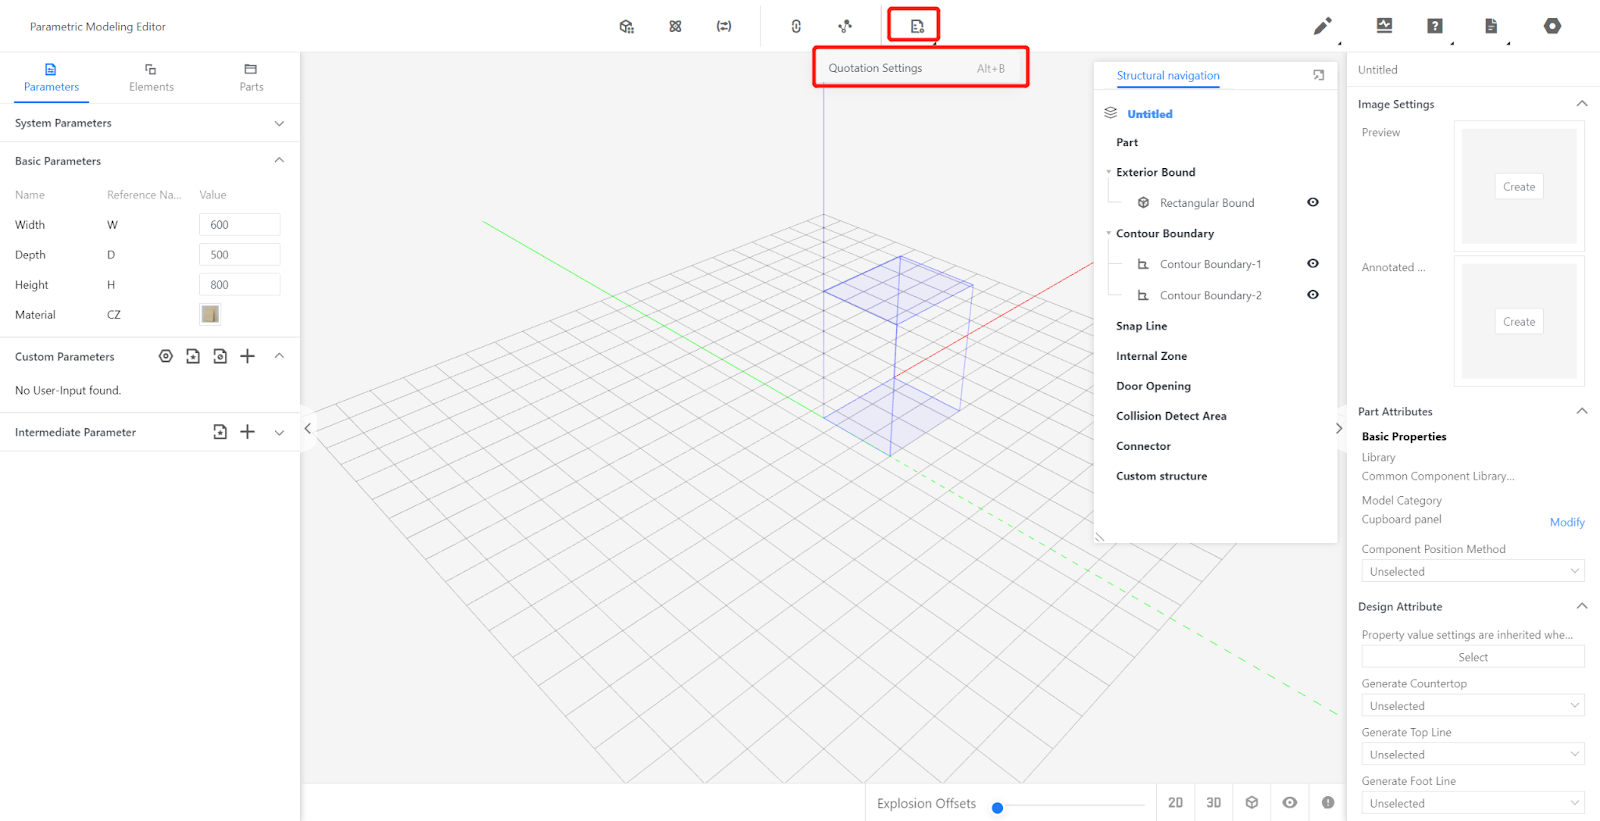
Here are some examples of the quotation output settings for commonly used panels:

Associating material and model with quotation categories
-
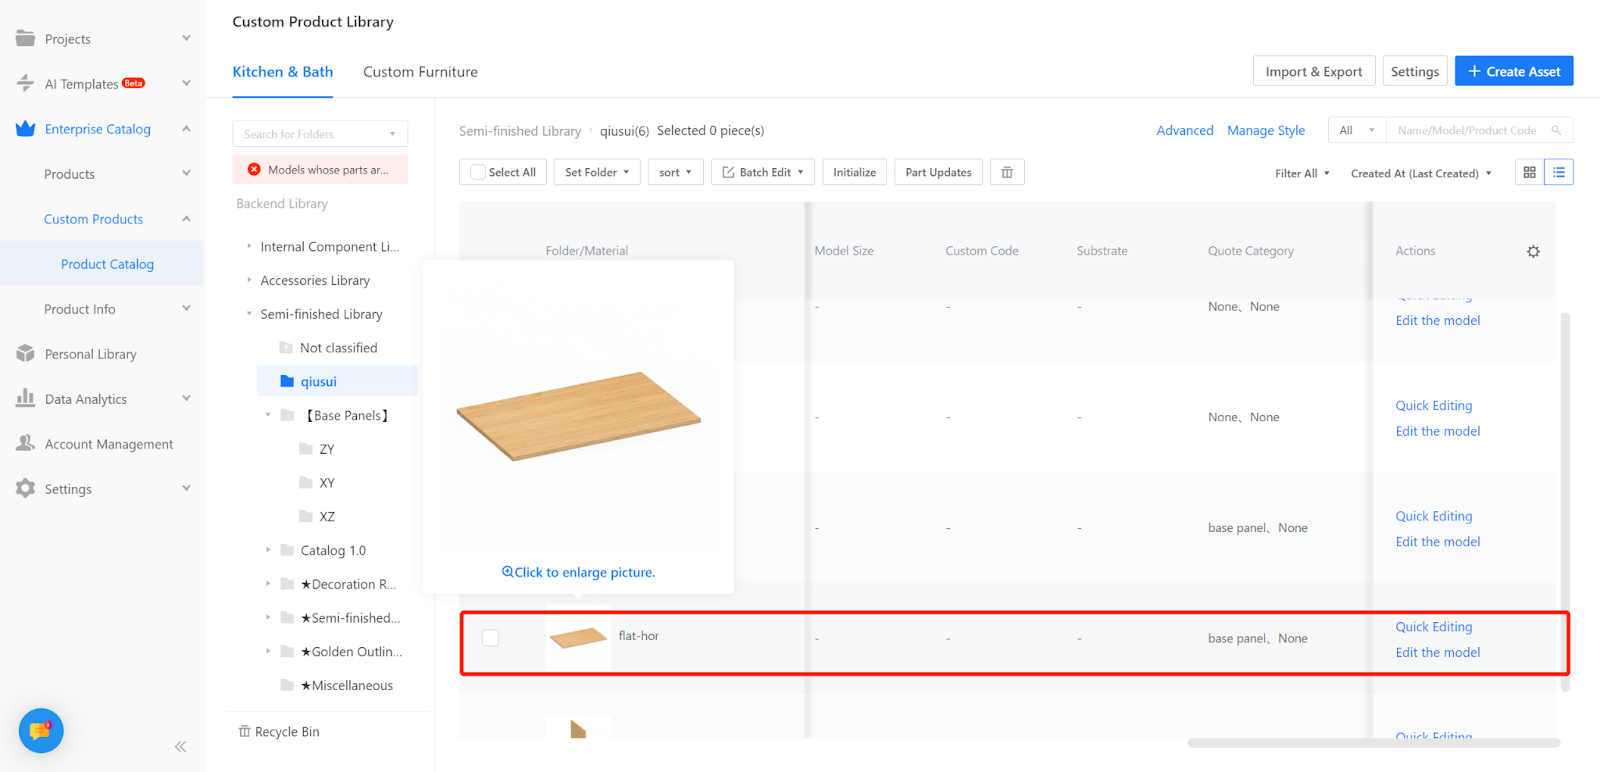
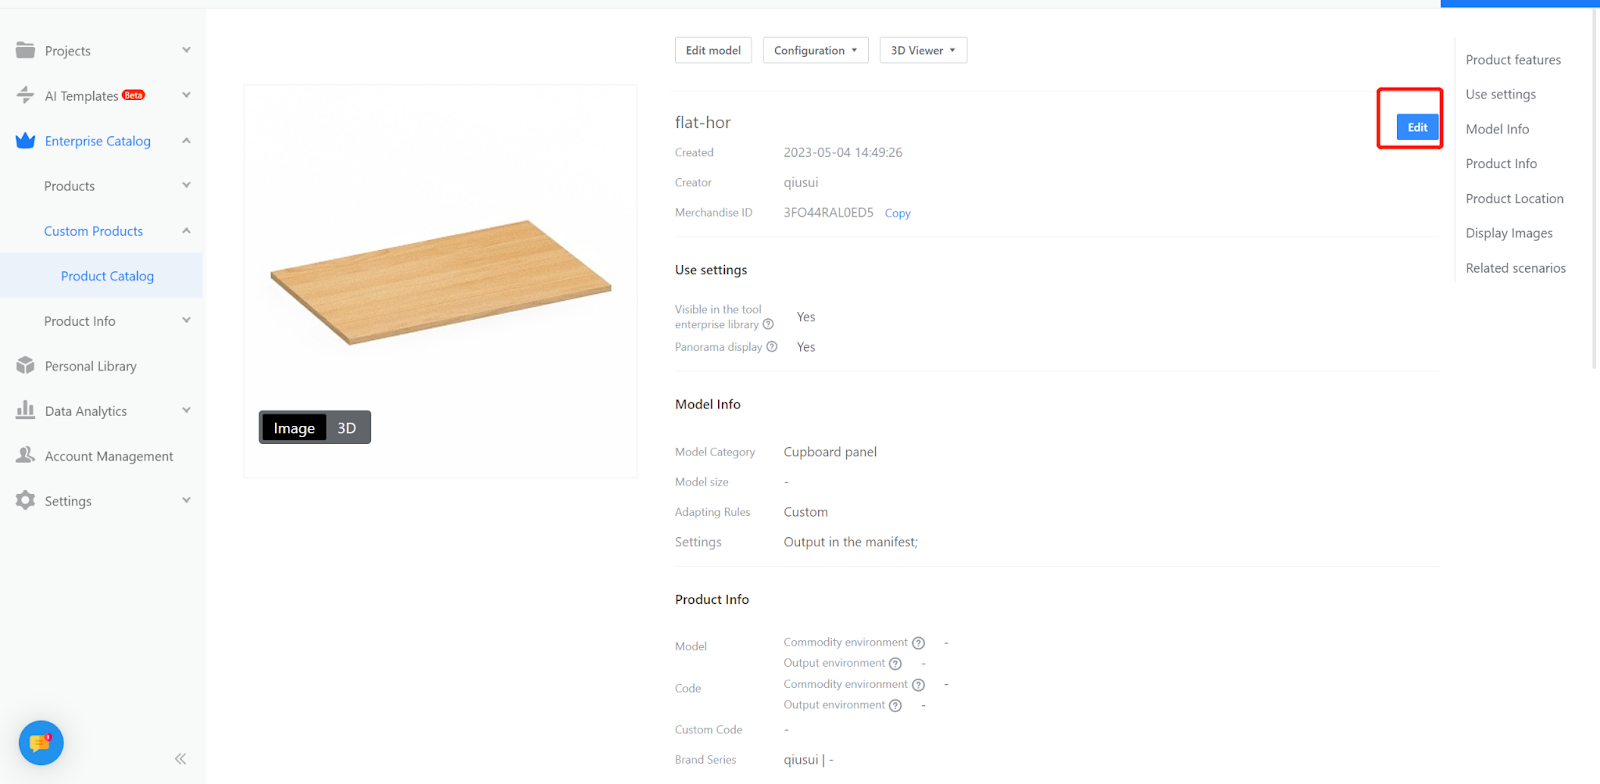
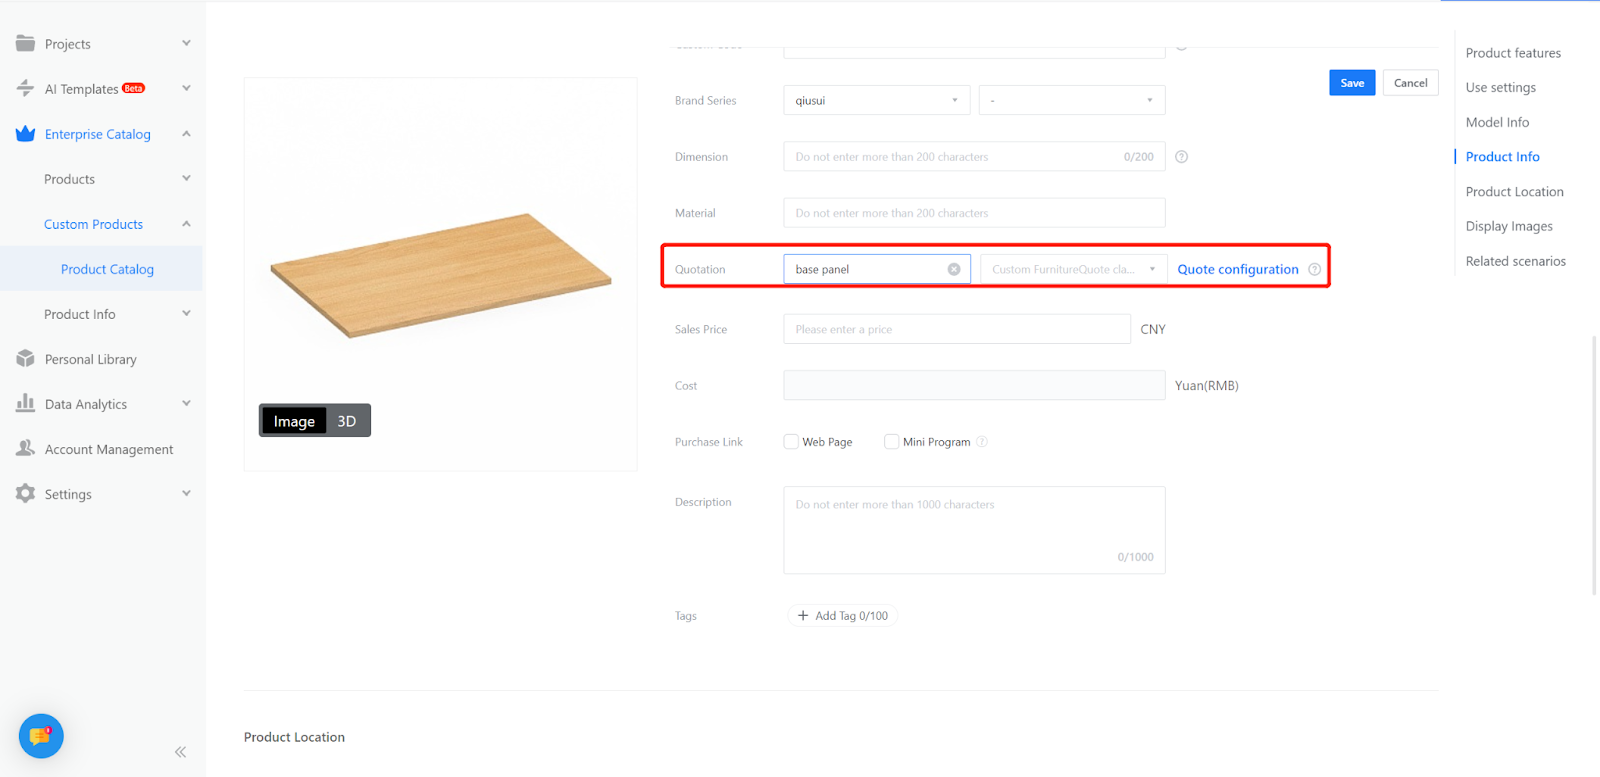
Find the panel to be priced in the backend, hover over it and click the panel to go to the product information page, click "Edit" in the upper right corner, select the quotation category set just now in the quotation category column, and click "Save" .
Find the panel to be priced in the backend, hover over it and click the panel to go to the product information page, click "Edit" in the upper right corner, select the quotation category set just now in the quotation category column, and click "Save" .
-
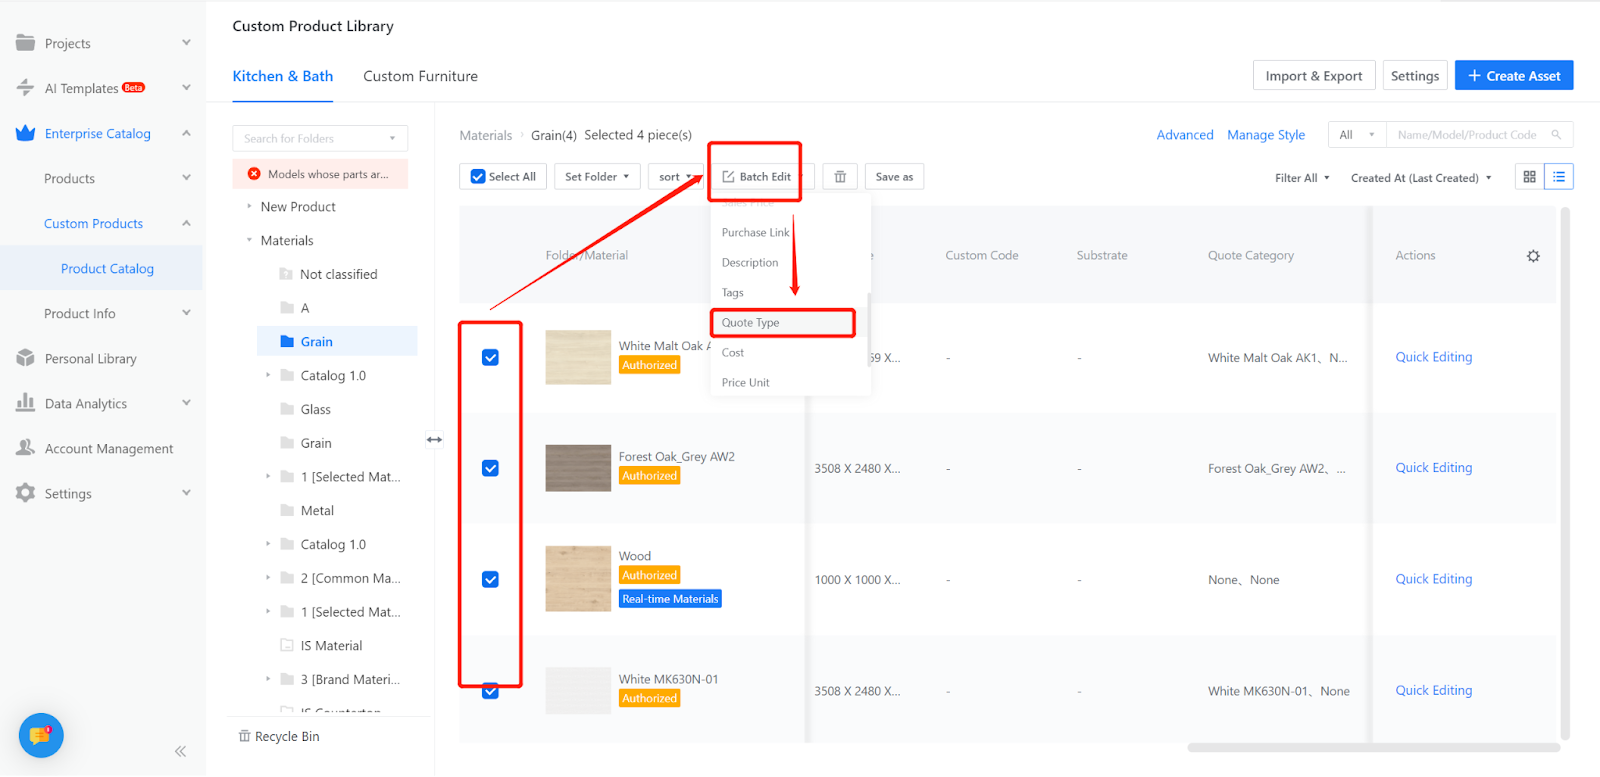
In the backend, find the material to be priced. If multiple materials have the same price, multiple materials in the same category can be selected for batch editing. Choose the corresponding material quotation category.
In the backend, find the material to be priced. If multiple materials have the same price, multiple materials in the same category can be selected for batch editing. Choose the corresponding material quotation category.
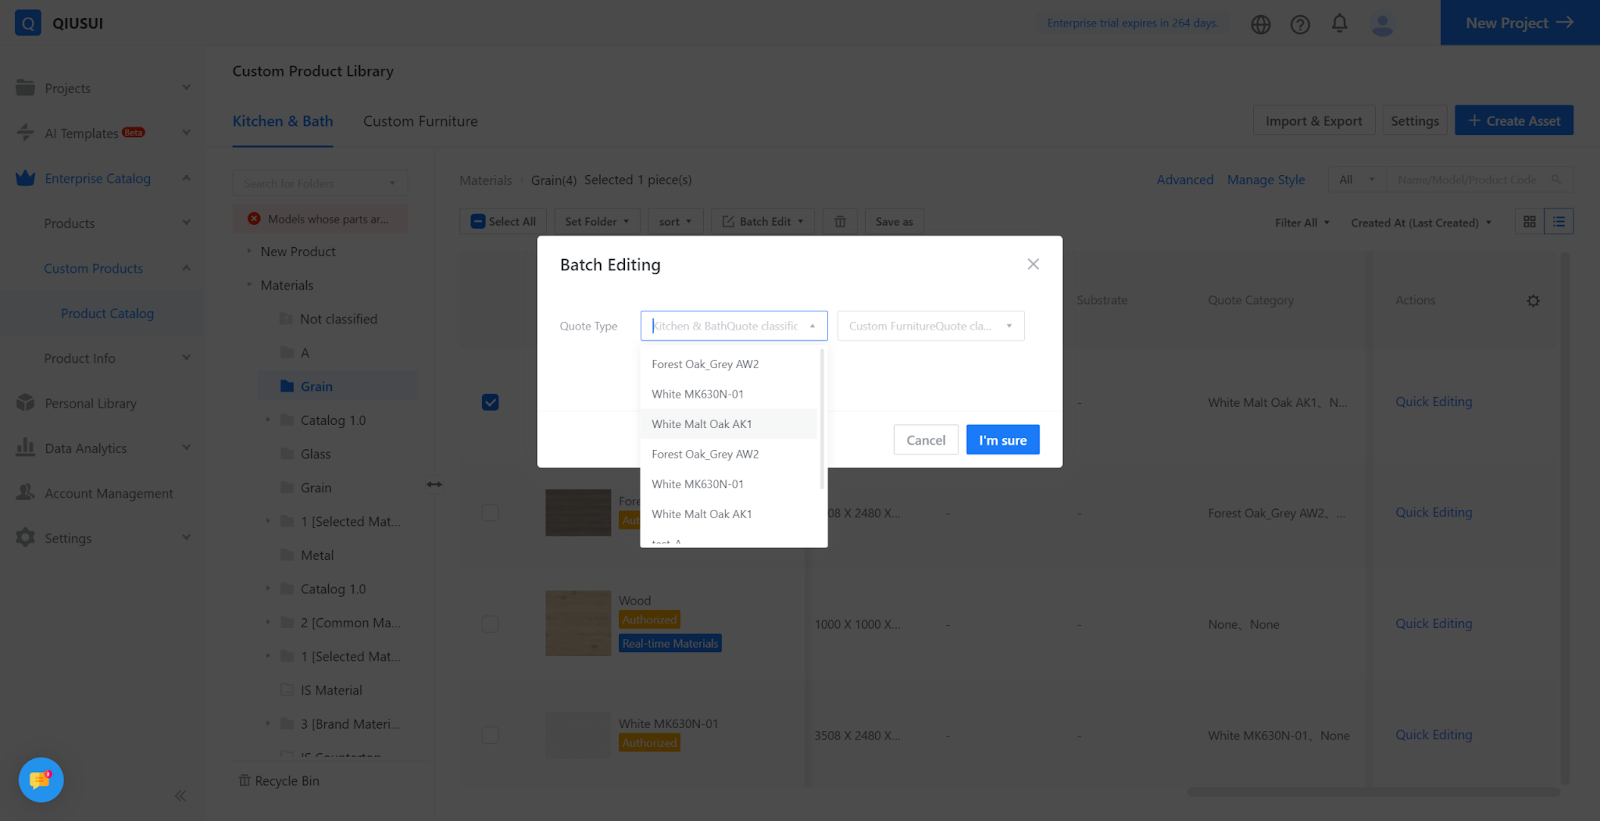
Follow the same method to set the quotation category for the painted texture.
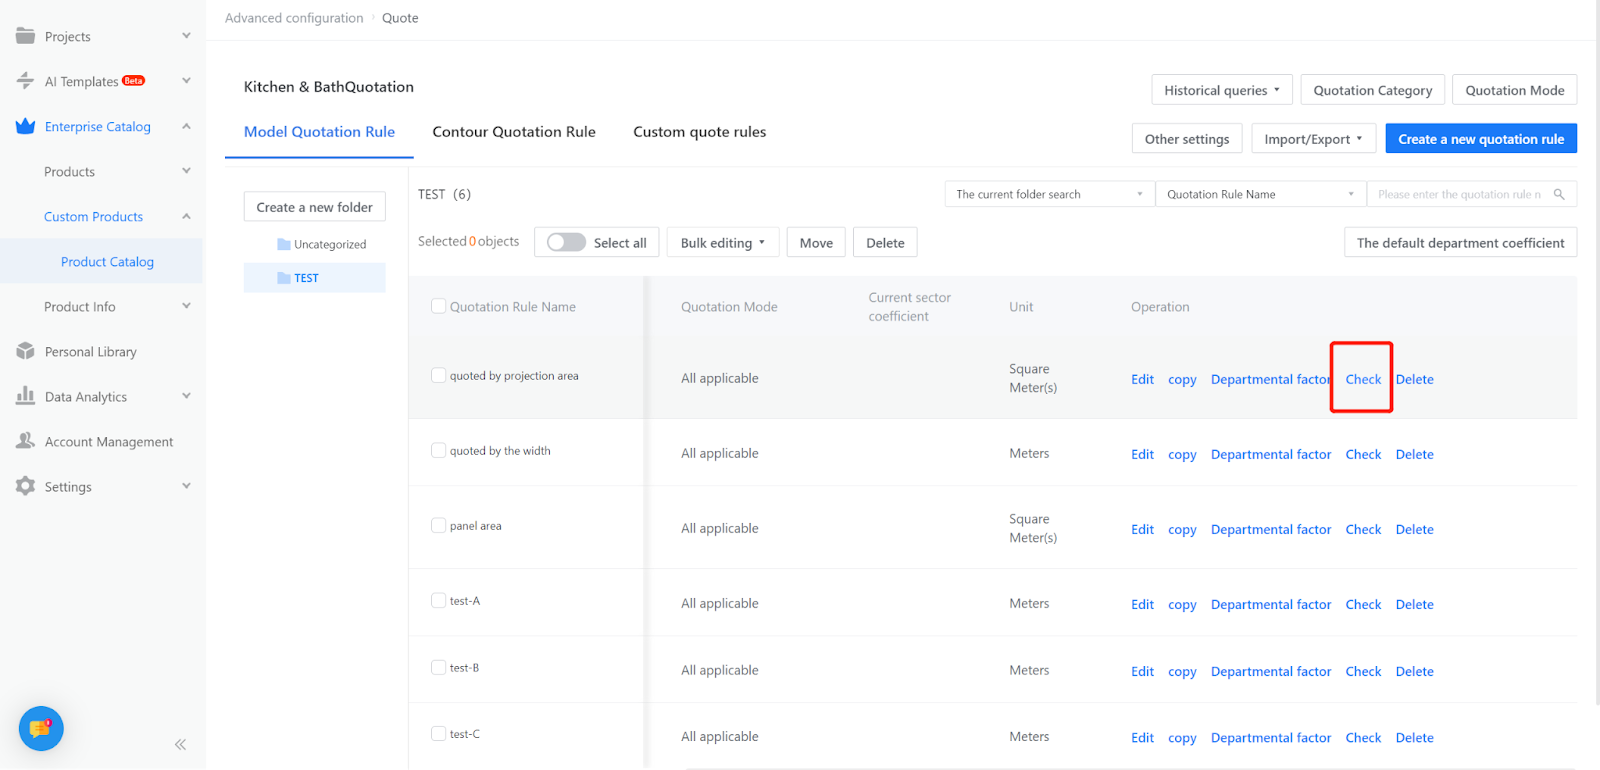
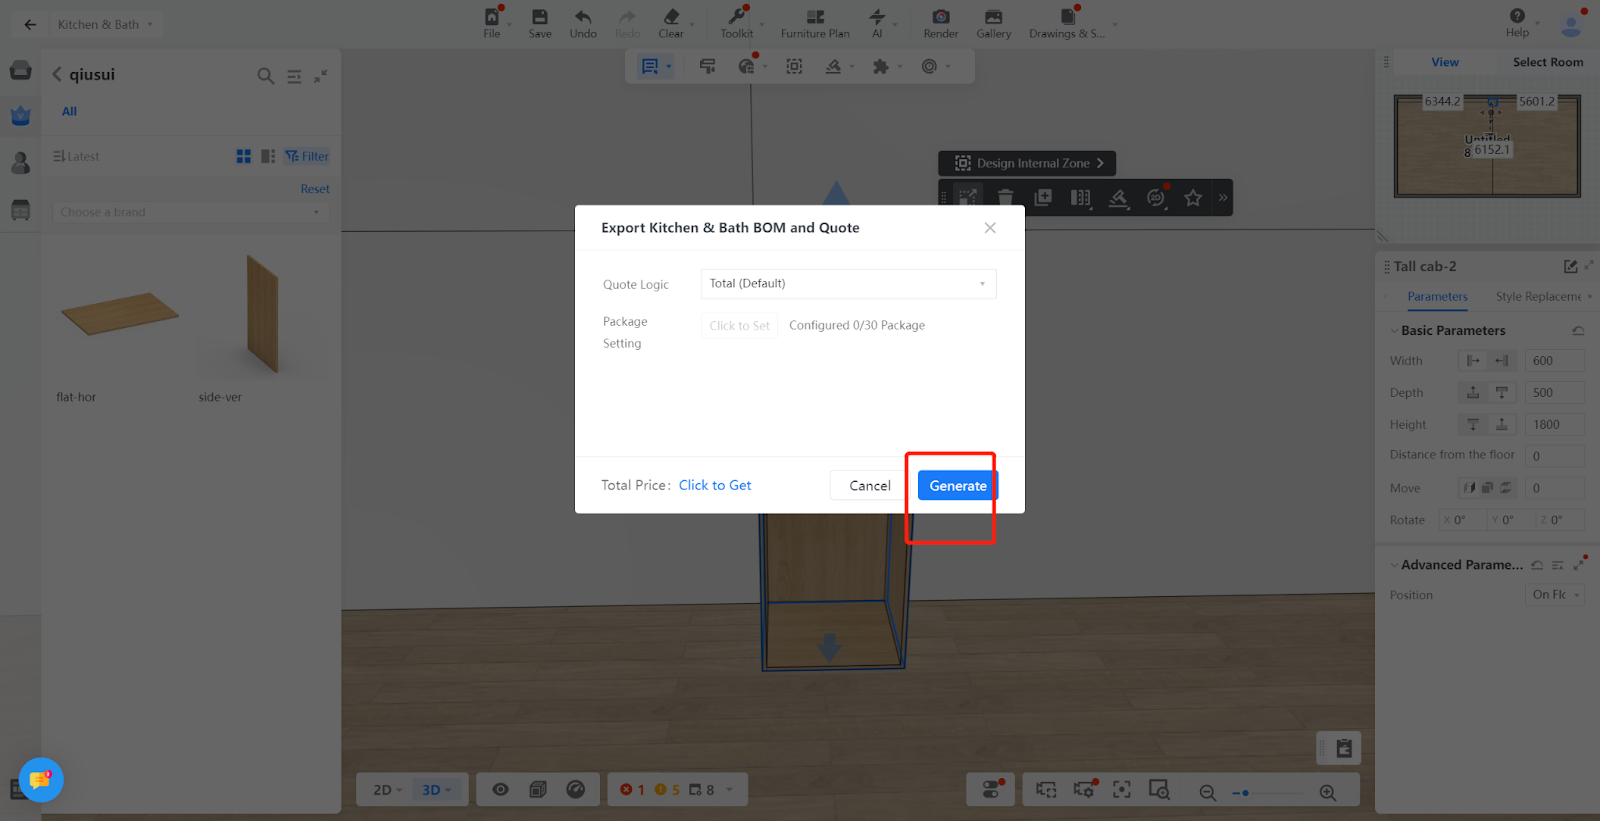
Testing and downloading the list
After setting the quotation, please go back to the quotation page.
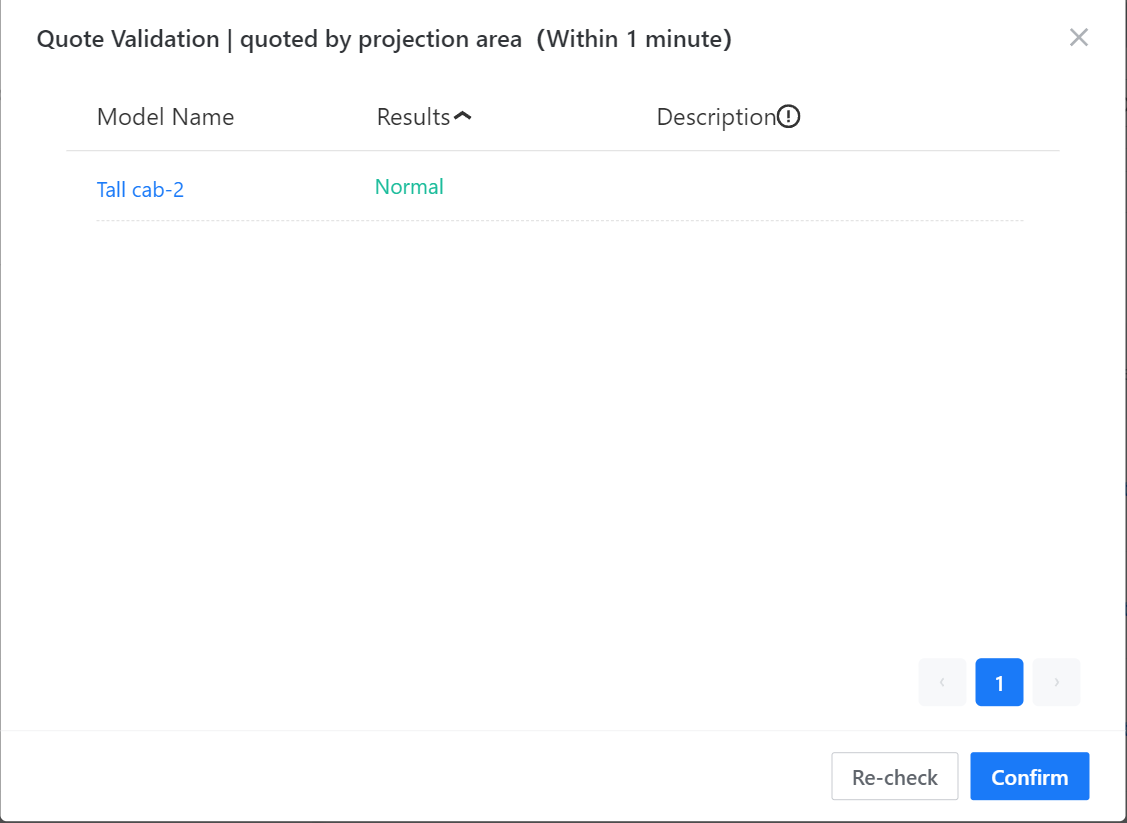
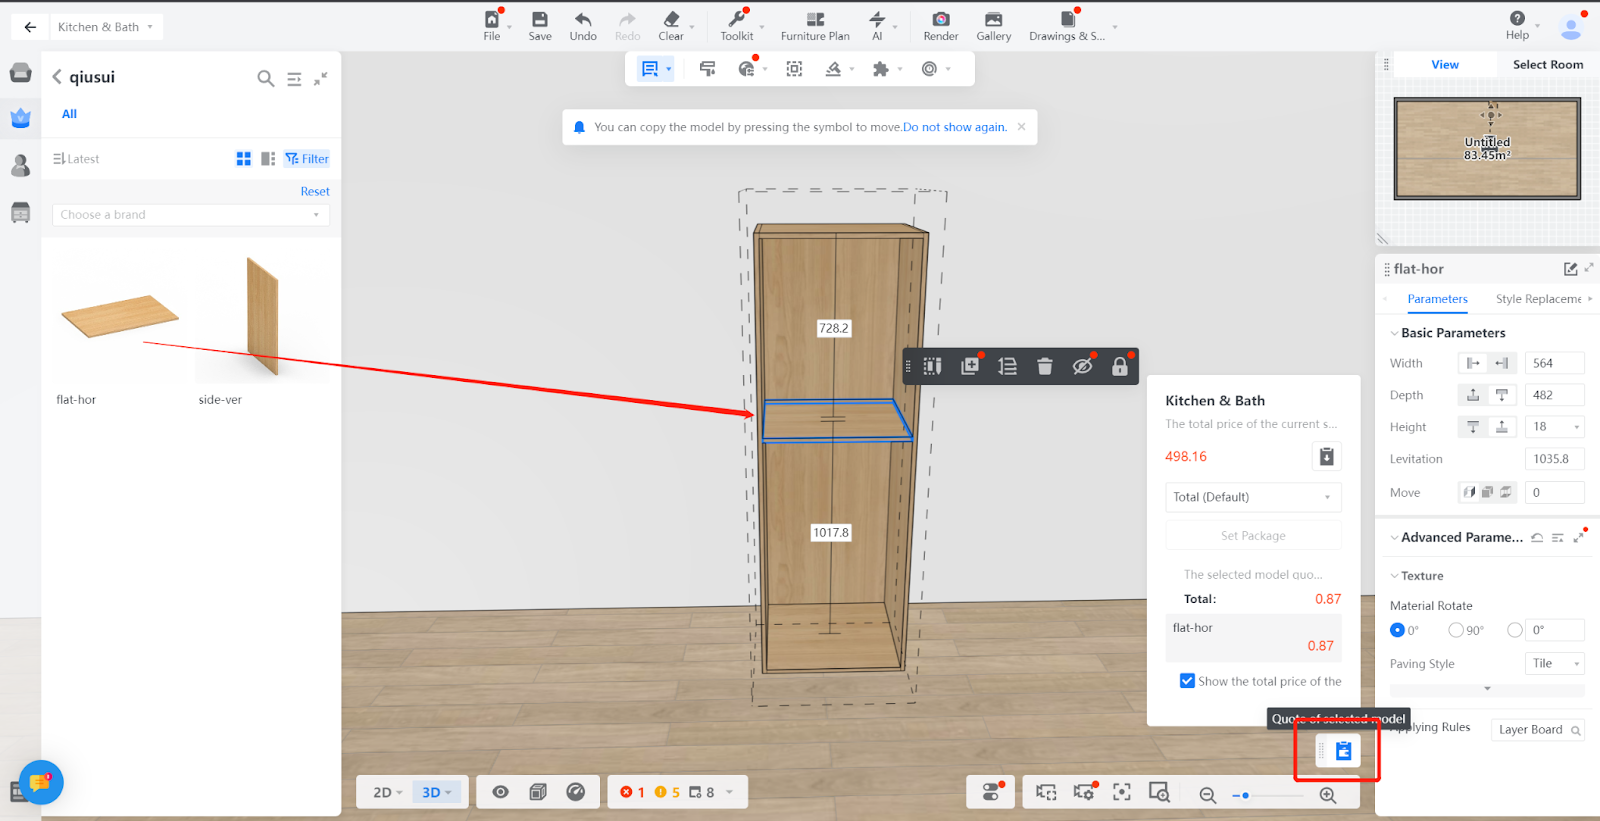
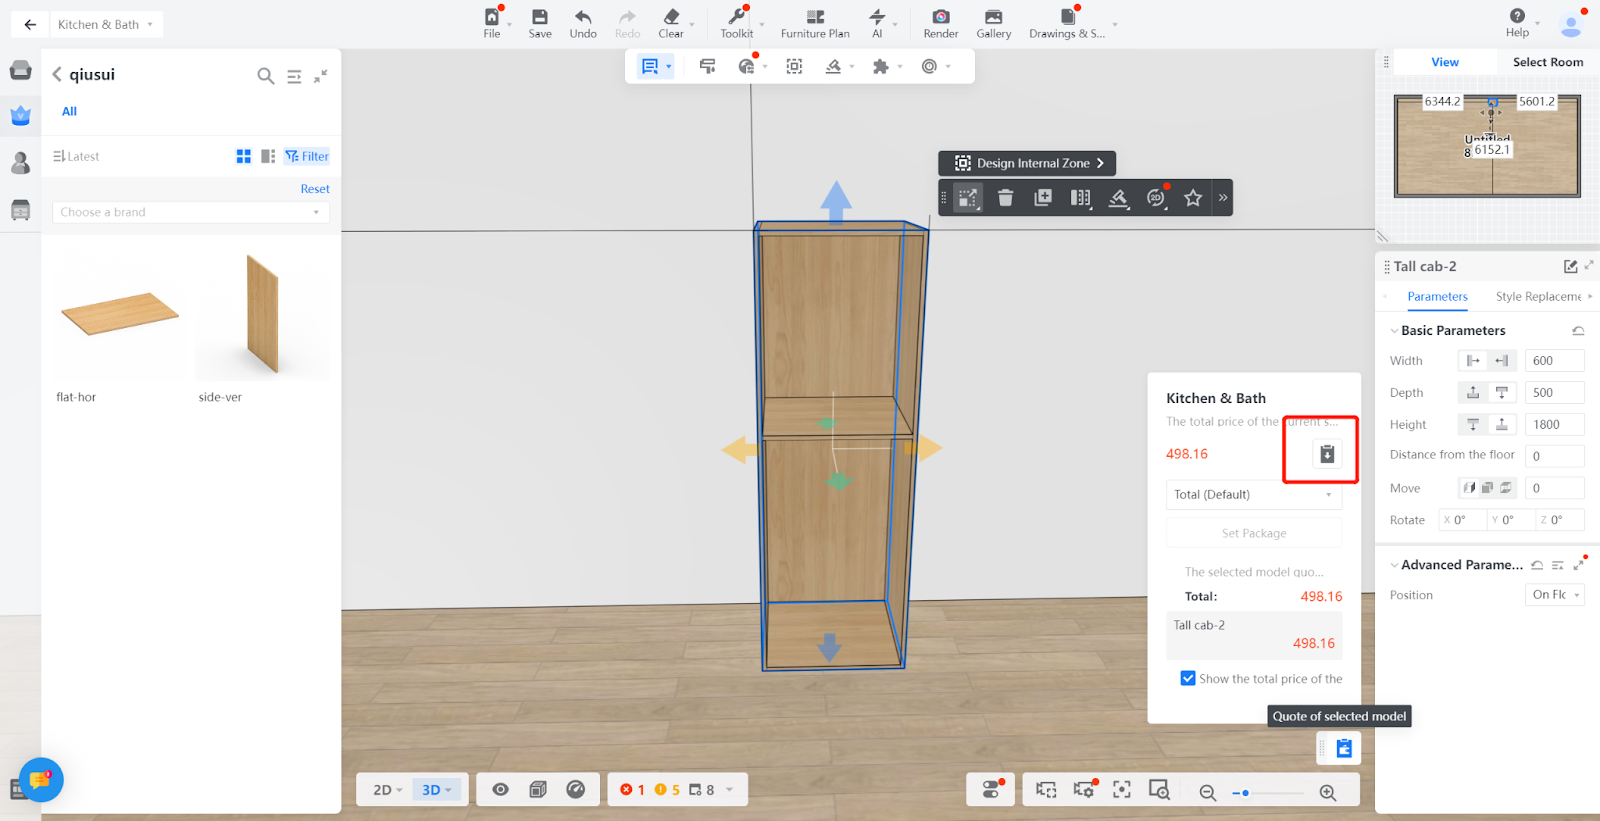
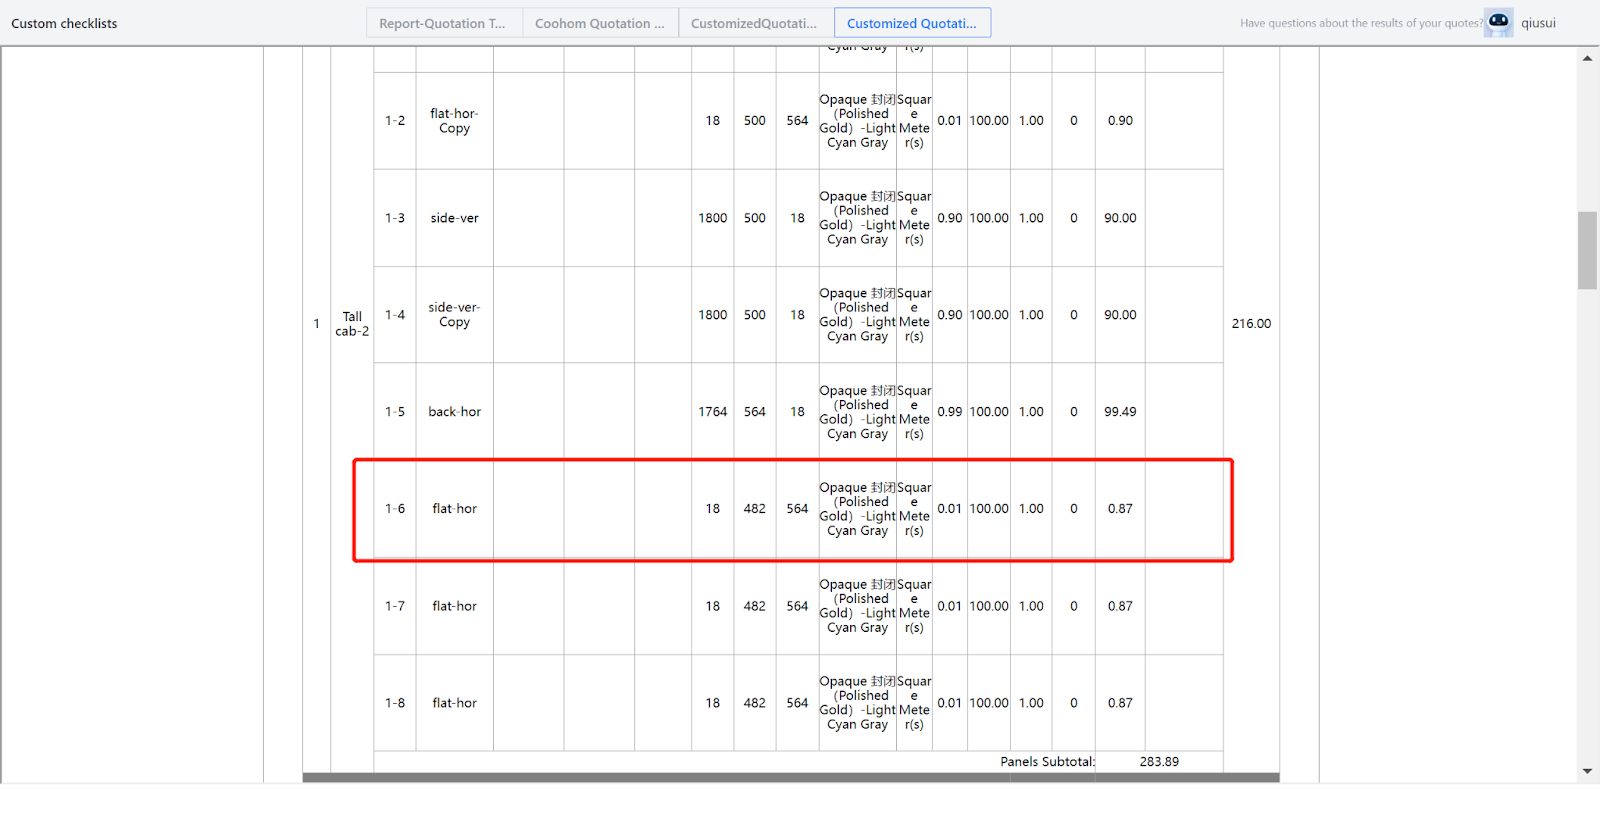
In the customization tool, drag the panel with the quotation category set into the scene, modify the size and material, and download the list to check if the quotation is correct.
If there is no quotation for the dragged model, it may be due to the following reasons:
1.There is a caching time between the frontend and the backend, so after adding the quotation category, you need to wait for a period of time for the front-end data to synchronize.
2.The dragged model is not associated with the model quotation category.
3.The current material is not associated with the material category defined in the quotation rule. Please replace it with a material that has a quotation category set.