Contents
I. Definition
II. Function Entry
III. Operation Steps
I. Definition
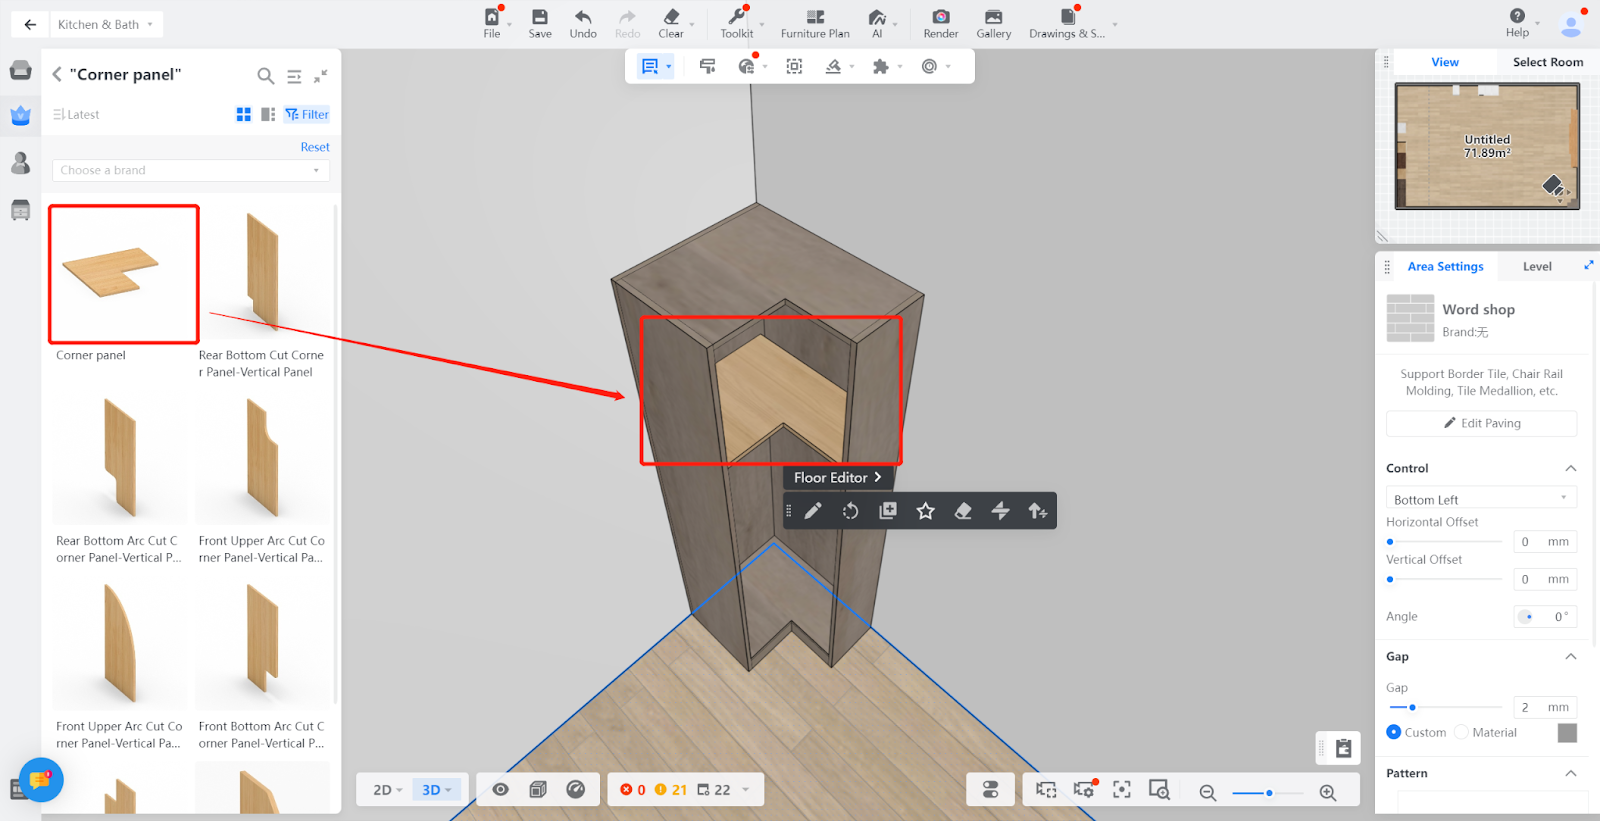
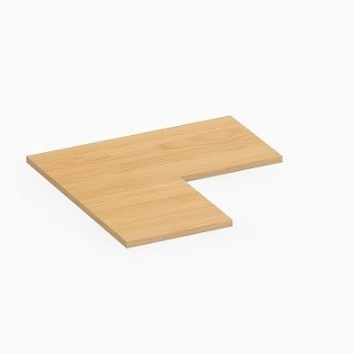
L-Shaped Layer Panel is a model component of the L-shaped corner cabinet.
Take the modeling of an 18mm L-Shaped Layer Panel in a wardrobe as an example.
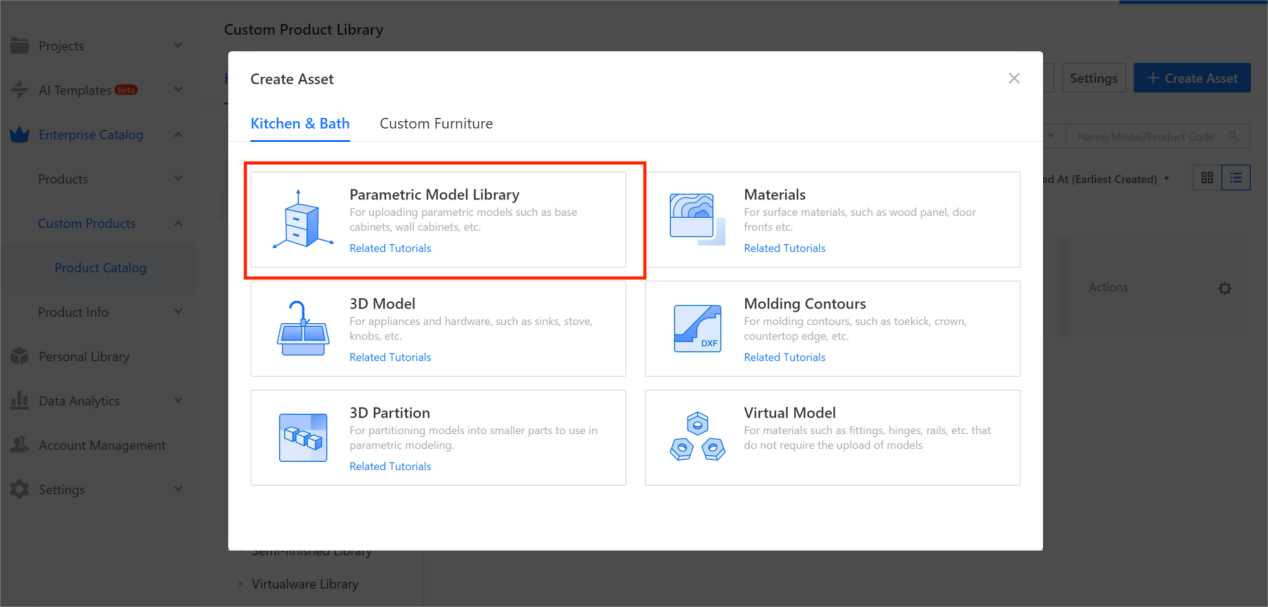
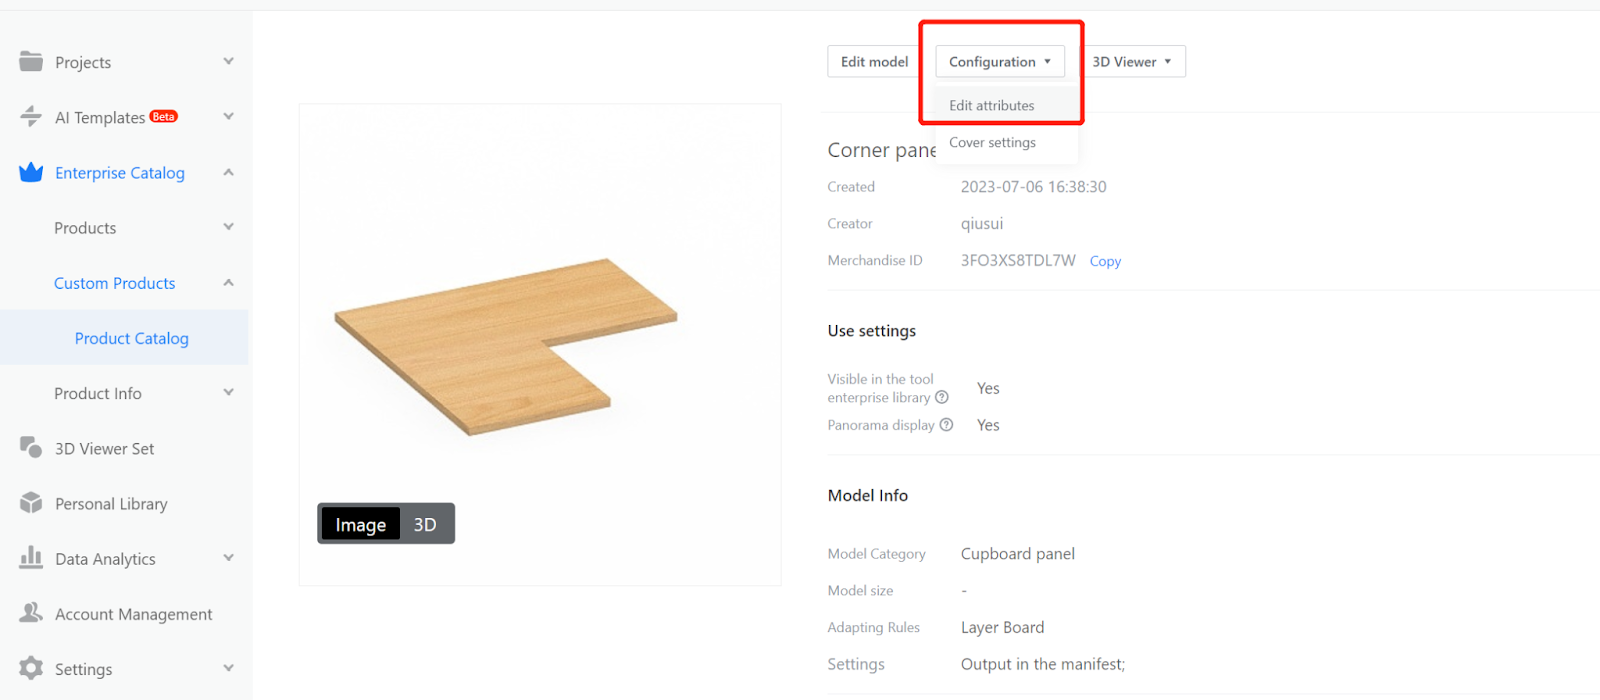
II.Function Entry
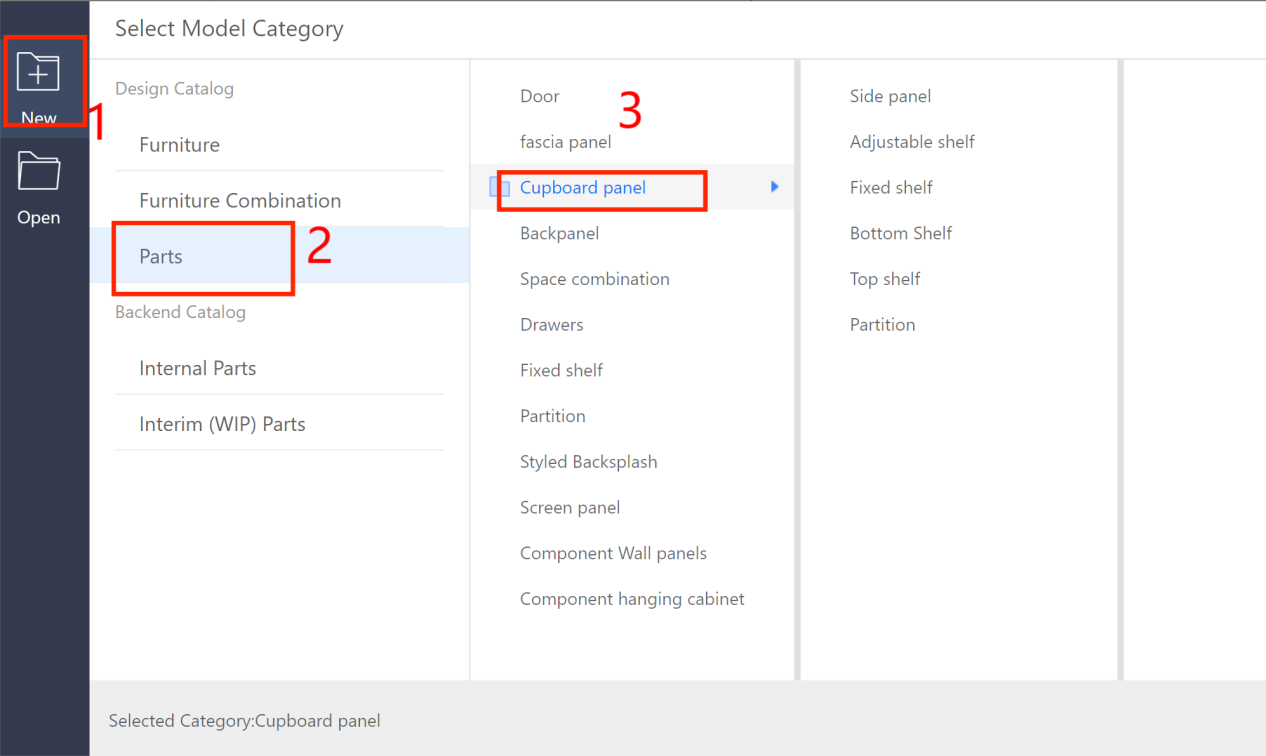
Enterprise Catalog-Custom Products-Product Catalog- Kitchen&Bath, Custom Furniture-Create Asset- Click “Parametric Model Library”- New- Interim Parts- Cupboard panel
III. Operation Steps
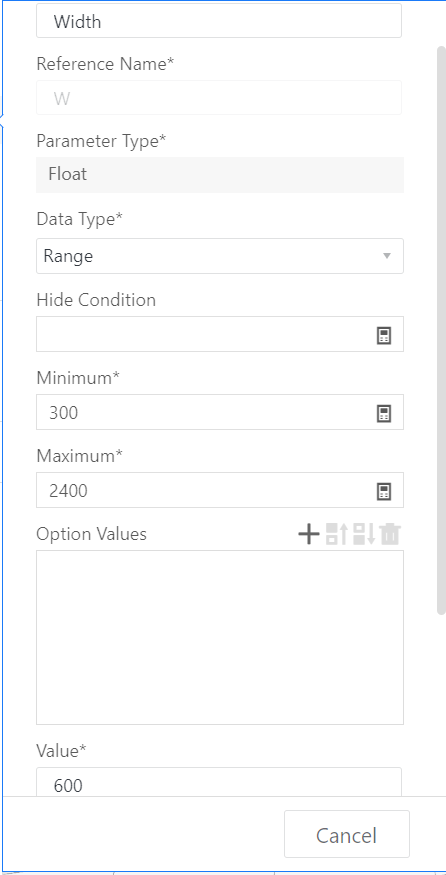
Width (W) - Represents the size in the X-axis direction, and the value type can be set as selectable (e.g., selectable values: 300, 400, 500, ..., 2400; current value: 600) or within a range (e.g., range from 300 to 1200; current value: 600).
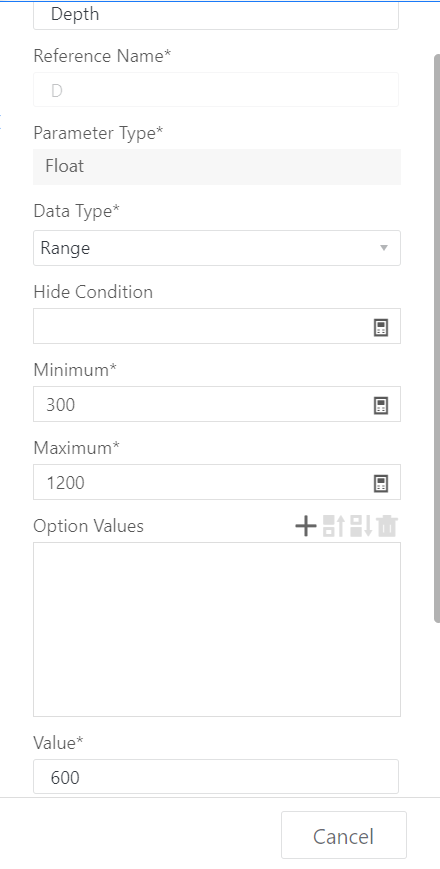
Depth (D) - Represents the size in the Y-axis direction, and the value type can be set as selectable (e.g., selectable values: 300, 400, 500, ..., 1200; current value: 500) or within a range (e.g., range from 300 to 1200; current value: 600).
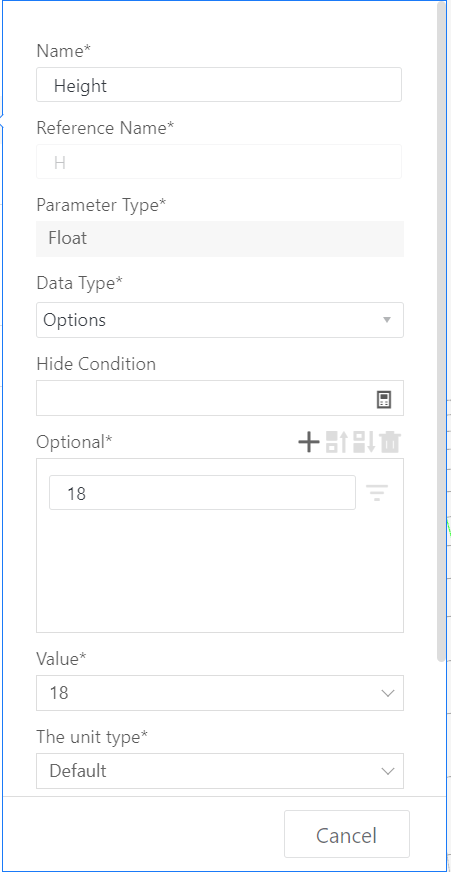
Height (H) - Represents the size in the Z-axis direction, and the value type can be set as a range (e.g., range from 10 to 100; current value: 18) or selectable (e.g., selectable value: 18; current value: 18).
Add advanced parameter: Name: Left Width, Reference: W1, Value type can be set as selectable (e.g., selectable values: 100, 200, ..., 500; current value: 300) or within a range (e.g., range from minimum value 100 to maximum value: #W-100; current value: 300), click Create.
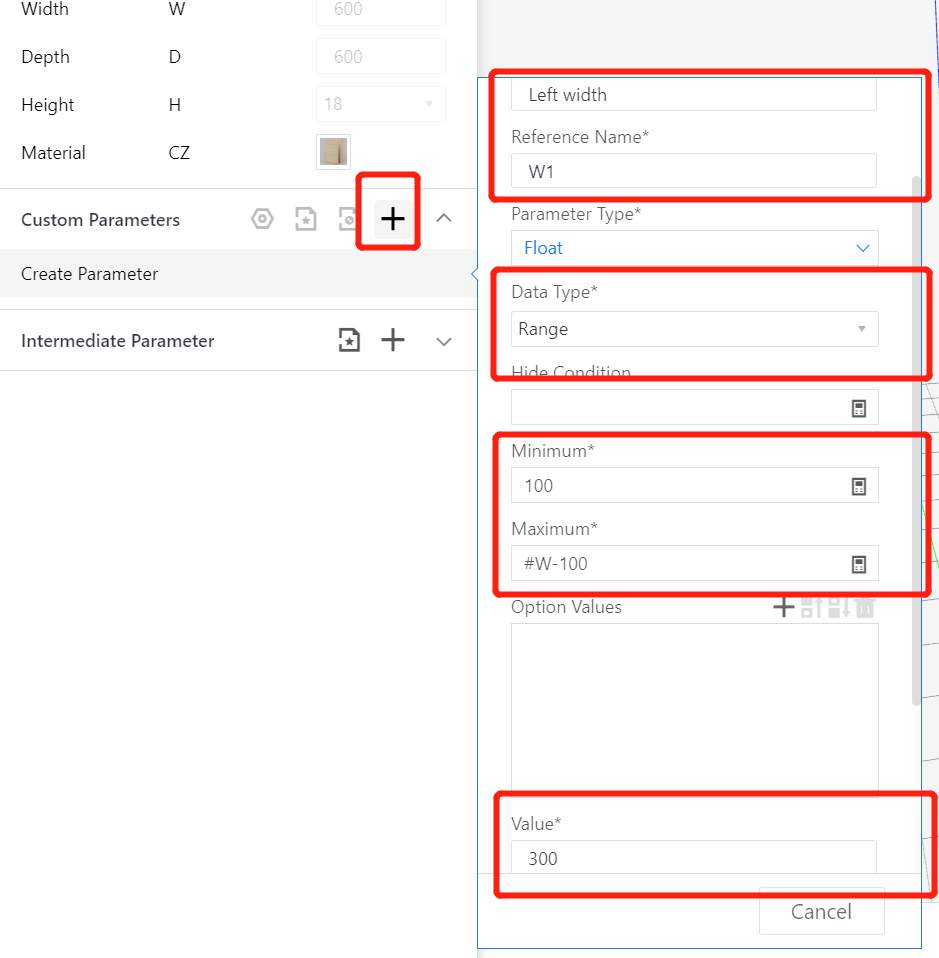
Add advanced parameter: Name: Right Depth, Reference: D1, Value type can be set as selectable (e.g., selectable values: 100, 200, ..., 500; current value: 300) or within a range (e.g., range from minimum value 100 to maximum value: #D-100; current value: 300), click Create.

Material does not need to be modified, indicating that the model uses the default material.
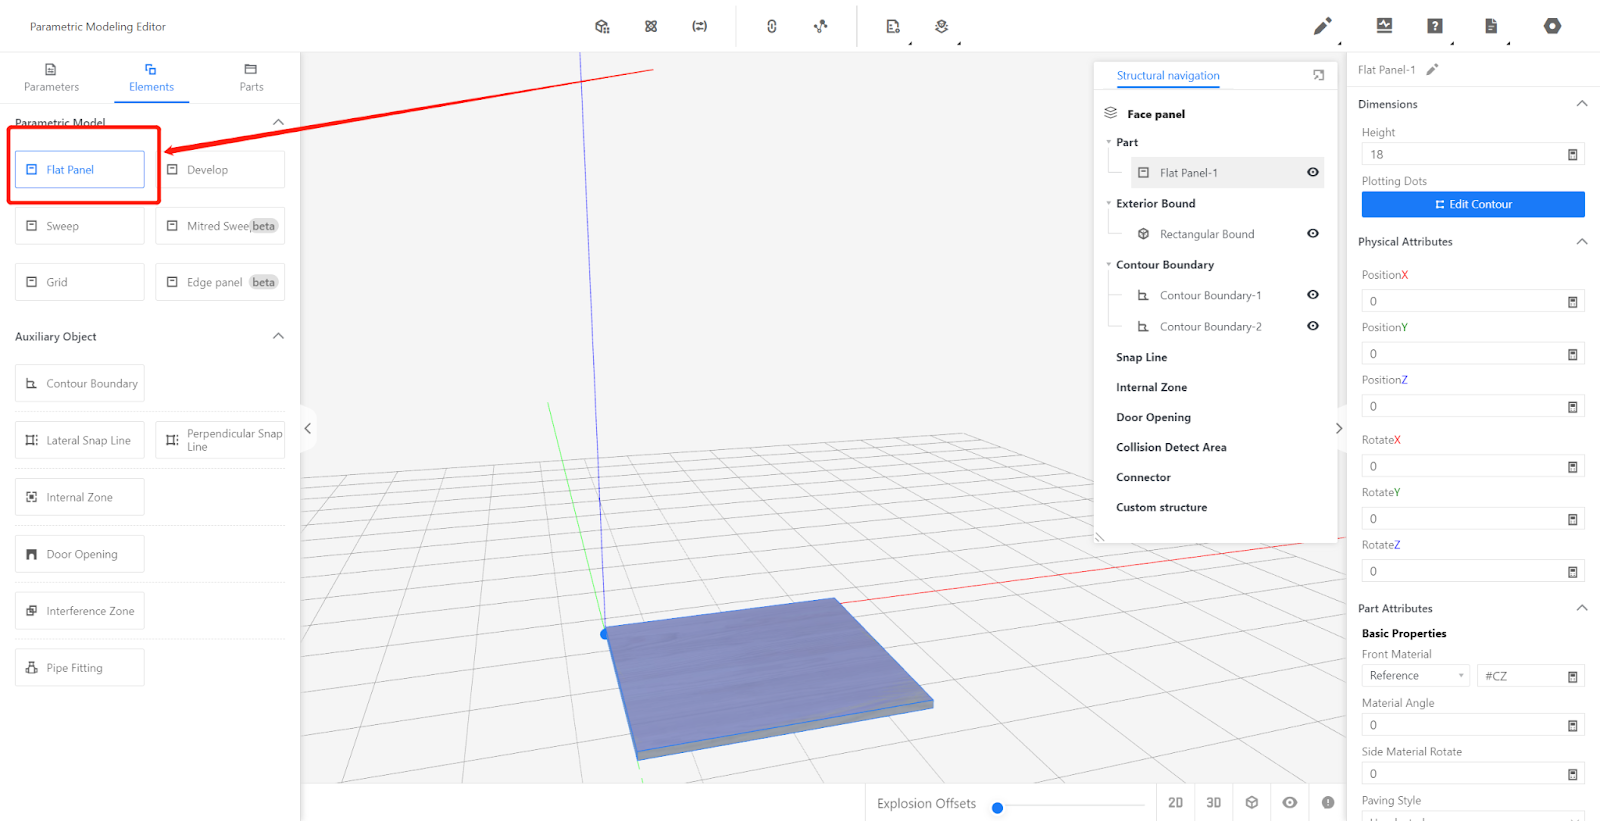
III.Insertion of Flat Panel Modeling
Insert the flat panel from the Elements.
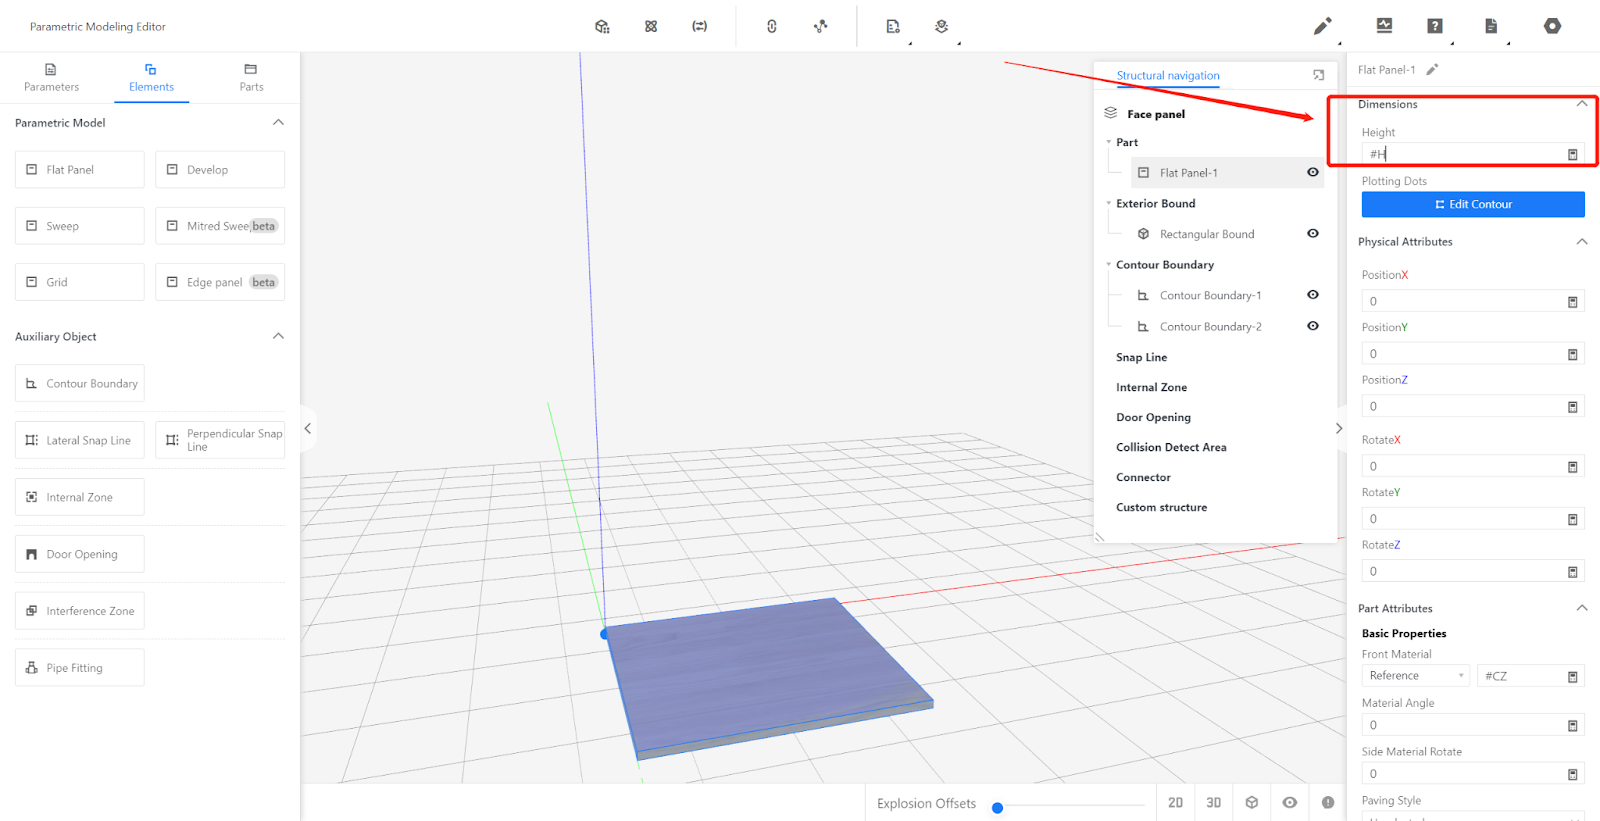
In the right panel of dimension attributes, set the height as #H.
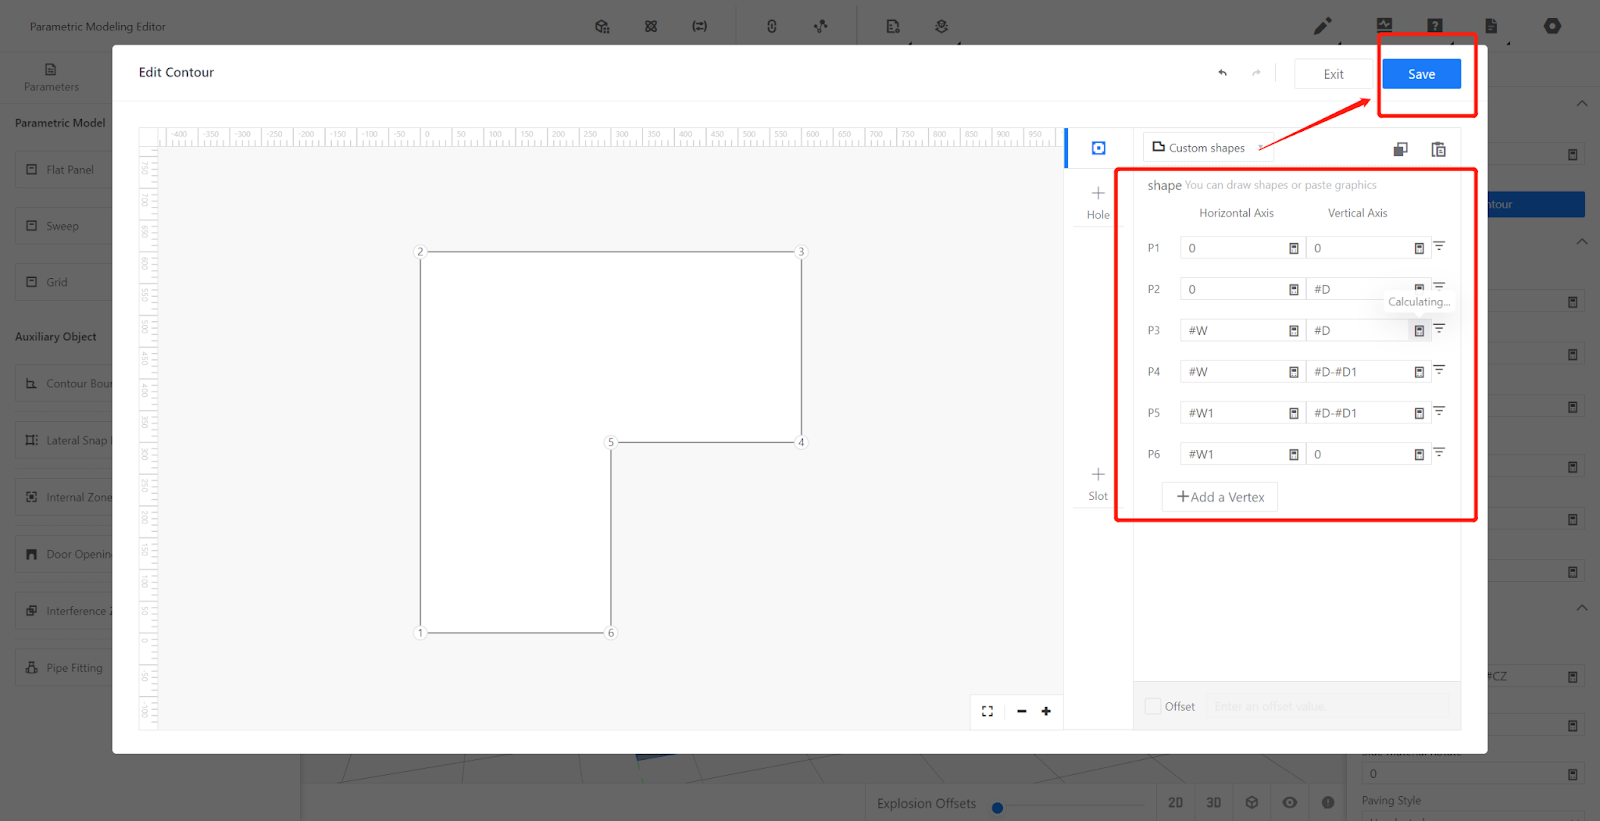
Click Edit Contour to draw points.
Point 1: 0,0;
Point 2: 0,#D;
Point 3: #W, #D;
Point 4: #W,#D-#D1;
Point 5: #W1, #D-#D1;
Point 6: #W1,0.
Click Save.
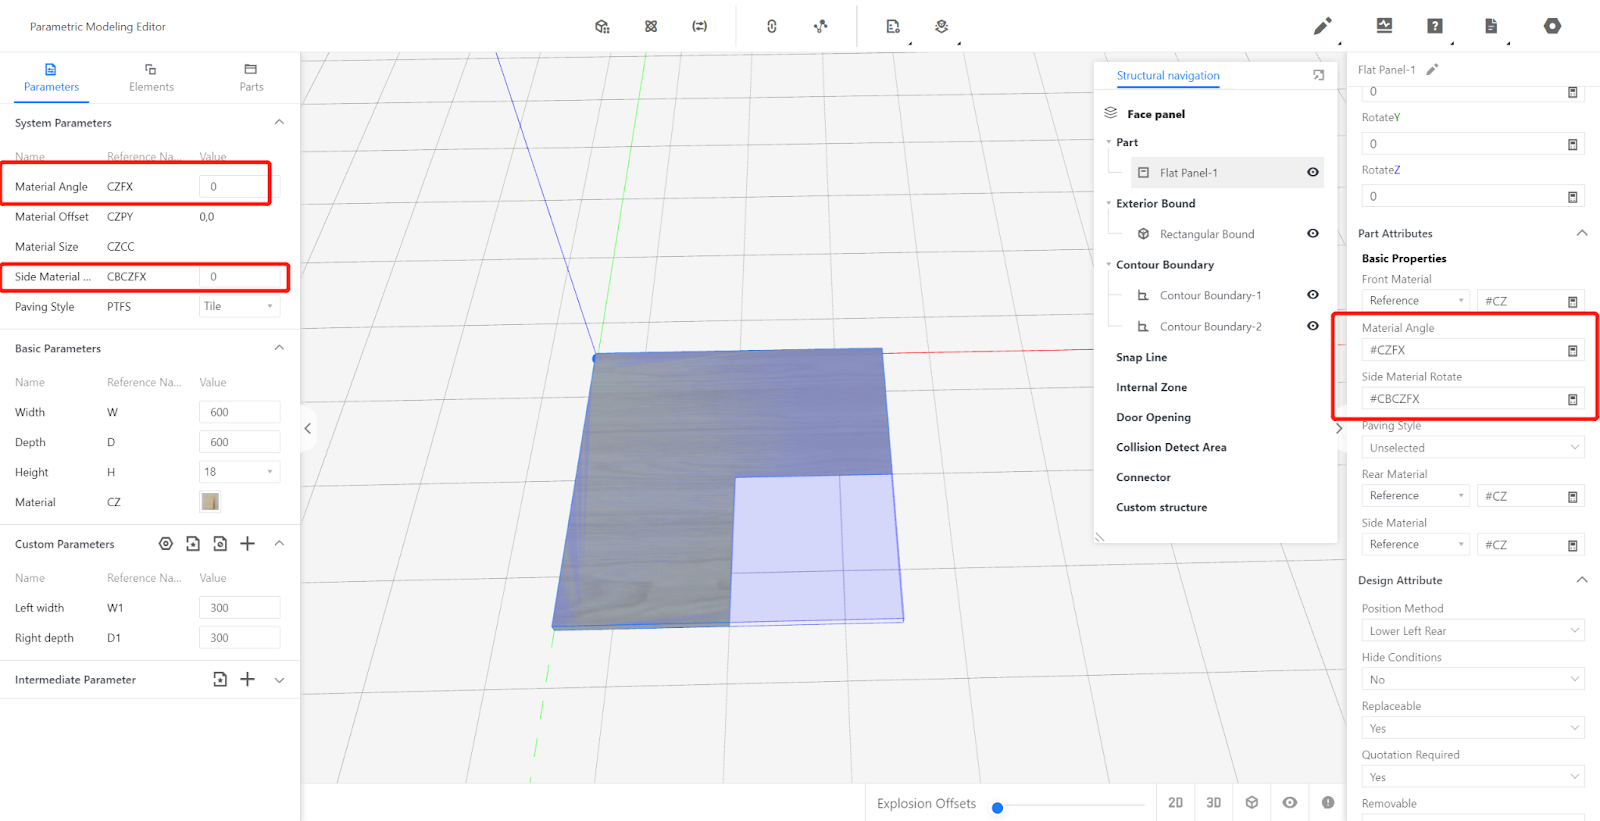
Set other attributes: Material Direction: #CZFX, Side Material Direction: #CBCZFX (If you need to modify these two values, modify them in the system variables).
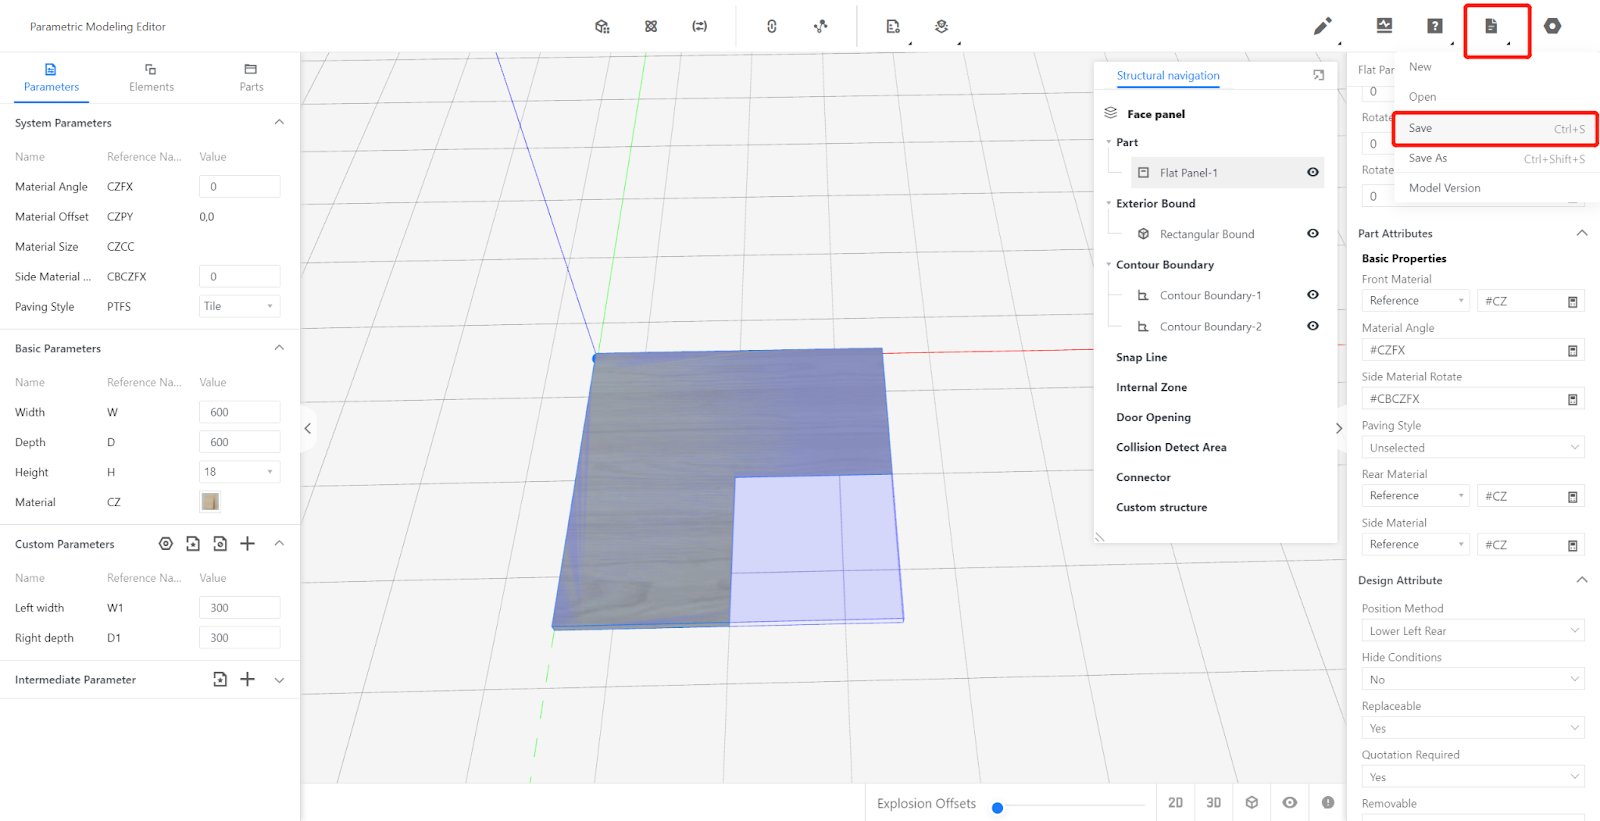
Save to Library
Click on the top-right corner file icon, select Save, choose the subdirectory for saving, give it a name, and click Save.
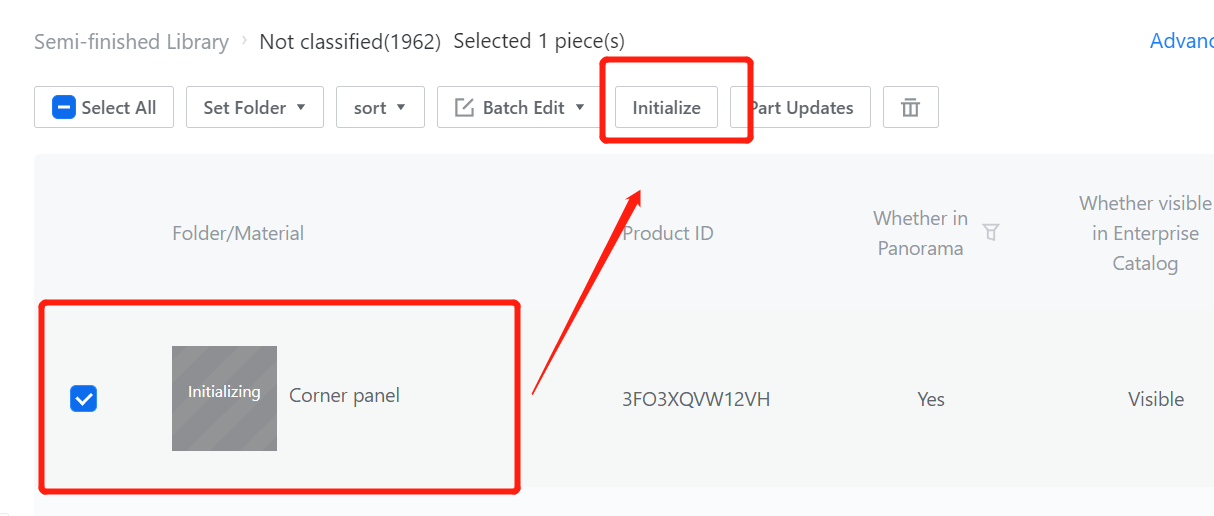
Find the model in the backend page, select the model, and choose to save it to the library.
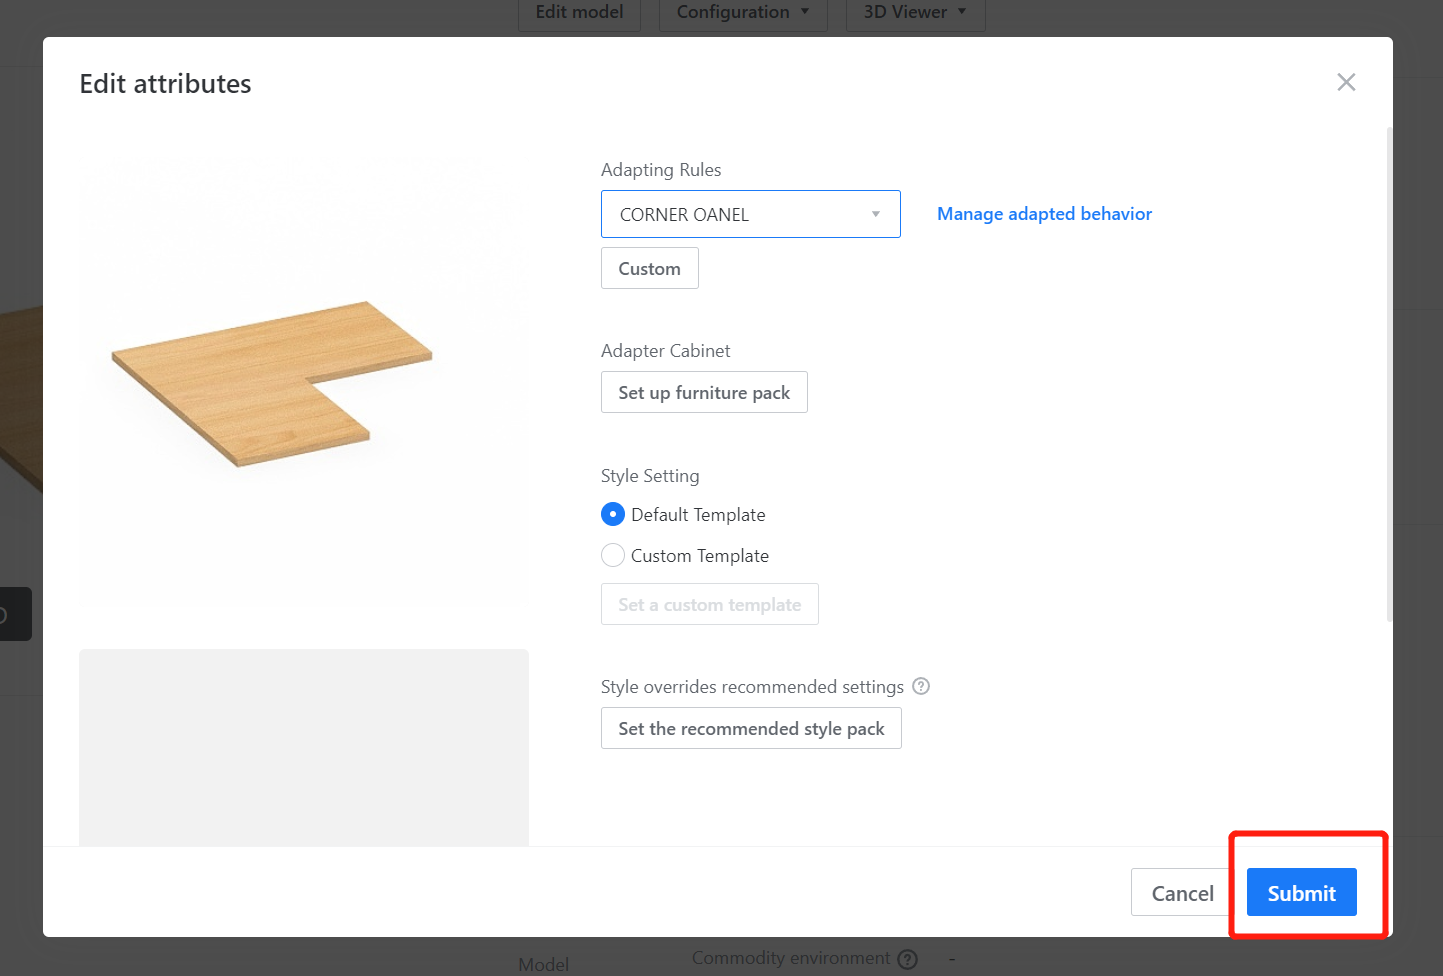
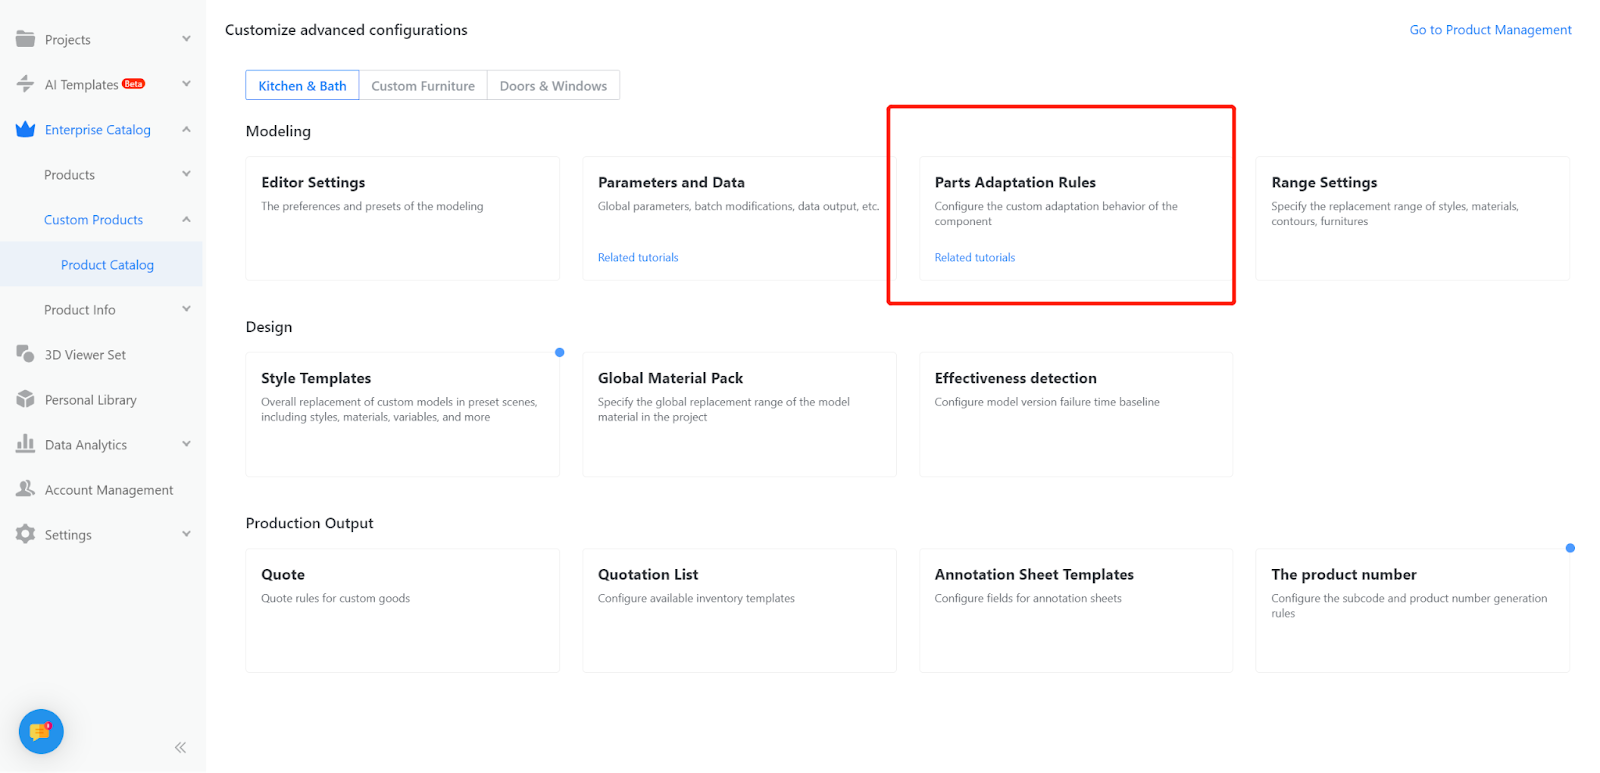
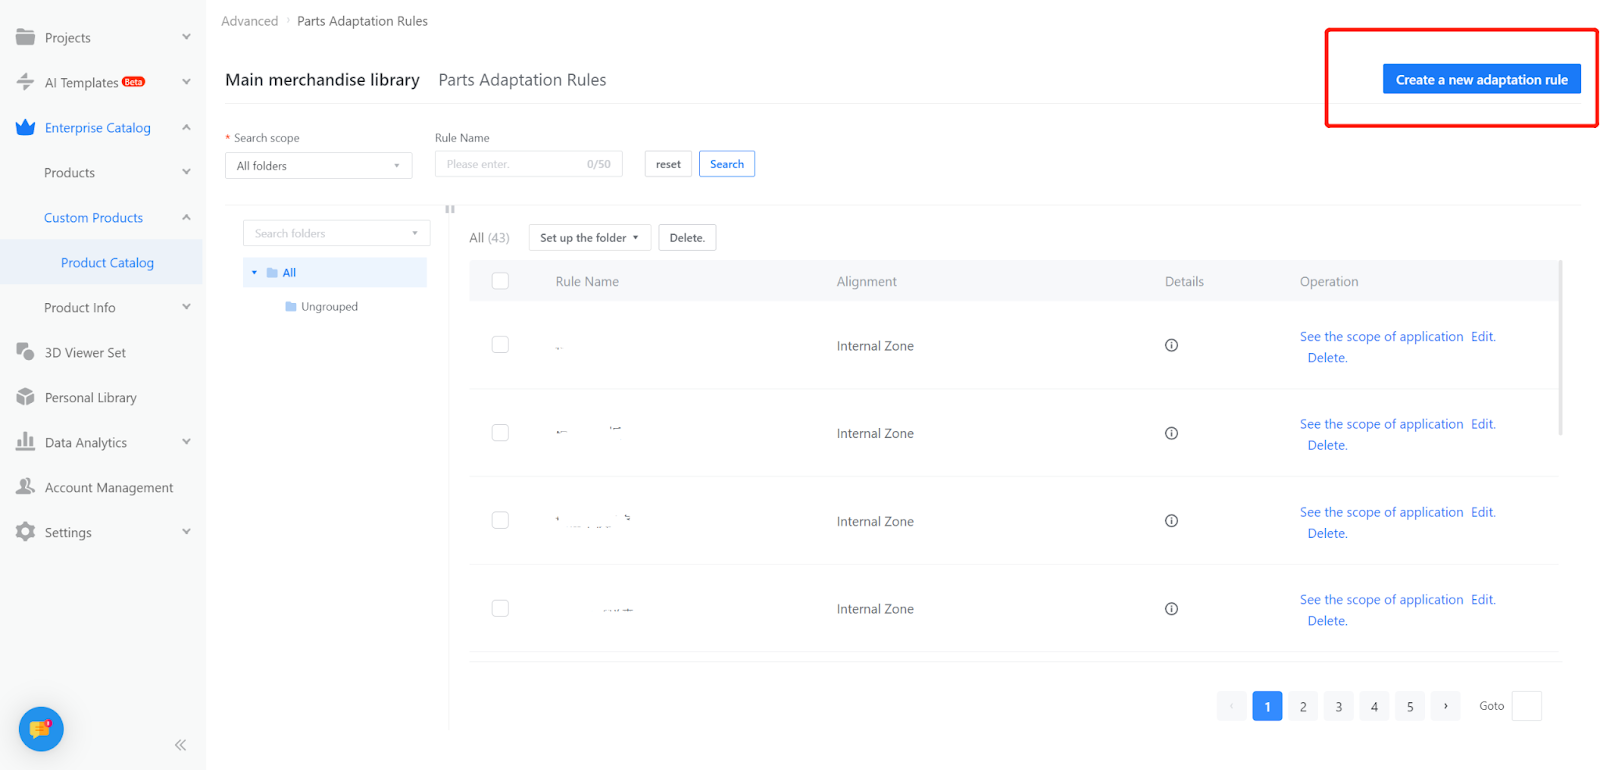
Add Adaptation
1.Create a new rule for adapting corner layer panels.

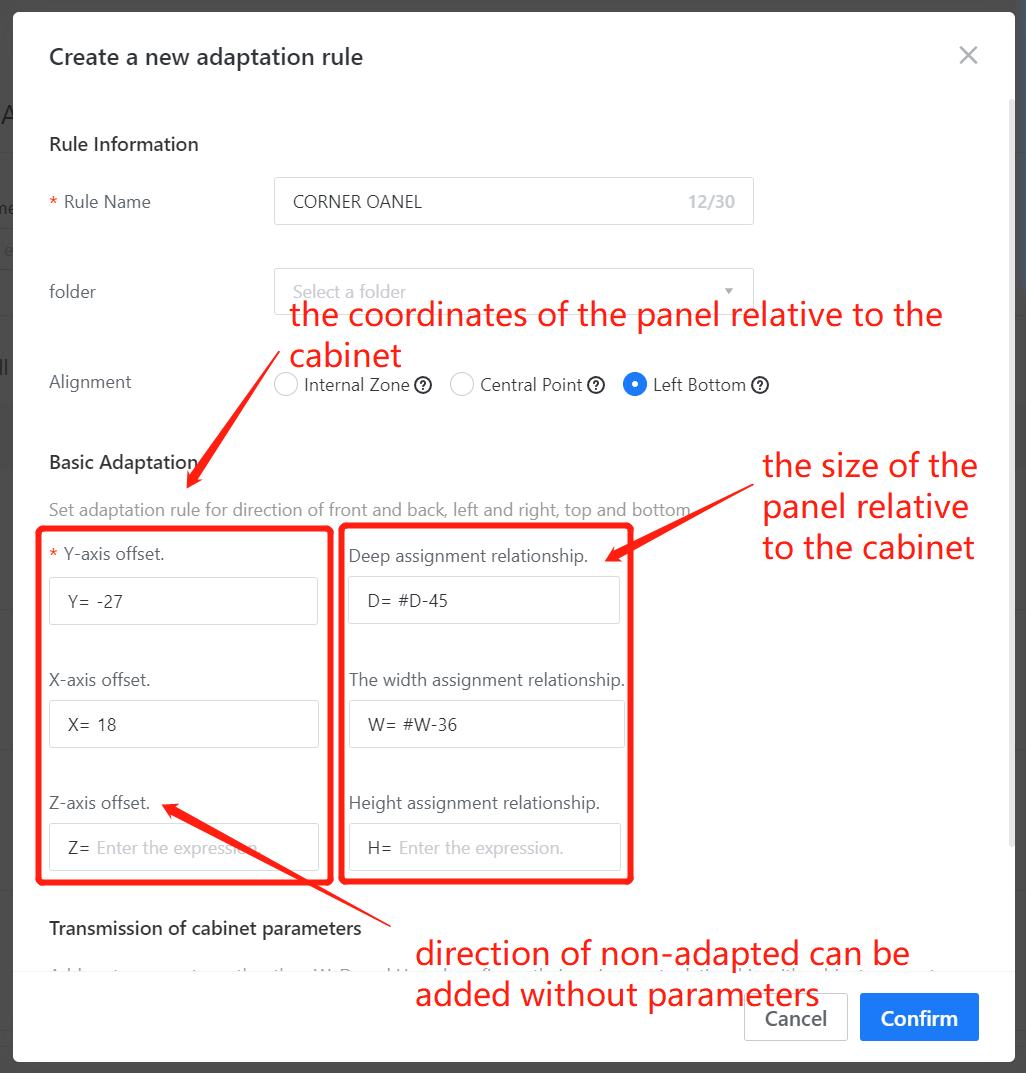
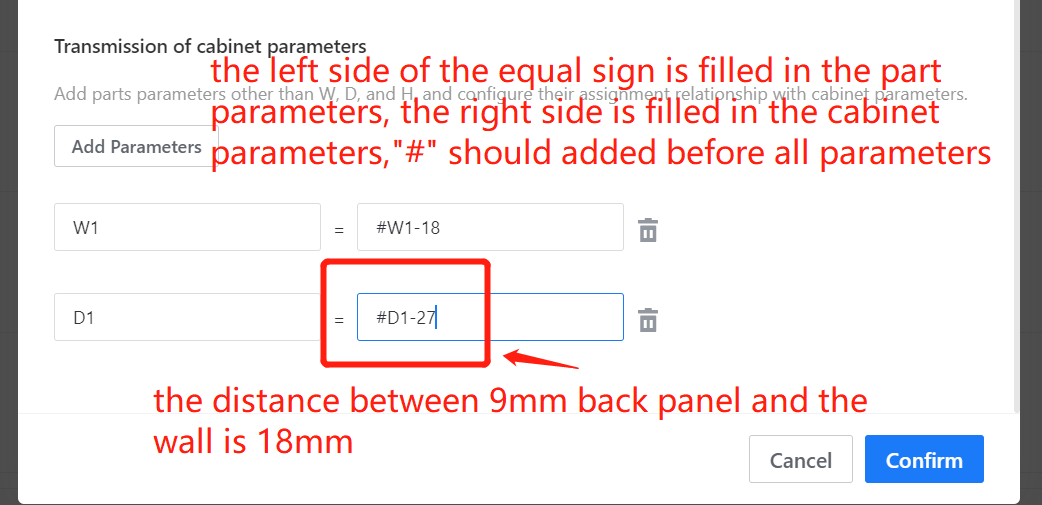
2.Set adaptation rules (Adaptation rules can only be set for component models).
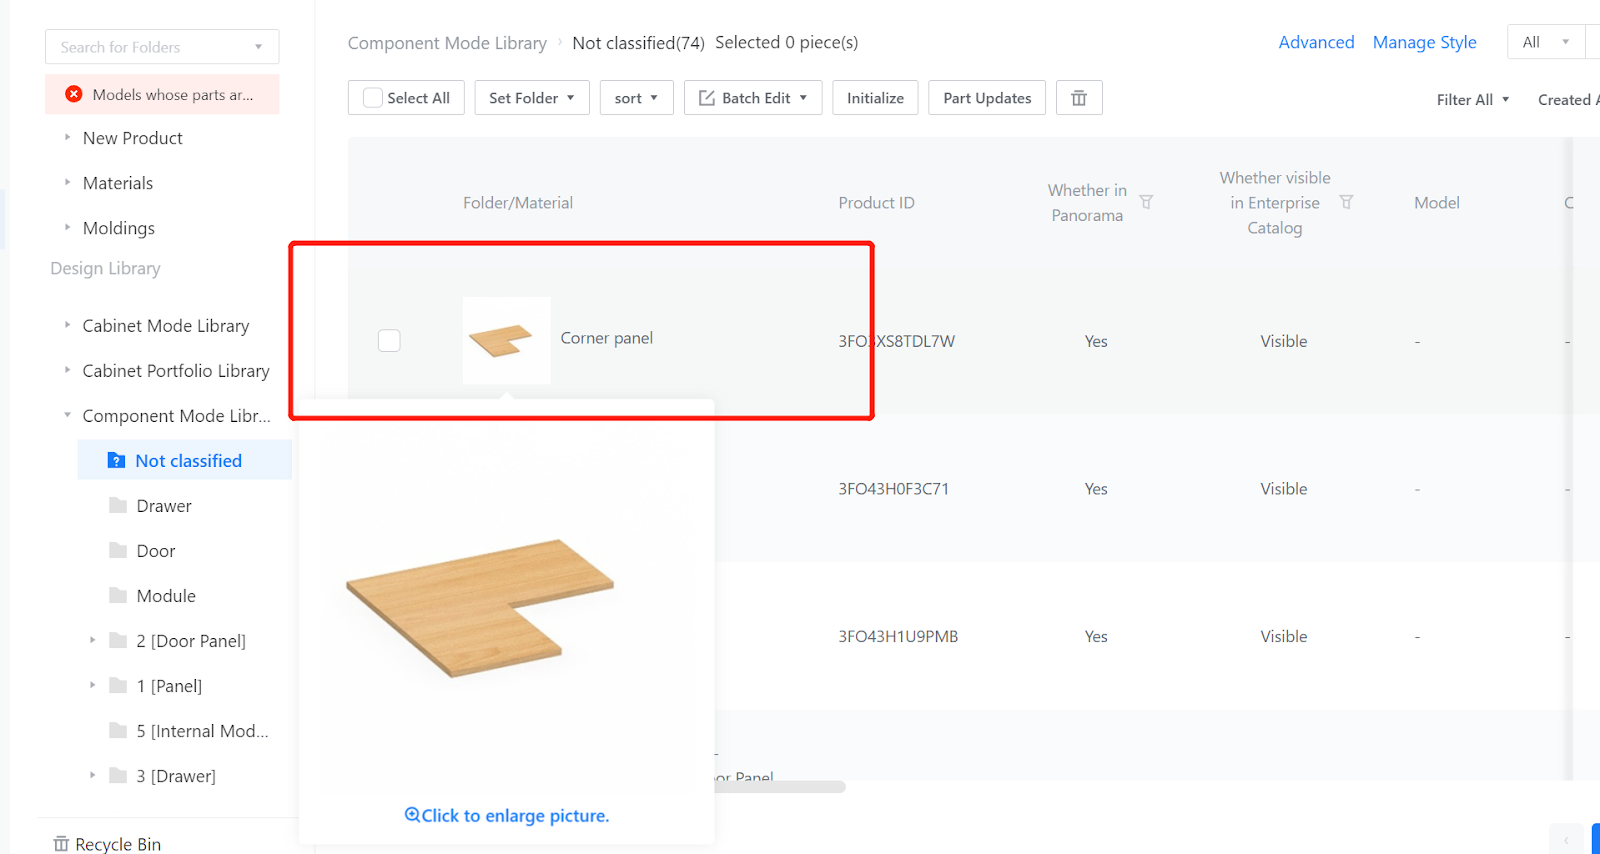
3.Click Manage Materials.
4.Click Edit attributes - Select Layer Panel for Adaptation Behavior - Save.
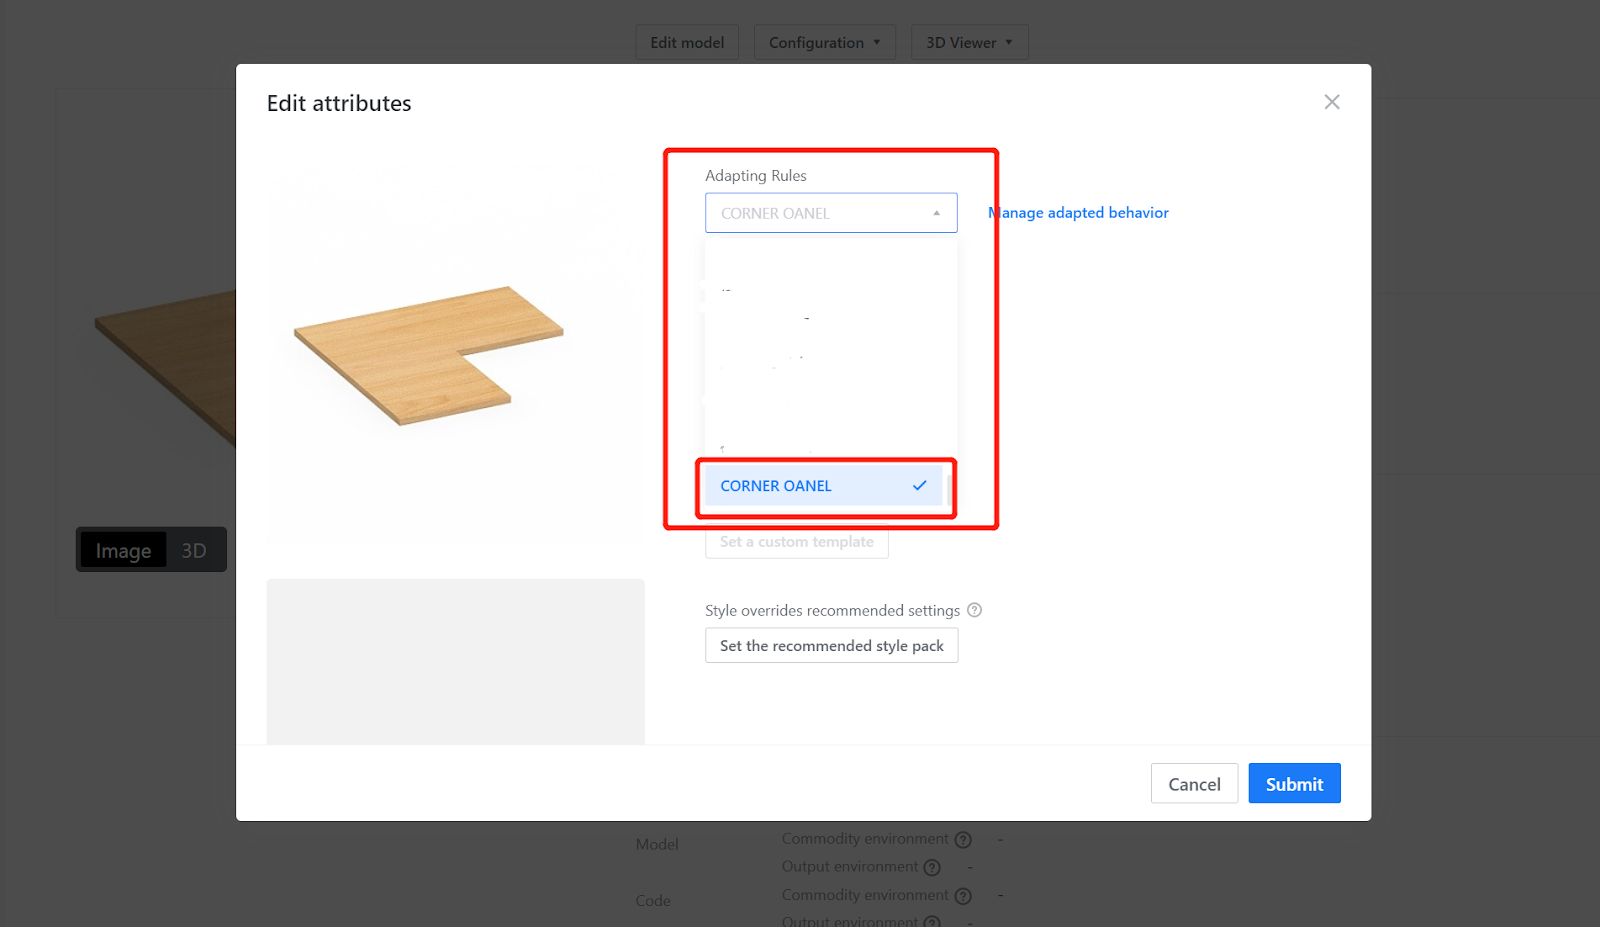
5.Click Save again.