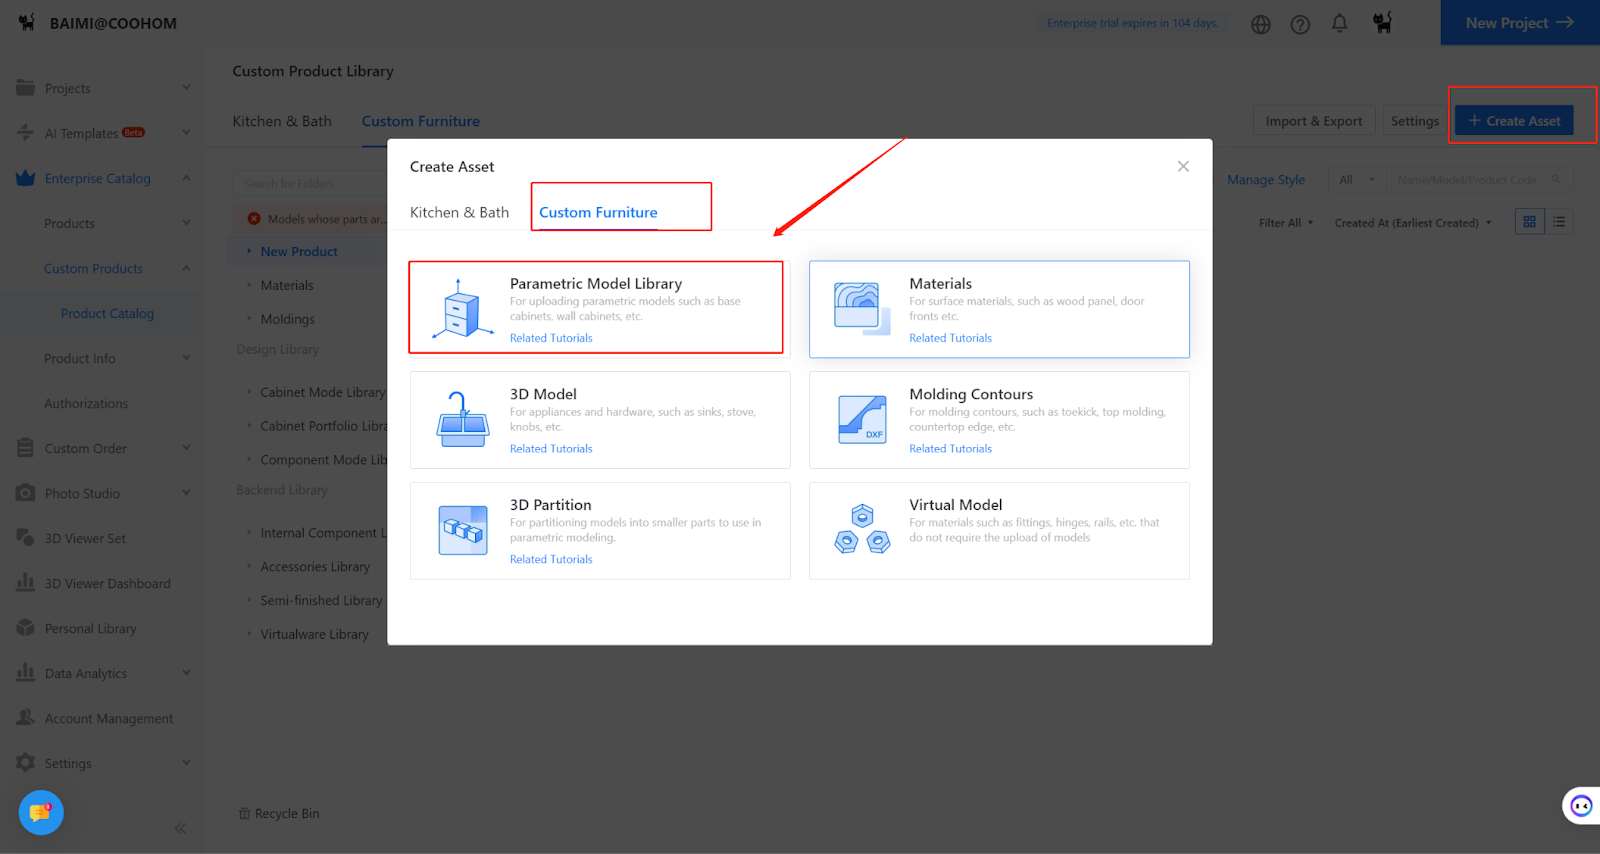
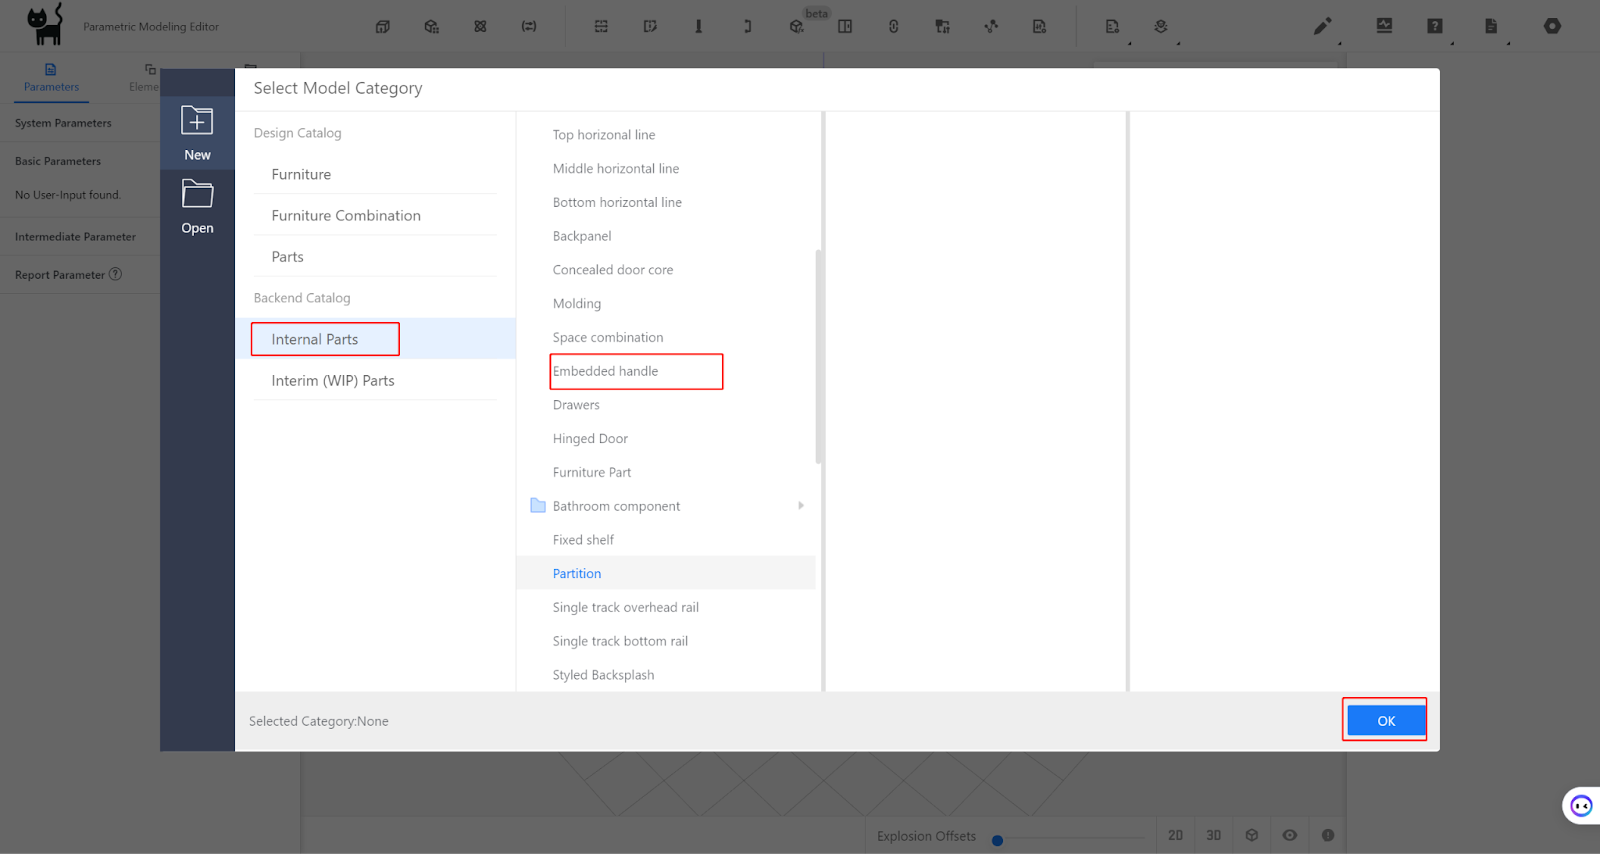
I.Creation Position
II.Parameter Configuration: Custom Parameters
II.Parameter Configuration: Custom Parameters
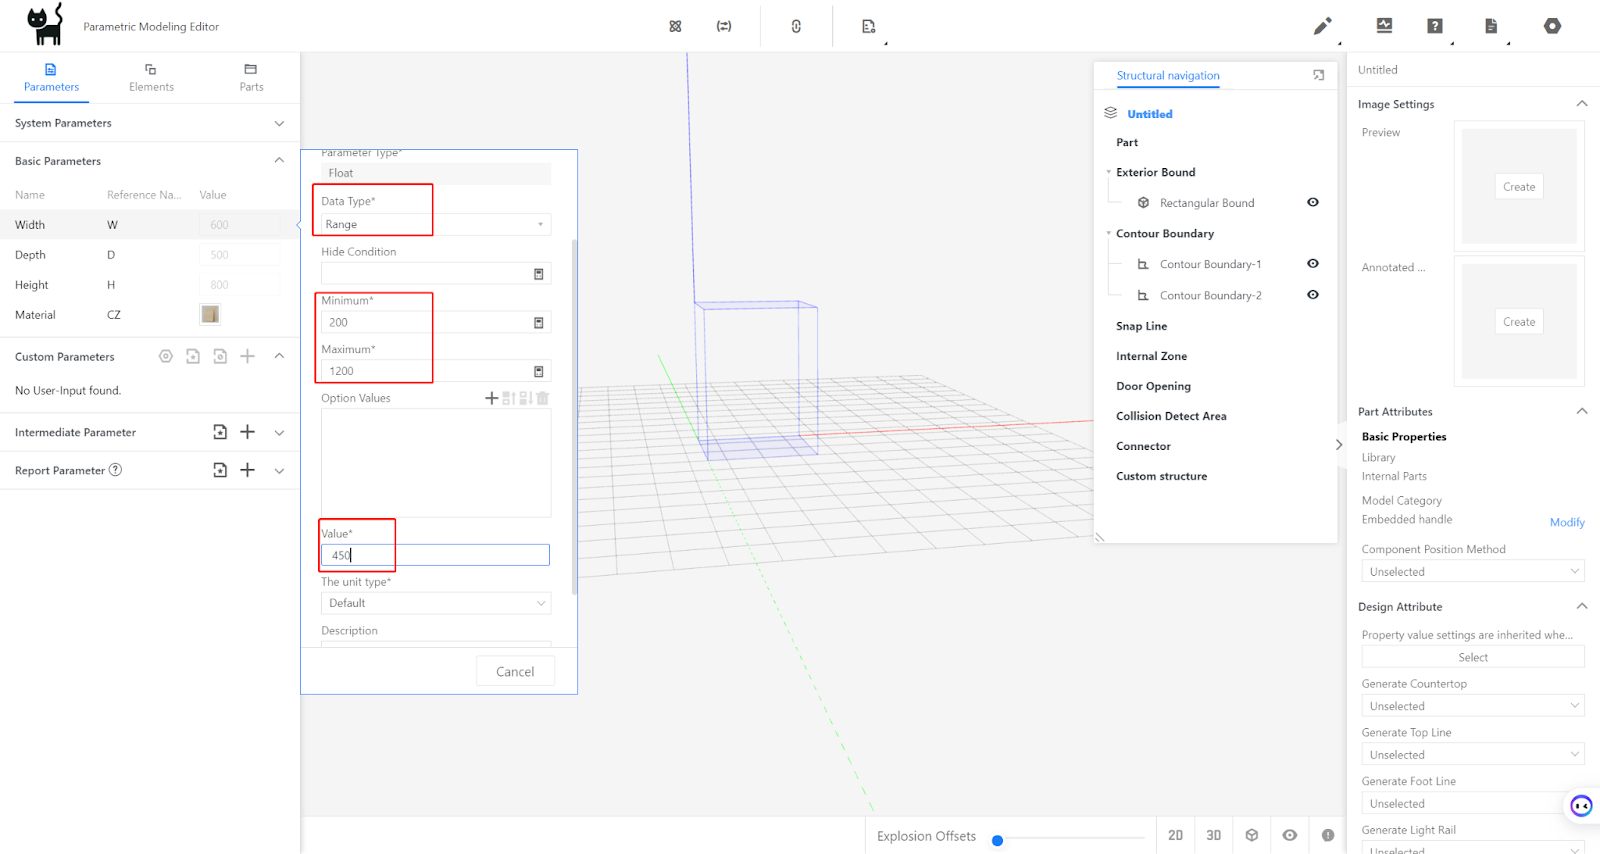
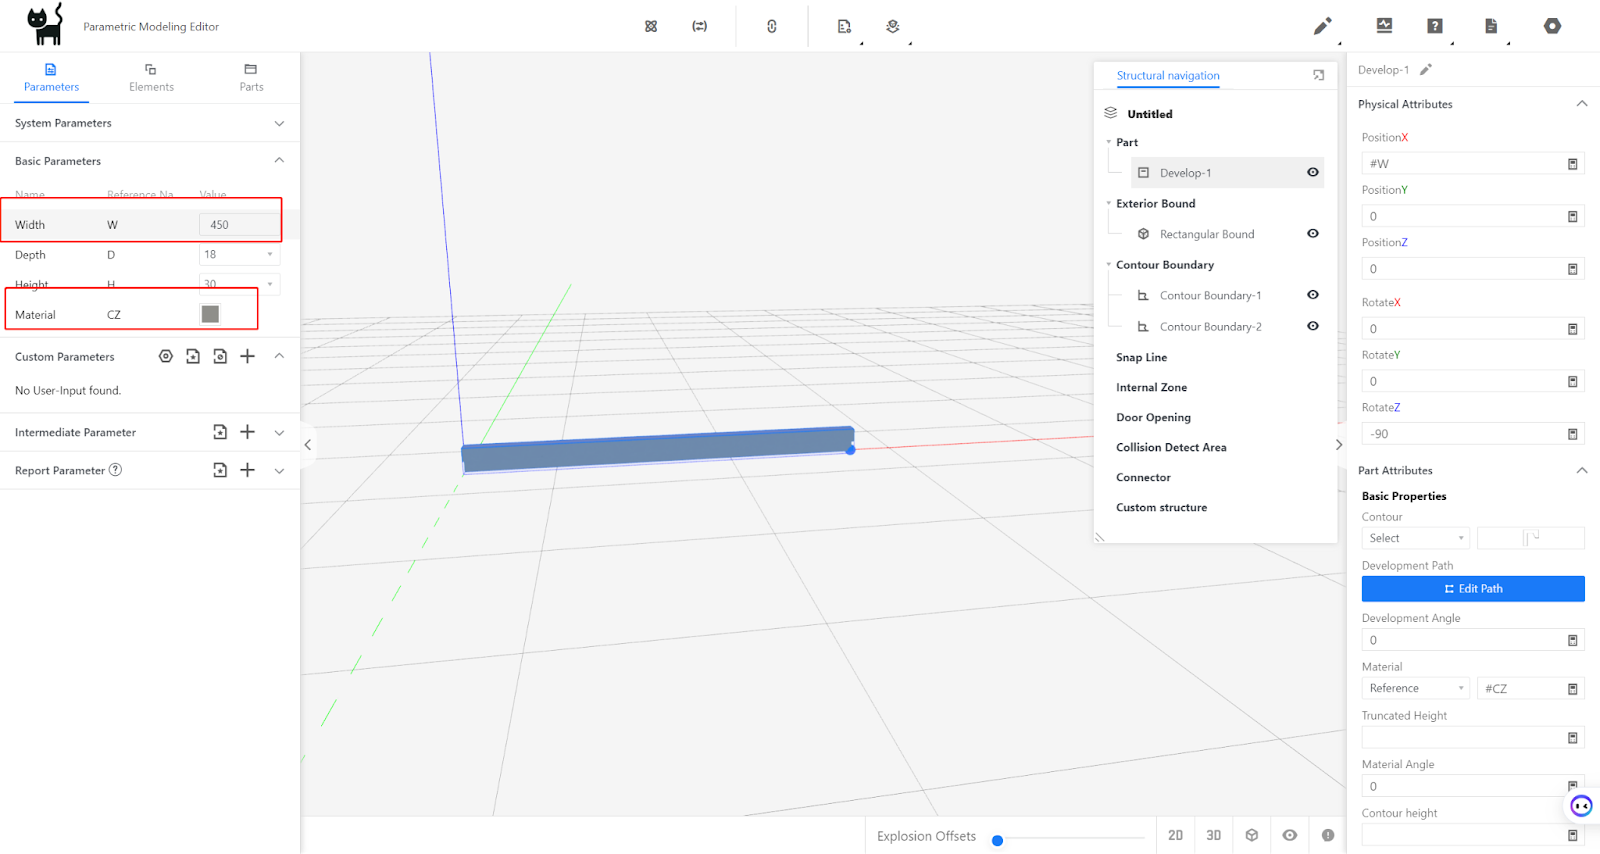
Width (W) - represents the size of the handle model in the X-axis direction. The value type can be set as optional or within a range (e.g., range is 200-1200, current value is 450) depending on the requirement.
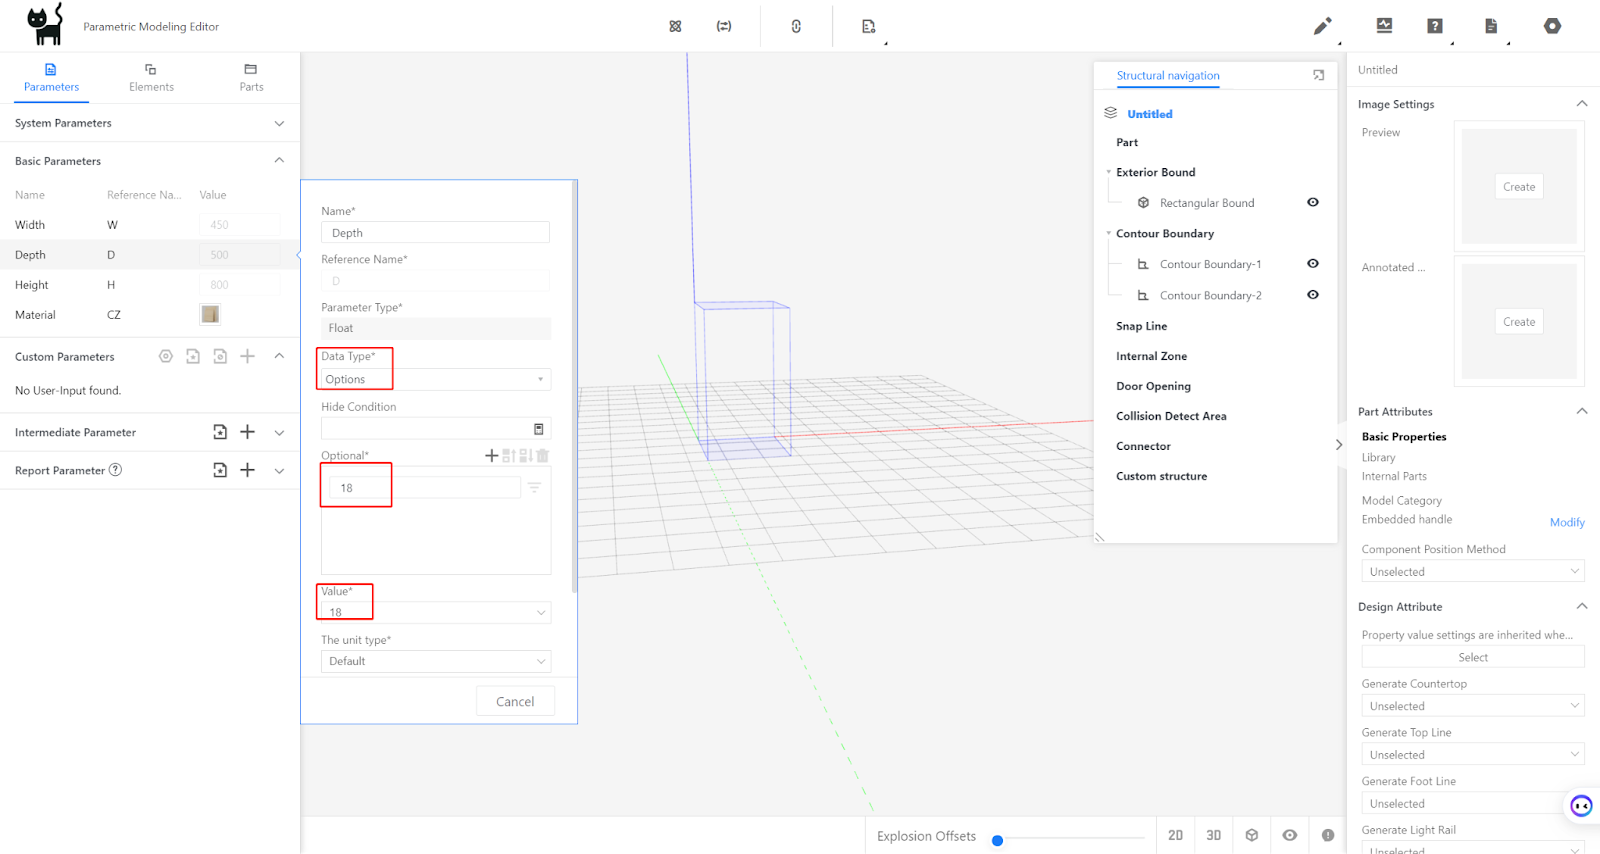
Depth (D) - represents the size of the handle model in the Y-axis direction (usually matched with the thickness of the door panel). The value type is set as optional (e.g., optional value is 18, current value is 18, actual values may vary depending on different styles).
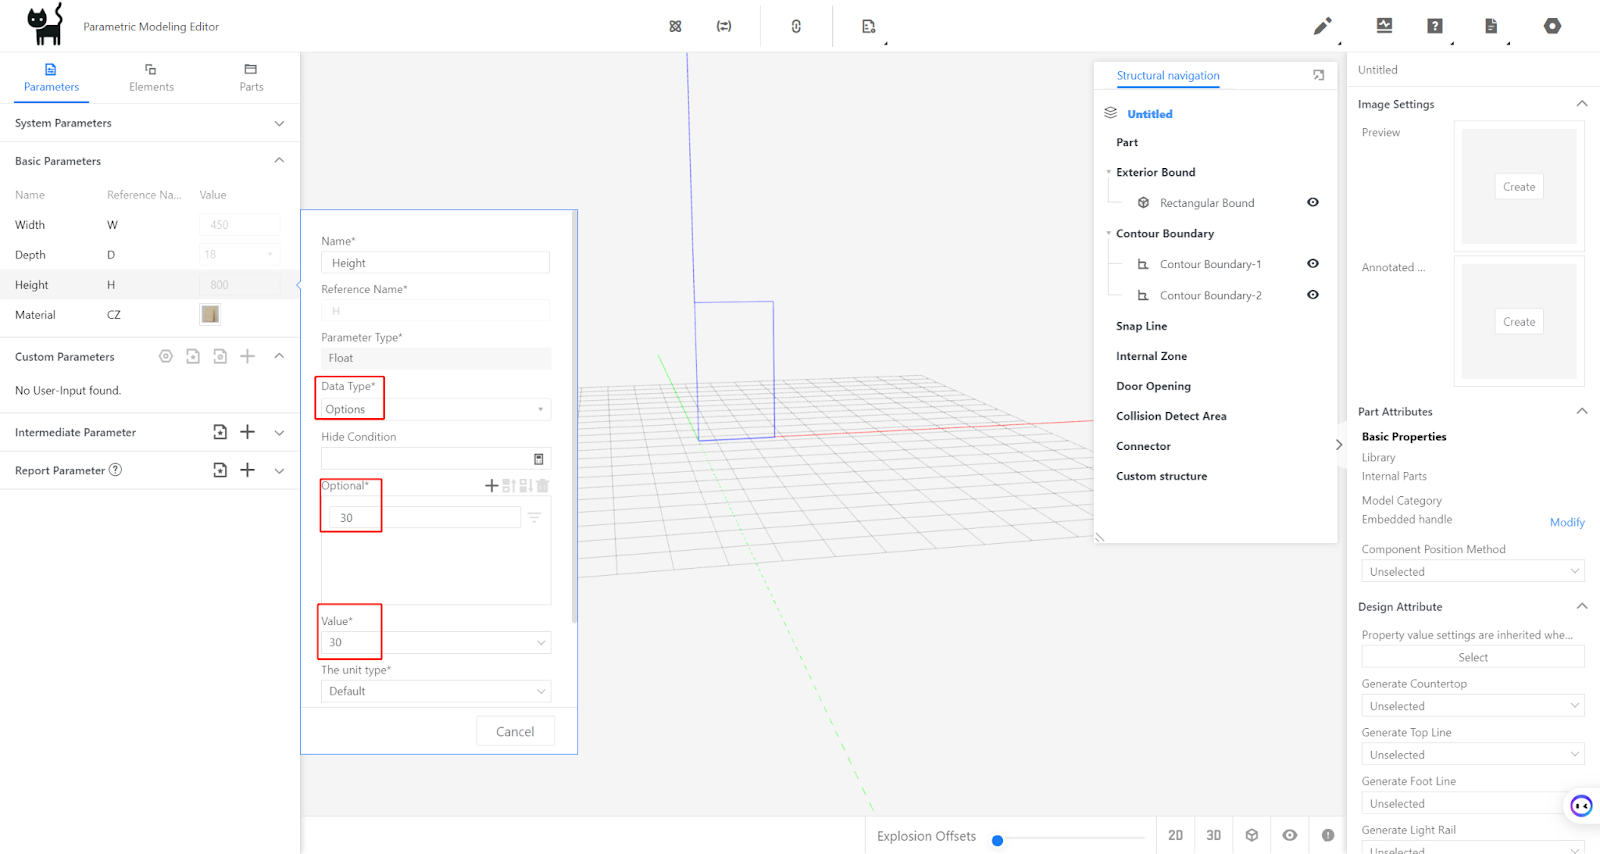
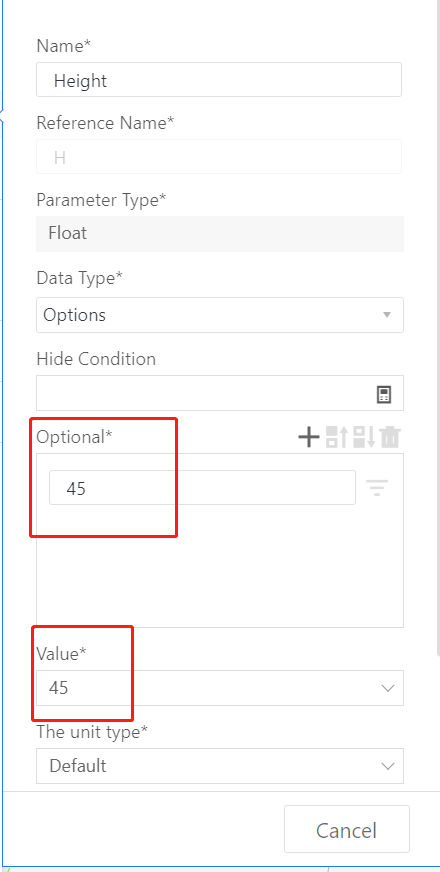
Height (H) - represents the size of the handle model in the Z-axis direction. The value type can be set as optional (e.g., optional value is 30, current value is 30, actual values may vary depending on different styles) (30 is based on the height of the handle section shape).
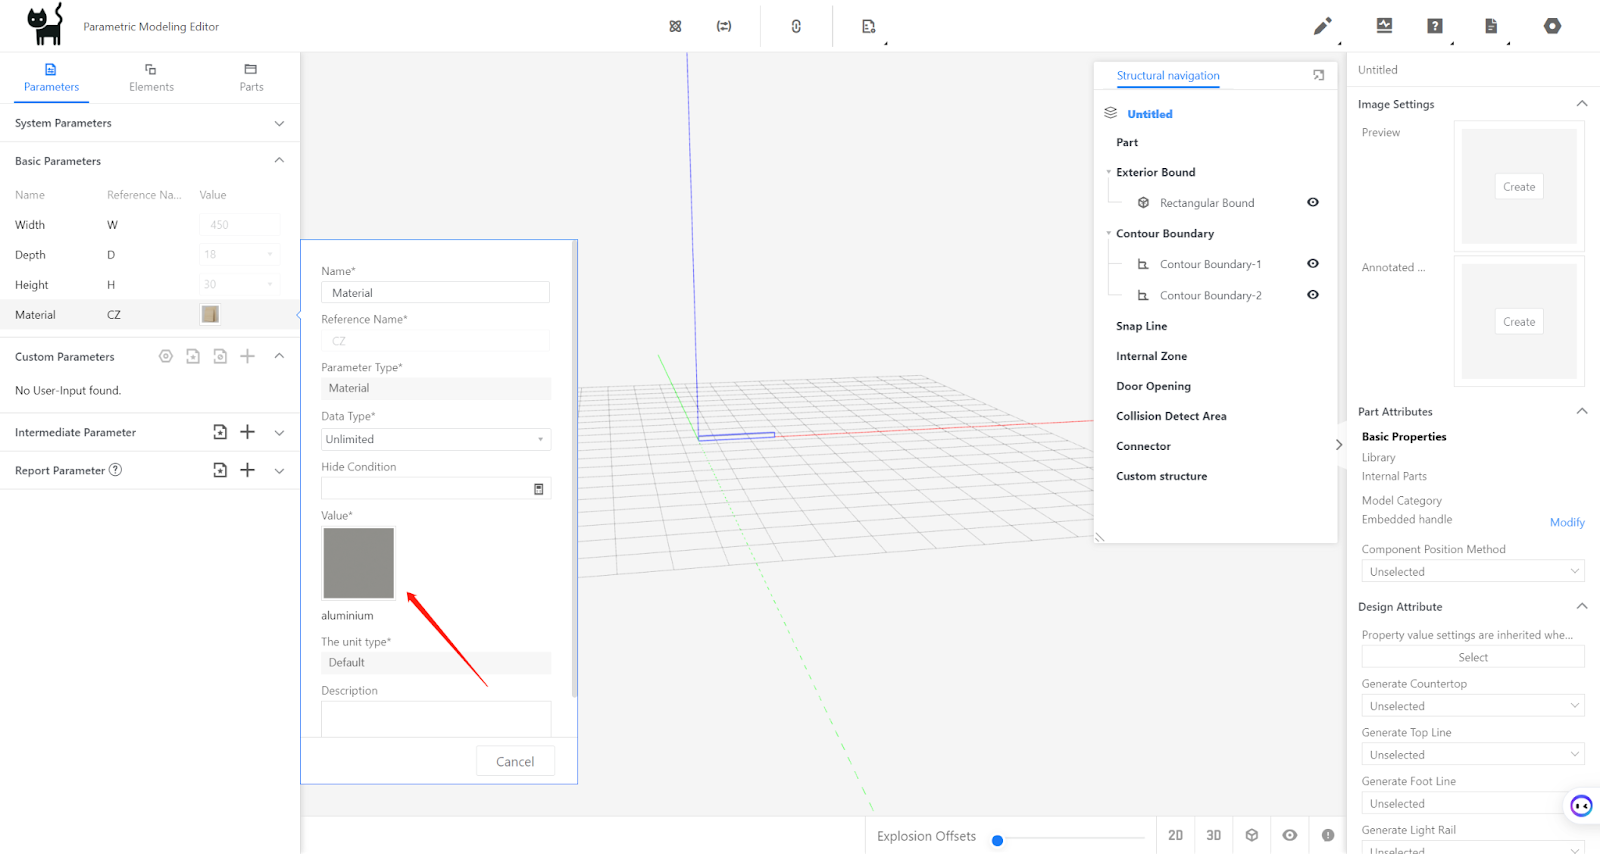
Material selection defaults to a specific material (e.g., aluminum alloy) for the handle, representing the color of the handle.
III.Modeling
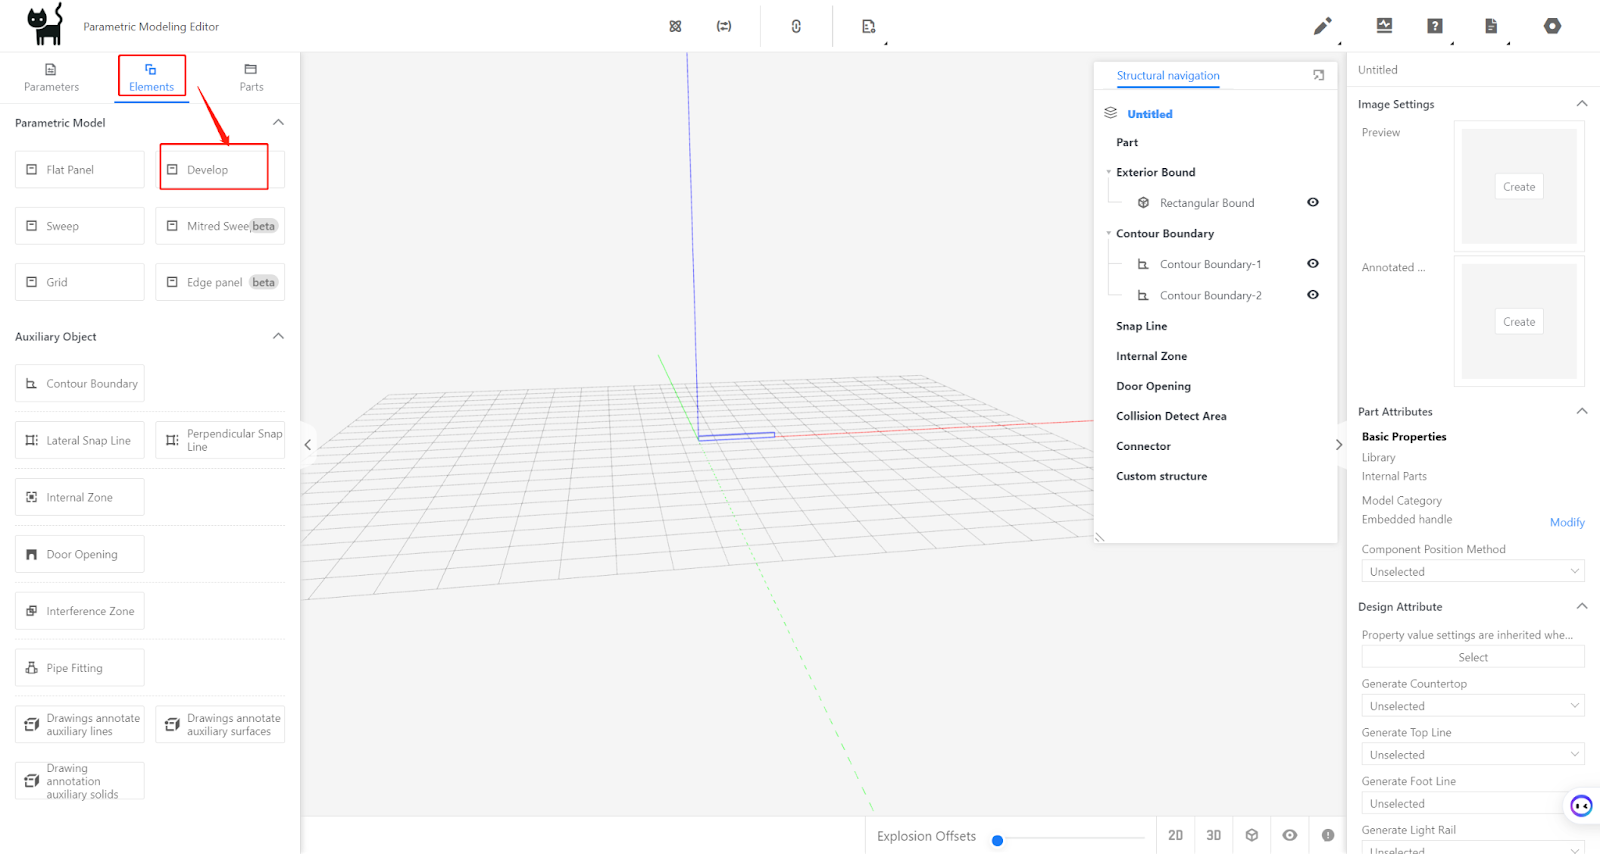
3-1 Profile Modeling
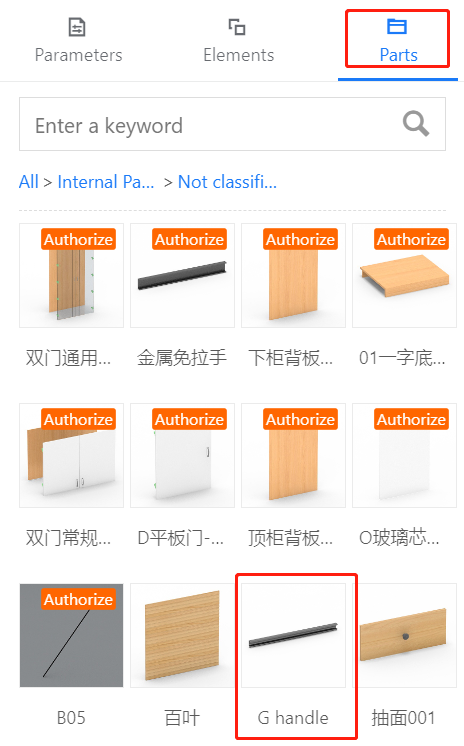
Insert the profile from the Element library.
Select the contour line for the G-shaped handle.
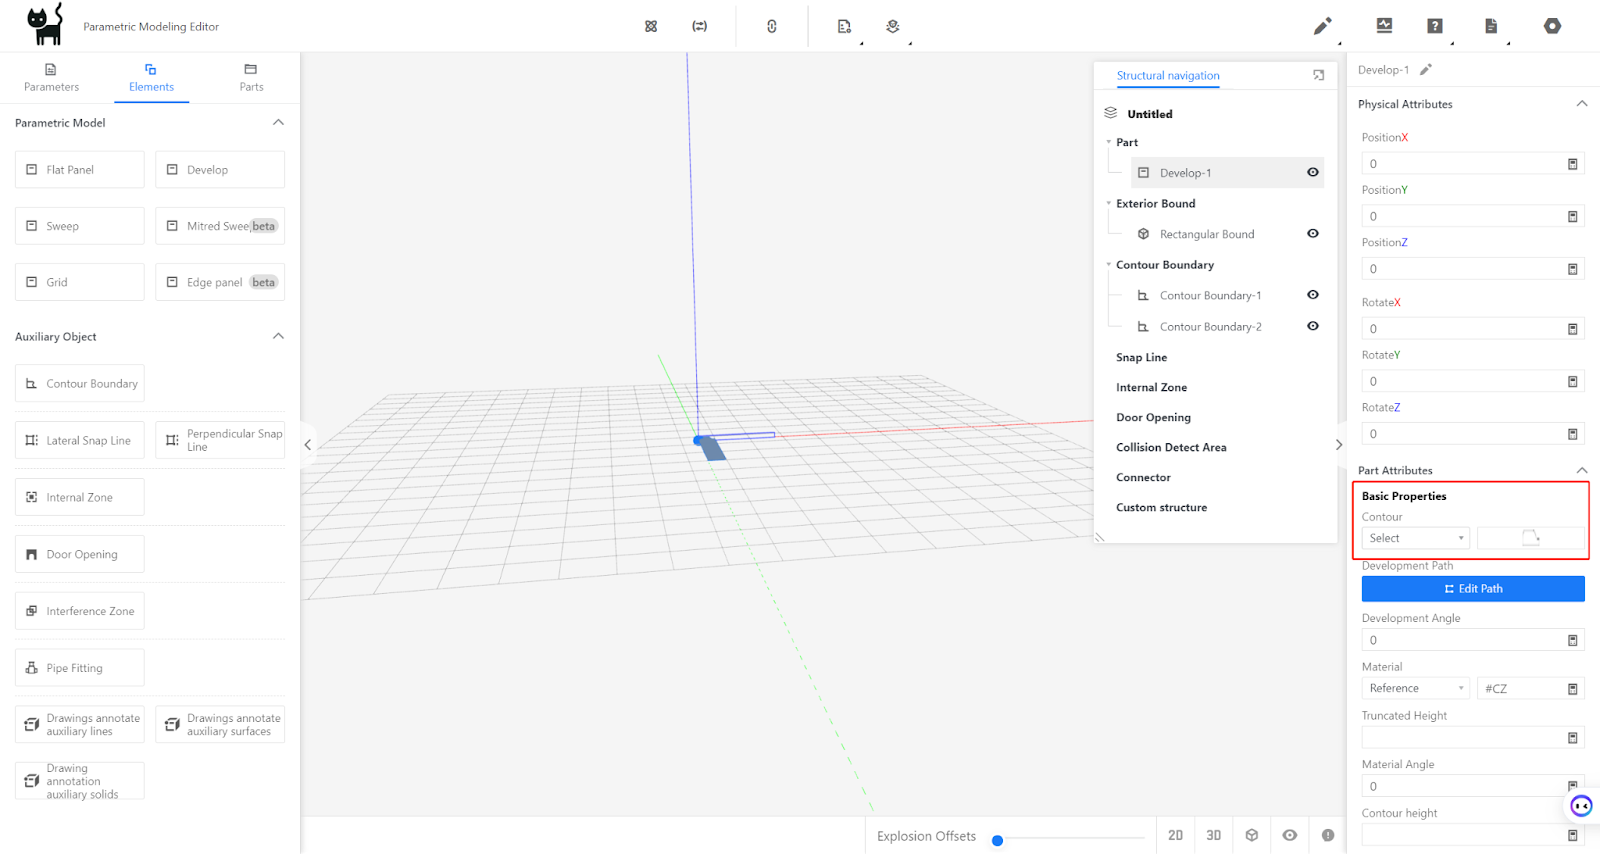
Edit the develop path by drawing points - [Save].
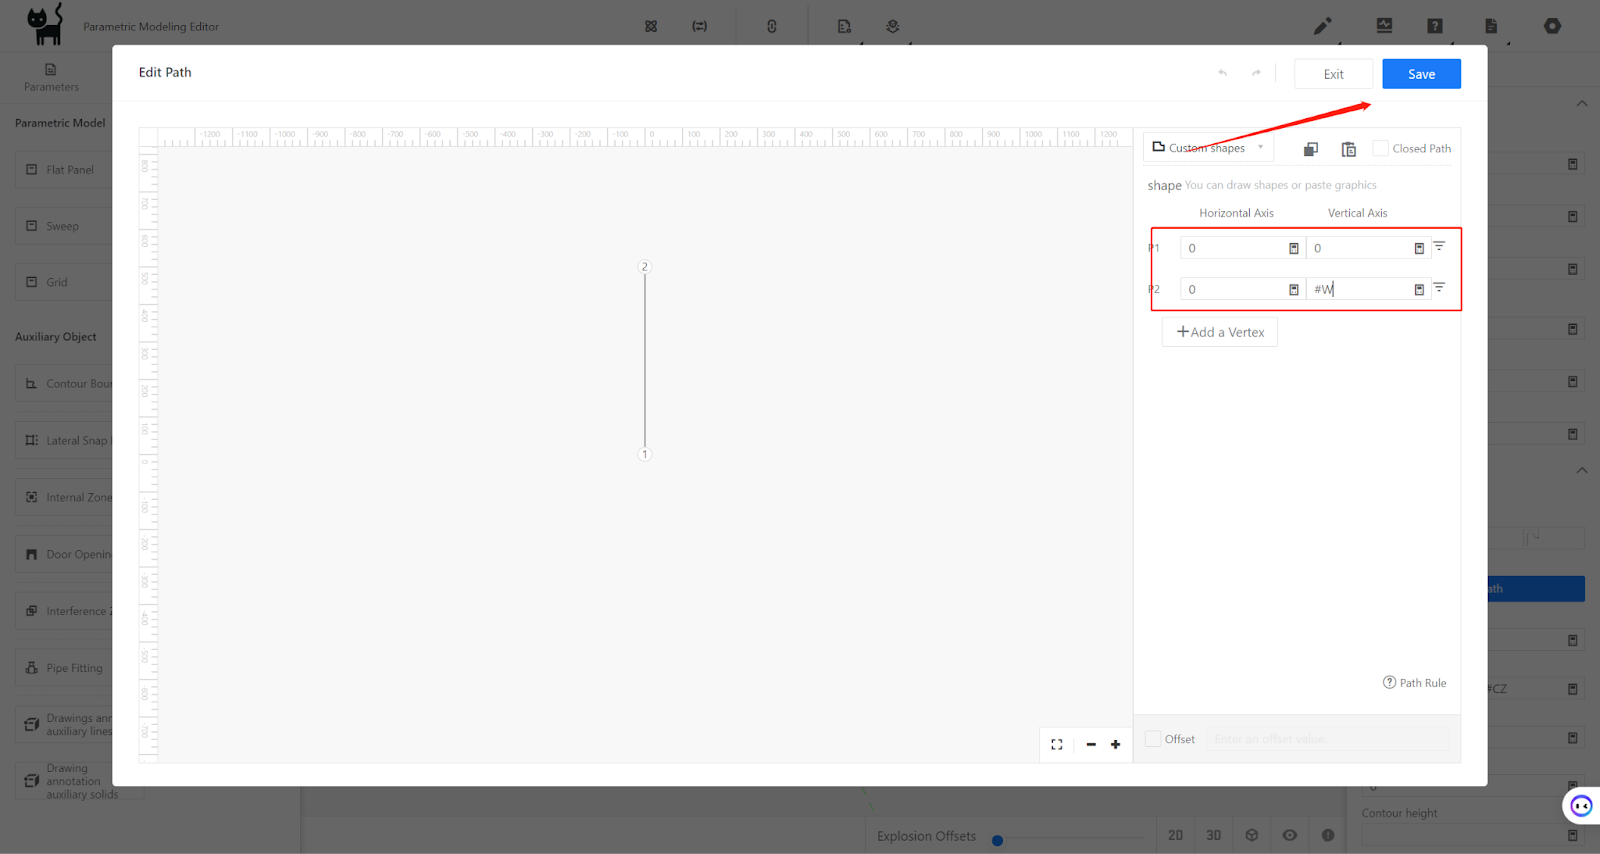
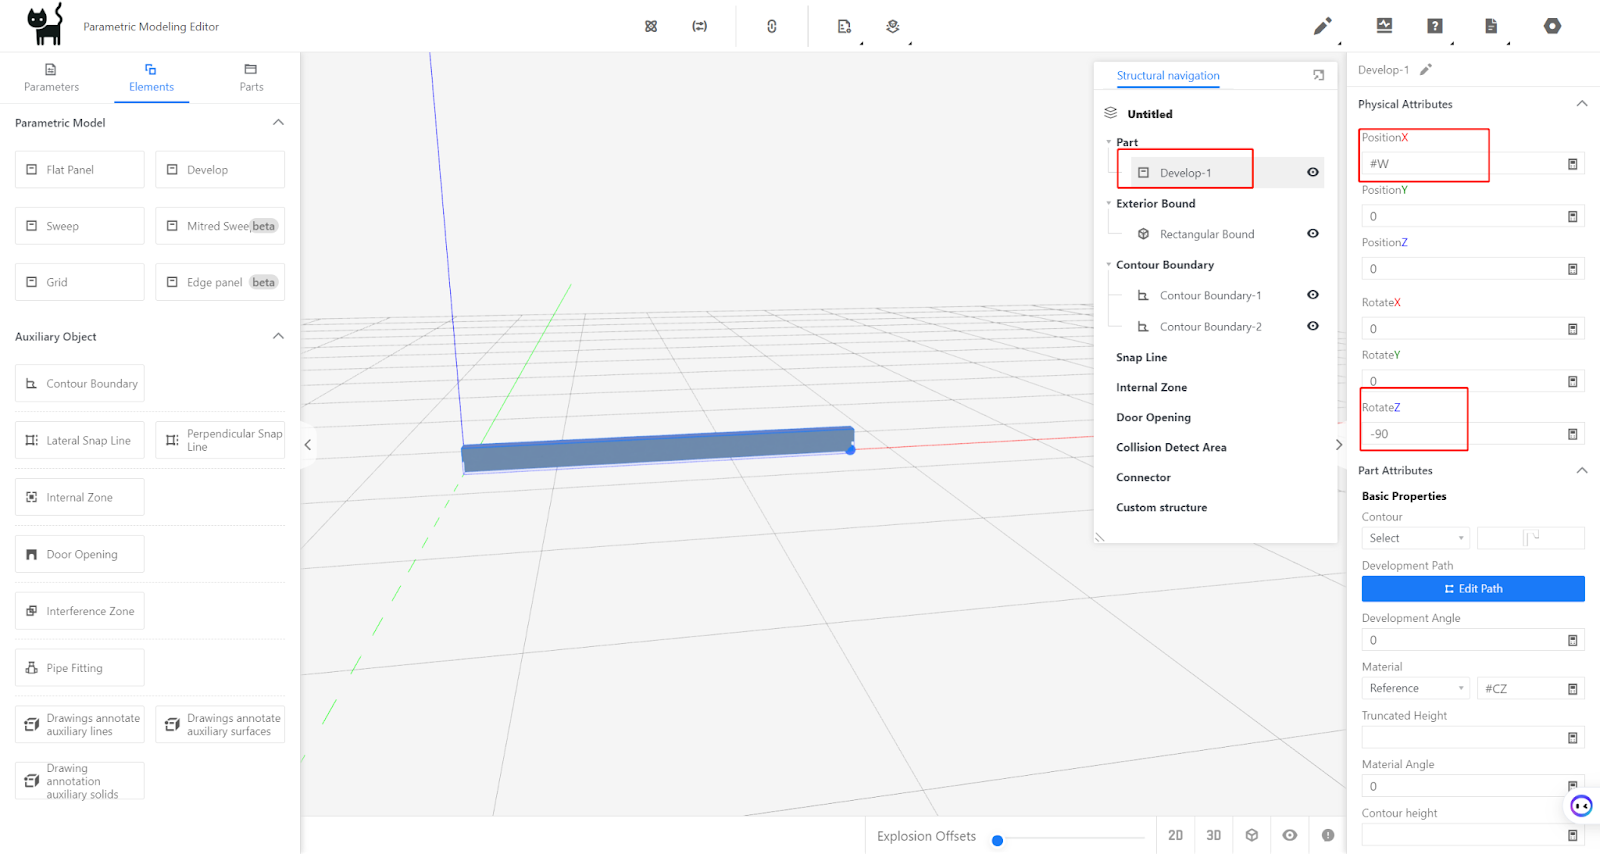
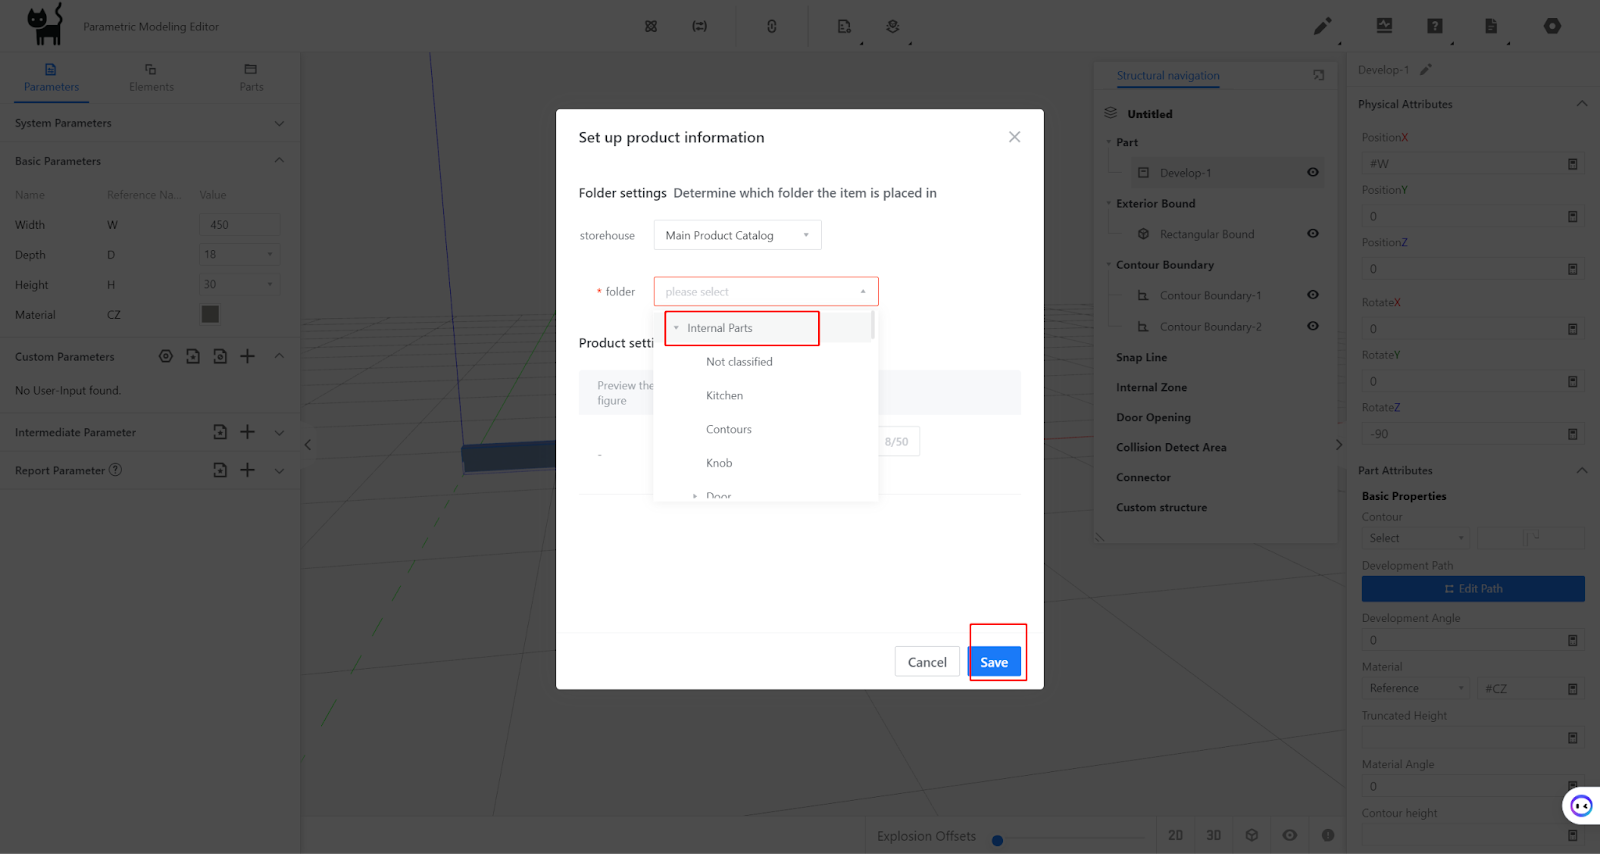
Set the physical properties:
Position X: #W; Position Y: 0; Position Z: 0.
Rotation X: 0; Rotation Y: 0; Rotation Z: -90.
Model testing and saving:
Model testing: Change the current width and material of the model to see if the changes are correct.
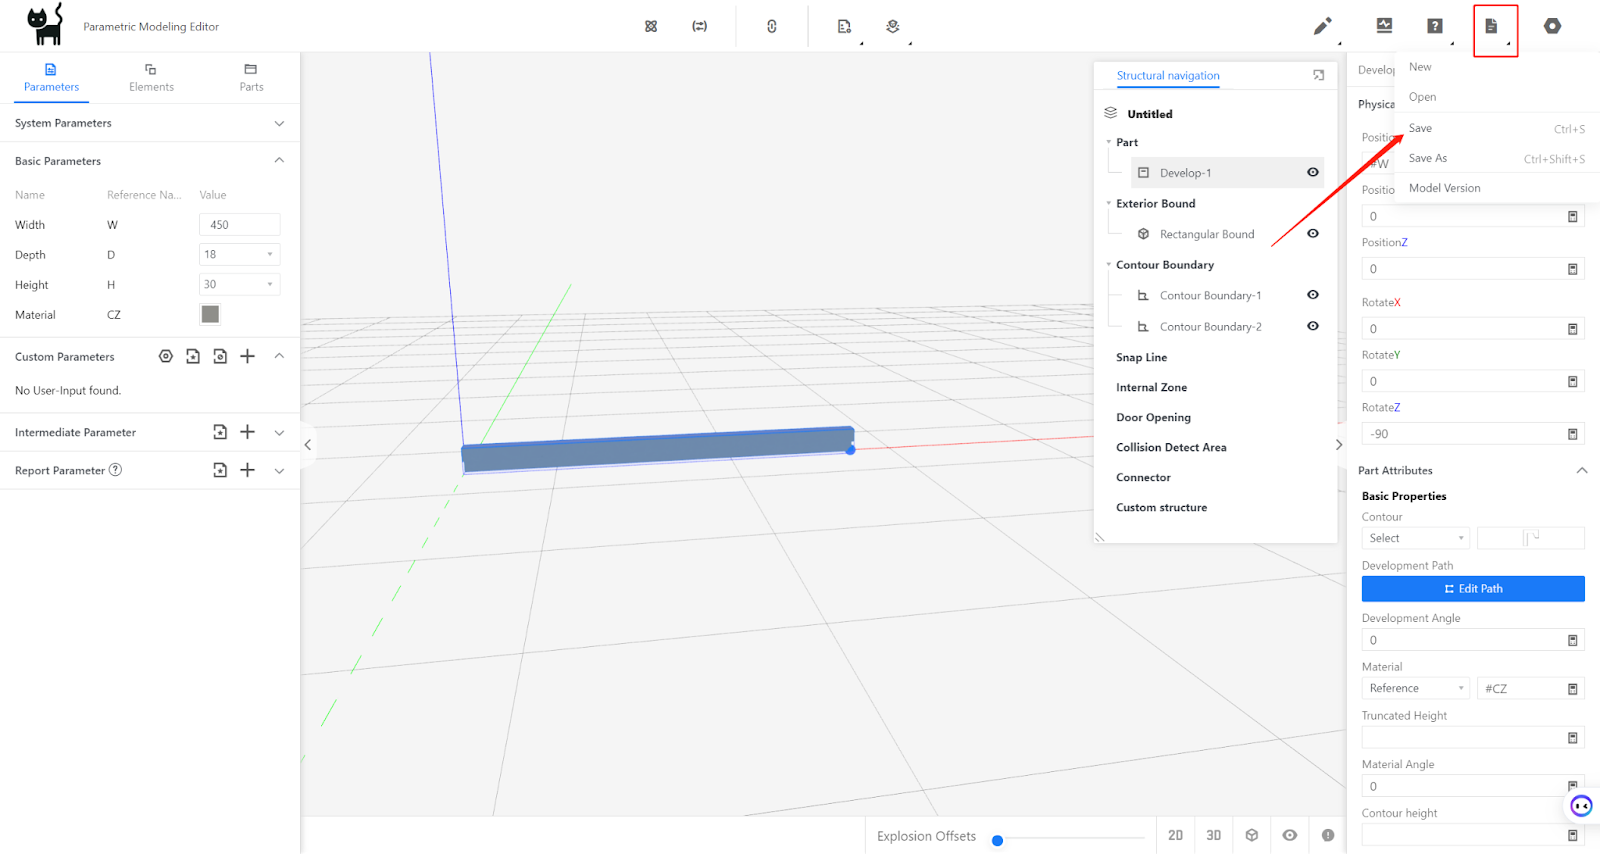
Model saving: After successful model testing, save the model by selecting a save location and entering a model name.
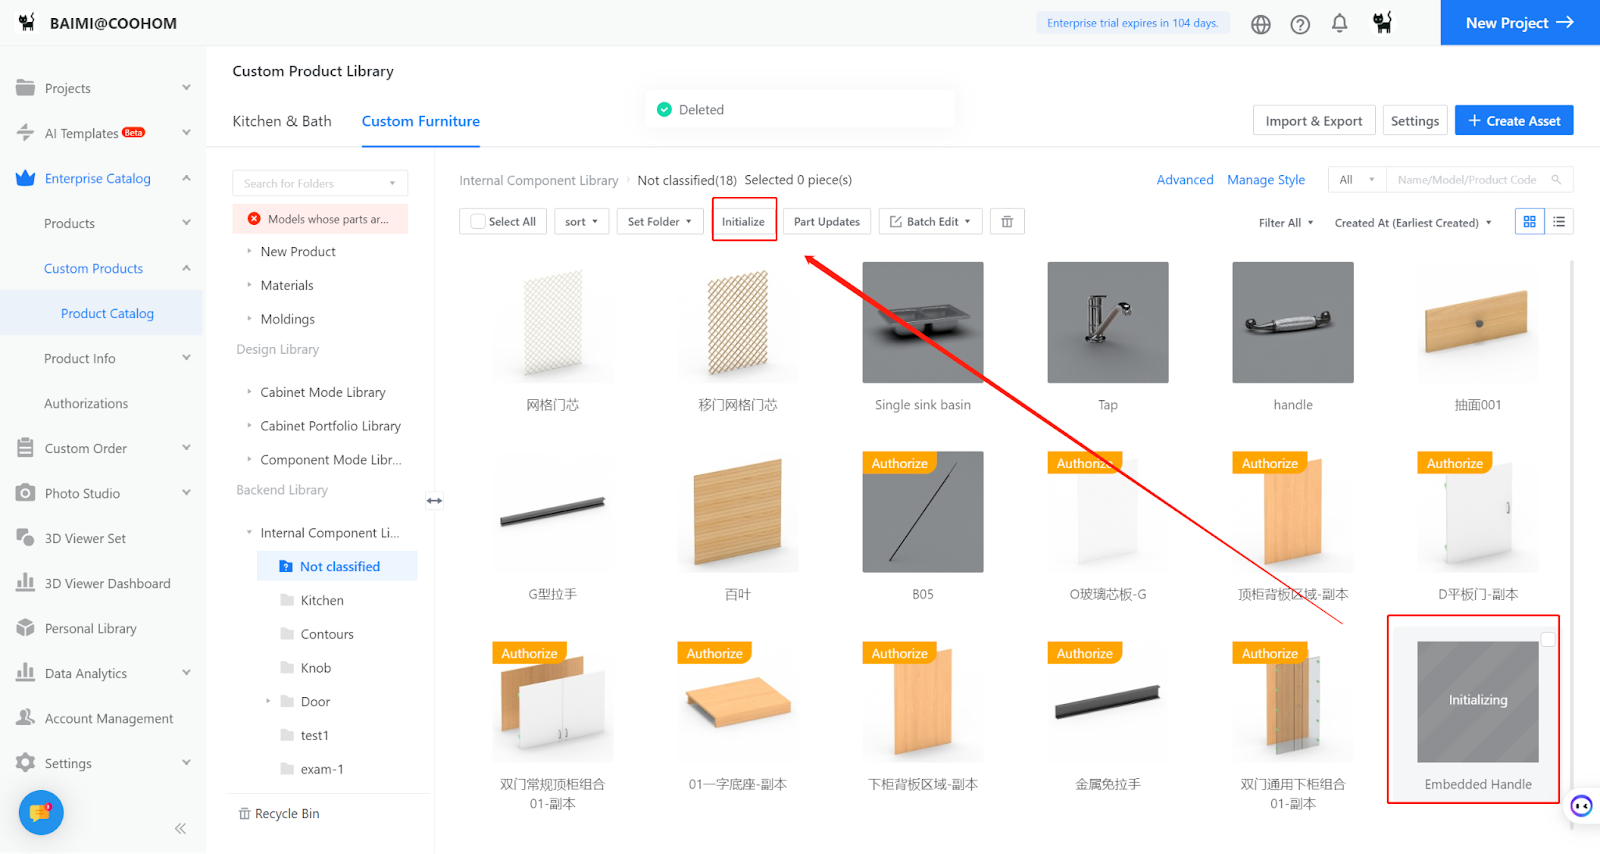
Select the model in the backend page, and choose to Initialize it.
3-2 3D Model to Parametric Conversion
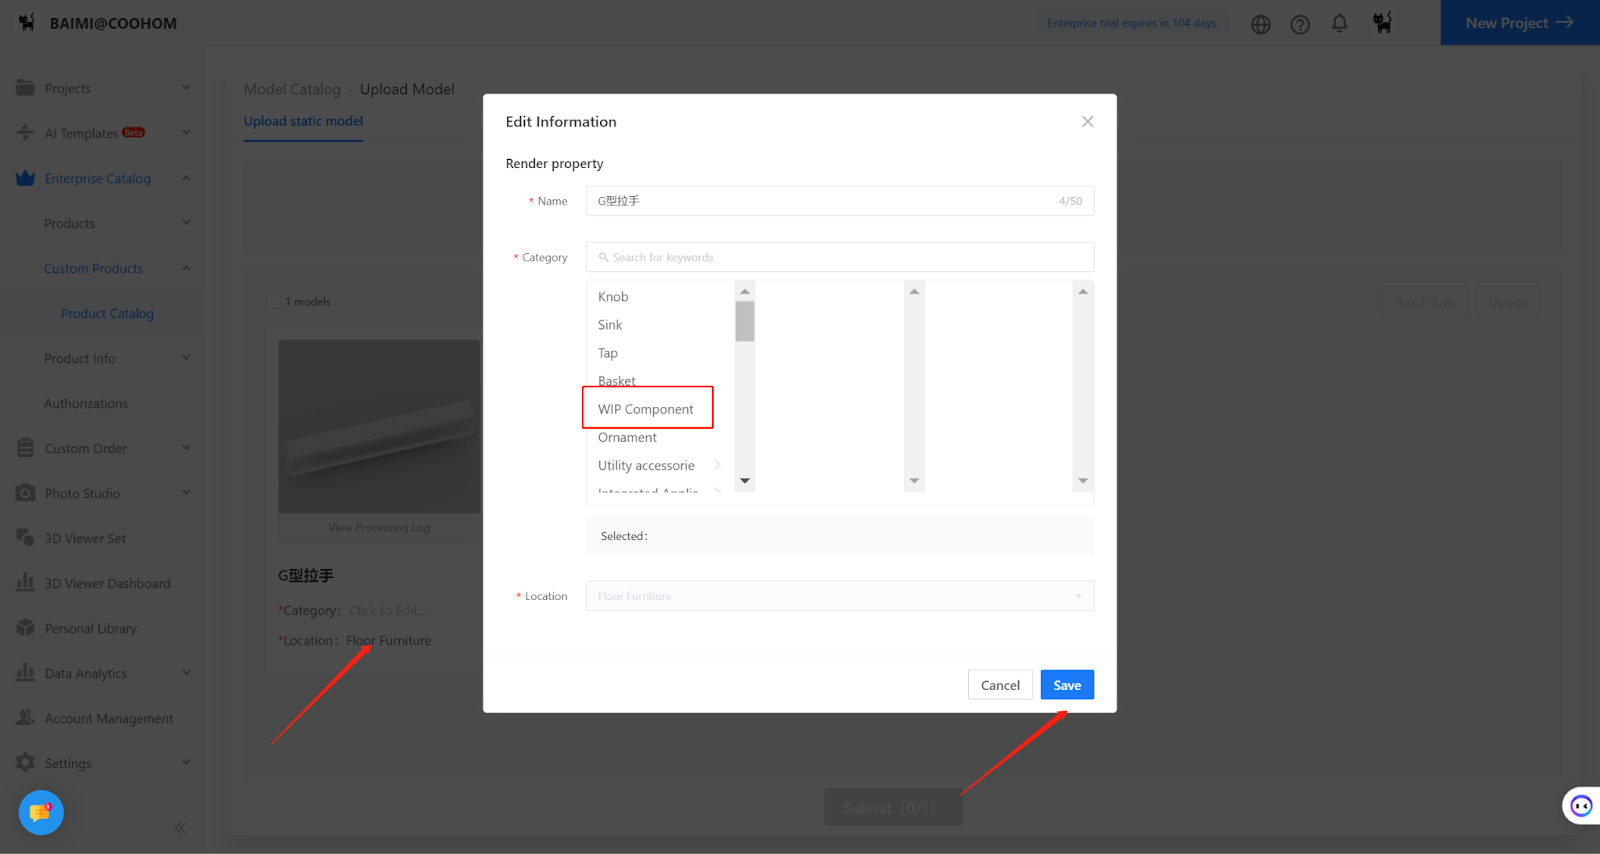
Upload the 3D handle to the semi-finished products library for backup.
Create a new embedded handle and set the relevant parameters (same steps as above), but change parameter H to an optional value; 45.
Call the uploaded 3D model semi-finished product from the parts library.
Set the physical properties: Width: #W; Depth: #D; Height: #H.
Perform model testing and saving (same steps as mentioned above).
3-3 Model Initialize: Find the model on the backend page, select it, and choose [Initialize].