【Construction】How to upload materials?
Introduction
We fully support Enterprise and individual users to upload construction materials on Coohom and use them seamlessly in the design tools.
Steps
1. Upload entry: Personal Library - Textures -Upload Textures
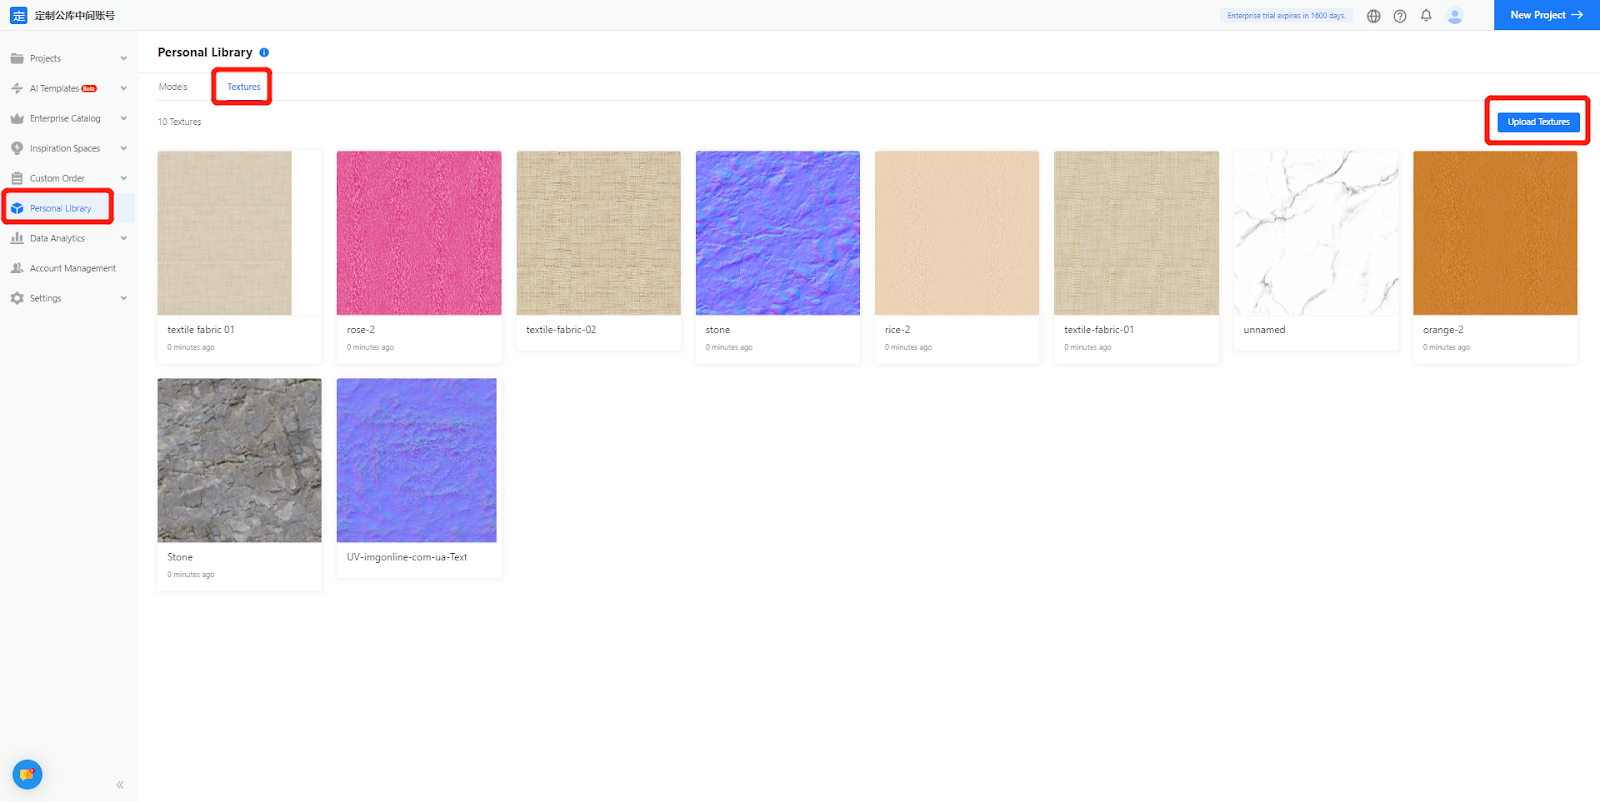
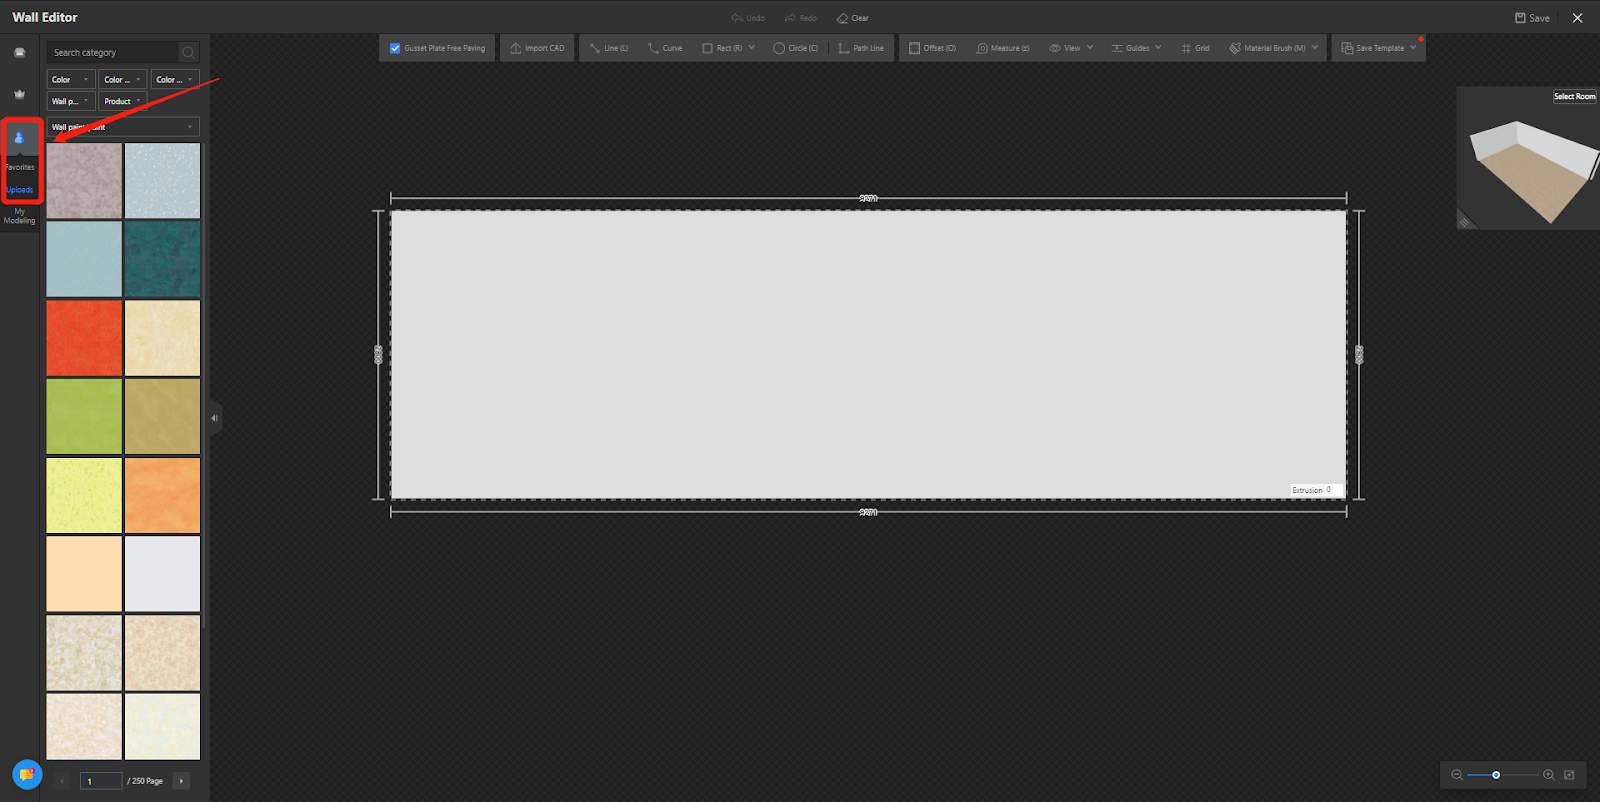
2. Click My Account - Uploads

Construction design: My Account - Uploads
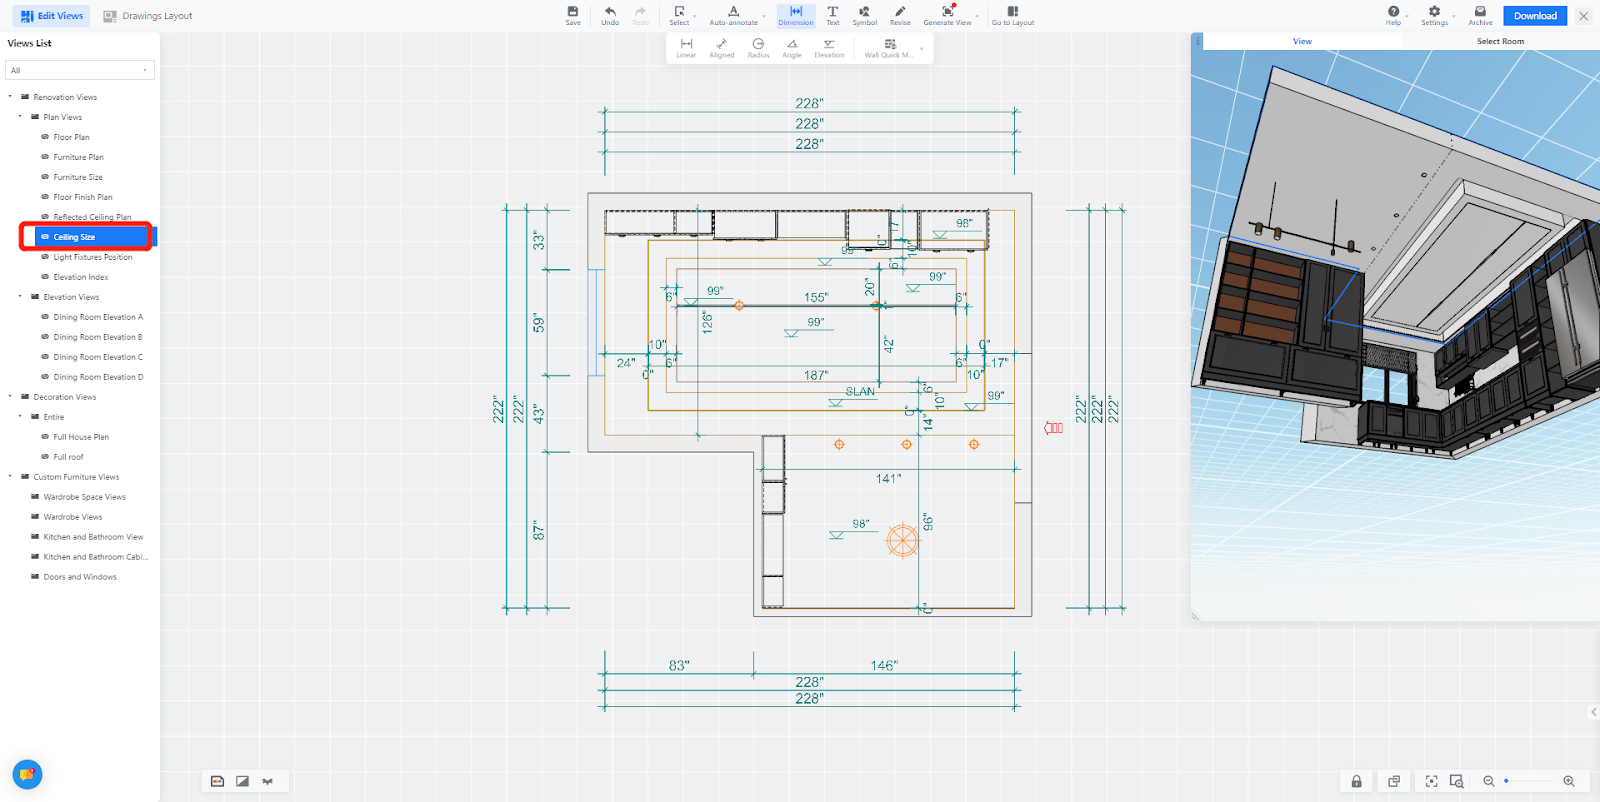
【Construction】Support to set distance from the ground
Introduction
The projection value represents the height of the finished surface of the suspended ceiling from the original ceiling. The elevation value represents the height of the finished surface of the suspended ceiling from the reference ground level.
Aim Users
All Coohom Users
Steps
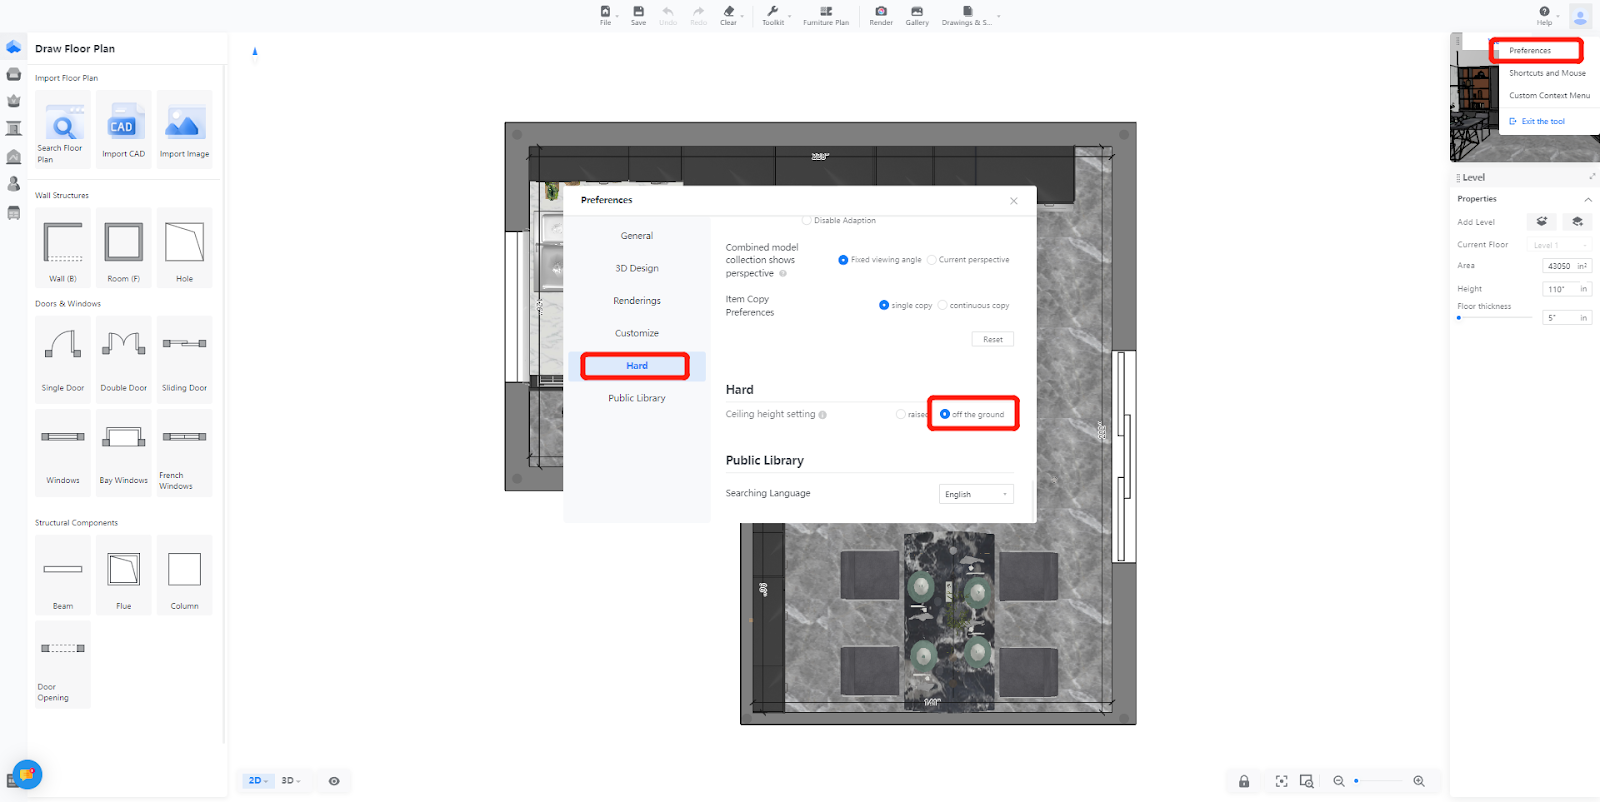
1. In the preferences settings, locate the construction options and set the ceiling design height to 【off the ground】
2. Enter the ceiling design tool, select the area, and input the distance from the ground.
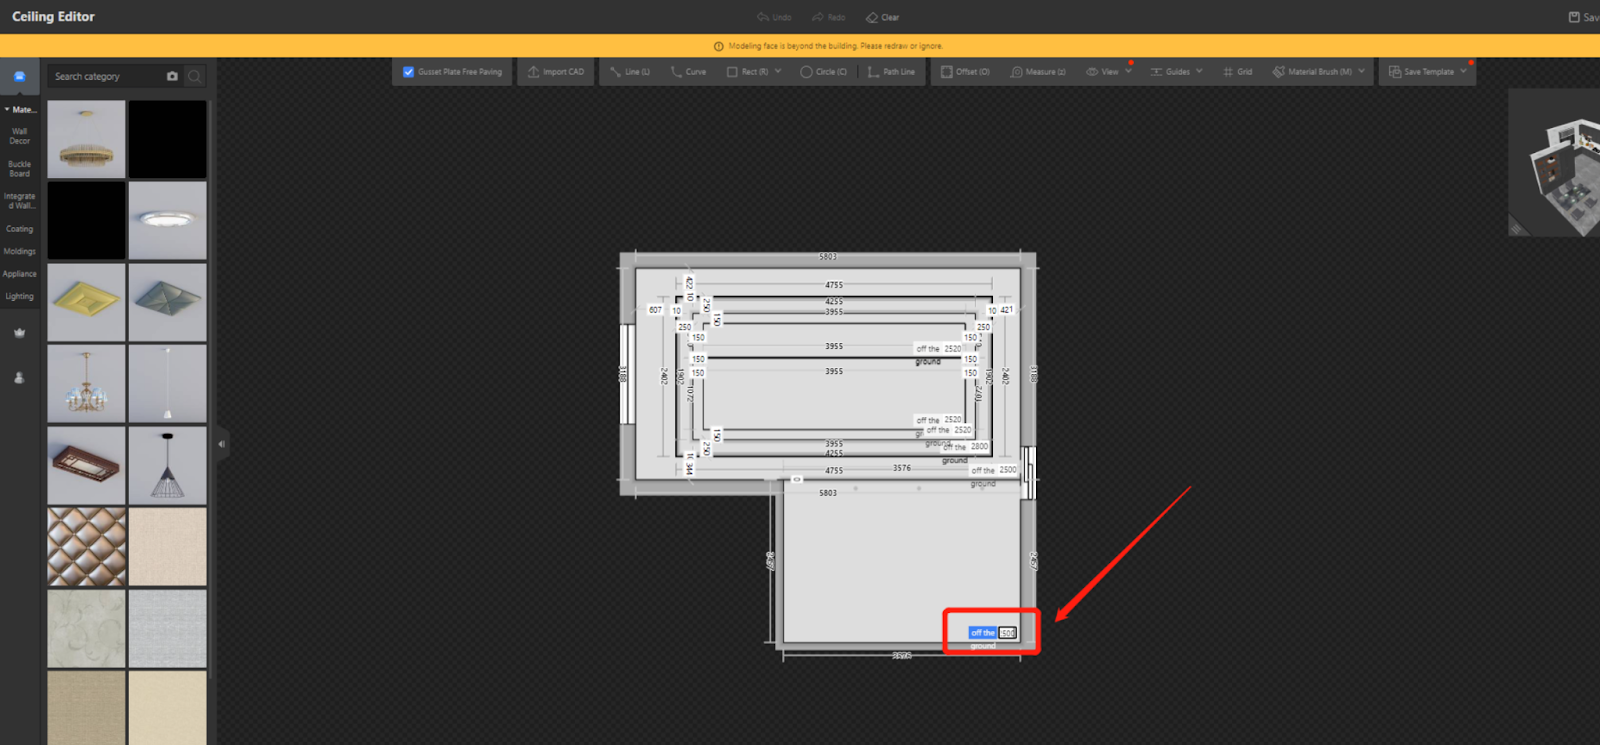
3. Based on the inputted distance from the ground, the generated design will be reflected in subsequent drawings with elevation annotations corresponding to the height above the ground.
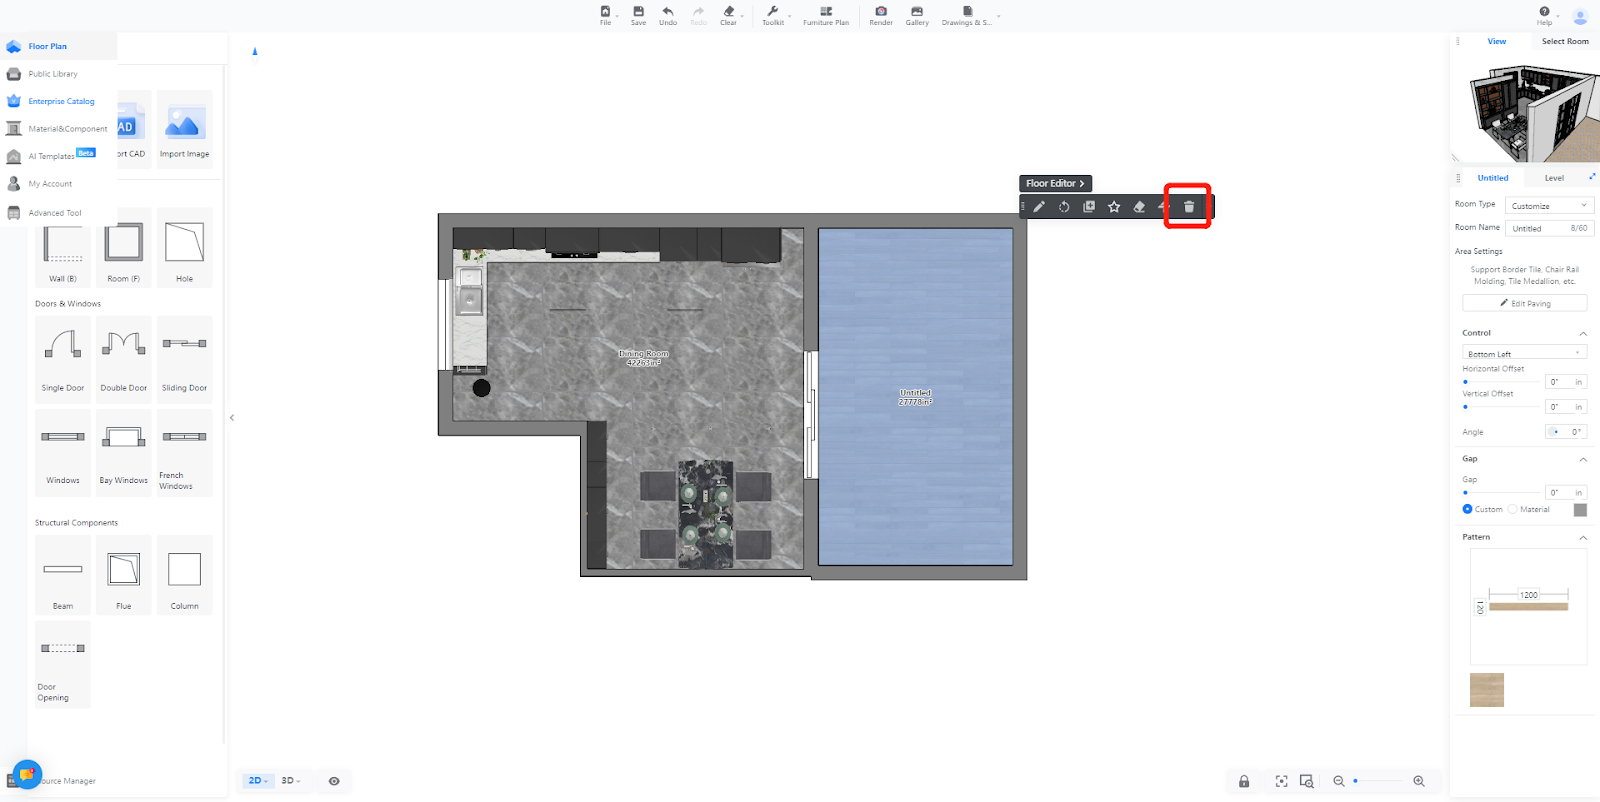
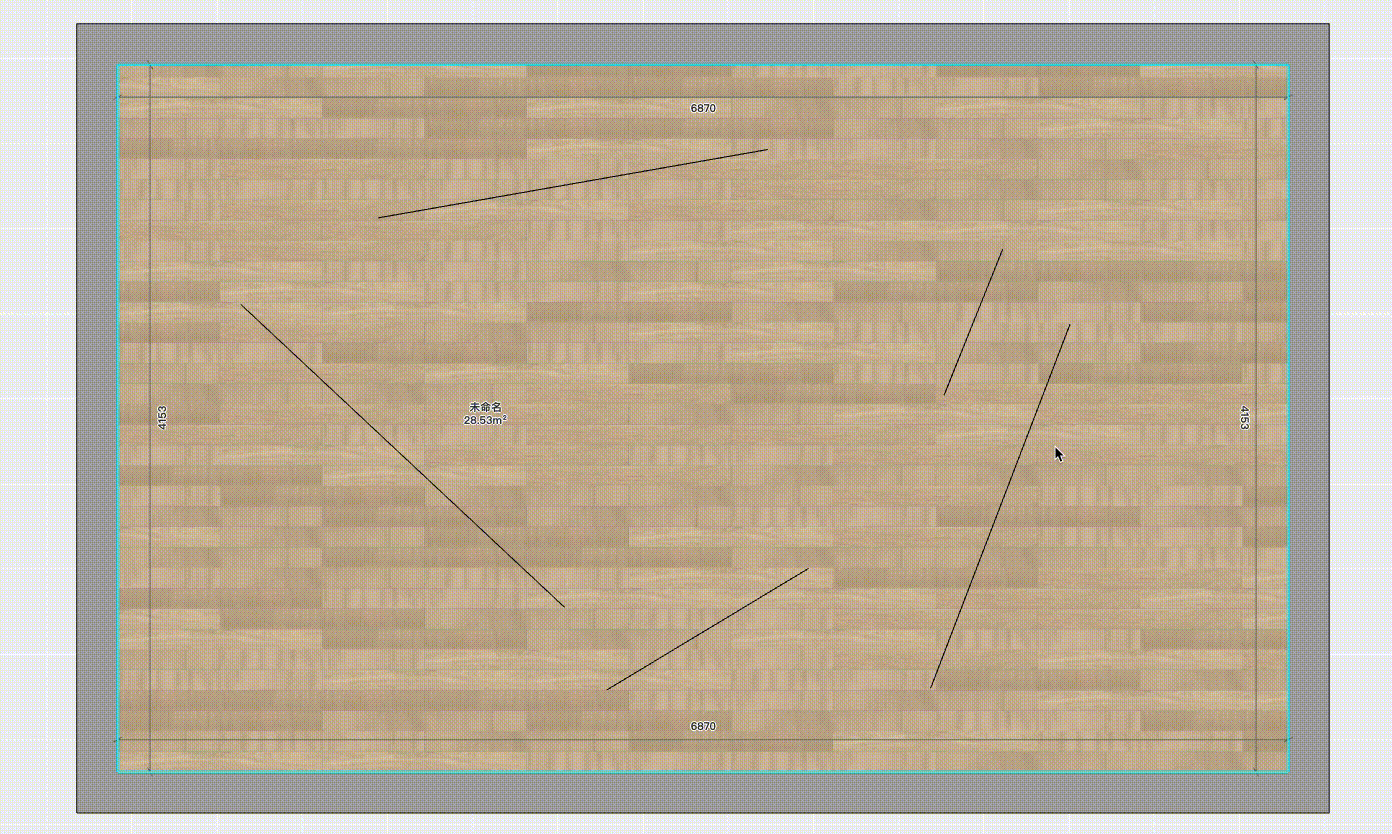
【Design Tool】Support deleting a single room
Introduction
To delete a single room after selecting it, or an external area, click on the delete button
Aim Users
All Coohom Users
Steps
When deleting a selected room, the hard paving will be removed as well. If there are other rooms surrounding the selected room, there is a possibility that the deletion may fail.

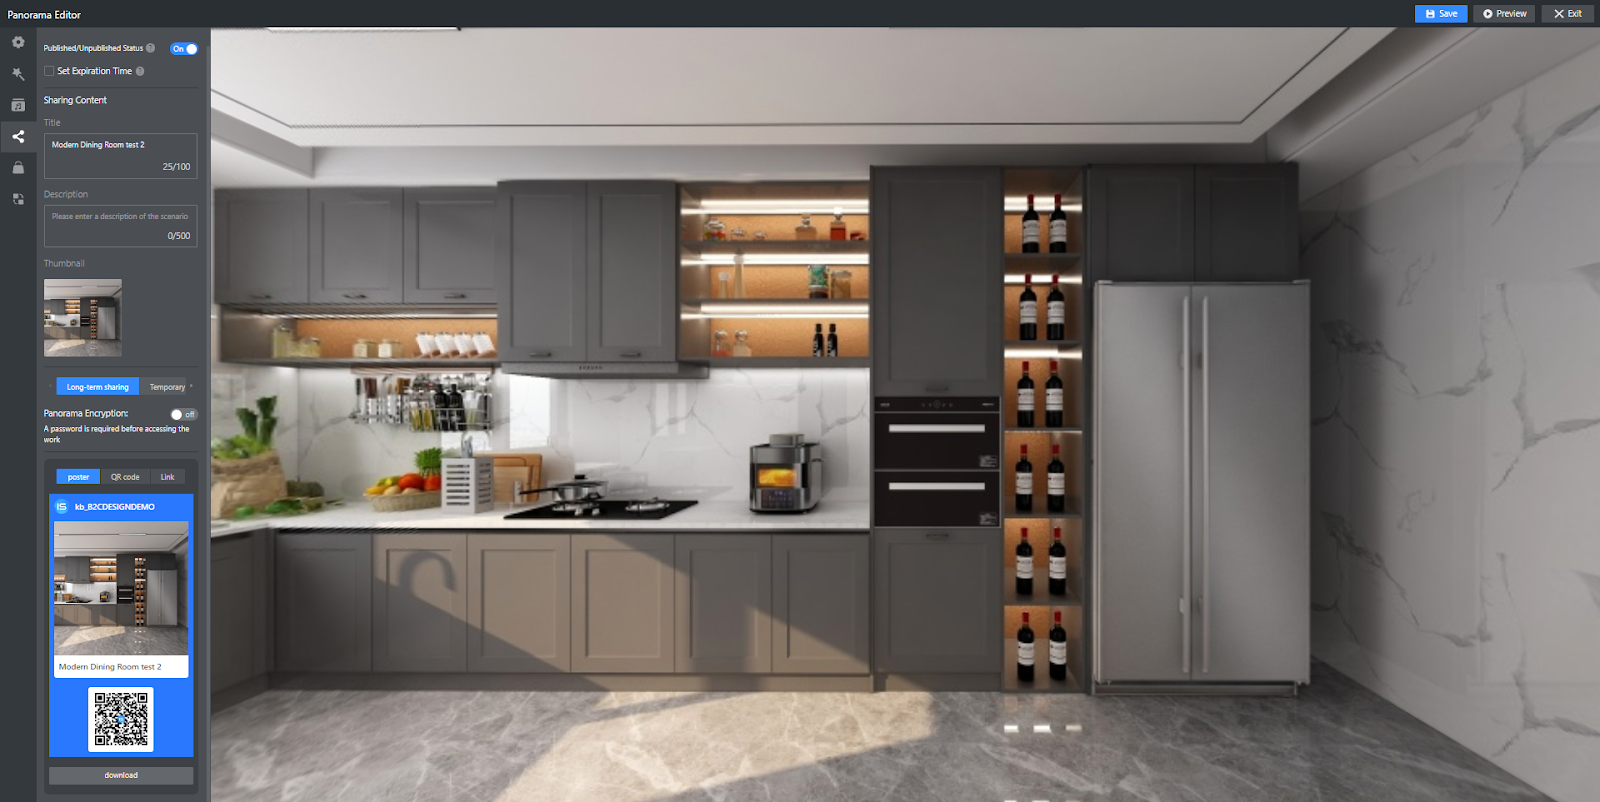
【Panorama】How to set an expiration date for sharing a panorama?
Introduction
In the past, designers might have refrained from sharing renderings/panoramic images with clients due to concerns about unauthorized use. However, with Coohom panorama you can address this concern by setting an expiration date. After the specified time has passed, clients will no longer be able to view the panoramic image. This feature ensures that your designs remain secure and accessible only for the intended duration.
Aim Users
All Coohom Users
Steps
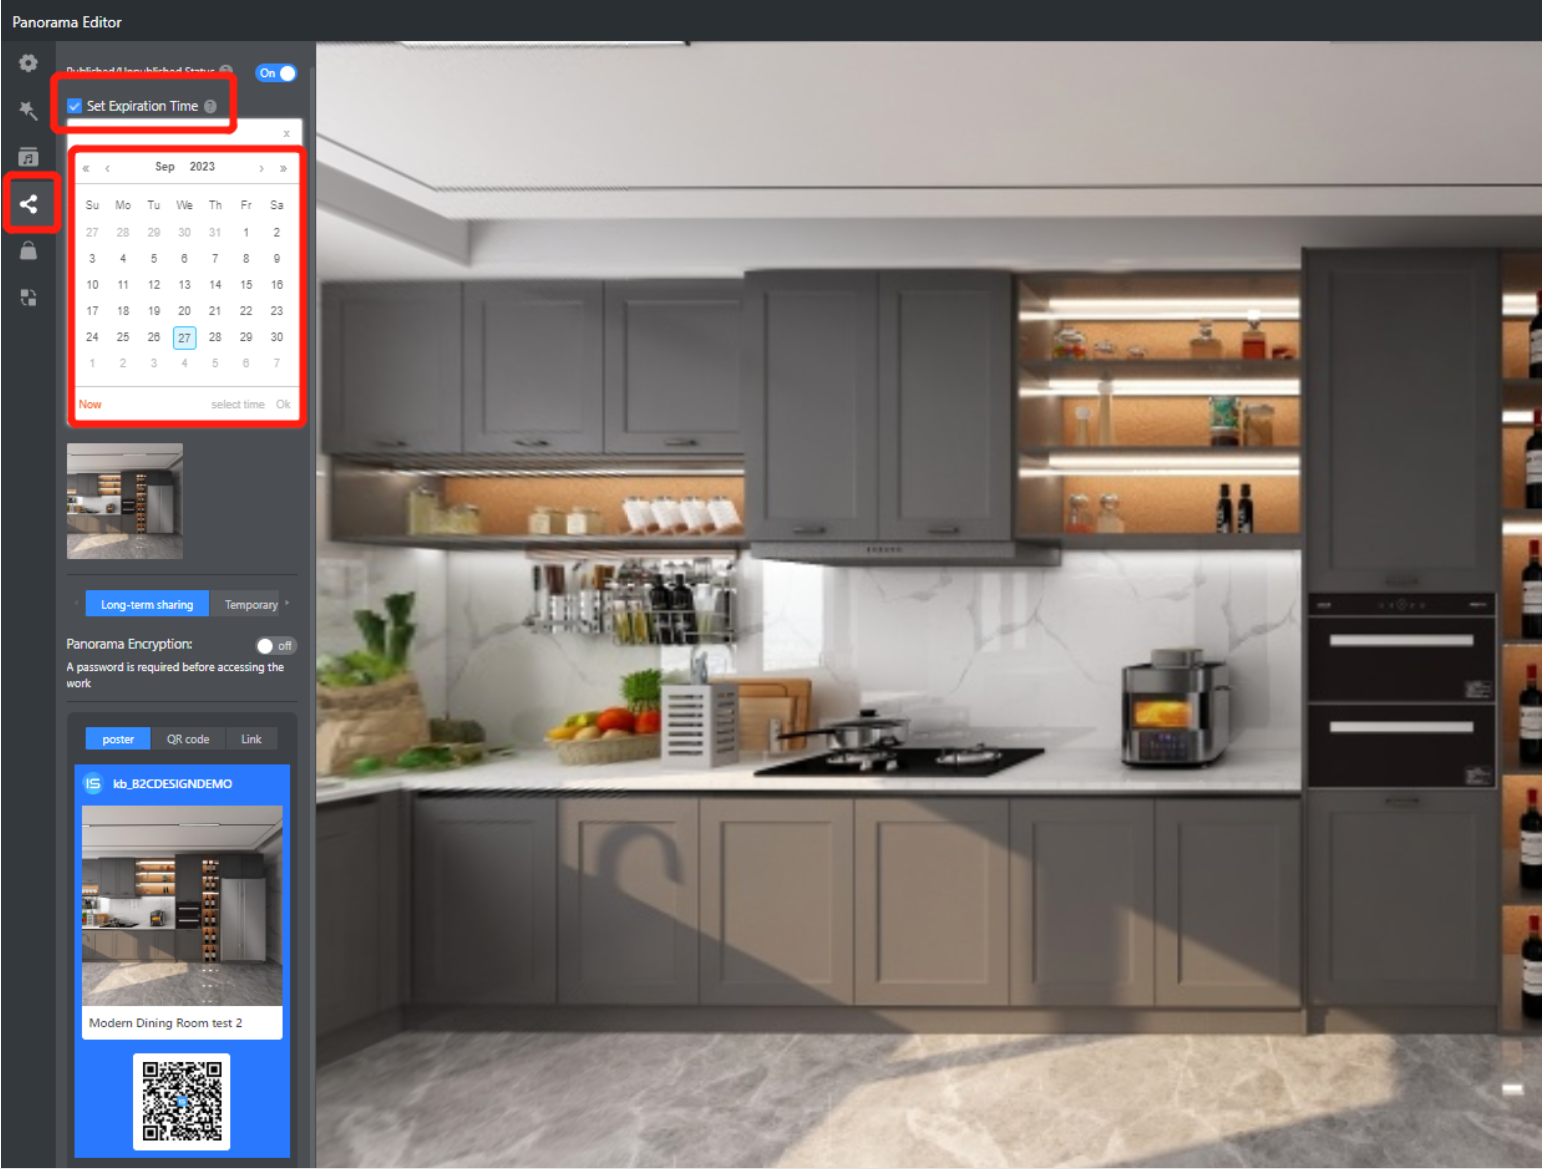
1. Go to the Enterprise backend, choose 【Projects】-【All Projects】, and select the desired project that needs to be configured.
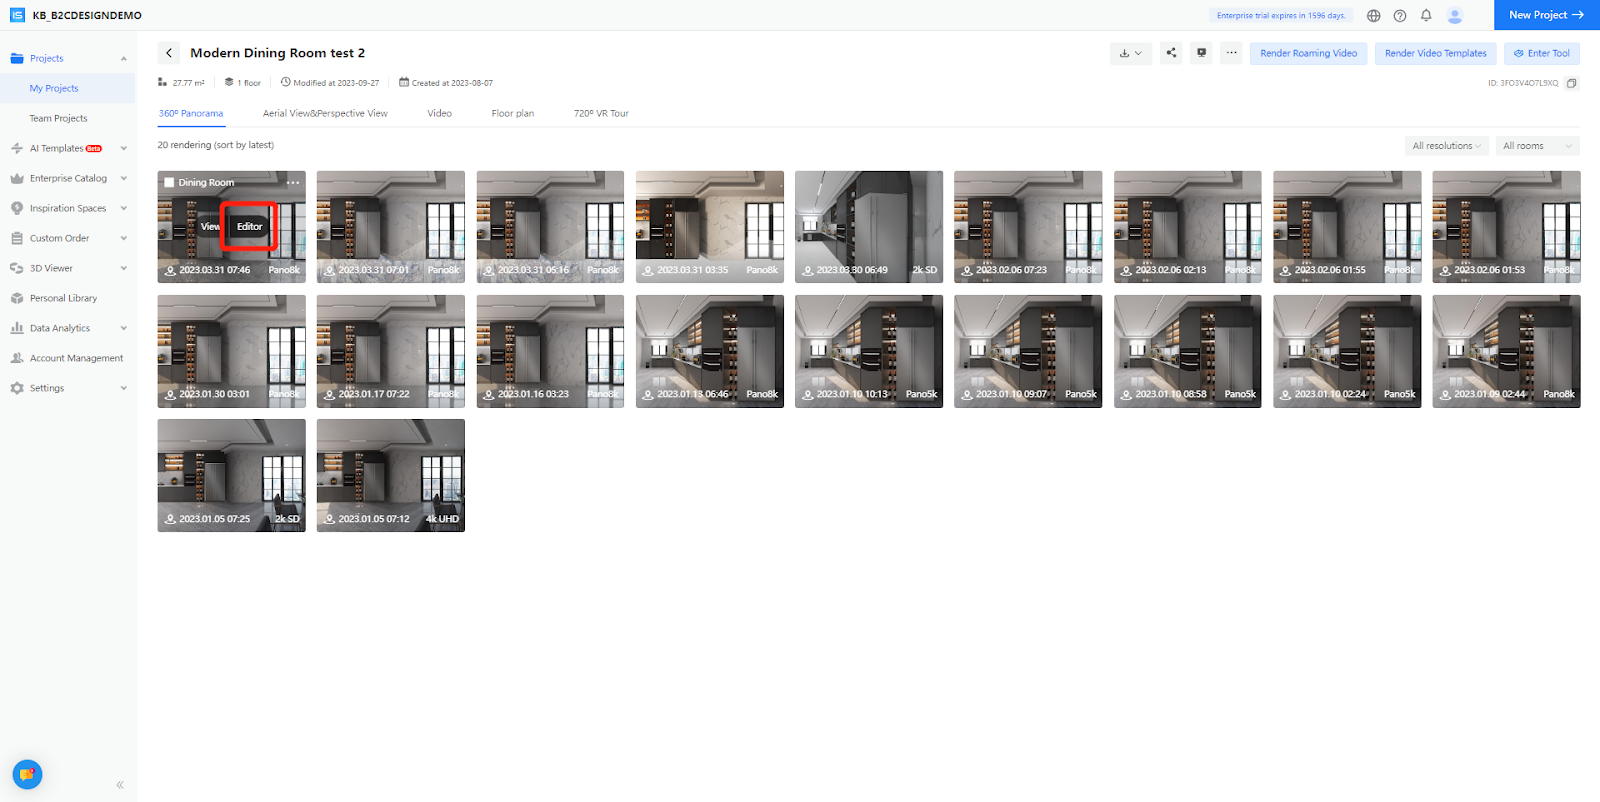
2. Click on 【Edit】 to enter the editing mode. Within the【Editor】, click on 【Sharing】to access the settings.
3. After selecting 【Set Expiration Time】, you can directly choose the desired expiration time on the calendar. If you uncheck "Set Expiration Date", access to the panoramic image will not be restricted by the expiration setting.
4. Once the expiration date is set, the corresponding panoramic poster and QR code can only be accessed within the specified period. When the expiration date is reached, accessing the image will display an expired notification page. However, you can always reset the expiration date for the panorama if needed.
【Product Management】Setting Custom Fields
Introduction
Custom fields for product information will be supported and can be applied to furniture, textures, finishes, irregular tiling, and custom company catalogs. Multiple application scenarios can be chosen, allowing for more comprehensive product information.
Aim Users
All Coohom users
Steps
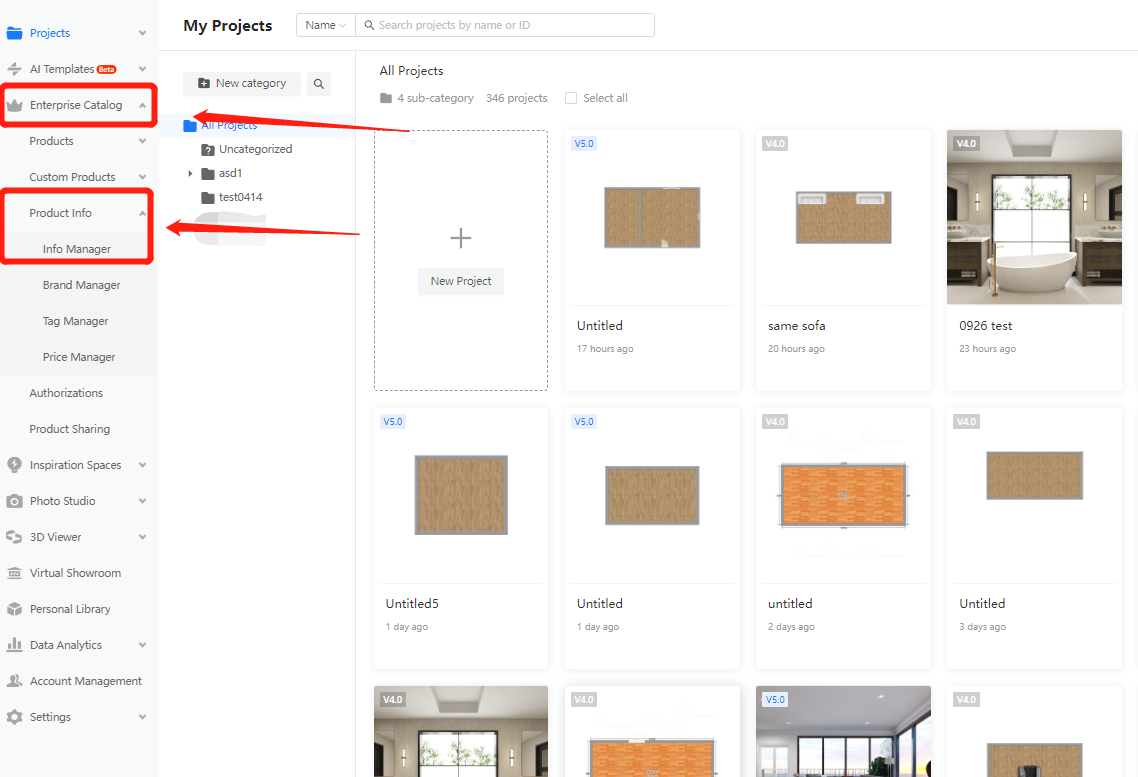
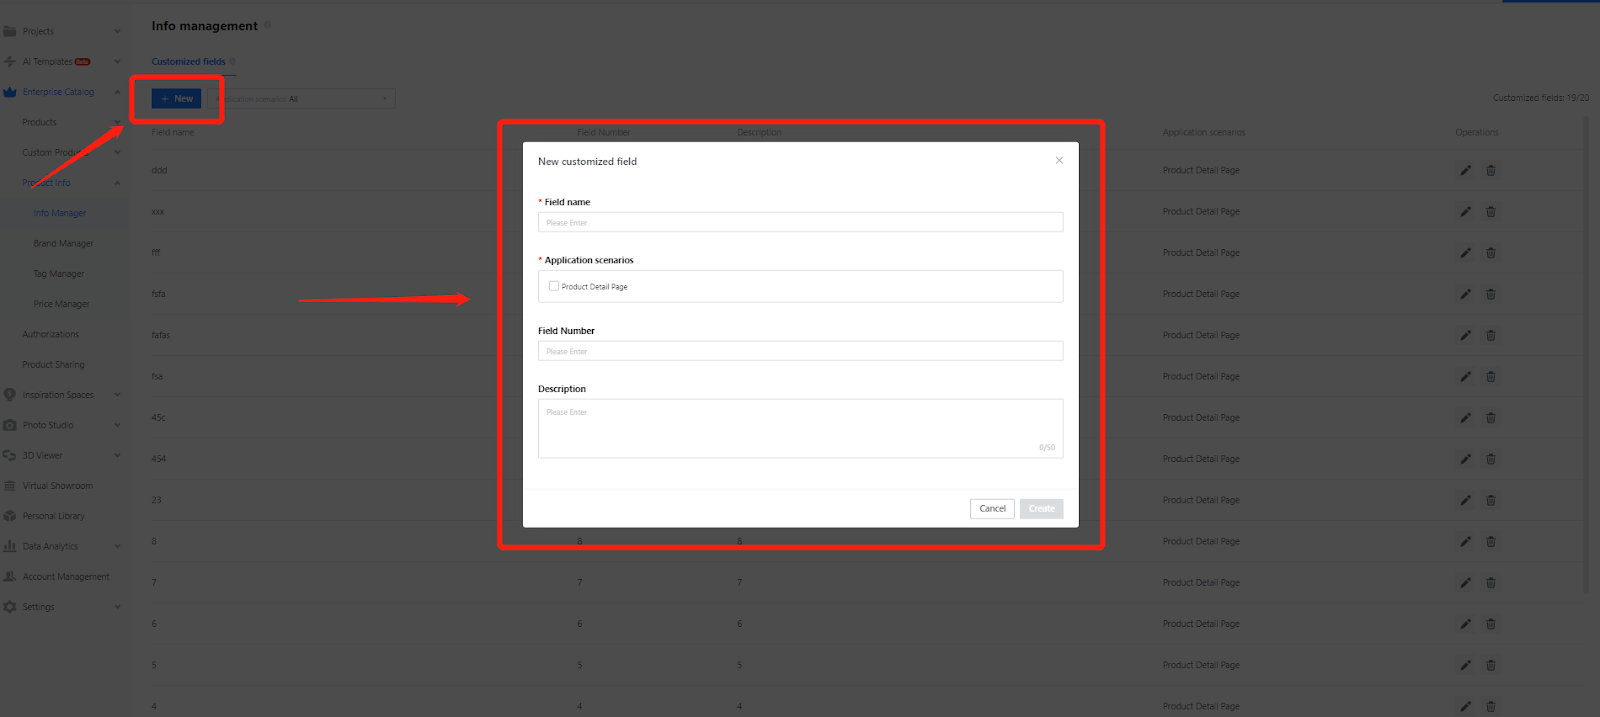
step1:Entry the Enterprise Catalog,Choose【Product Info】-【Info Manager】
Step2:Click【New】to create a customized field, and fill in the basic information,choose 【Create】
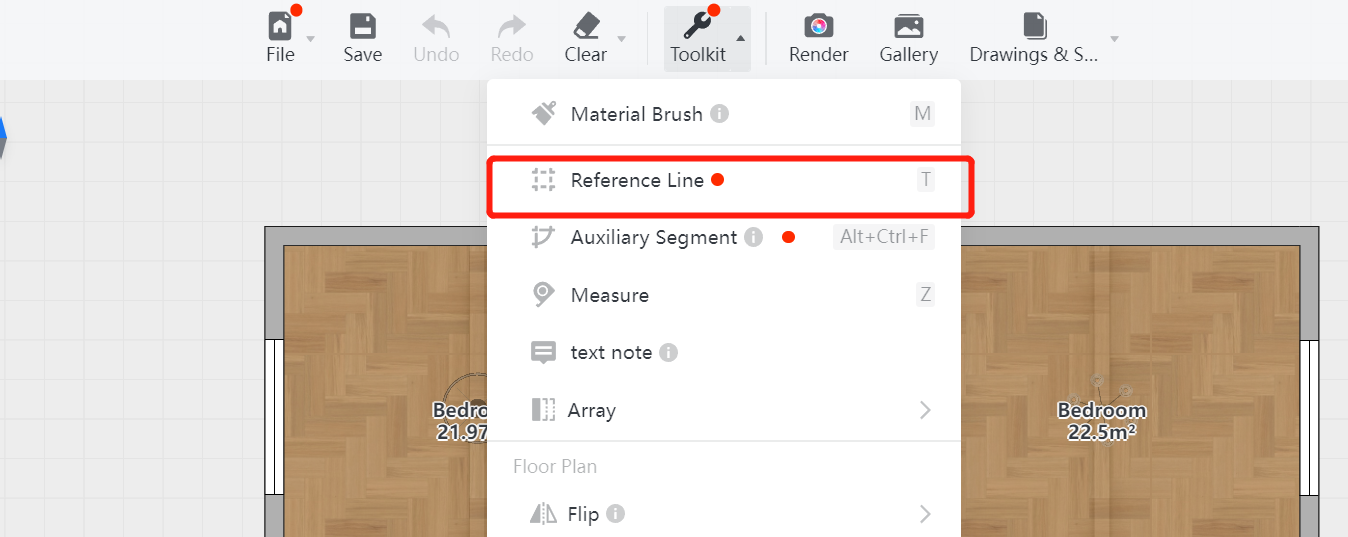
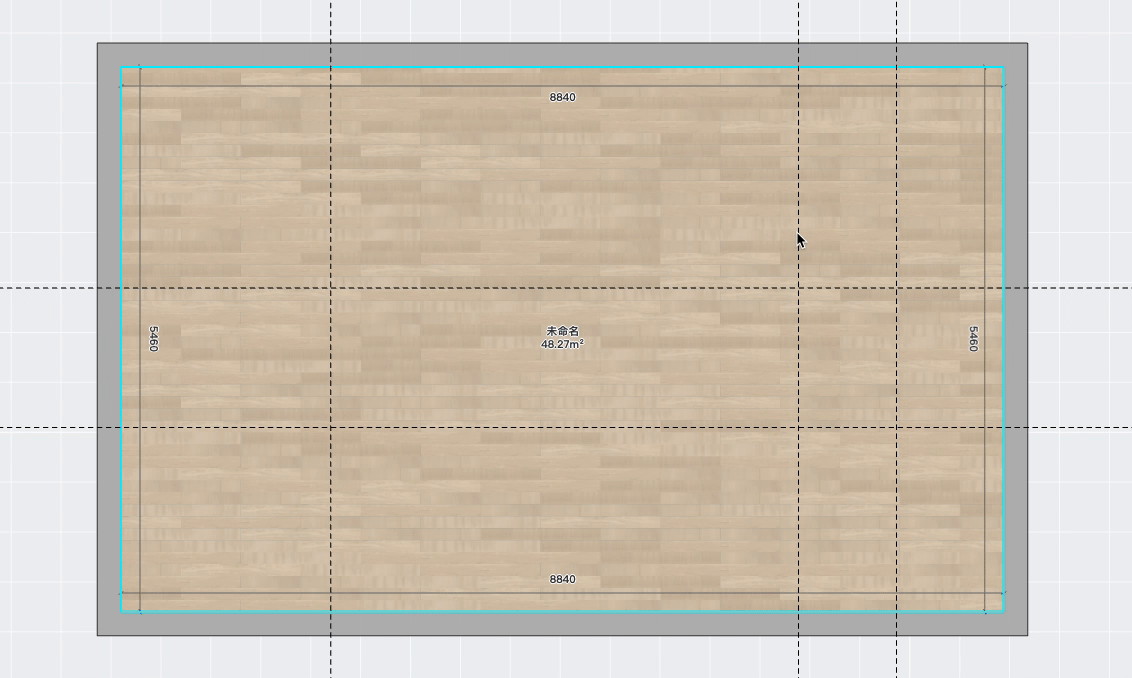
【Precise Layout】 Guidelines on Applying Reference Lines
I. Function Introduction
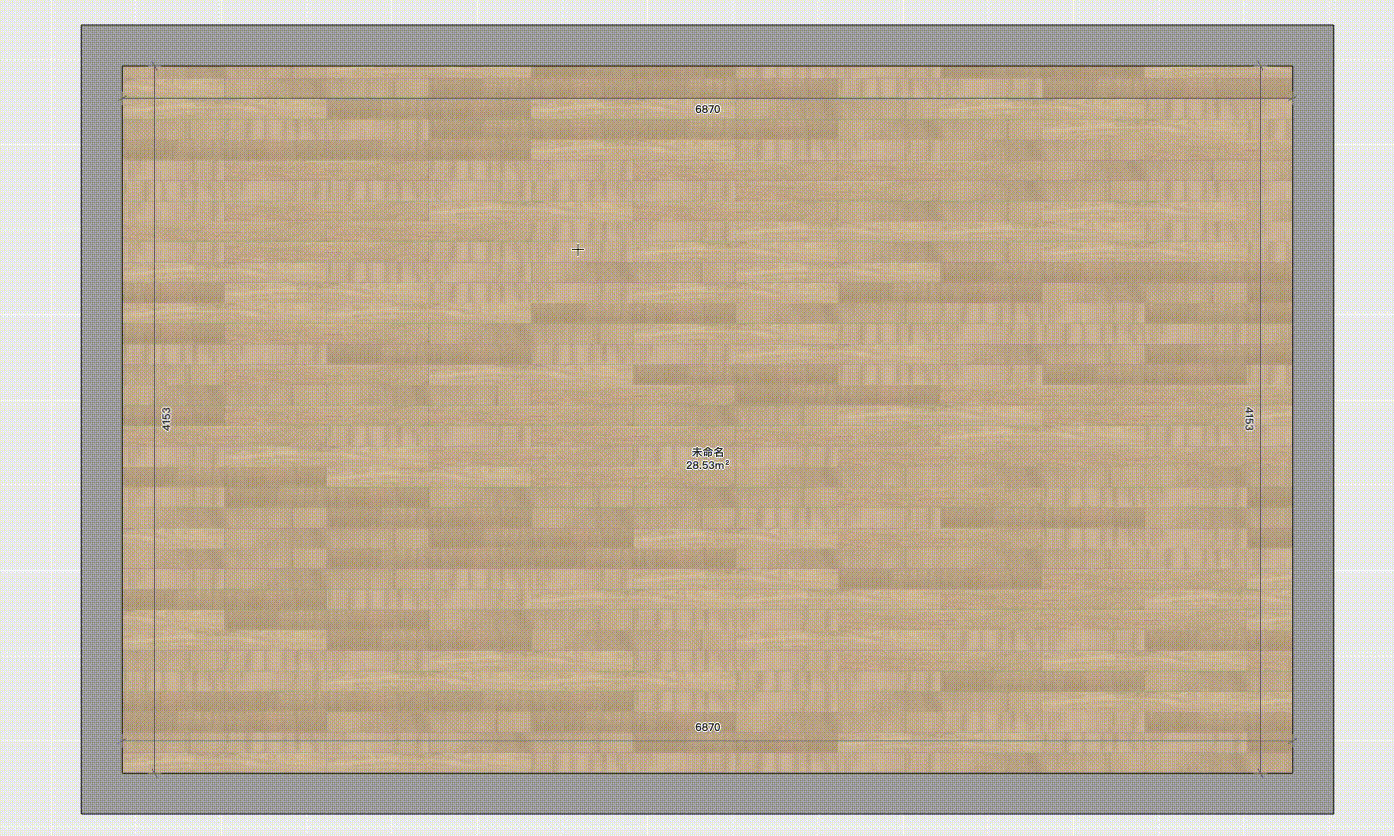
Reference lines float above the canvas and support object snapping. They assist designers in precisely positioning or aligning objects during the design process.
Tips:
*The Reference Line function is currently only available in 2D scenes (including 2D floor plans, 2D top views, and 2D elevation views).
II. Supported Versions
Cloud Design 5.0
III. Function Access
To access the "Reference Line" function: Click on the top bar "Toolkit" → "Reference Line" (You can directly activate the "Reference Line" function using the shortcut "T").
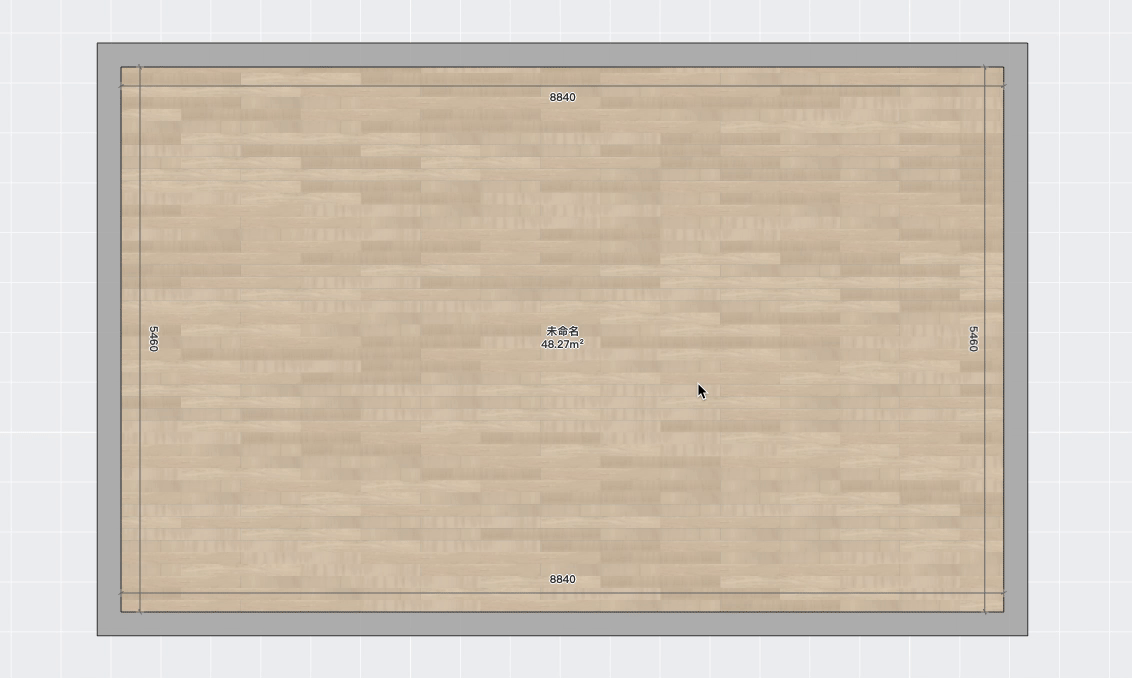
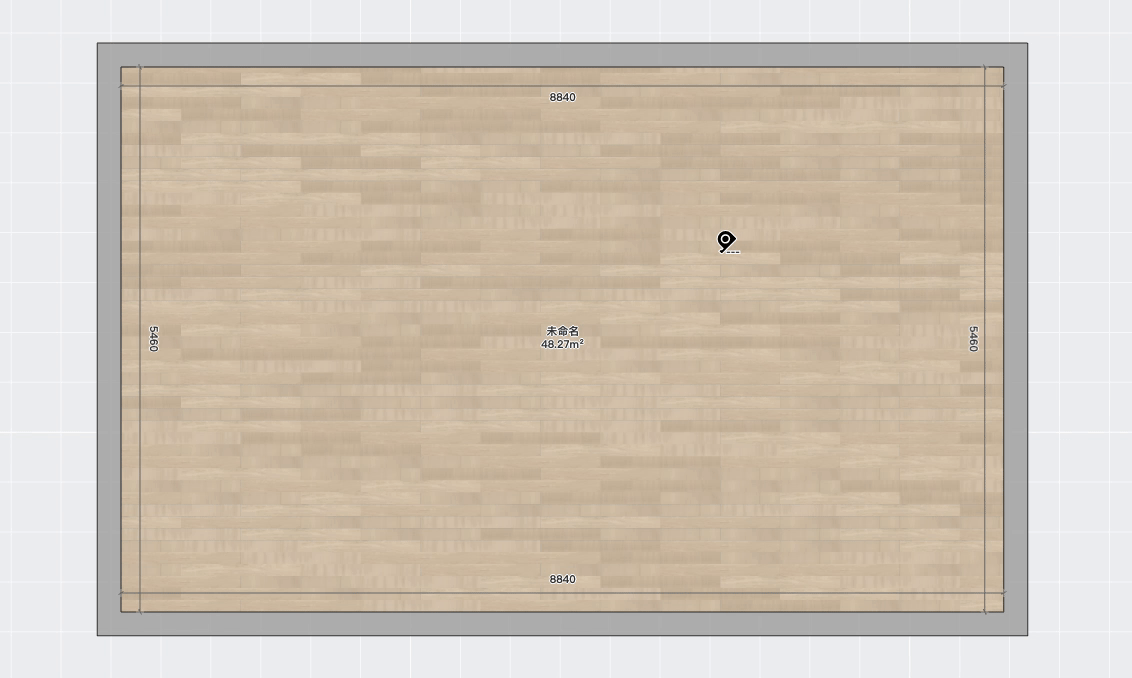
IV. How to Create a Reference Line
After activating the "Reference Line" function, you can create a line through "Two-Point Drawing" and "Offset Drawing":
1. Two-Point Drawing
Draw a reference line by locating any two points within the canvas, creating an infinitely extending line.
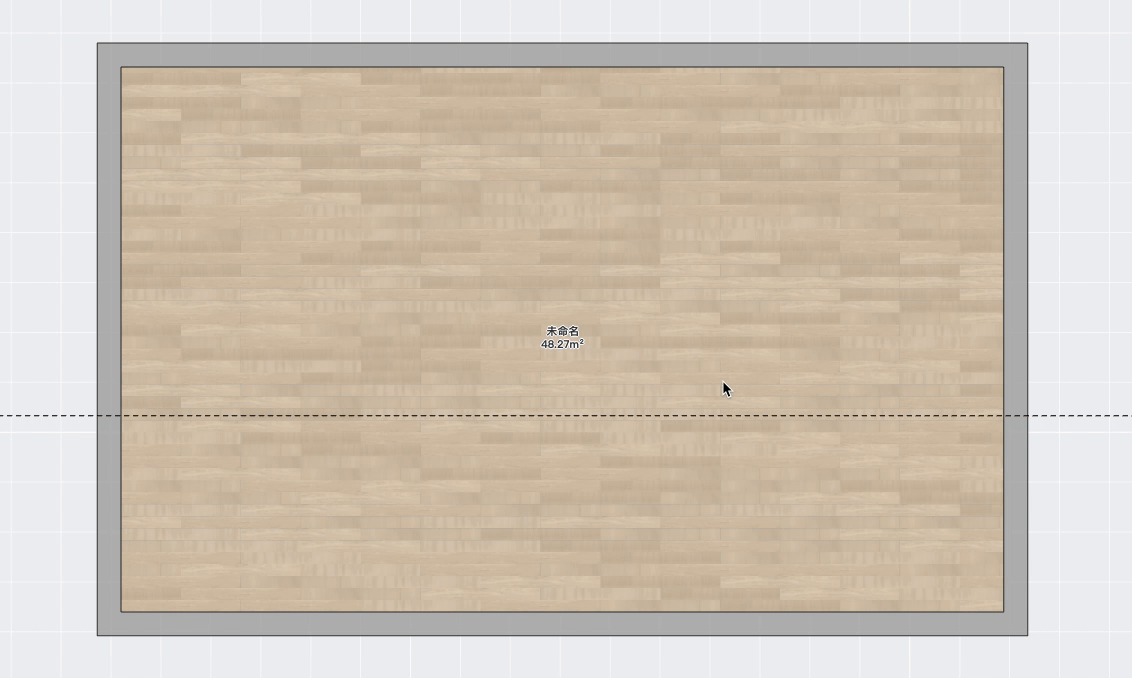
2. Offset Drawing
Activate any edge within the canvas (including reference lines, floor plan component segments, or model edges) and move the mouse to offset and draw a reference line.
2.1 Floor Plan Construction Offset
2.2 Reference Line Offset
2.3 Model Edge Offset
V. How to Use the Reference Line
After drawing the reference line, it supports snapping between the model and can be used in the following occasions:
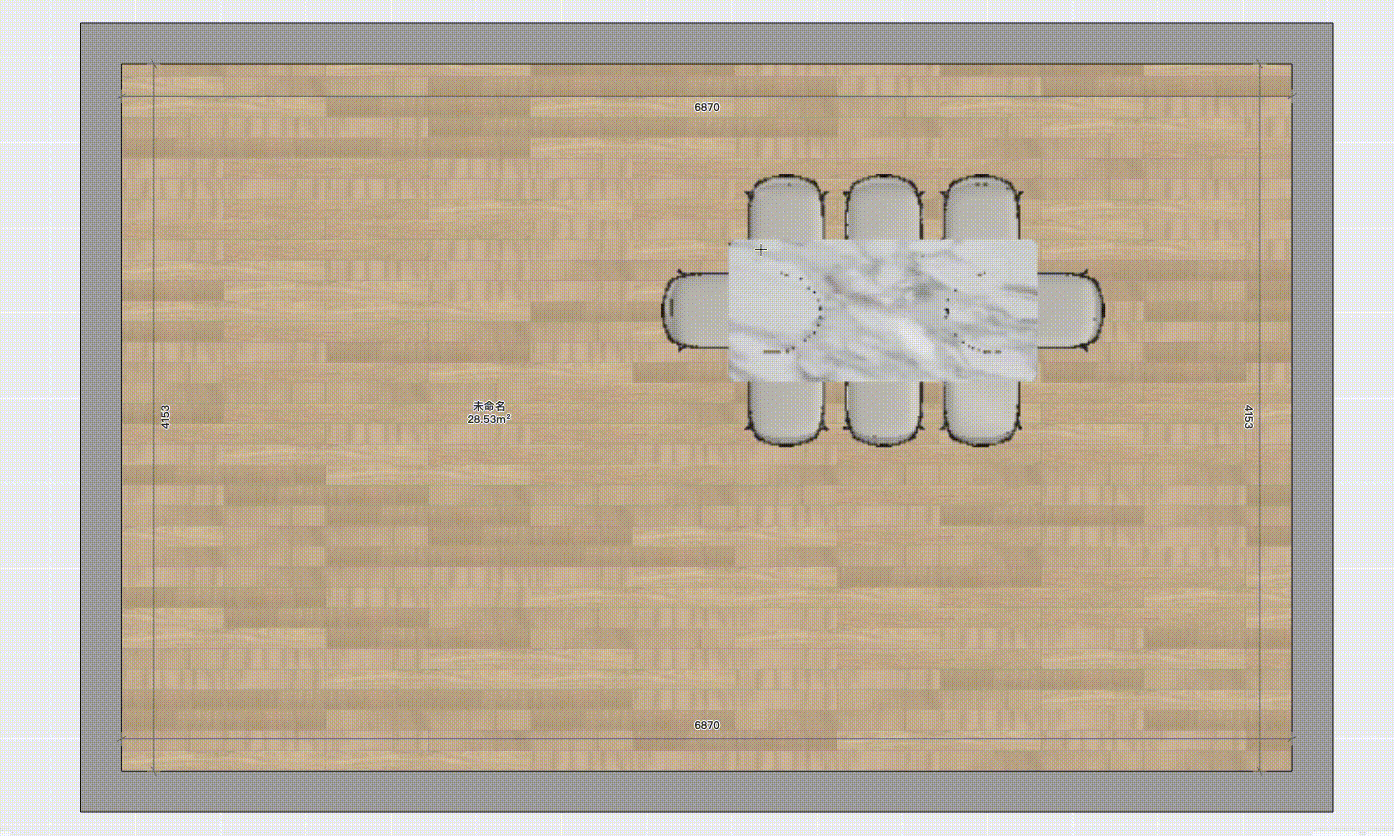
1.Model Drag & Snapping
Within the canvas, based on the drawn reference lines, when placing a model, it can automatically snap to the reference line, thus improving placement efficiency.
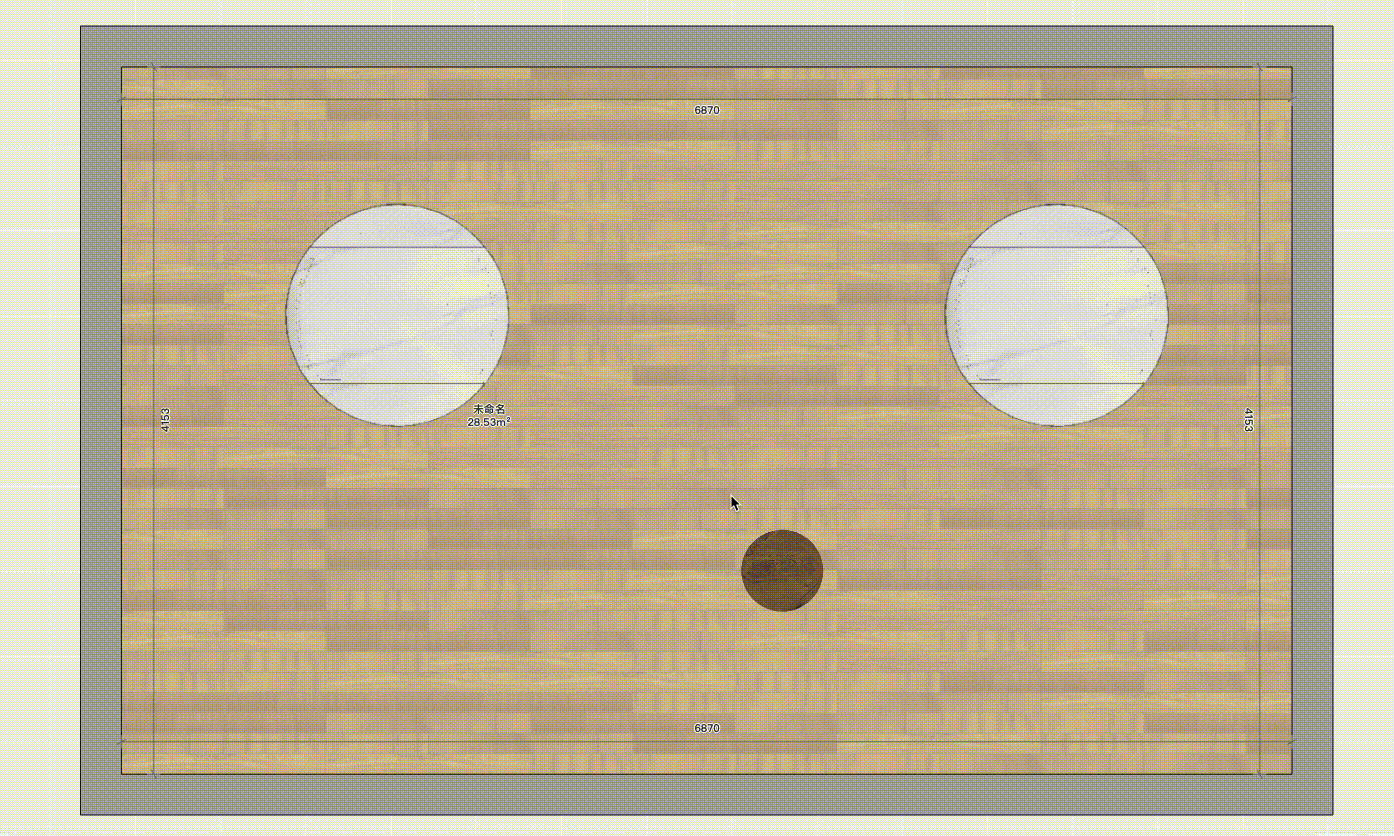
2.Model Point-to-Point Snapping
*For the model to support point-to-point snapping, you need to activate "Precise Layout" (Refer to the Precise Layout: Guideline on Precise Movement).
Within the canvas, based on the drawn reference lines, when placing a model, you can precisely snap to the reference line through the starting and ending points, improving placement efficiency.
VI. How to Delete a Reference Line
After drawing a "Reference Line", there are two ways to delete it: "Delete" individually or "Clear" all in one click:
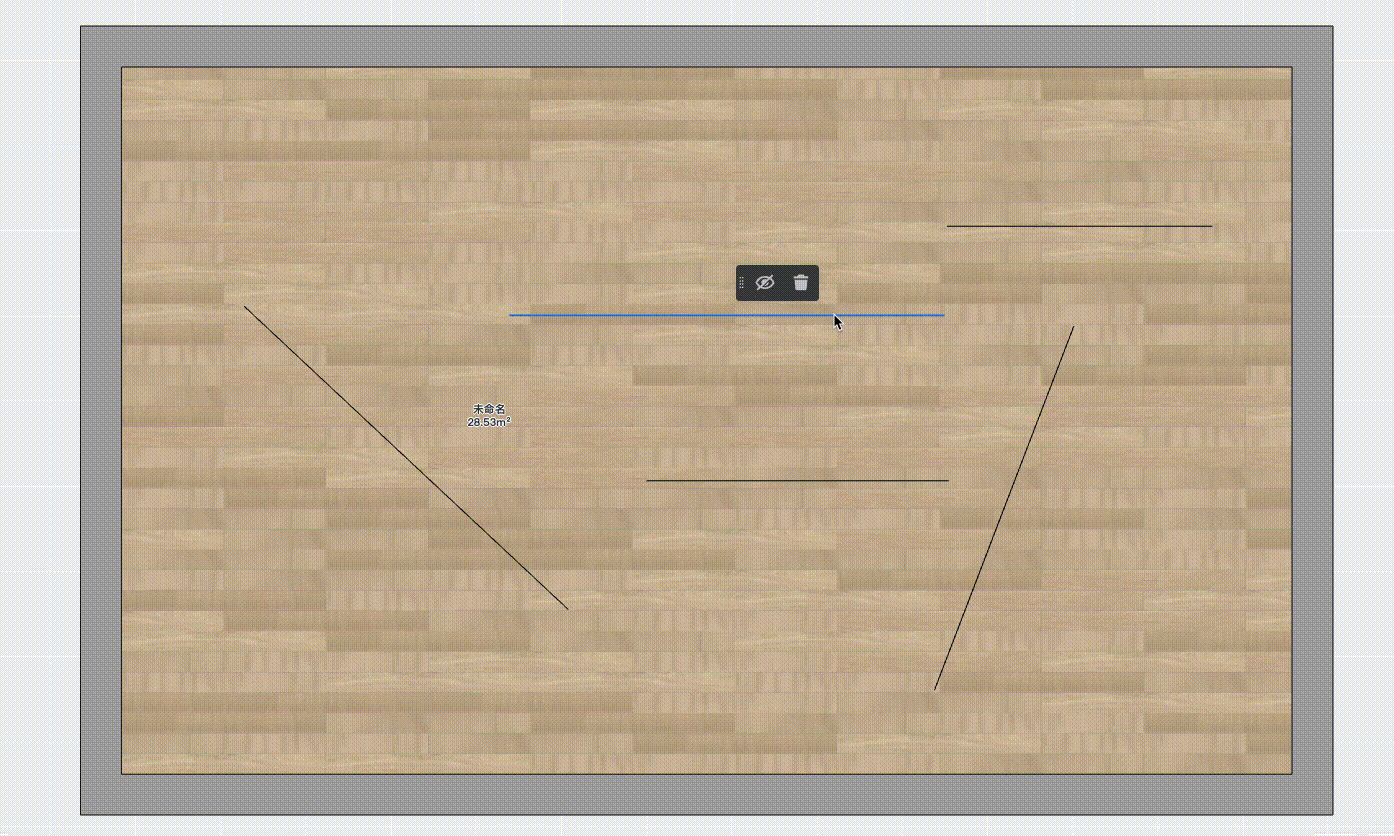
1."Delete" individually
Select any reference line within the canvas and click "Delete" on the object menu to remove that reference line.
2."Clear" all
Click on the top bar "Clear" → "Reference Line" to delete all reference lines within the canvas.
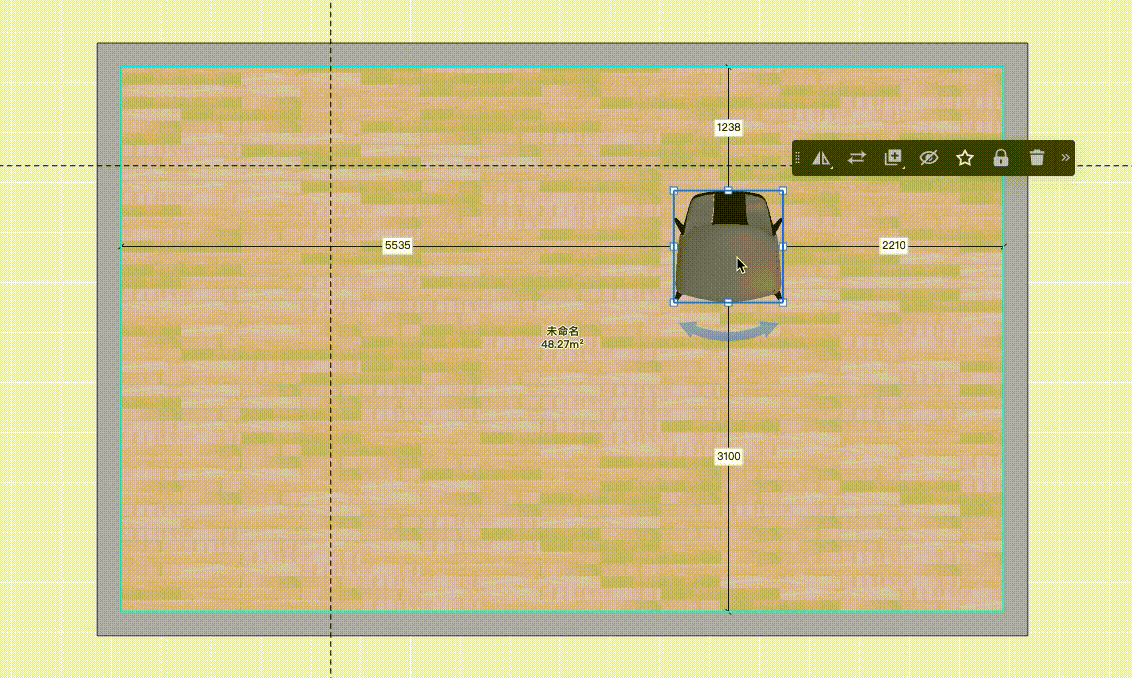
【Precise Layout】 Guideline on Precise Movement
I. Function Introduction
Precise Layout supports precise point-to-point movement of objects. During the design process, it assists designers in accurately positioning or placing objects.
Tips:
*The Precise Layout function is currently only available in 2D scenes (including 2D floor plans, 2D top views, and 2D elevation views).
II. Supported Versions
Cloud Design 5.0
III. Function Access
To access the "Precise Layout" function: Click on the bottom bar "Precise Layout" → "Turn On/Turn Off".
IV. How to Use Precise Layout
Once the "Precise Layout" function is activated, objects can be moved and aligned using a "point-to-point" method:
1.Activate Precise Layout
Hover over the "Precise Layout" on the bottom bar to expand the control panel. Clicking "Turn On" will activate the Precise Layout.
2.Click to Activate Object
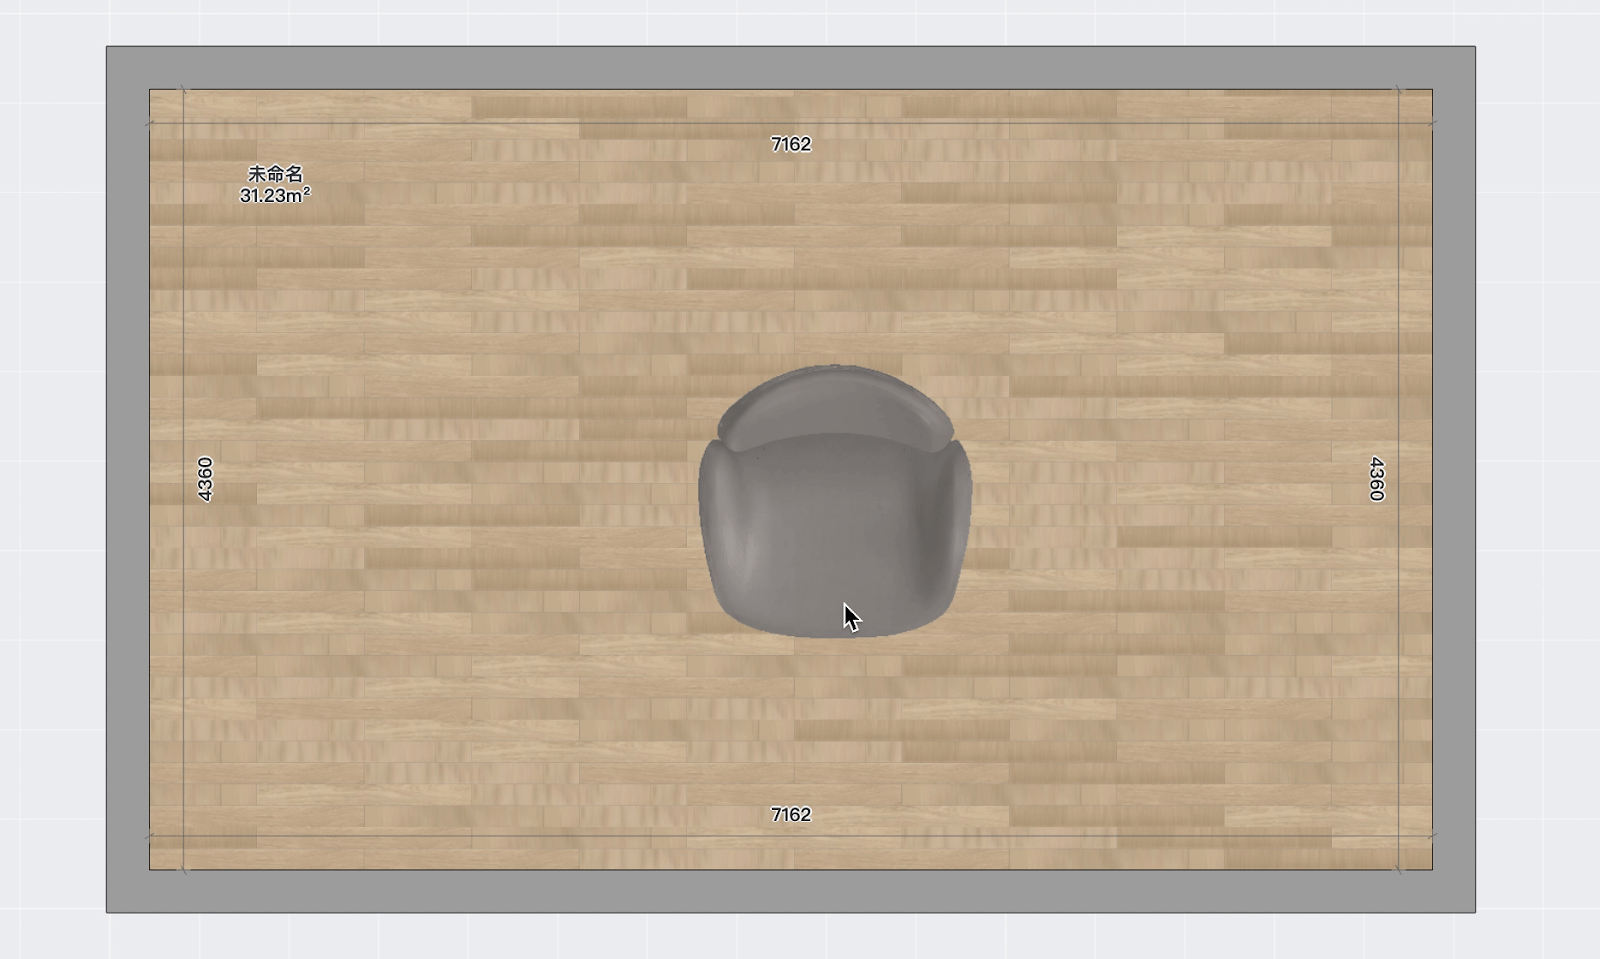
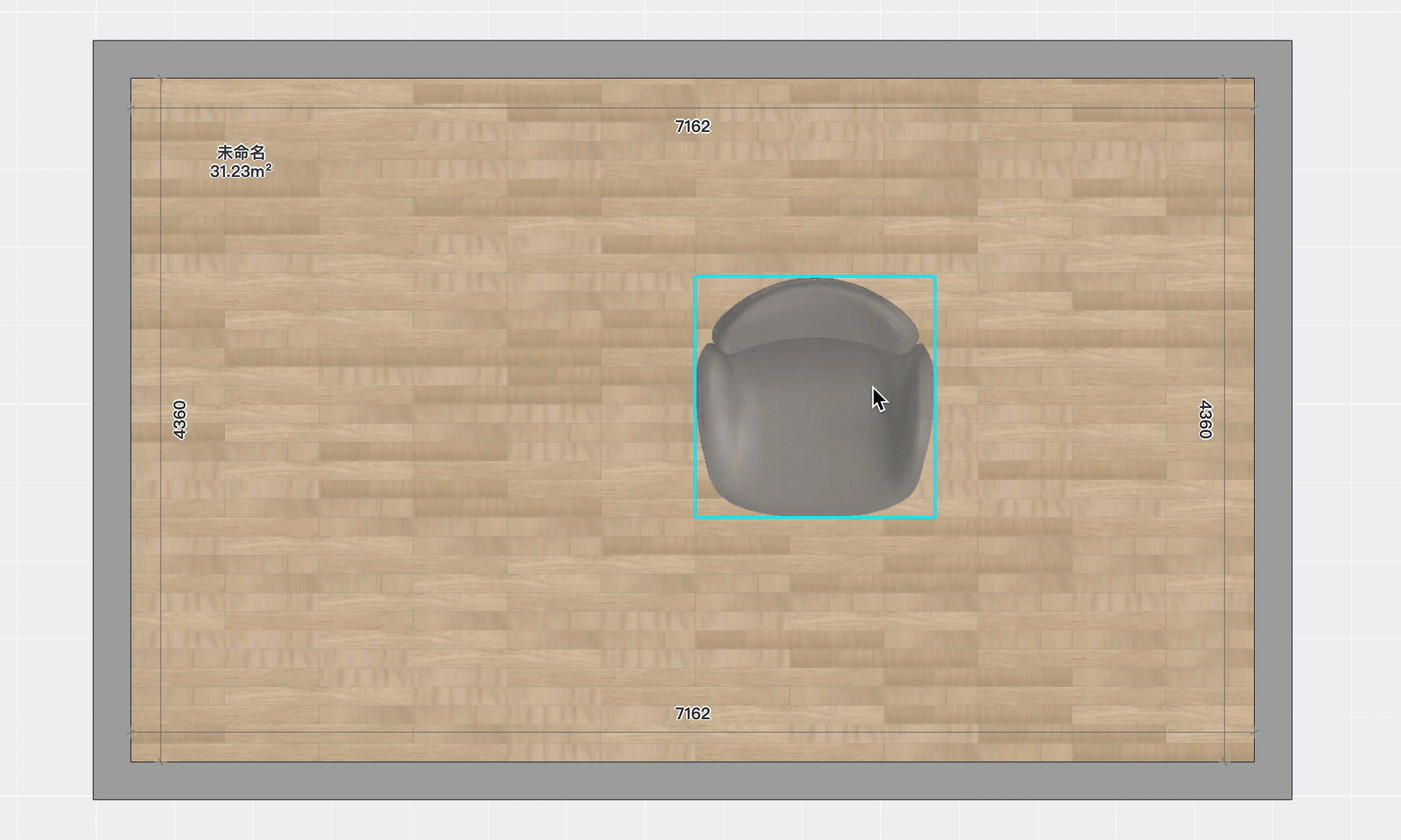
After activating Precise Layout, click on a model within the canvas to activate the target object you wish to move.
Tips:
*At this time, 9 snap points will be displayed on the object based on its bounding box. These are the midpoint, center point, and endpoints. Hovering over these points with the mouse will provide tooltips indicating the information of the current point.
3.Select the Starting Point for Movement
After activating the object, select the starting point on the object with the mouse.
3.Select the Ending Point for Movement
After determining the starting point, move the mouse to any position and click to confirm, completing the object's placement.

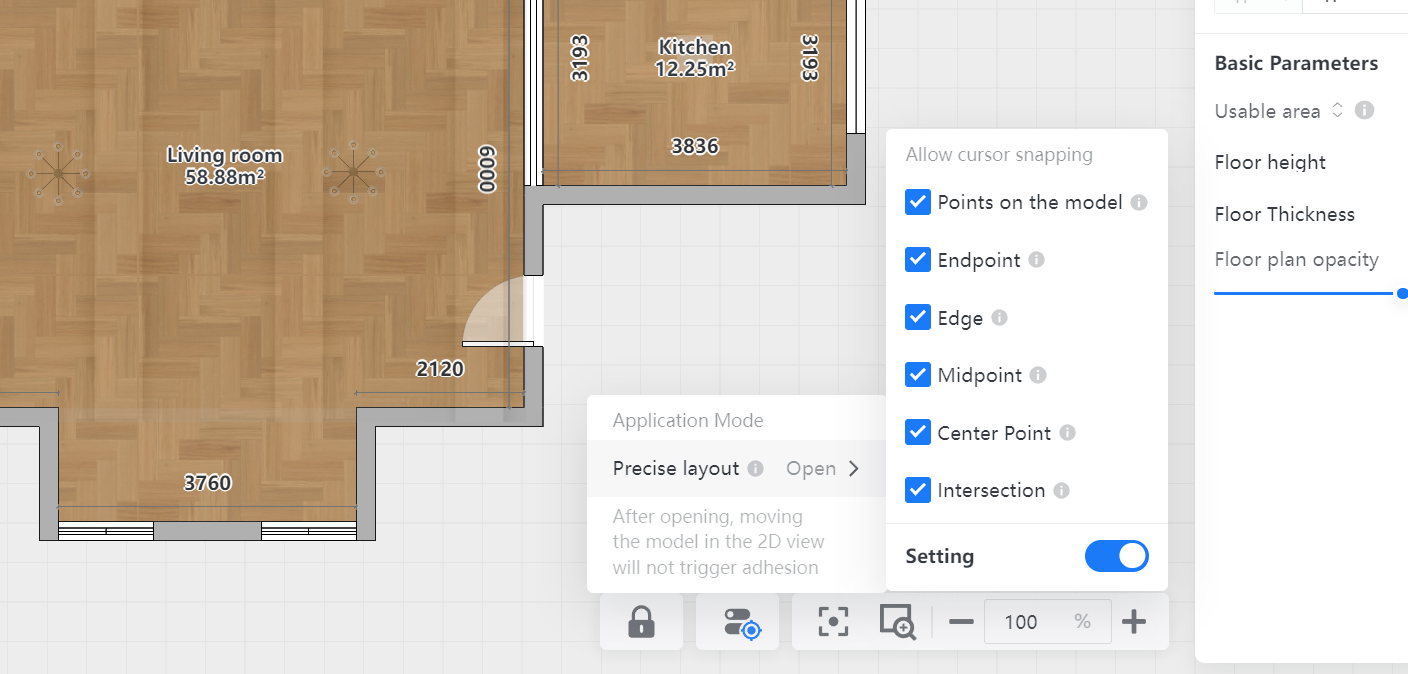
V. How to Control Snap Points
After activating "Precise Layout", you can customize control by turning on and off the snap points in the panel to determine whether the mouse can snap to them.
As shown in the figure: If you uncheck "Center Point", "Midpoint", and "Endpoint" in the Precise Layout panel, the mouse will not be able to snap to the object's "Center Point", "Midpoint", and "Endpoint" within the canvas.
【Precise Layout:】Guidelines on how to Apply the Auxiliary Line
I. Function Introduction
The auxiliary lines can be drawn through two points and are typically used in conjunction with objects. They assist designers in creating more valuable snap points. During the design process, they also help designers accurately position or align objects.
Tips:
*The Auxiliary Line function is currently only available in 2D scenes (including 2D floor plans, 2D top views, and 2D elevation views).
II. Supported Versions
Cloud Design 5.0
III. Function Access
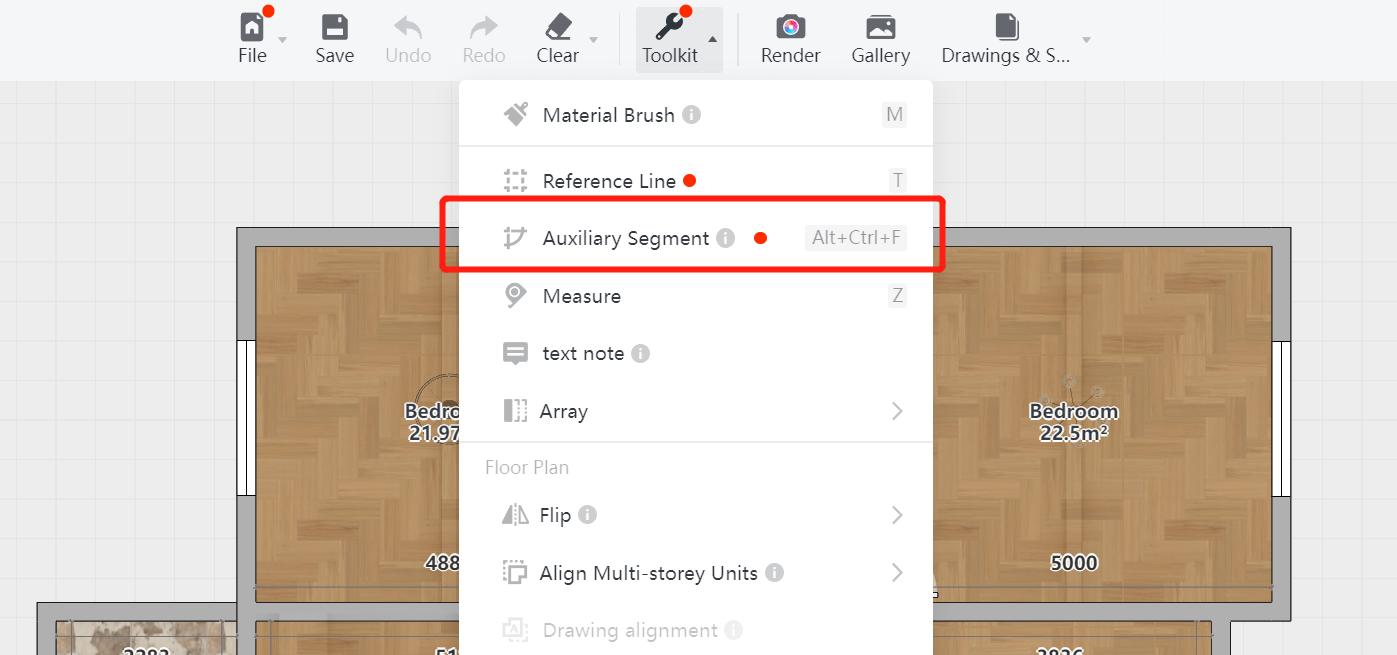
To access the "Auxiliary Line" function: Click on the top bar "Toolkit" → "Auxiliary Line" (You can directly activate the "Auxiliary Line" function using the shortcut "Alt+Ctrl+F").
Tips:
*The Auxiliary Line function can only be accessed after activating the Precise Layout (Refer to the guidelines for the Precise Movement of the "Precise Layout" function).
IV. How to Create an Auxiliary Line
After activating the "Auxiliary Line" function, you can create a line through "Two-Point Drawing":
1. Two-Point Drawing
Draw an auxiliary line by locating any two points within the canvas.
V. How to Use the Auxiliary Line
After drawing the auxiliary line, it can be applied in the following occasions:
1.Binding with Objects
-
Within the canvas, based on the drawn auxiliary lines, select an object and the auxiliary lines, then click the "Bind" button on the object menu to bind them.
-
After binding, you can capture objects and move with your mouse based on the auxiliary lines.
Within the canvas, based on the drawn auxiliary lines, select an object and the auxiliary lines, then click the "Bind" button on the object menu to bind them.
After binding, you can capture objects and move with your mouse based on the auxiliary lines.
2.Creating a Midpoint
Within the canvas, draw an auxiliary line based on two objects to create a midpoint between them.
VI. How to Delete an Auxiliary Line
After drawing an auxiliary line, there are two ways to delete it: "Delete" individually or "Clear" all in one click:
1."Delete" individually
Select any auxiliary line within the canvas and click "Delete" on the object menu to remove that auxiliary line.
2."Clear" all
Click on the top bar "Clear" → "auxiliary line" to delete all auxiliary lines within the canvas.
VII. How to Hide an Auxiliary Line
After drawing an auxiliary line, there are two ways to hide it: "Hide" individually or "Show/Hide" all in one click:
1."Hide" individually
Select any auxiliary line within the canvas and click "Hide" on the object menu to hide that auxiliary line.
2."Show/Hide" all
Click on the bottom bar "Show/Hide" → "Auxiliary Line" to show/hide all auxiliary lines within the canvas.