Overview
The Photo Studio feature is based on model processing, material processing, light processing, and rendering technologies. It provides a virtual studio in which you can conveniently shoot photos and high-resolution videos for your products from various camera angles and in different scenes.
Access
-
Access 1 Photo studio >> Products
-
Access 2 Photo Studio >> Studio Collection
-
Access 3 Photo Studio >> Access Management
Access 1 Photo studio >> Products
Access 2 Photo Studio >> Studio Collection
Access 3 Photo Studio >> Access Management
Approaches for shooting
-
Approaches to Photo Shooting
-
Approaches to Video Shooting
Approaches to Photo Shooting
Approaches to Video Shooting
Access 1 Photo studio >> Products
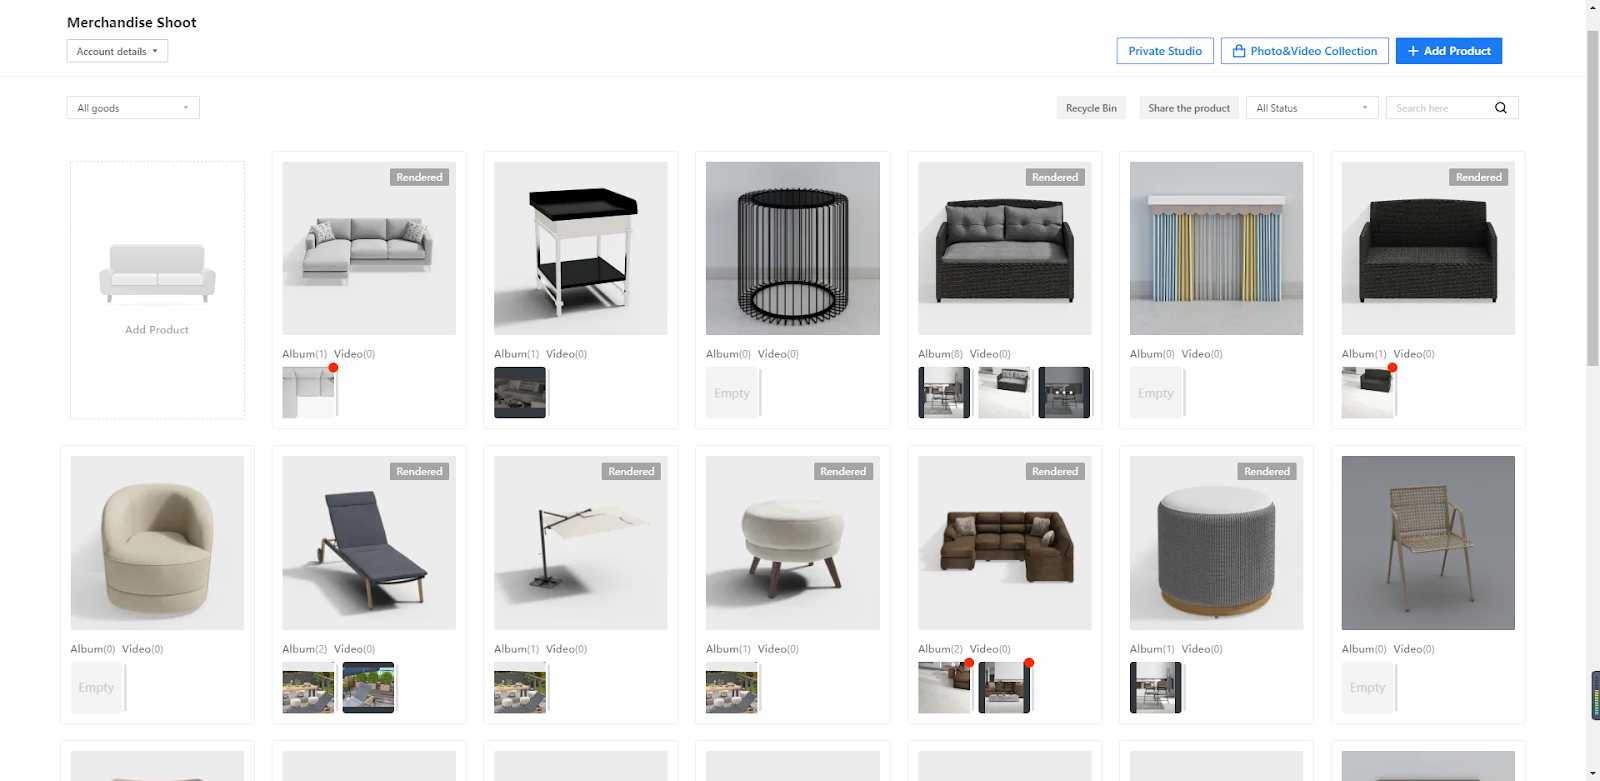
In the left-side navigation pane, click the Photo Studio, click on Products.

1. Add Product
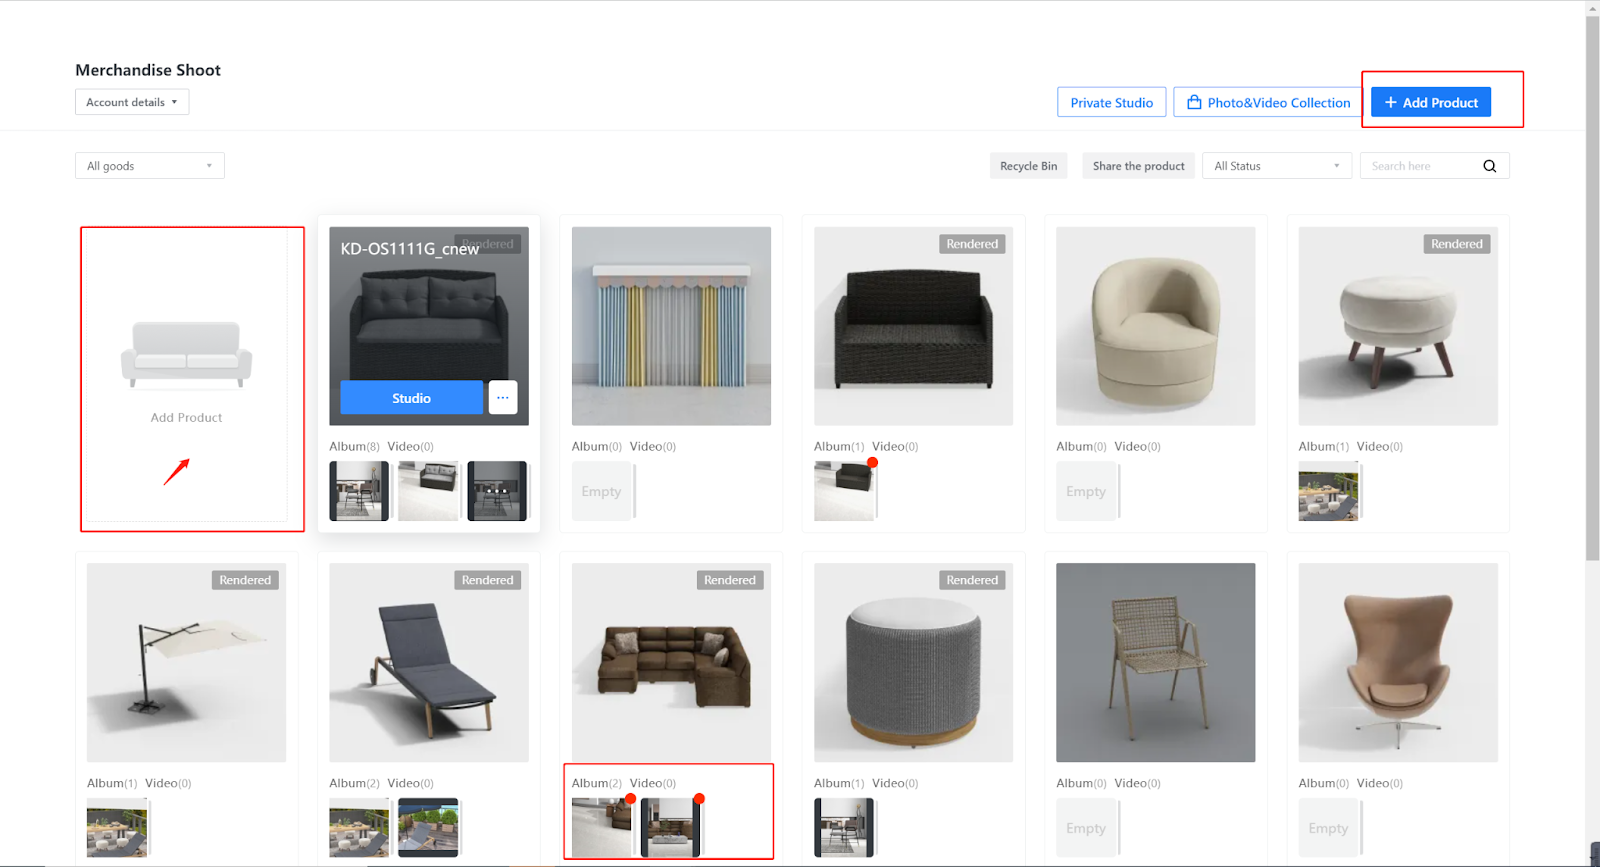
In the page that appears, click the + Add Product blue button on the top-right corner of the page. Or you can simply click on Add Product on the left side of the page.
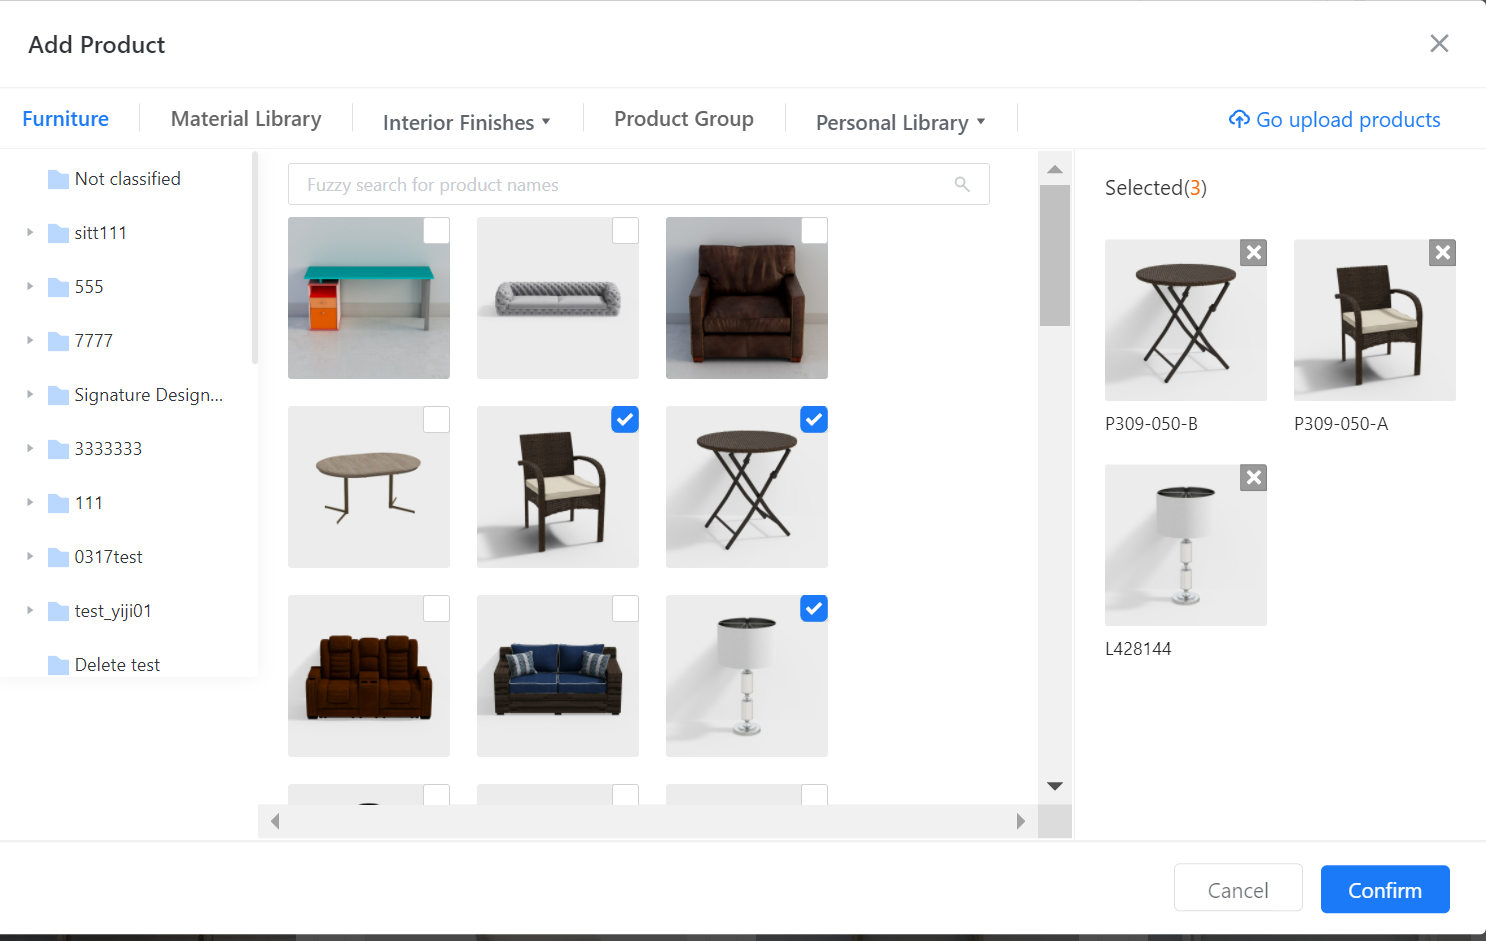
When you add products for shooting in the pop-up window, you can select one or multiple products at a time.
The products that you can select are all from your Enterprise Library, falling into five categories, namely Furniture, Material Library, Interior Finishes, Product Group and Personal Library. Therefore, you can also upload the products that you want to shoot to your Enterprise Library so that you can add them to your studio.
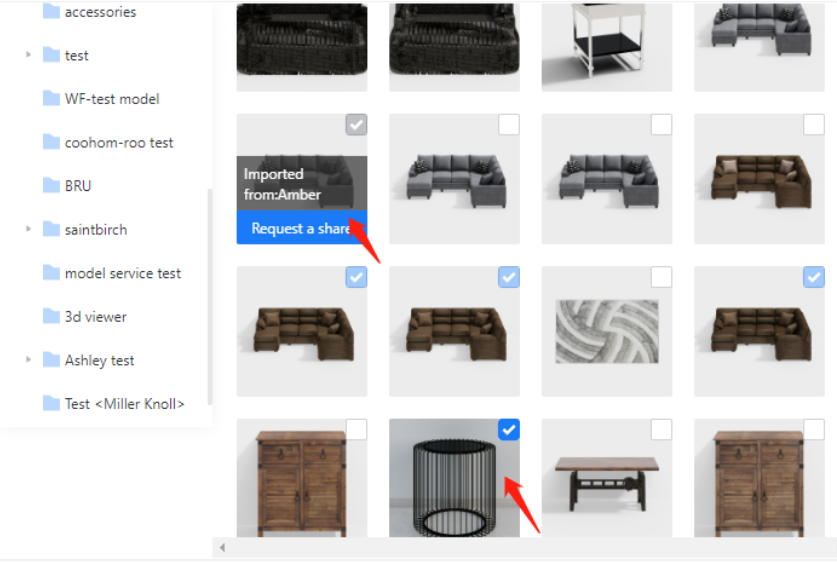
2. Request share of products
If you hover your cursor over the thumbnail of your products from Enterprise Library, you will find the Option Request a share. This allows the product to be selected by both the Admin account user and sub-account users for photo or video shooting.
If you are the Admin account user, you can share a product with one or more sub-accounts that you choose so that users of these sub-accounts can shoot the product. If you are a sub-account user and you want to shoot a product that has been used by the Admin account for shooting, you will need to send a request to the Admin for permission.
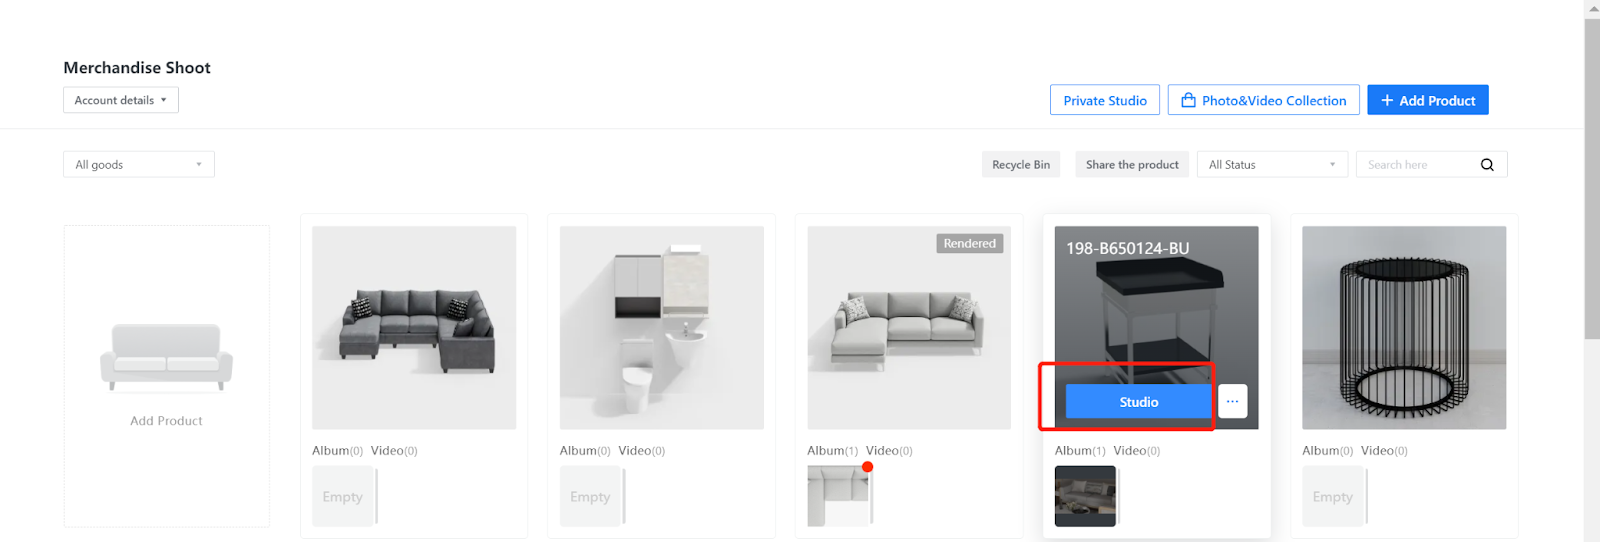
3. Studio Shooting
Move the cursor over the product that you have added or shot photos/videos for. Then, click the Studio button.
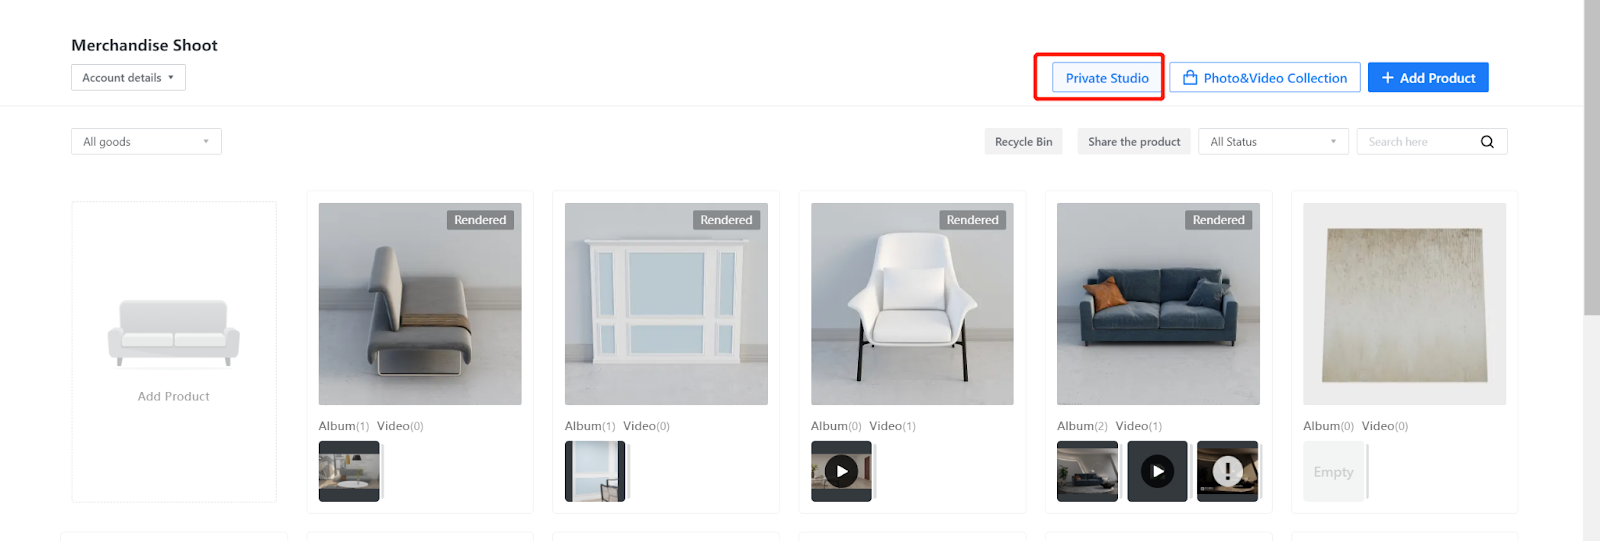
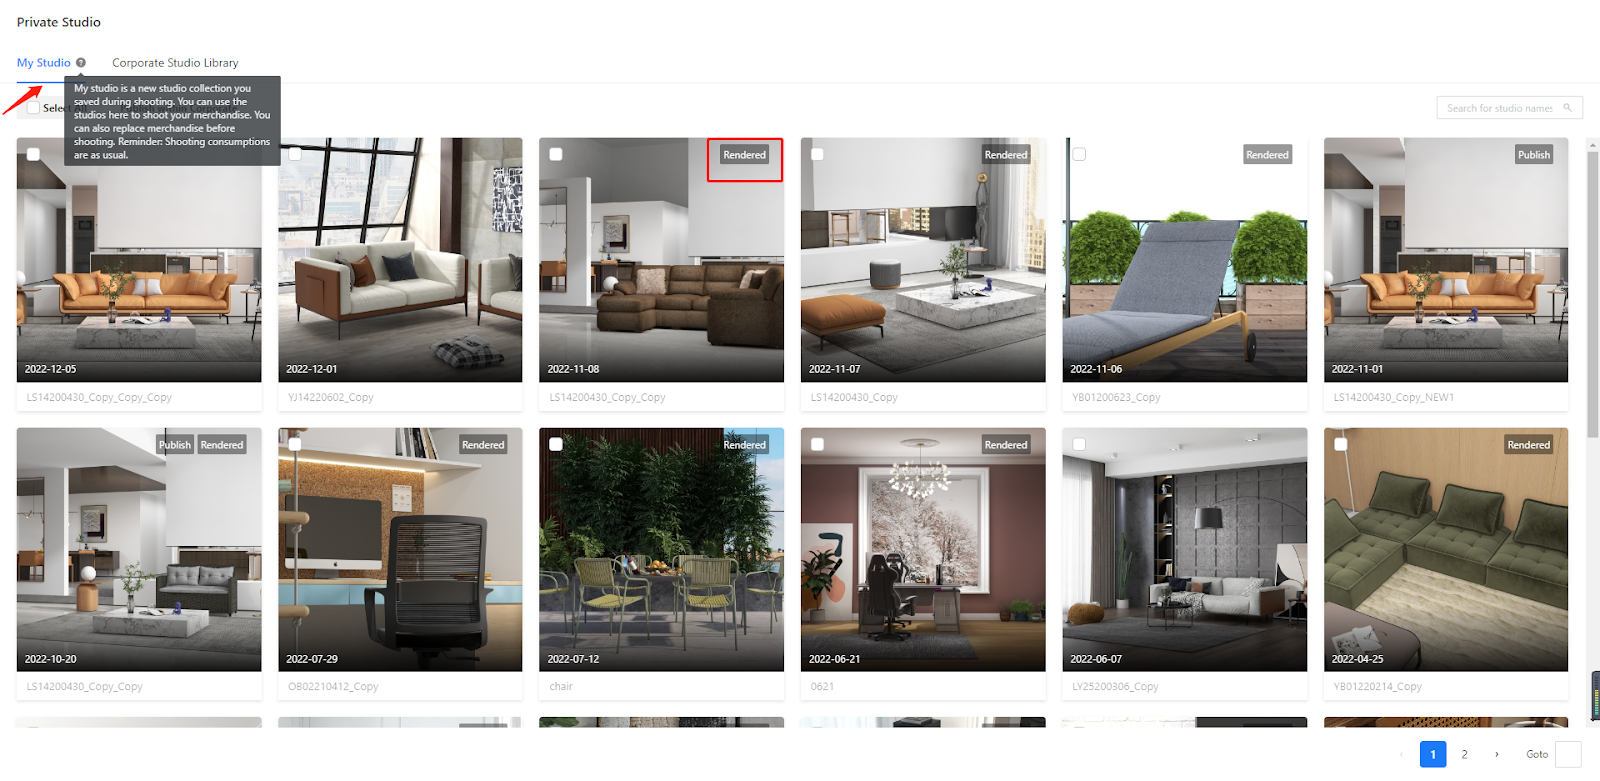
4. My Studio
My Studio is a collection of studios that you edited based on the original before renaming and saving them as new ones during product shooting. You can use the studios stored in this collection to shoot your existing products or replace your products in these studios before shooting.
Click the Private Studio, click on the My Studio tap. Then you will find all the studios that you edited and can be used to shoot your products.
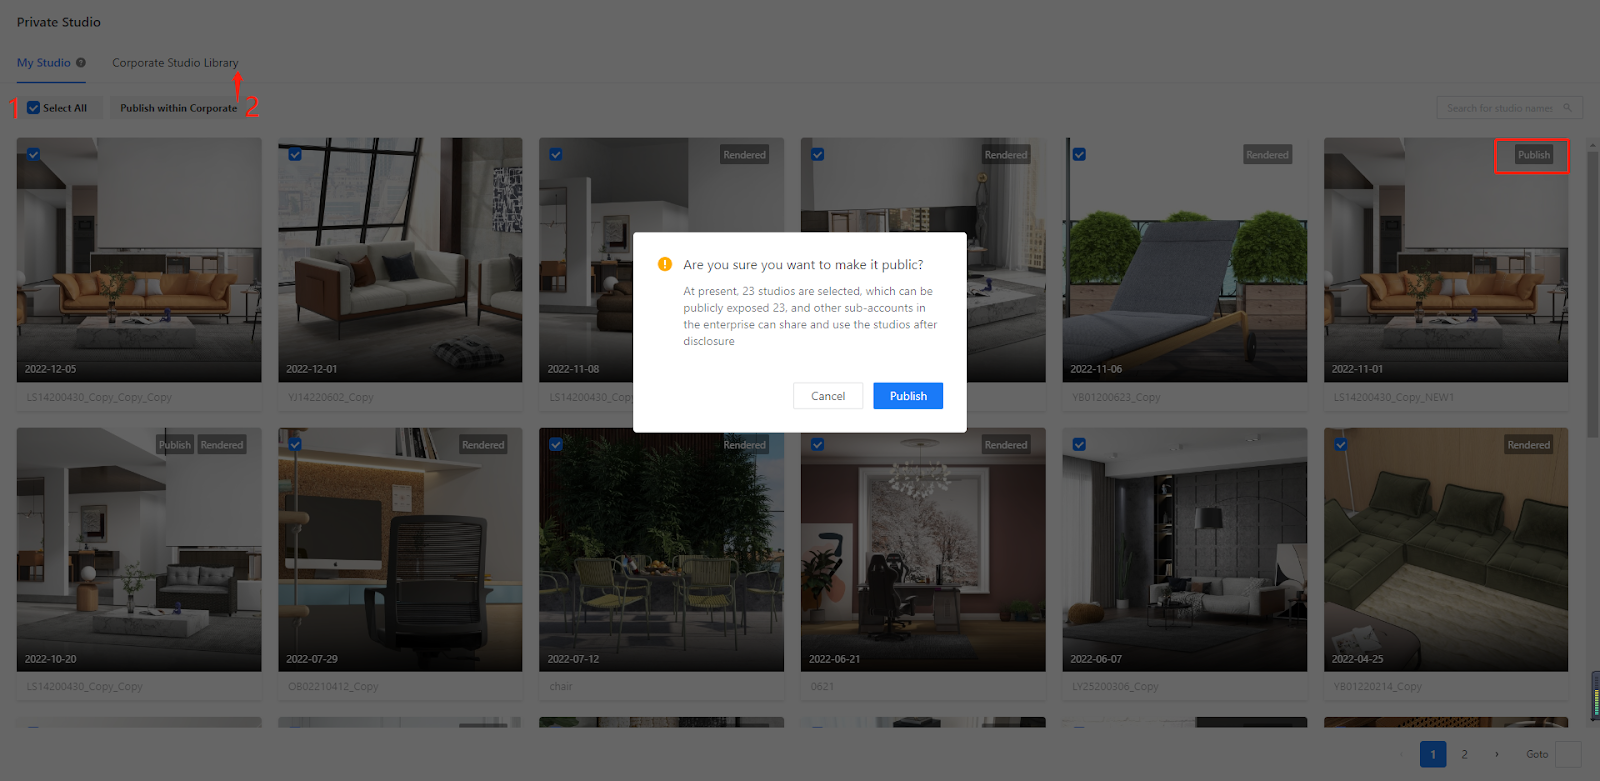
5. Publish My Studio to the Corporate Studio
Admin account or sub-account users can publish their private studio to make collaborations and sharings in Photo Studio much easier.
For details, you can check out the article below.
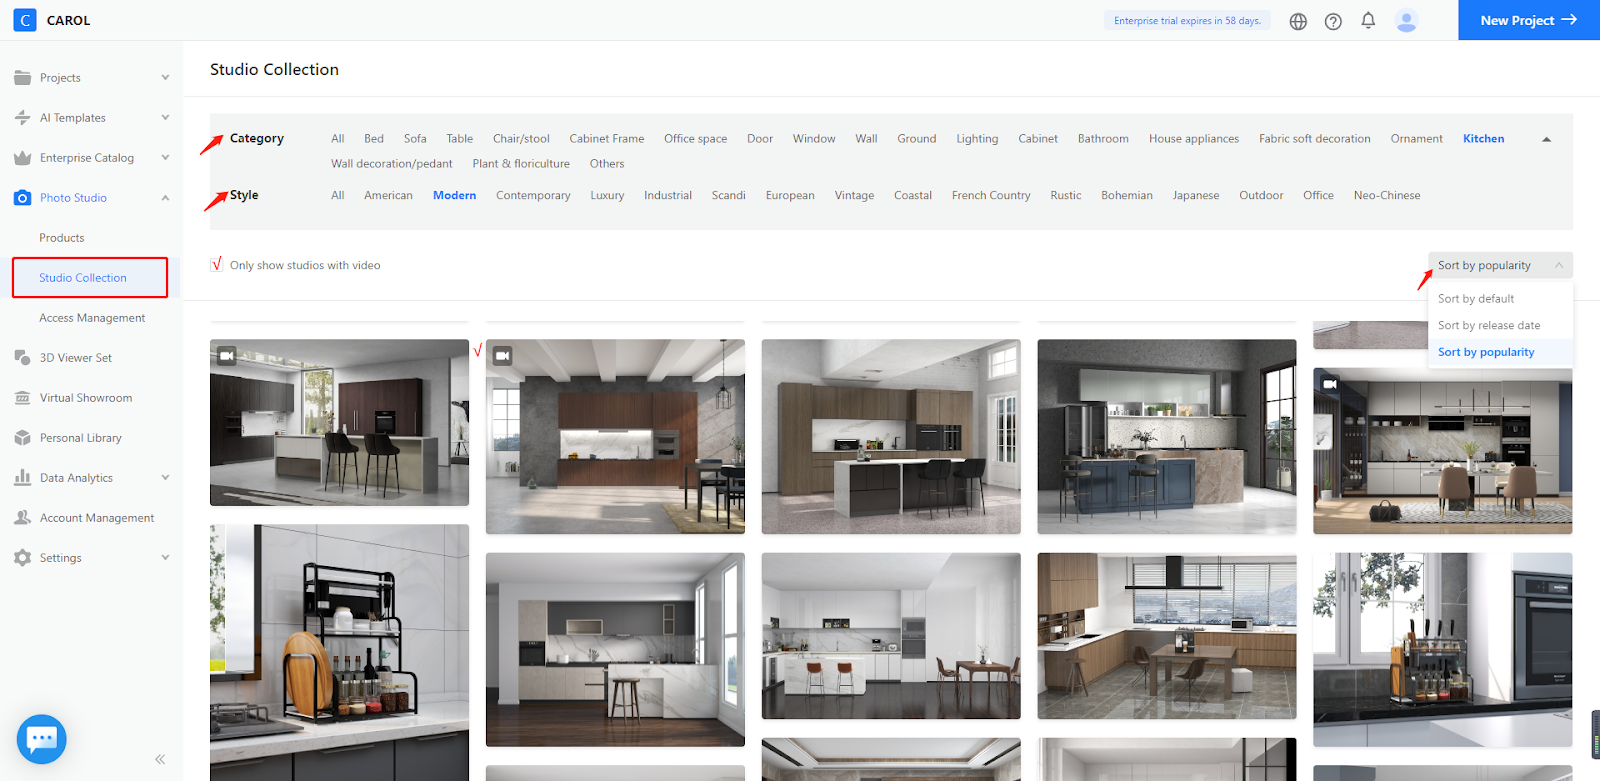
Access 2 Photo Studio >> Studio Collection
In the left-side navigation pane, click the Photo Studio icon, click on Studio Collection.
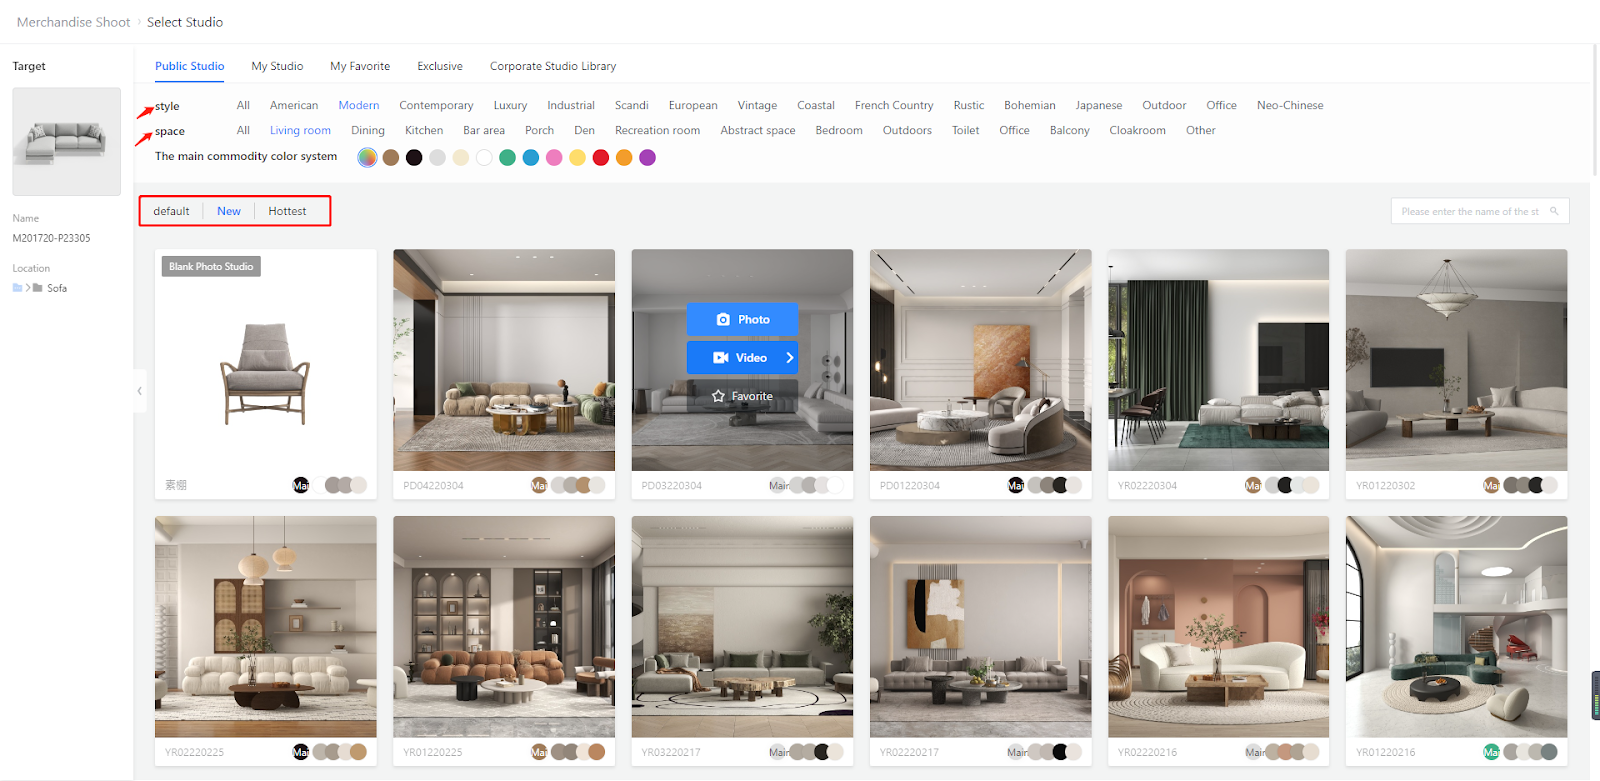
1. You can filter studios from Public Studio based on style and space. You can also filter them by tags such as default, New and Hottest. The camera icon that appears means the studio comes with the video shooting feature.
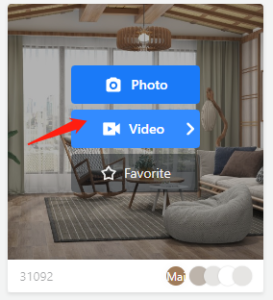
2. Then, you can click the studio to preview a photo or video album.
Click the Photo button if you want to do a photo. For video, click Video.
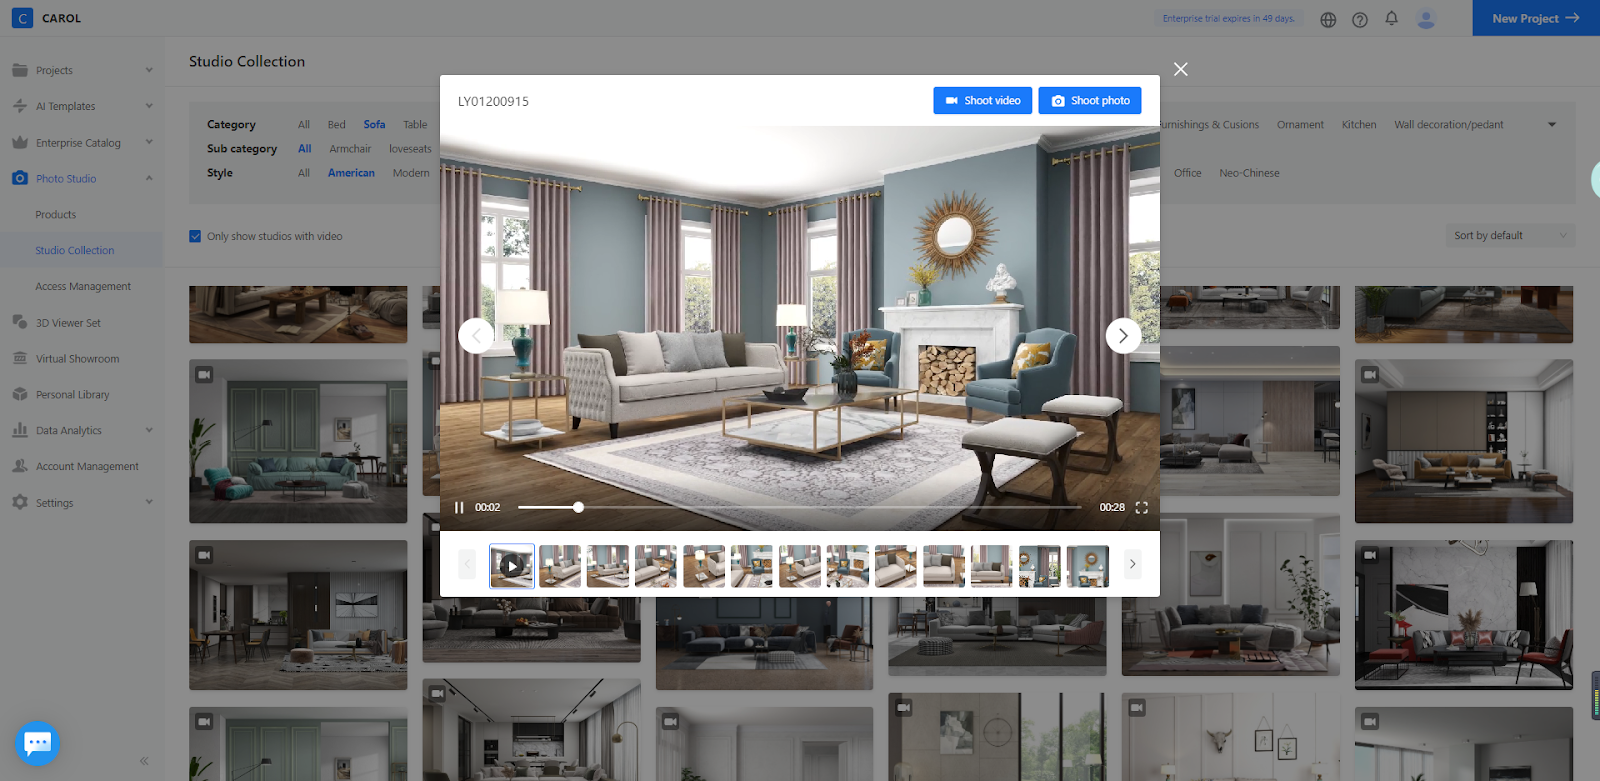
Approaches to Photo Shooting
Click the Photo button if you want to do a photo. For video, click Video

There are three ways for photo shooting.
-
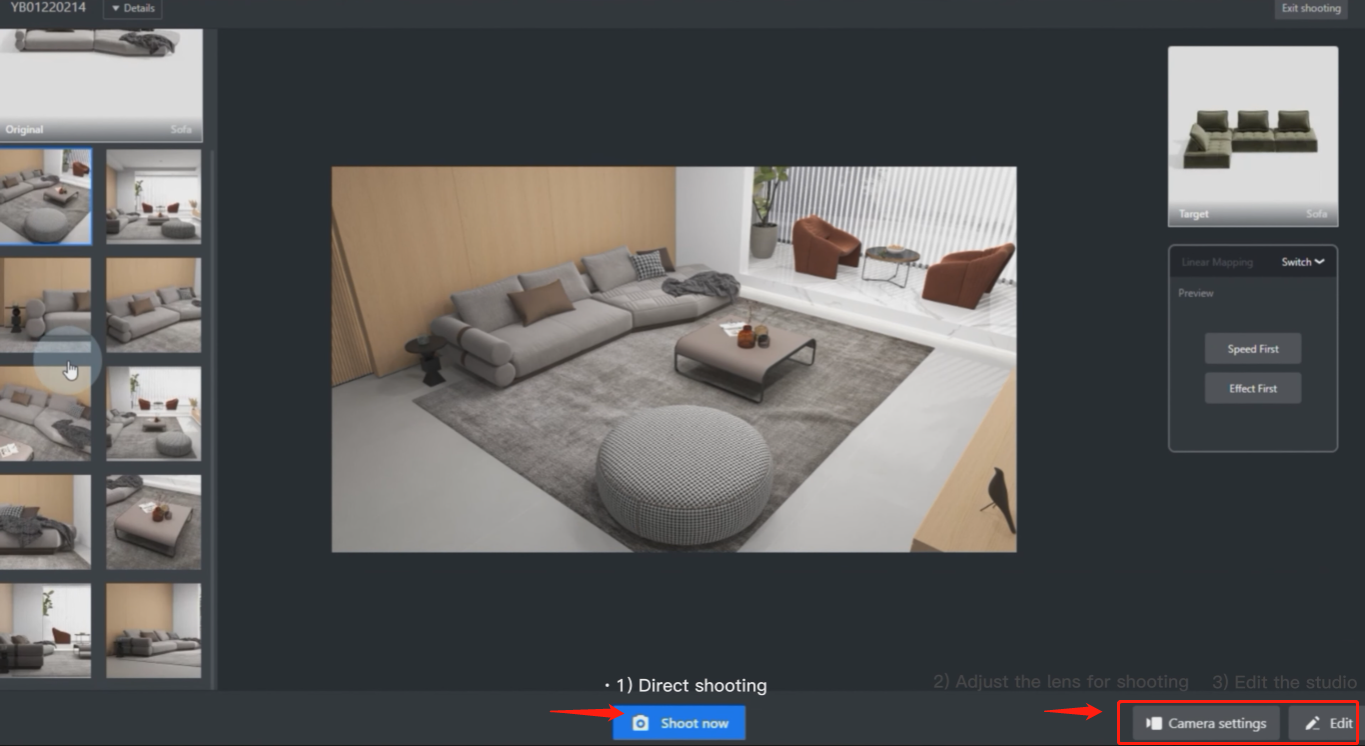
Direct shooting:
Direct shooting:
You can click the Shoot Now button to shoot photos for the product in pre-configured camera angles and settings. This way, no change will be made to the camera or studio.
-
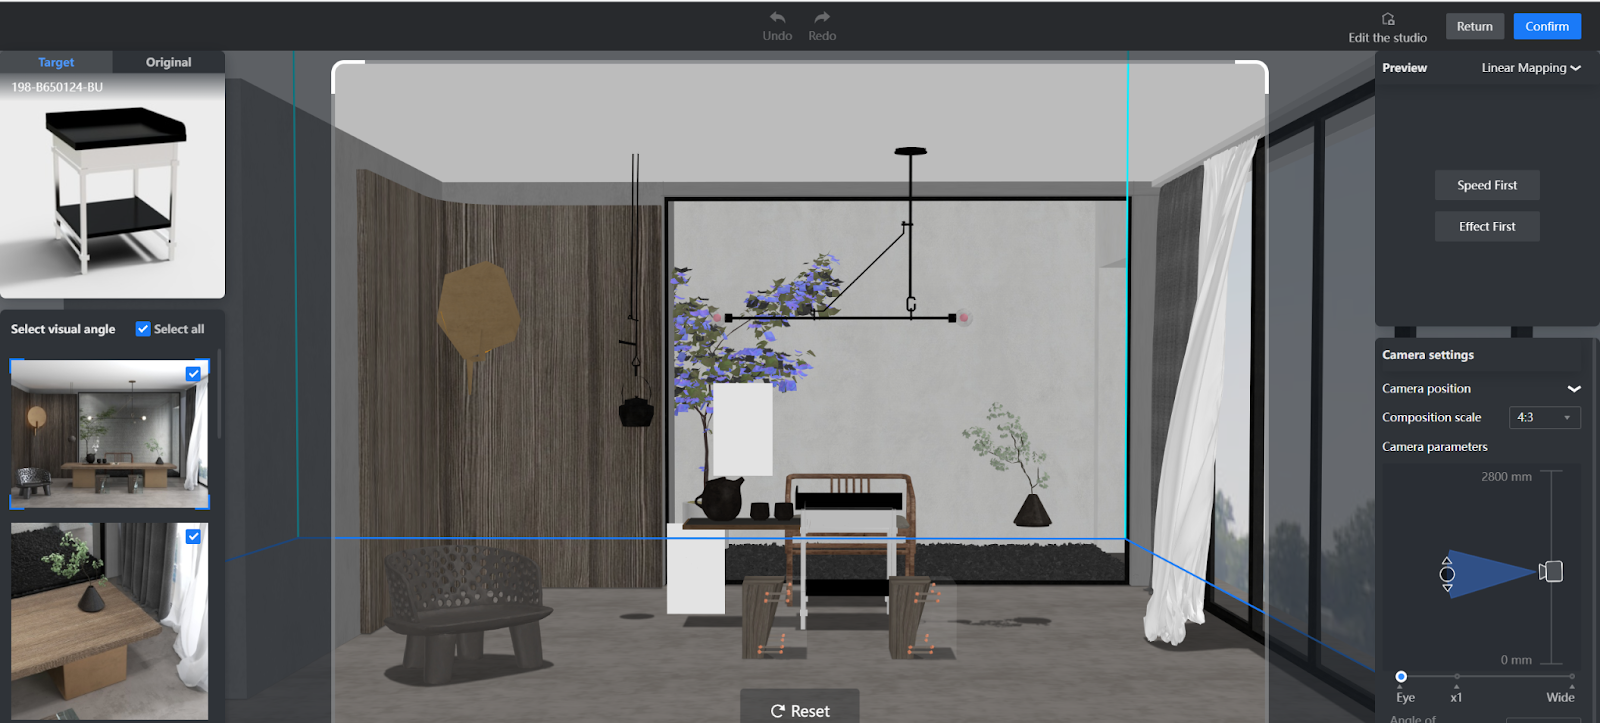
Adjust the lens for shooting:
Adjust the lens for shooting:
You can also click on Camera settings to configure camera angles and settings for your photo shooting. However, no change will be made to the studio itself.
-
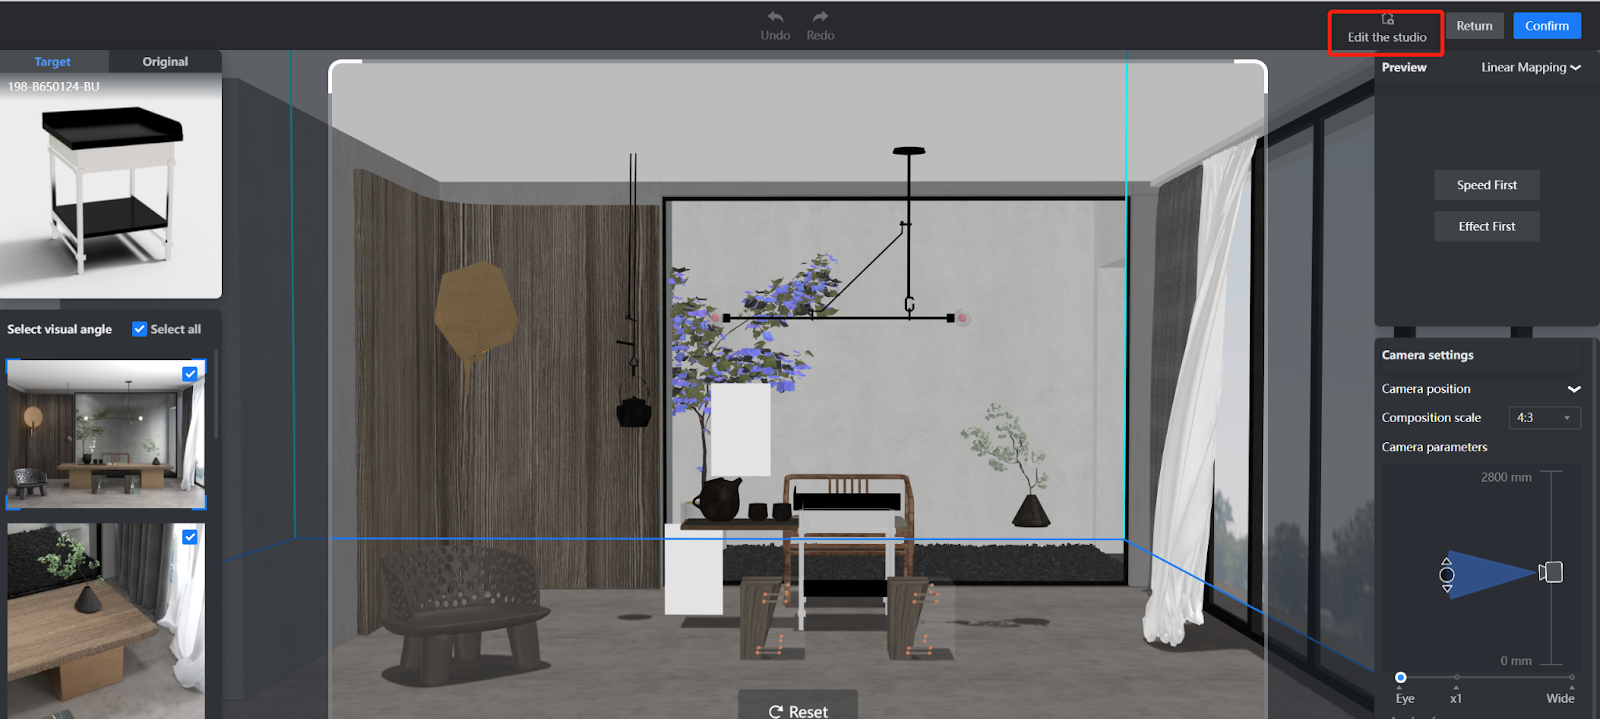
Edit the studio for shooting:
Edit the studio for shooting:
If you want to edit the studio before shooting, click on Edit the studio button near the top-right corner of the page. Then, you can replace and add products, substitute materials and textures of products as well as change product positions. Besides, you can edit interior finishes such as the wall, floor and ceiling.
For details about Photo Shooting, you can check out the video below.
Approaches to Photo Shooting
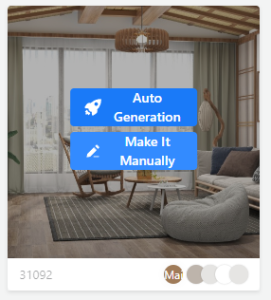
There are two ways for video shooting.
-
Auto Generation:
Auto Generation:
This option allows you to shoot the video automatically in one click based on the pre-set camera paths. Click on it, and you will see the preview of the video playing.
-
Make It Manually:
Make It Manually:
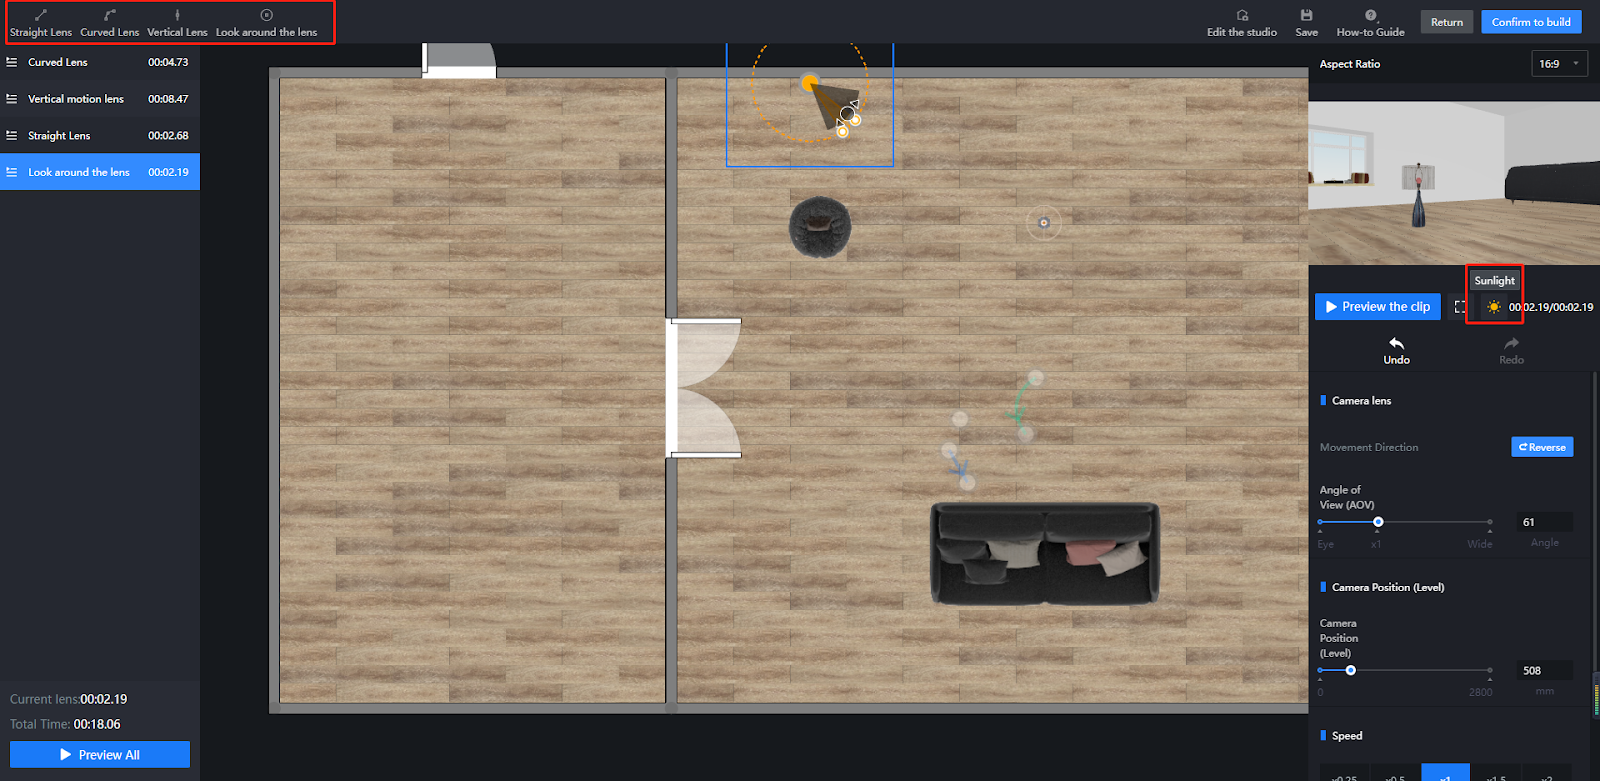
If you choose this option, you can edit the camera path for your video by adding 4 types of lenses.
In either way, you are allowed to change camera position and path as well as rearrange the sequence of video clips.
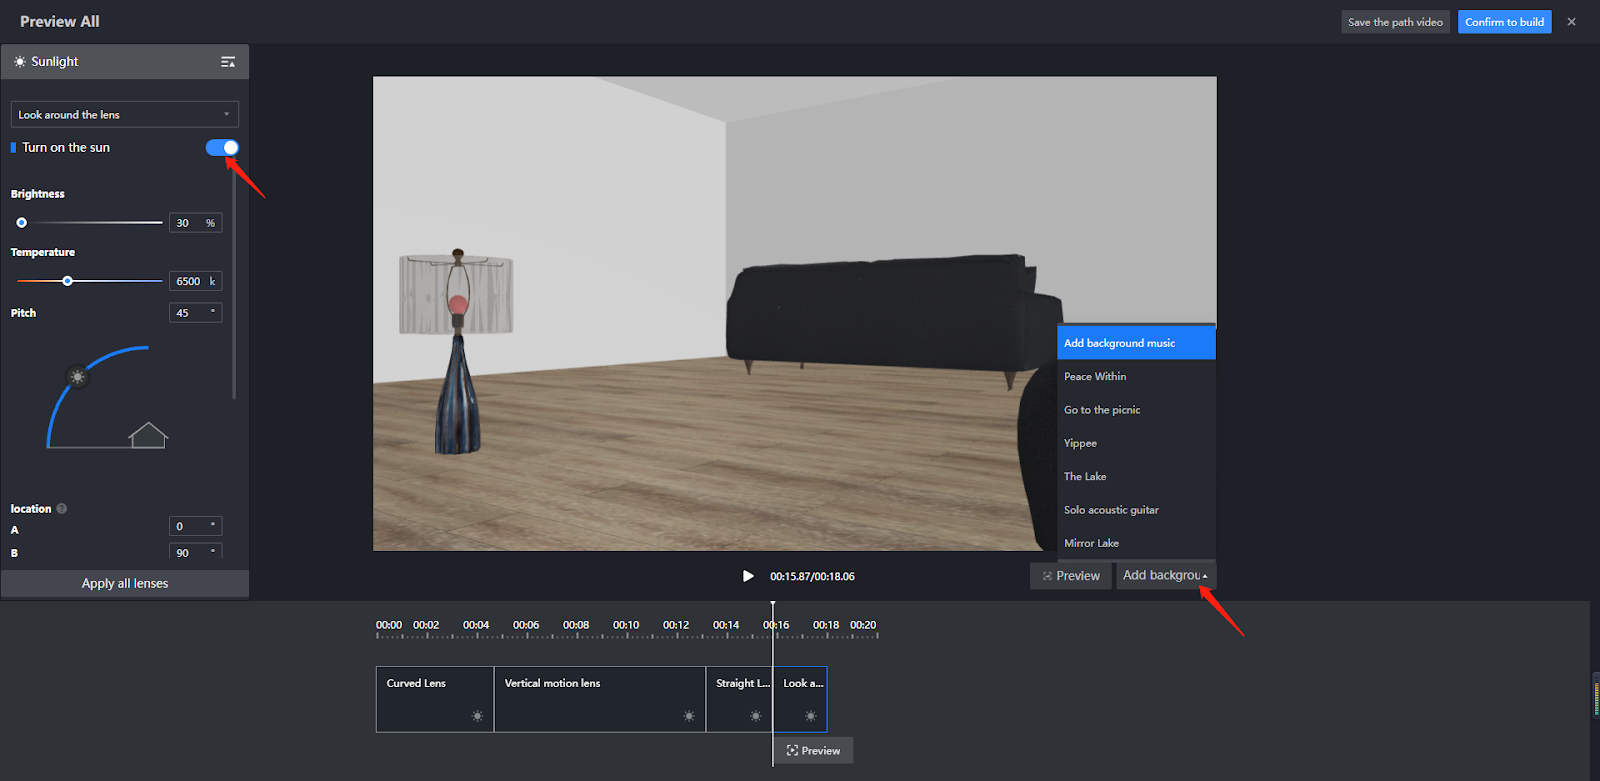
After you shoot the video, you can make more modifications such as adjusting natural lighting, adding background music, changing the sequence of clips and editing effects.
Note: The duration of the video you shoot is up to 30 seconds.
For details about Video Shooting, you can check out the video below.
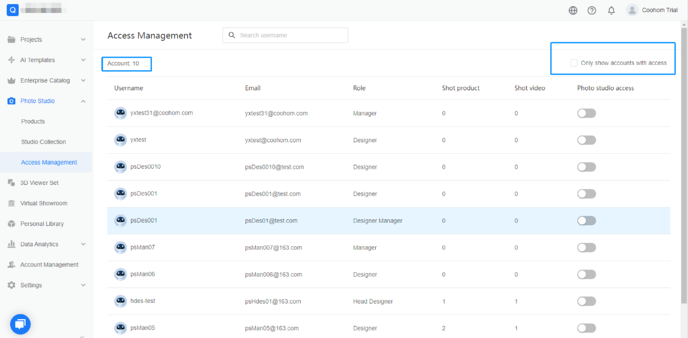
Access 3 Photo Studio >> Access Management
In the left-side navigation pane, click the Photo Studio icon, click on Access Management.
In the Admin Account, here you can manage the access permissions of sub-accounts to Photo Studio. By default, all sub-accounts have access to Photo Studio.
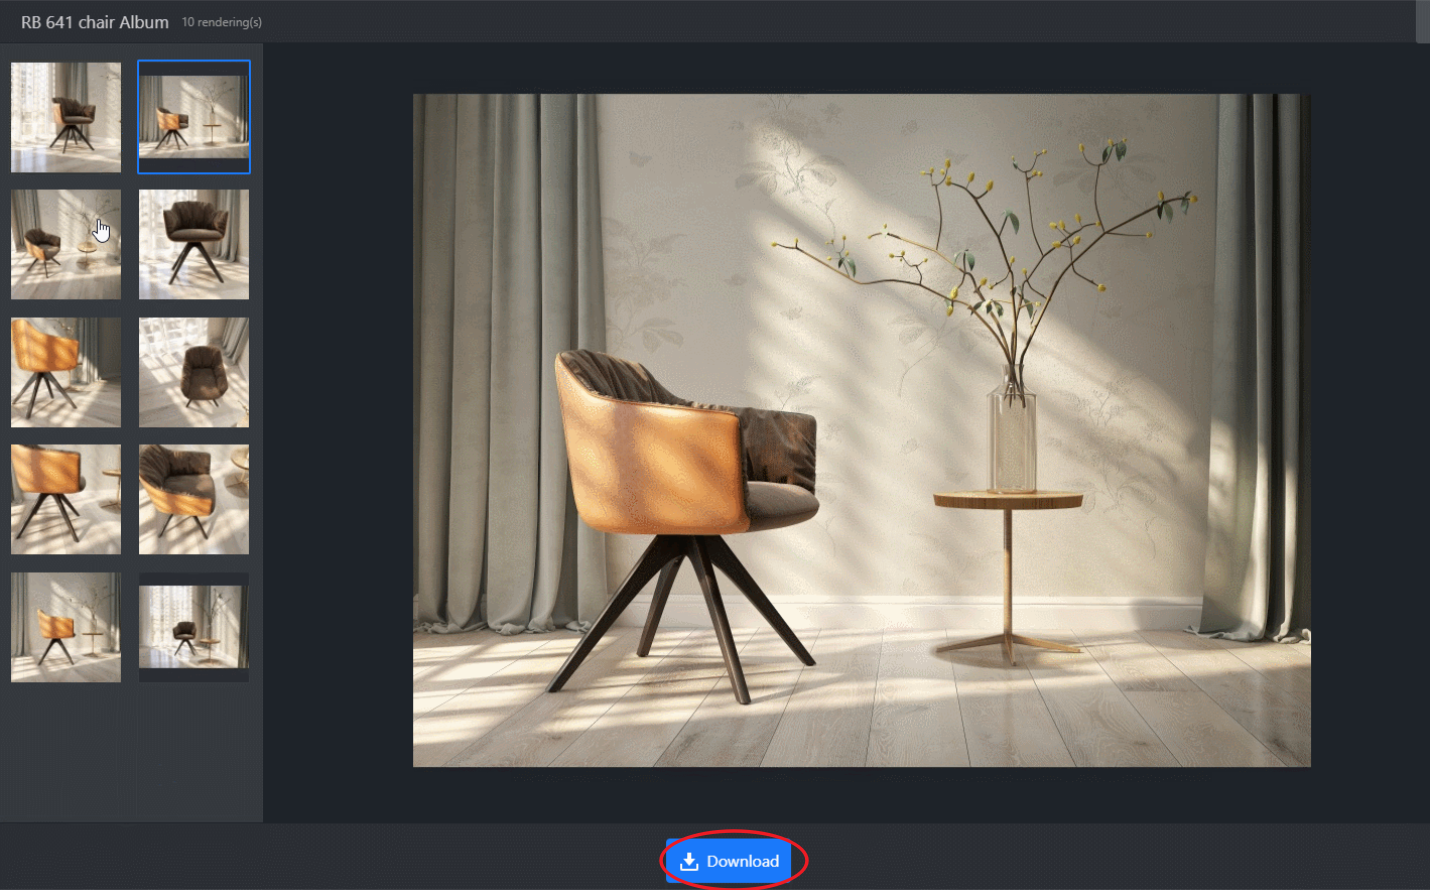
At last, when the rendering gets done, you can view the photo or video that you have shot in the Product List.