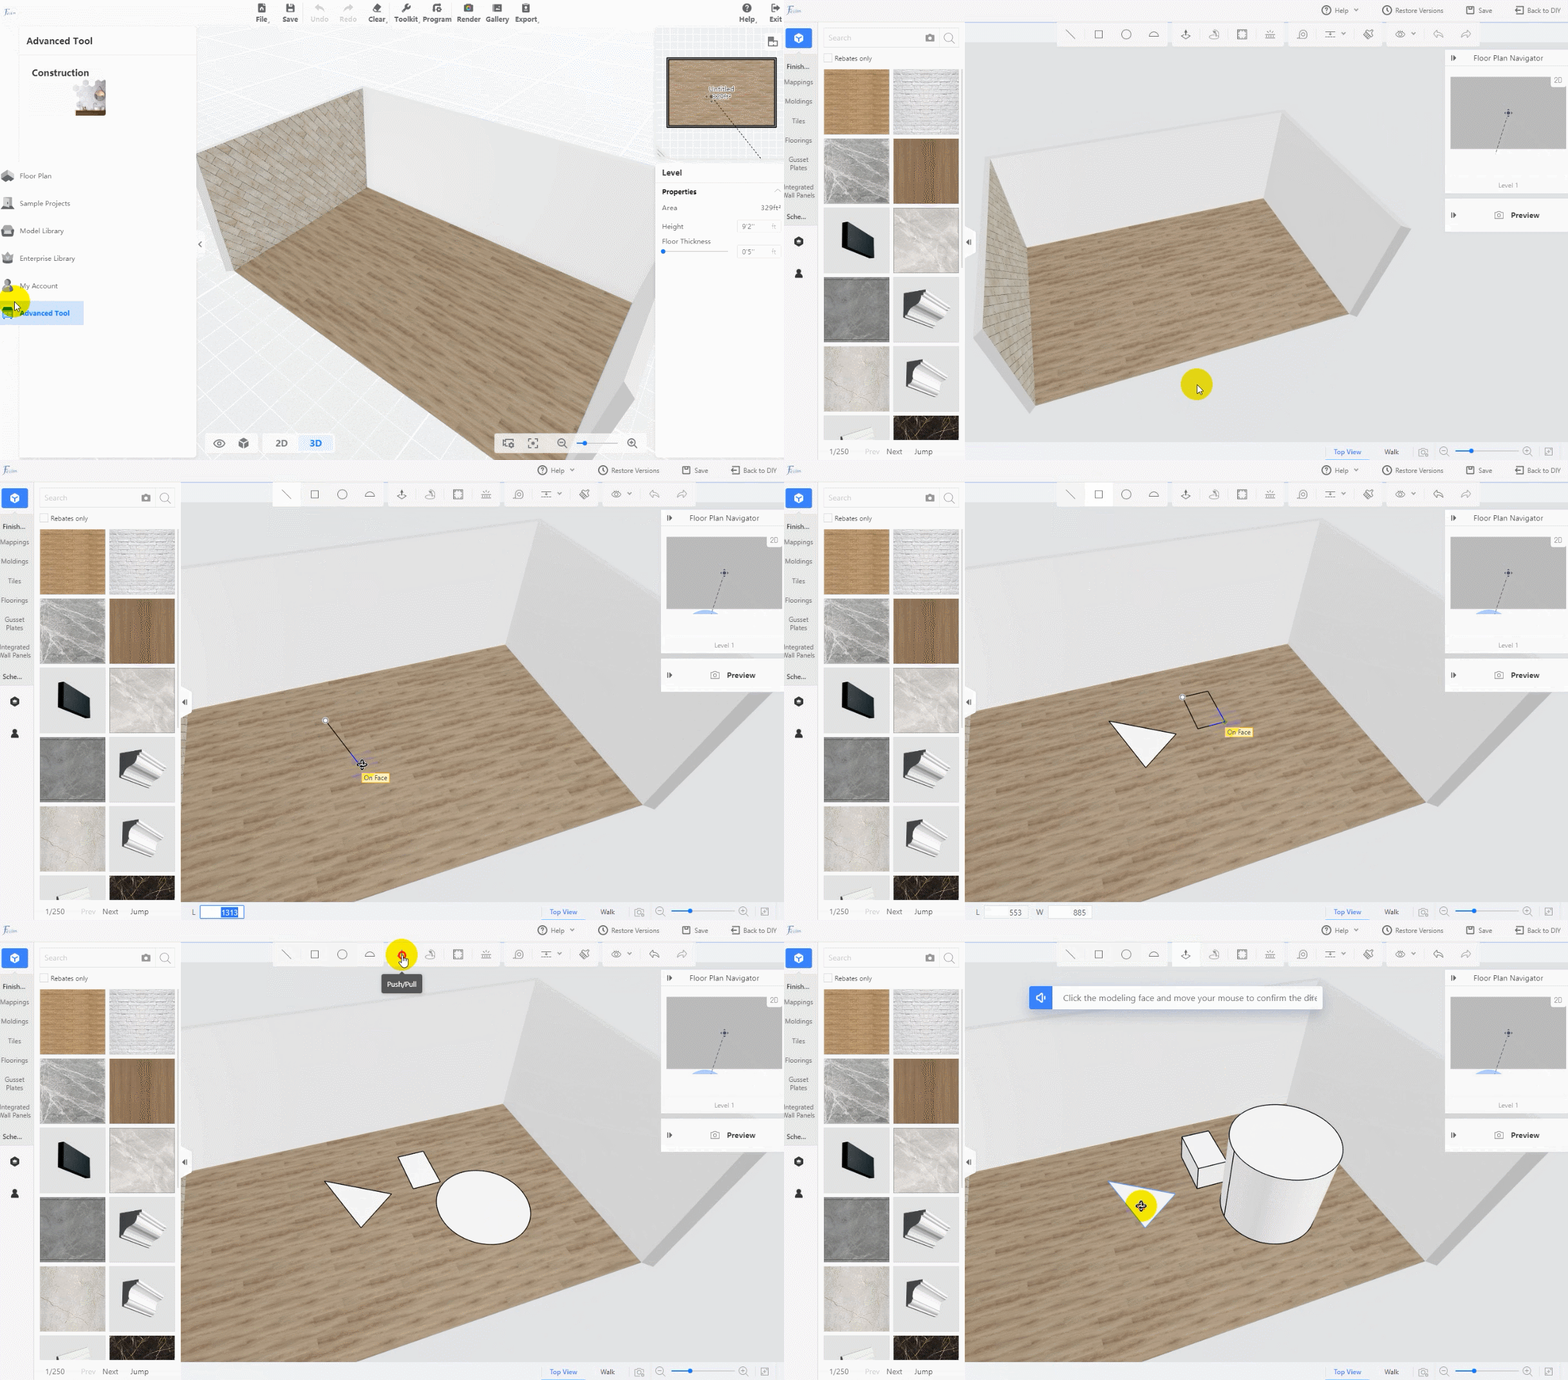
Material&Component tool was called Construction in Advanced tool previously. It is where you can model some complicated elements such as slope roof, create a ceiling template, add light stripes, as well as free-modeling.
-
Face Editor
Face Editor is essentially a series of editing and ‘paving’ on the surface. Functionally, it can divide the area, parametric paving, tiling, free paving, and making boundaries and waistlines, so it is the best choice for you to draw decorative wall panels, ceilings, and floorings. See more:
What can I do with face editor?
-
What can I build with Material&Component Tool?
What can I build with Material&Component Tool?
Create Your own Ceiling Template
In the Ceiling Editor, you can save your current ceiling as a template for your next use.
Light Strip in Material&Component tool helps you to add lights anywhere you want, such as on ceilings, background walls, grounds, etc.
Draw Sloped Ceiling and attic/loft studio
If you want to design an inclined/sloped roof for your project, we recommend you create it with our Material&Component tool.
-
Others - decorative wall panels, ceilings, and flooring moldings
Others - decorative wall panels, ceilings, and flooring moldings
With Coohom's advanced tool - construction, you can model freely for more complex forms of objects, partitions, and elements. Watch the video tutorial for further learning:
-
How to use Material&Component Tool?
How to use Material&Component Tool?
-
On the Material&Component page, you can use Background Wall Editor, Suspended Ceiling Editor, Platform Editor, Face Editor, and modeling tools.
On the Material&Component page, you can use Background Wall Editor, Suspended Ceiling Editor, Platform Editor, Face Editor, and modeling tools.
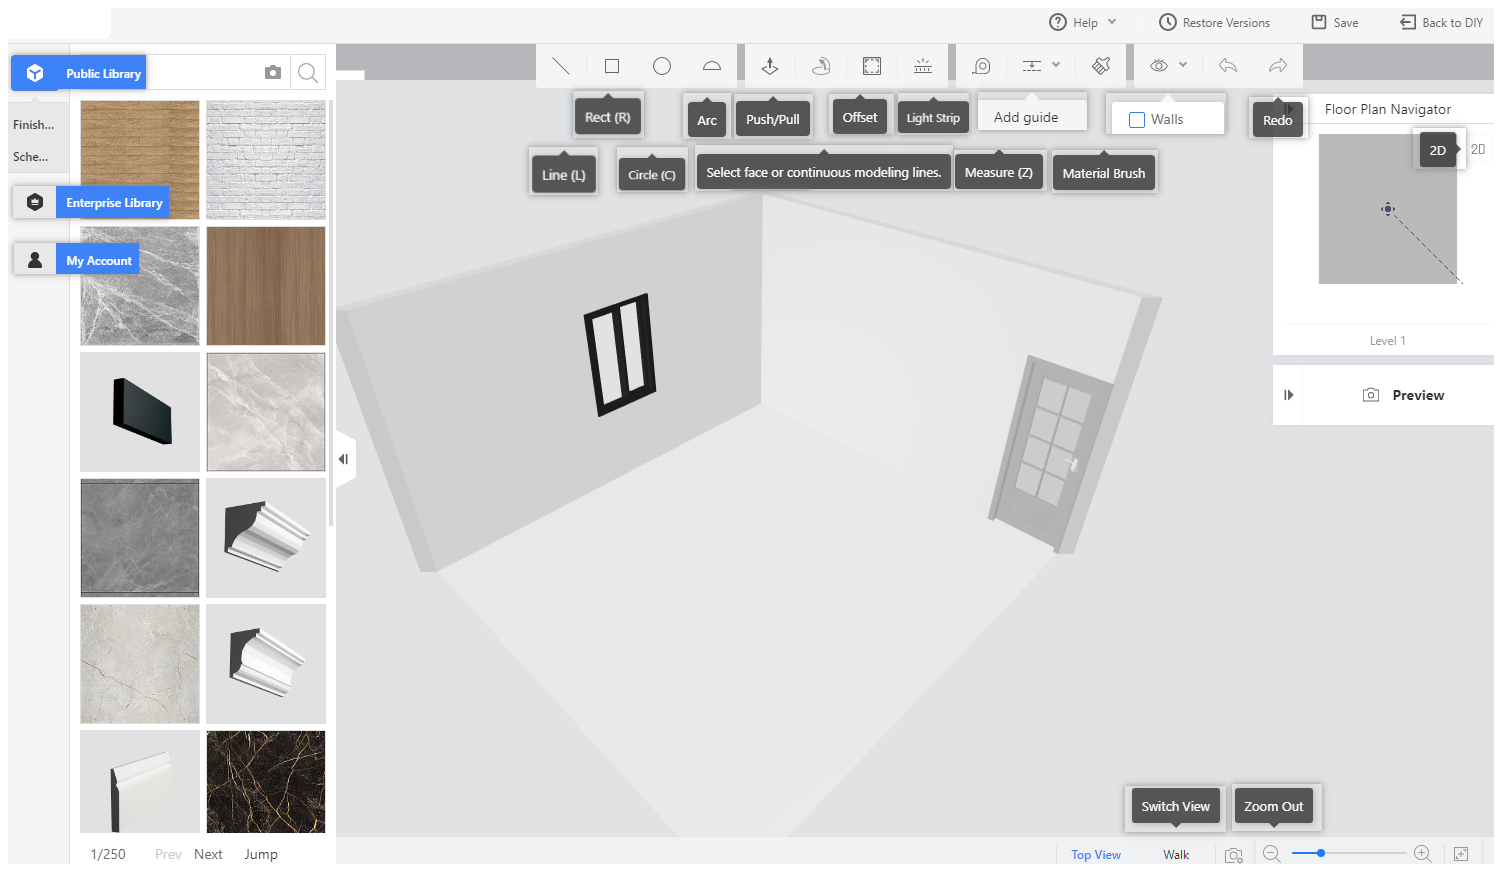
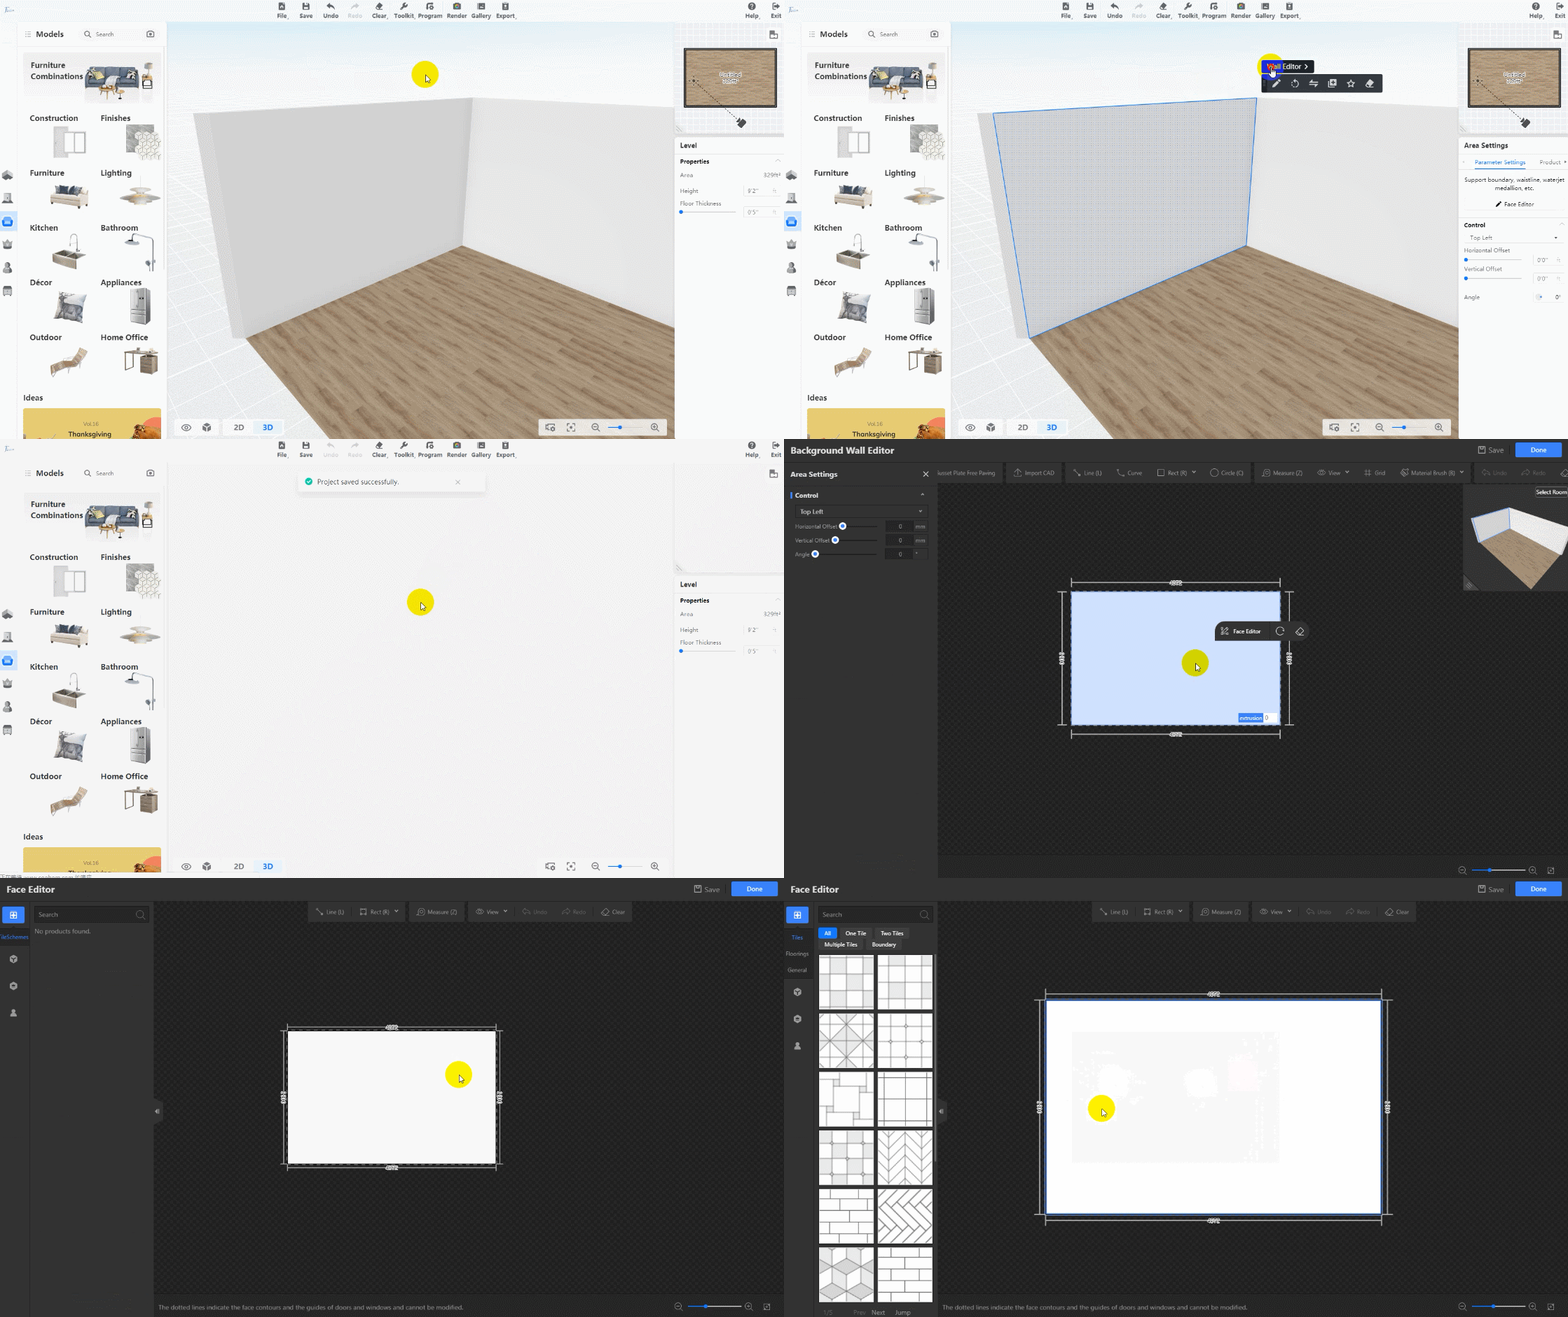
2. Click a wall, the floor, or the ceiling, and Background Wall Editor, Platform Editor, or Suspended Ceiling Editor appears correspondingly.
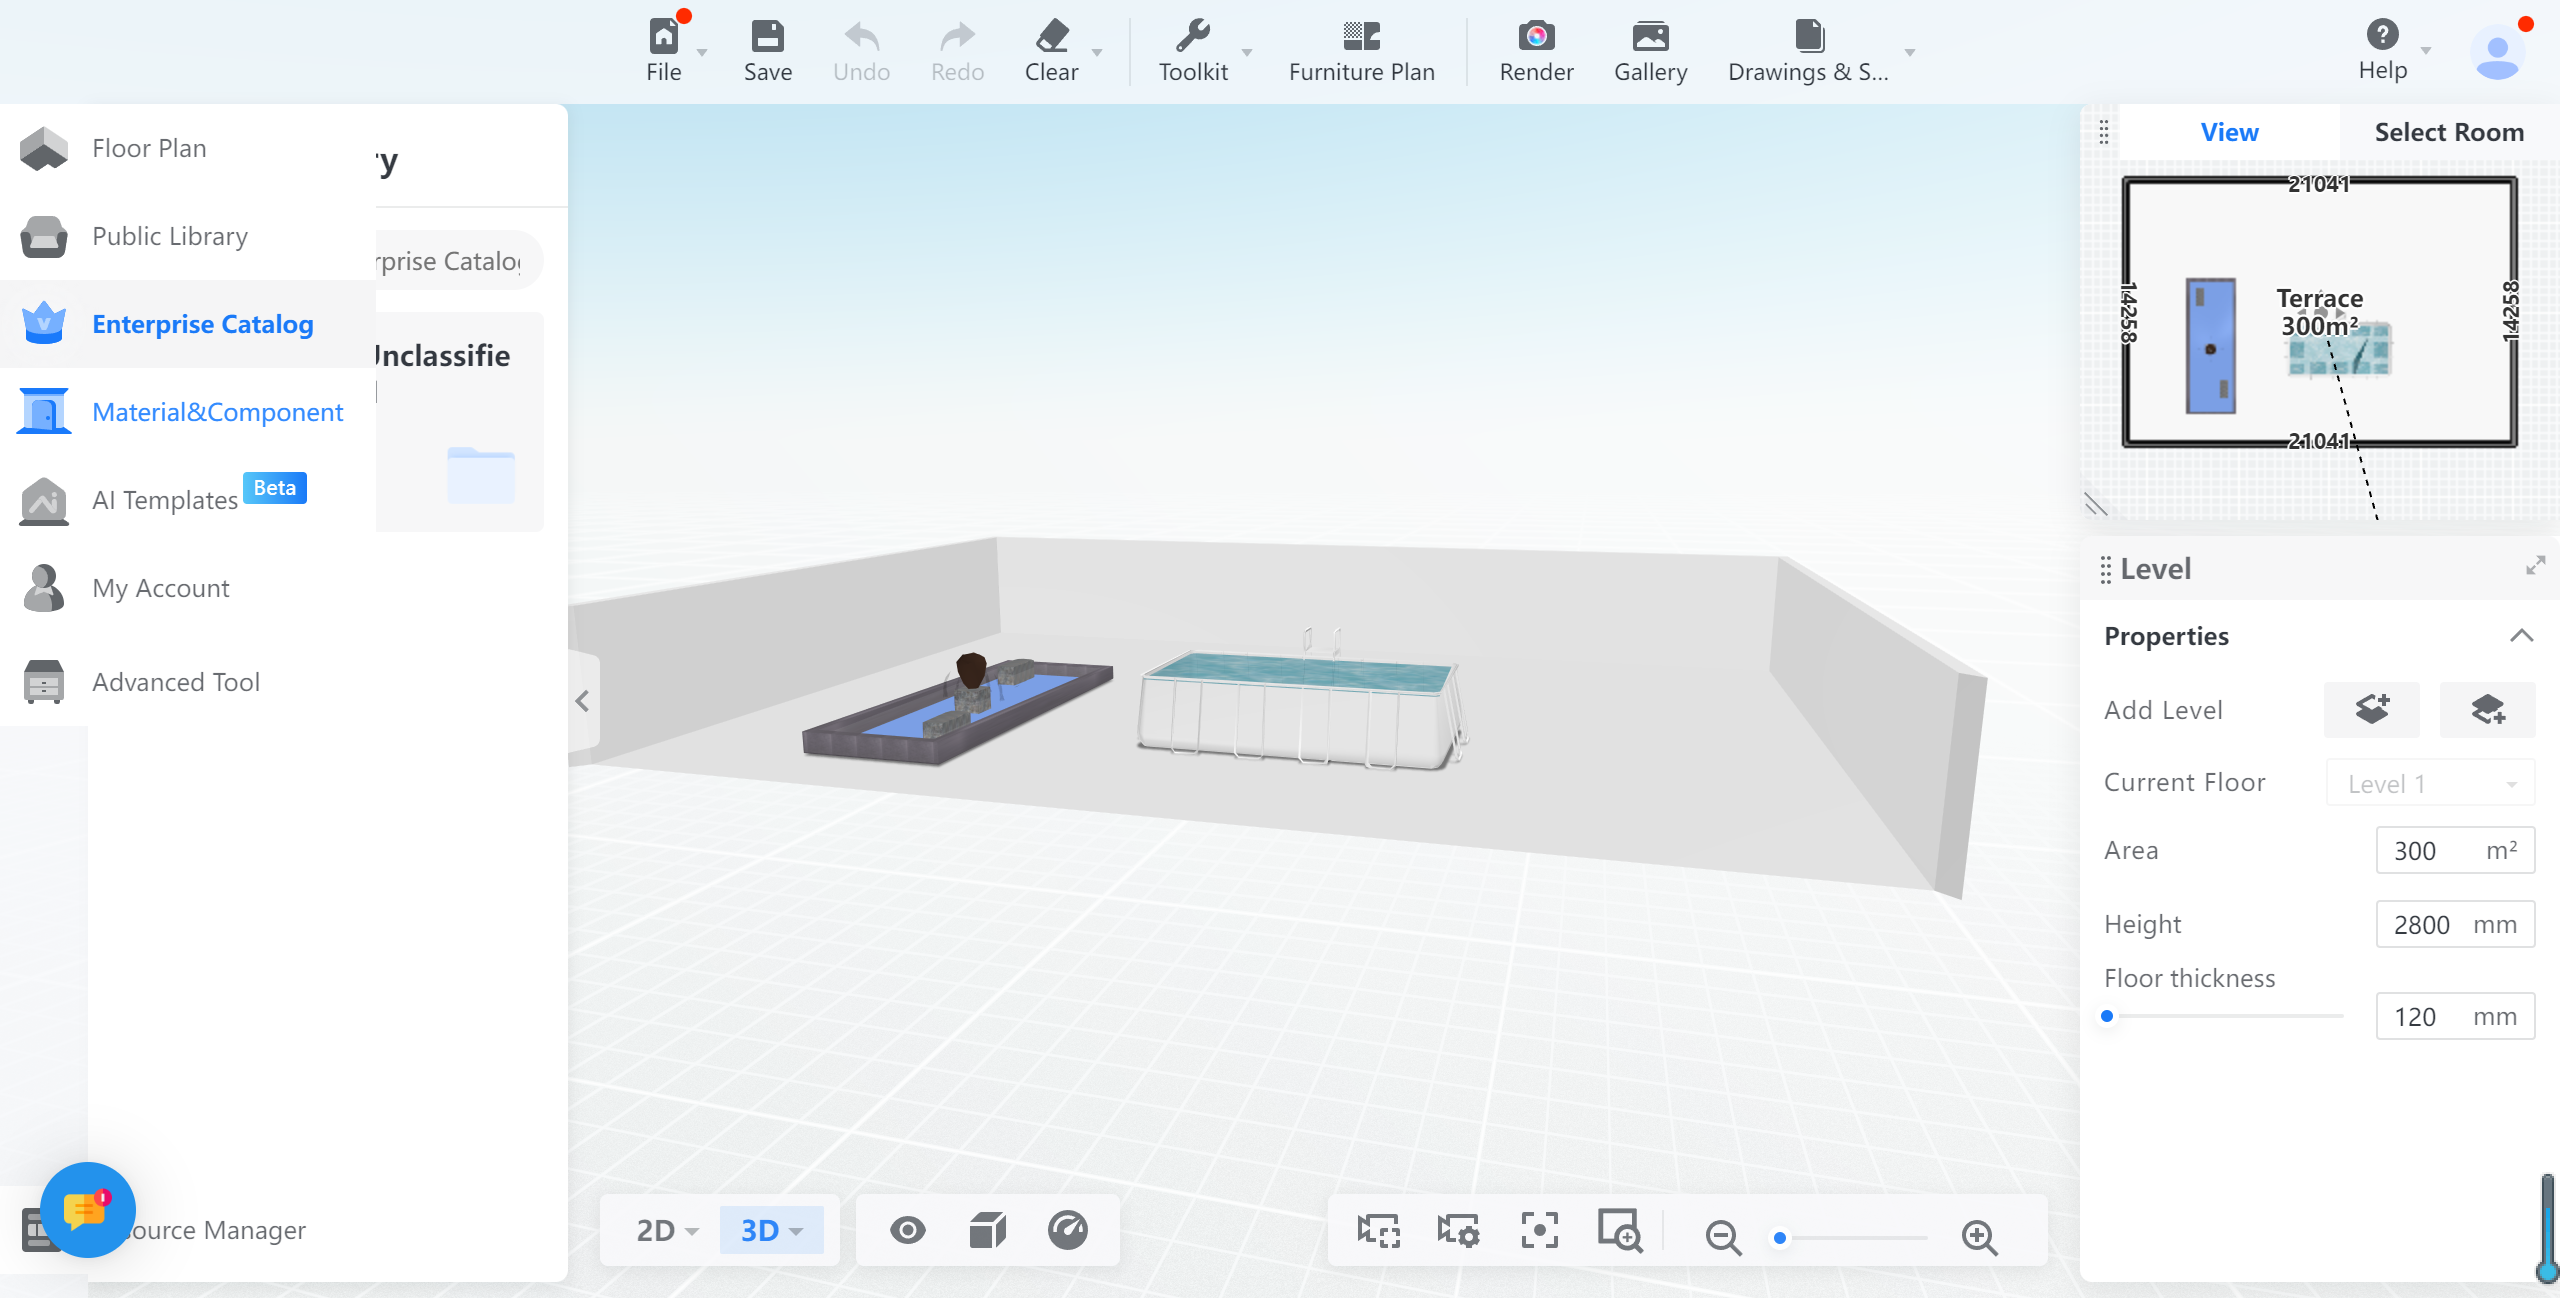
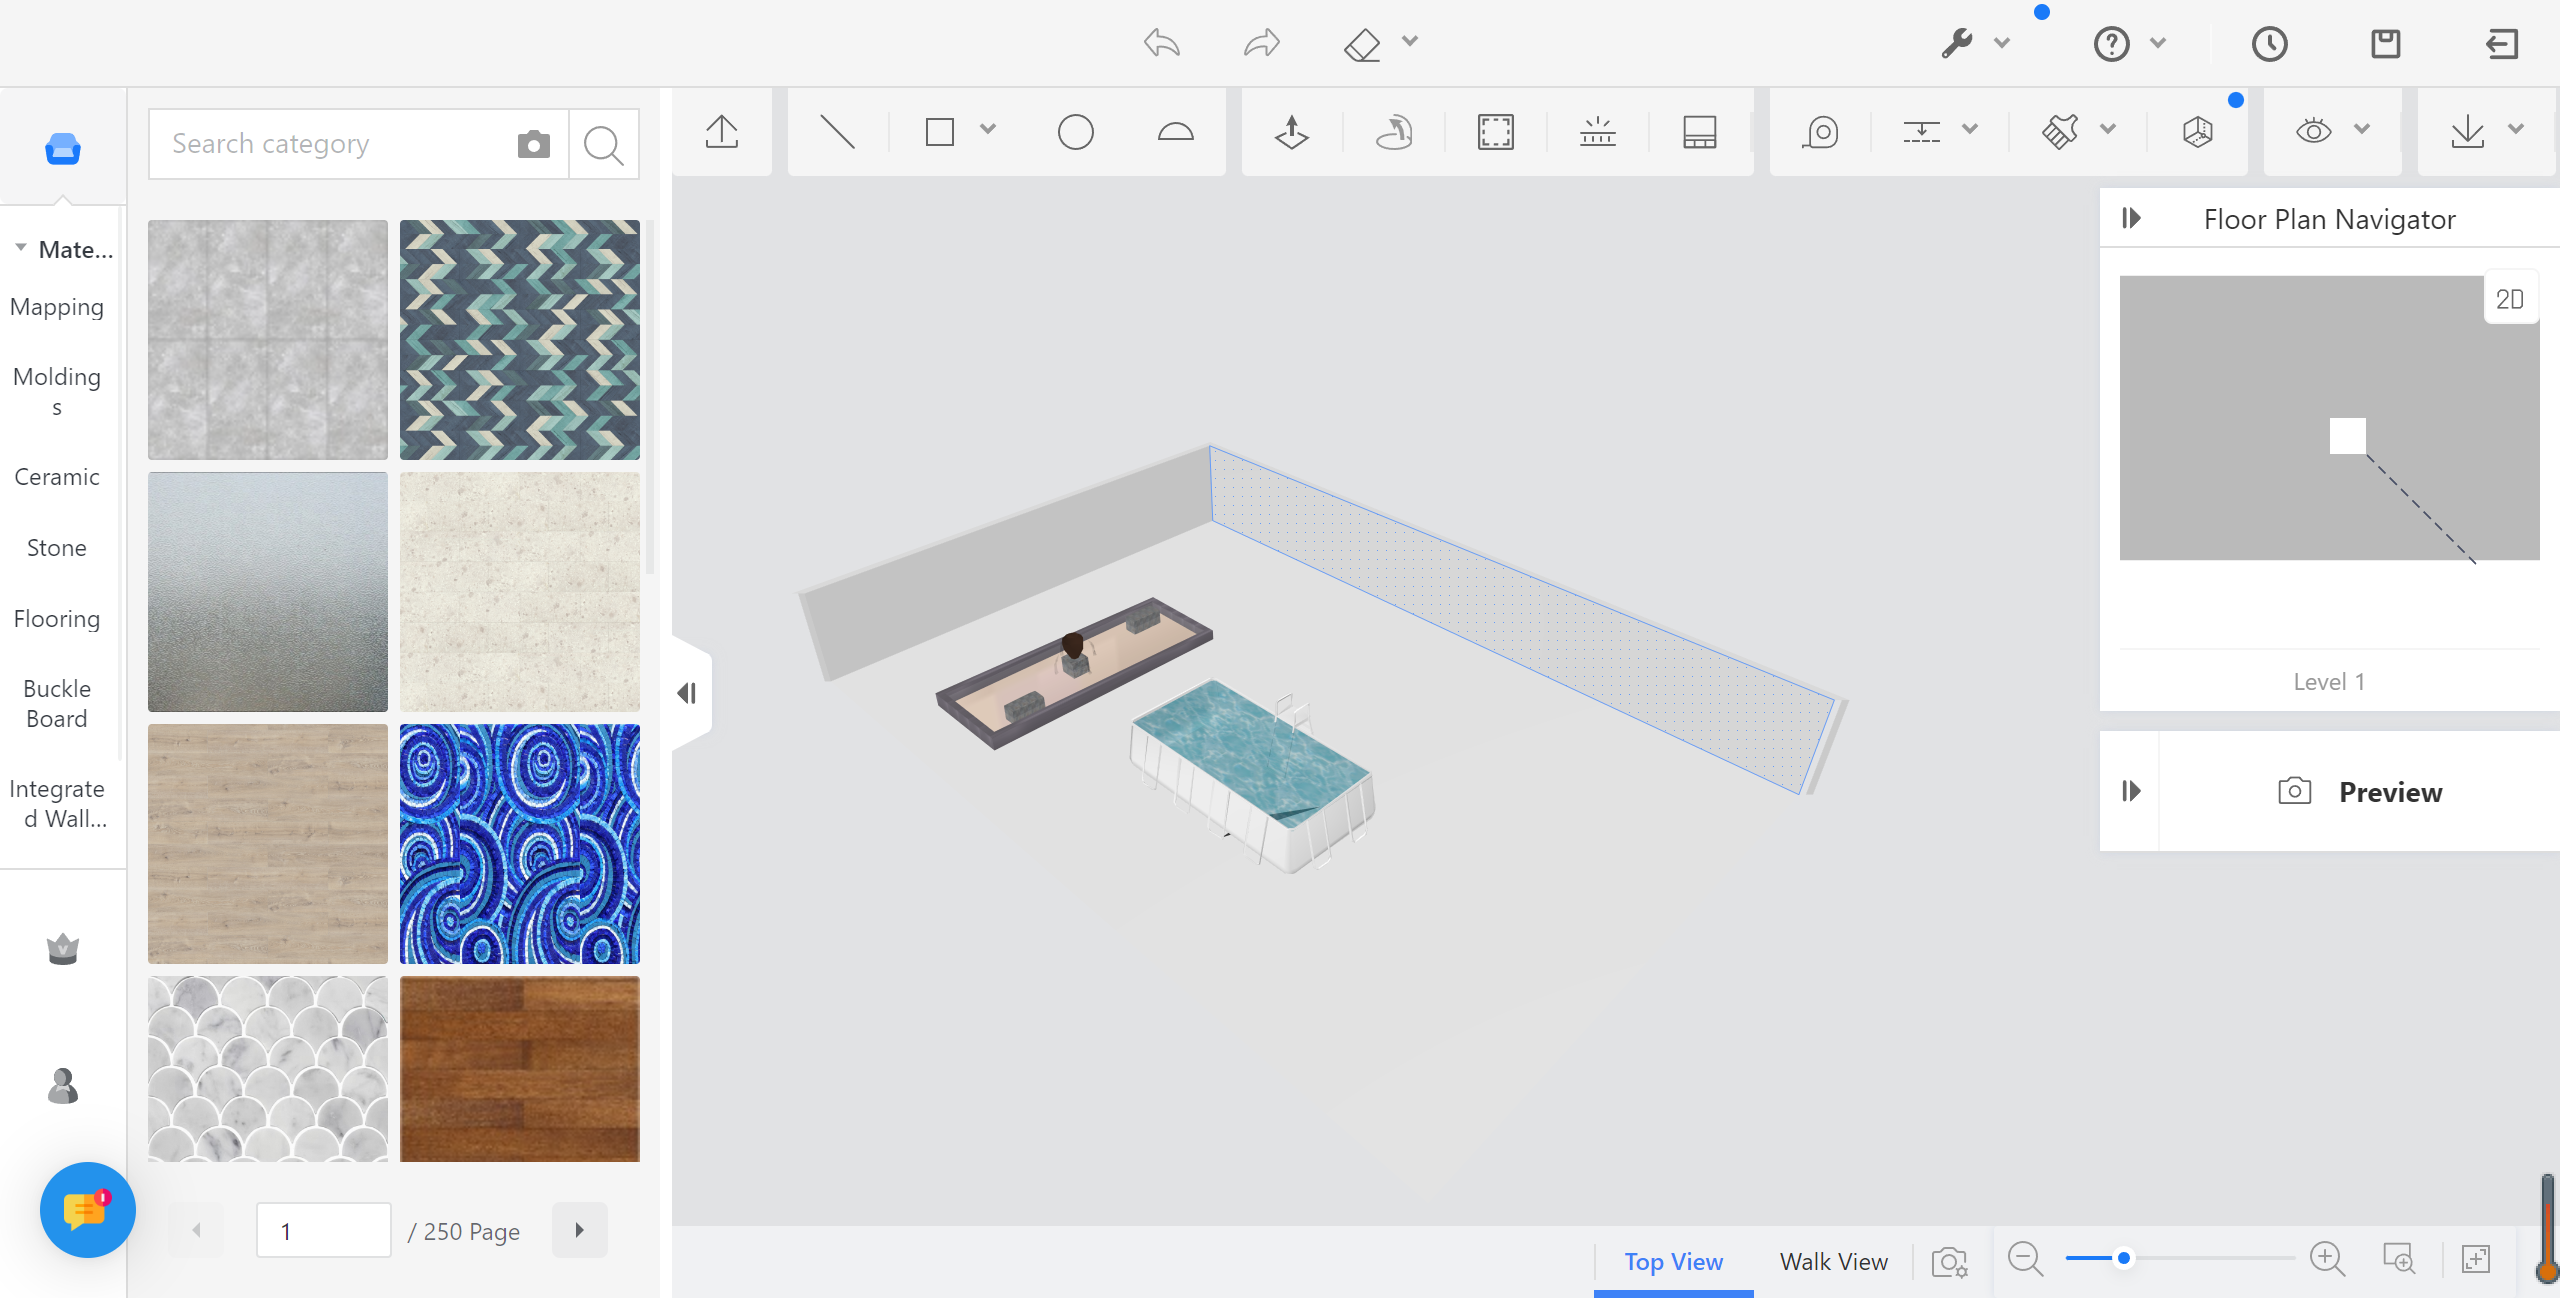
3. Click Face Editor to perform advanced paving. You can design paving patterns as shown in the following figure.
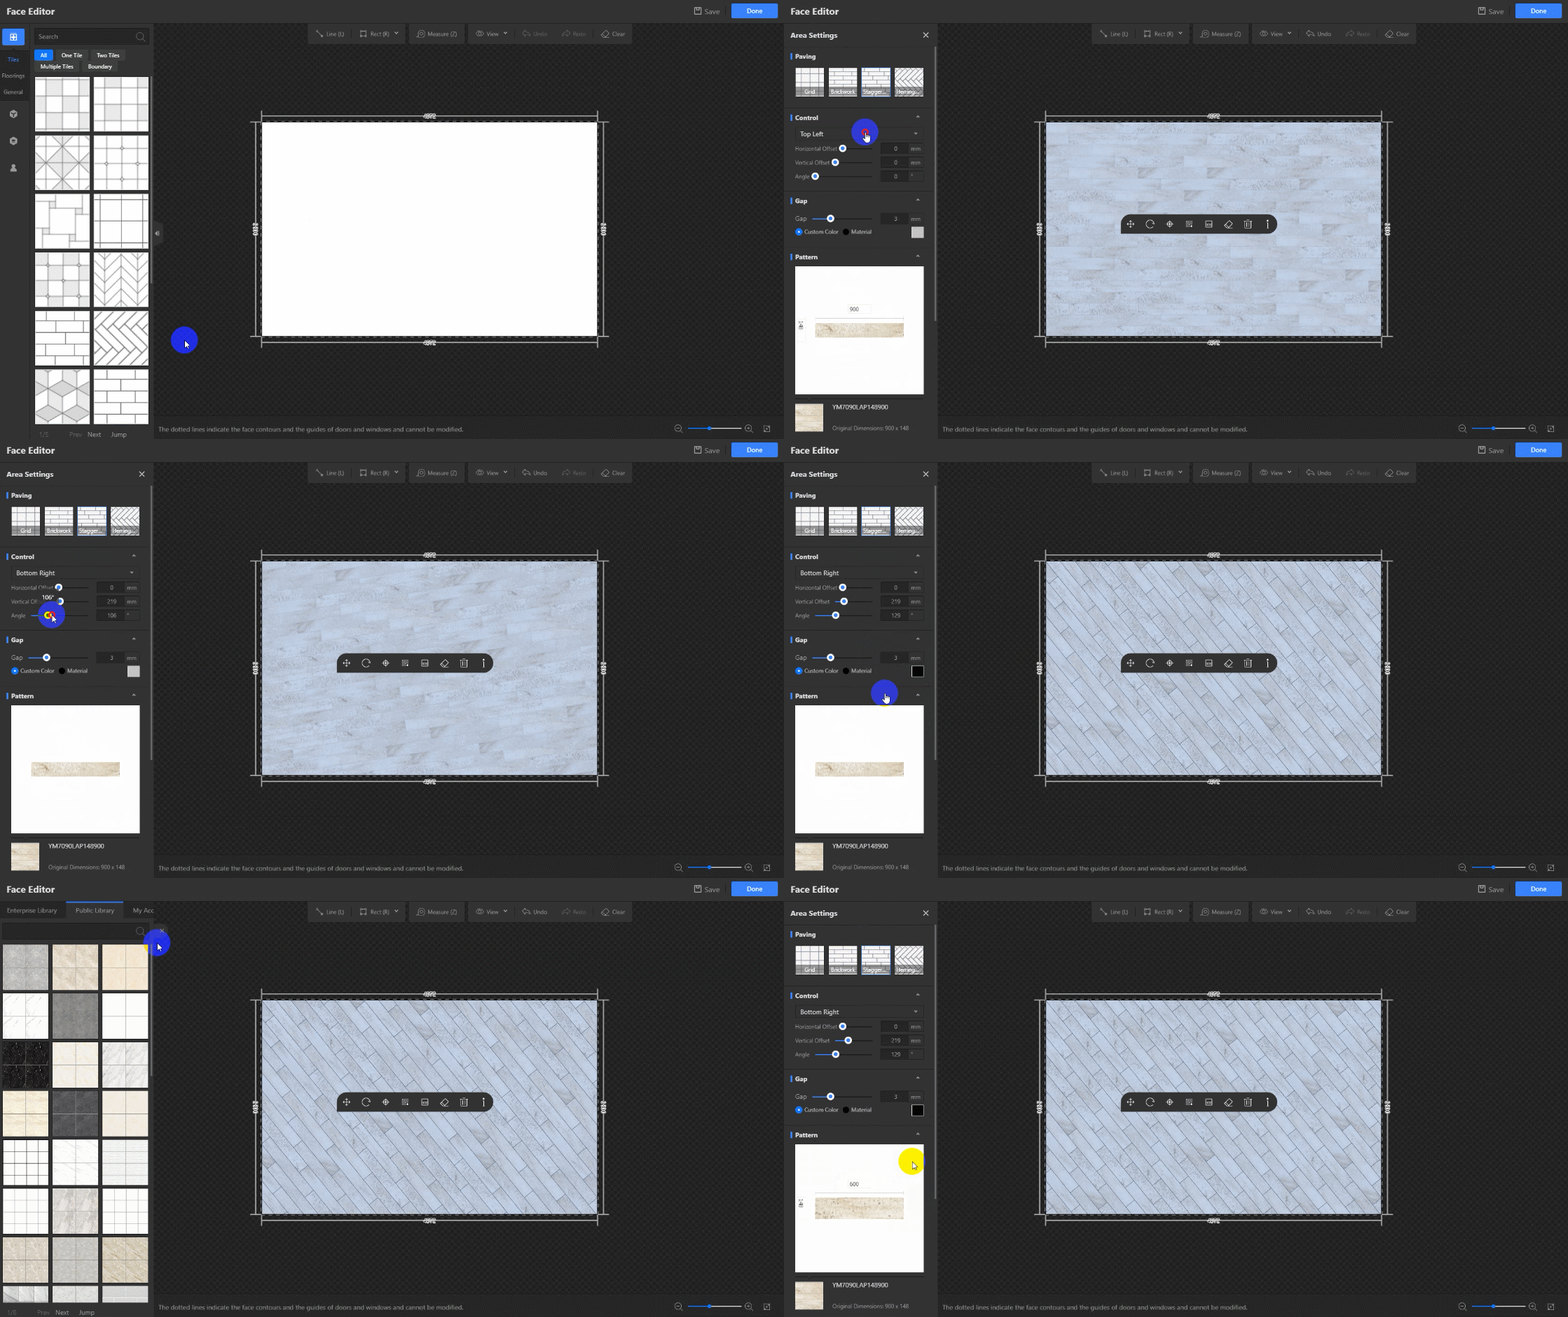
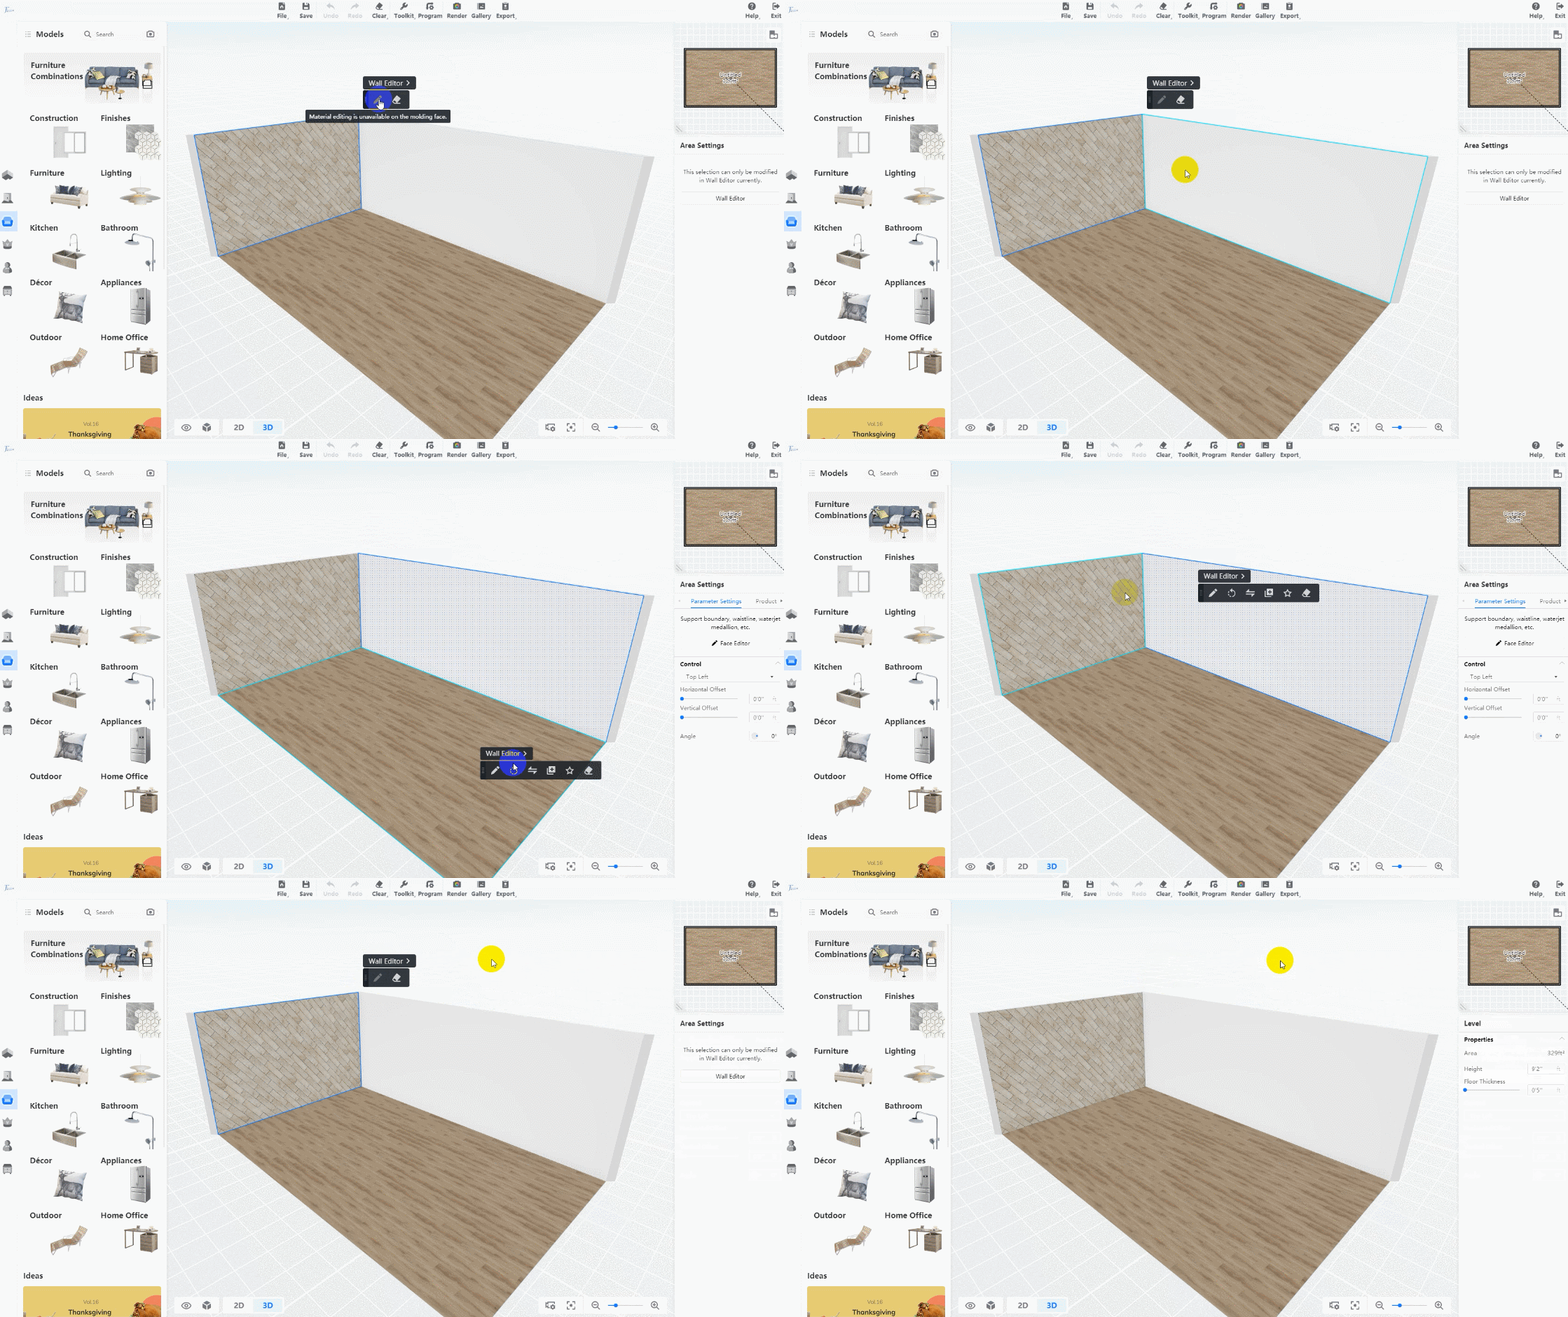
Note: After you enter Wall Editor, Floor Editor, or Ceiling Editor from the DIY page, you can no longer enter the corresponding Face Editor by clicking the pencil icon in the floating toolbar on the DIY page. To enter Face Editor again, you need to first enter Wall Editor, Floor Editor, or Ceiling Editor. Or you can enter Construction, click the surface that you want, and click Face Editor in the floating toolbar that appears.
4. You can use modeling tools to design custom shapes and build custom objects.
