-
4 ways to start with Coohom Floor Plan:
Import CAD: How to import AutoCAD file
-
Import Image: How to Upload Floor Plan as Image
-
Search Floor Plan: How to Search Floor Plan
-
Draw a Floor Plan by yourself: How to Draw My Floor Plan
Few Steps Help You Complete A Basic Project:
-
Draw walls and rooms
Draw walls and rooms
When you get into our DIY tool, the first thing you should do is to create your floor plan, because other functions are all based on it. To help you work this part out, please:
-
Draw walls
Draw walls
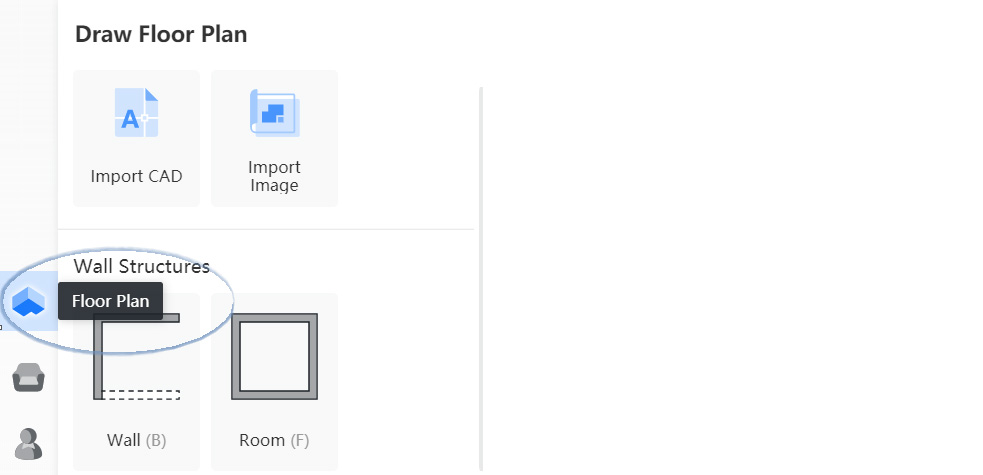
1. Click Floor Plan>Wall Structures>Wall in the left panel.

2. Left-click to define a starting point on the canvas and drag the wall length to your liking (or directly input the ideal length in the length box). Then, left-click to confirm or right-click to exit the function.

3. Modify the wall you selected via the floating toolbar.

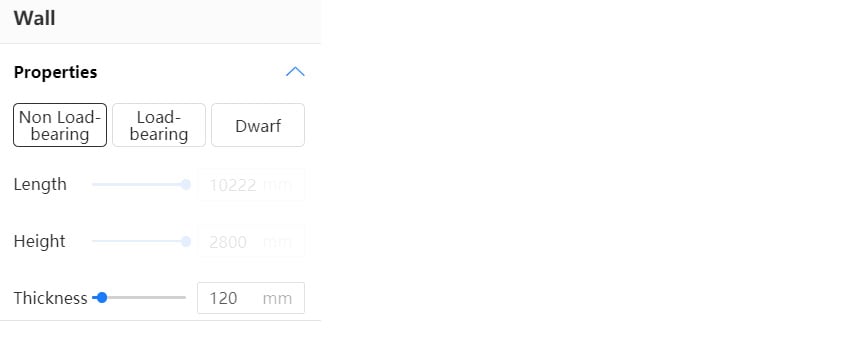
4. If needed, click the target wall and change more properties of it in the right panel.
-
Draw rooms
Draw rooms
1. Click Floor Plan>Wall Structures>Room in the left panel.
2. Left-click to define a starting point on the canvas and drag to draw your room. In this step, you can still use the wall-length box mentioned above to ease your work. Then, left-click to confirm or right-click to exit the function.

3. Modify the target room via the floating toolbar.

See also:
How to modify my wall type
How to modify room names
How to delete my room
How to paint only one wall at a time
How to change the direction of the floor pattern
How to upload CAD files
How to change the unit of measurement
-
Add models
Add models
Once the basic floor plan is ready, try adding some components and furniture into it. Our model library in Coohom can hopefully bring you some inspiration.
1. Click Model Library in the left panel.

2. Select or drag your target model into your floor plan.
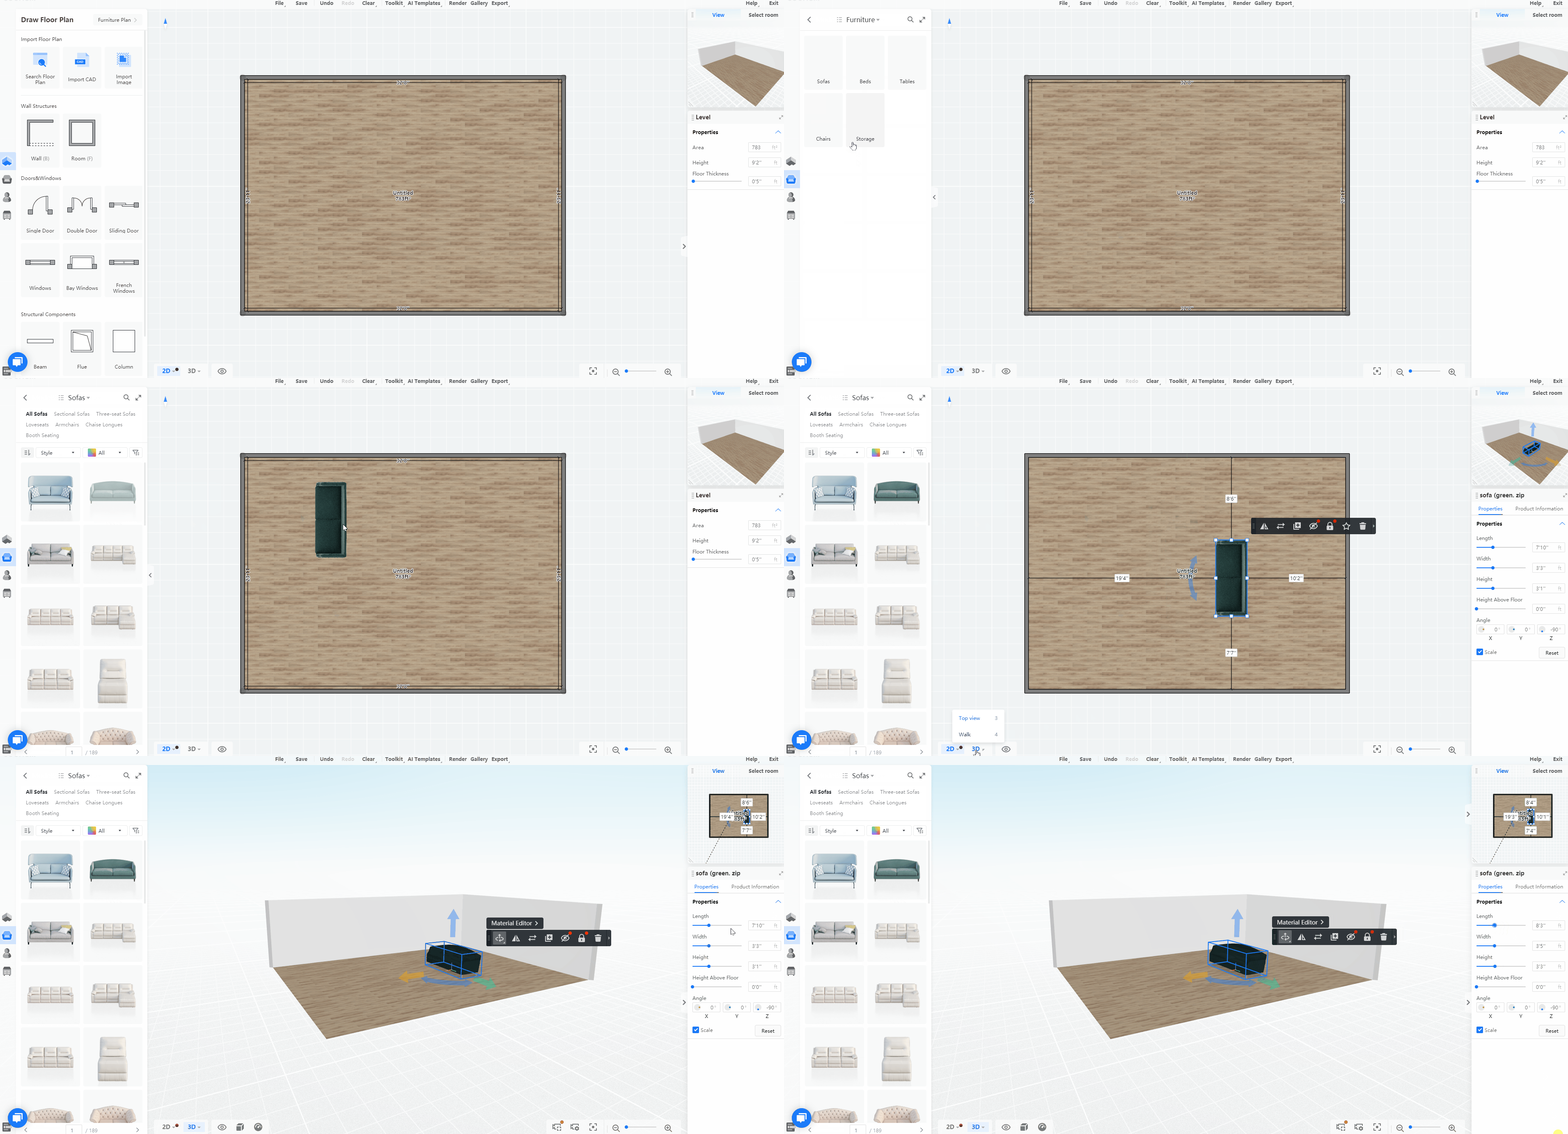
3. Modify model properties in the right panel by clicking the target one.
See also:
How to add and modify 3D models
How to change the material of my model
How to place decor on my table
-
Render floor plans
Render floor plans
The last step is to adjust the ambiance and get renderings for your project. With high-quality and high-resolution renderings, you can stop using your imagination and see your dream house with your own eyes.
1. Select Render in the header of our 3D floor planner.

2. Choose Front View, Panorama, or Top View in the header of the Render page.
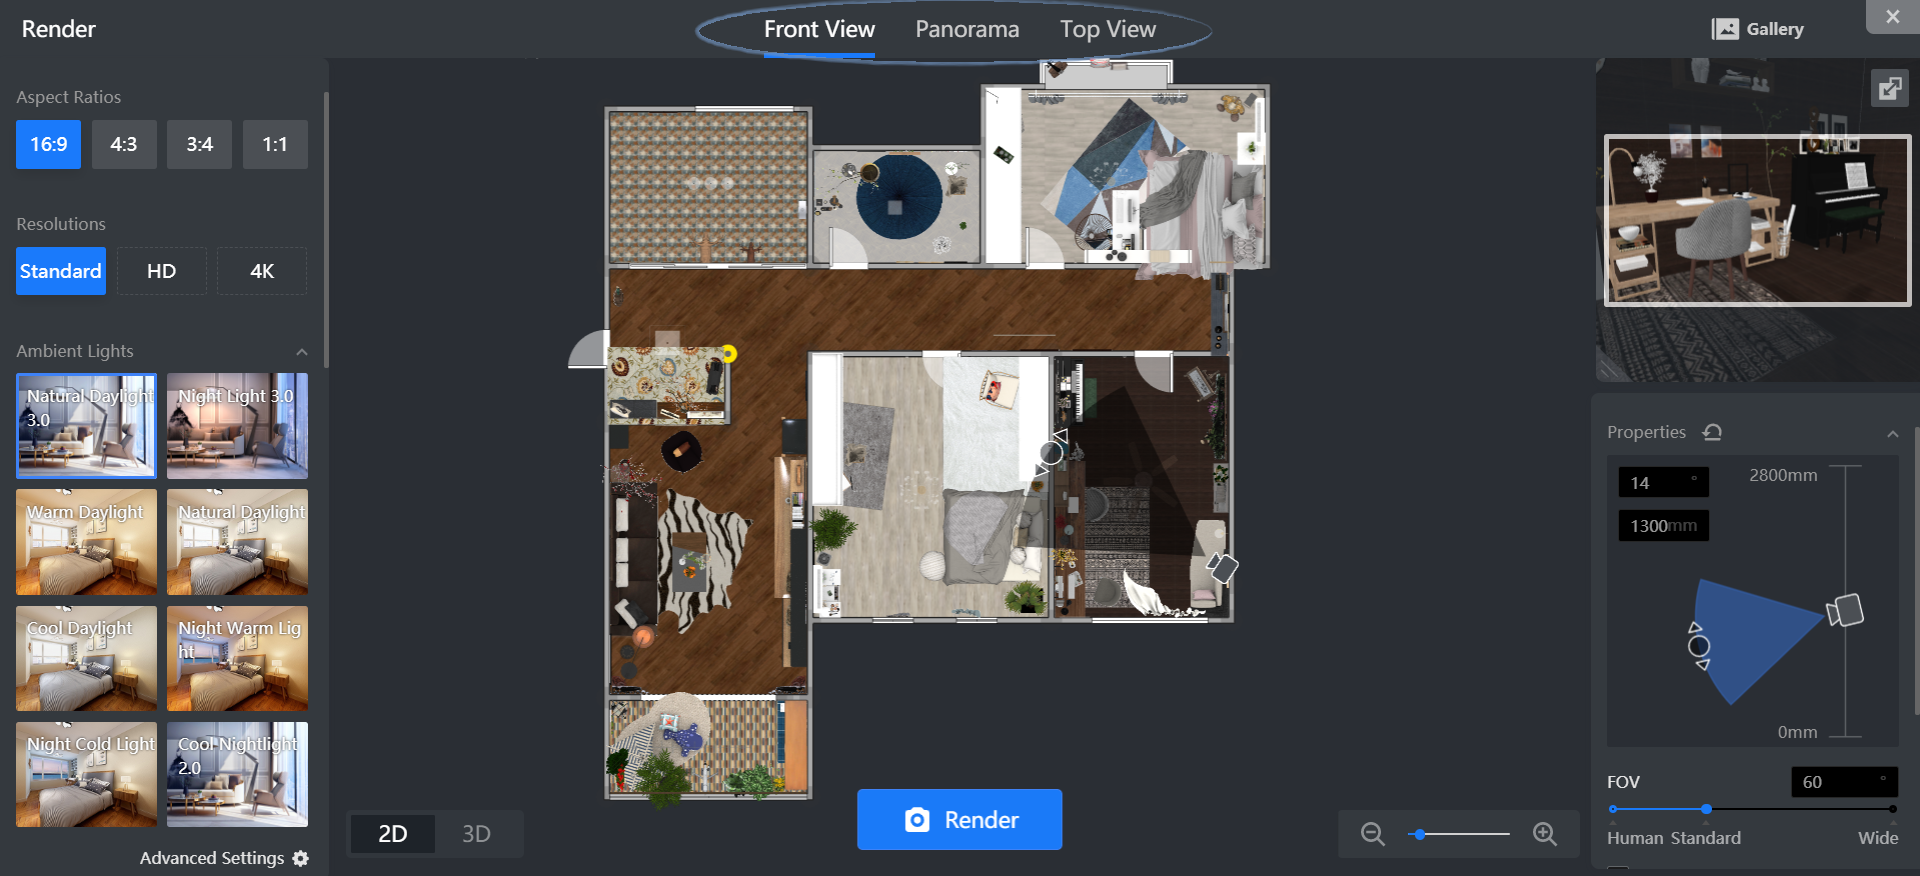
3. Select proper options for Aspect Ratios, Resolutions, Ambient Lights, Environment, Wall Modes, and Backgrounds in the left panel to complete render settings.
4. Modify your camera settings in the right panel.
5. Decide the scenario you want to capture.
6. Adjust the camera icon in the canvas to change the camera's position and angle.

7. Or directly left click to rotate and right-click to move the camera in a 3D window on the right side.
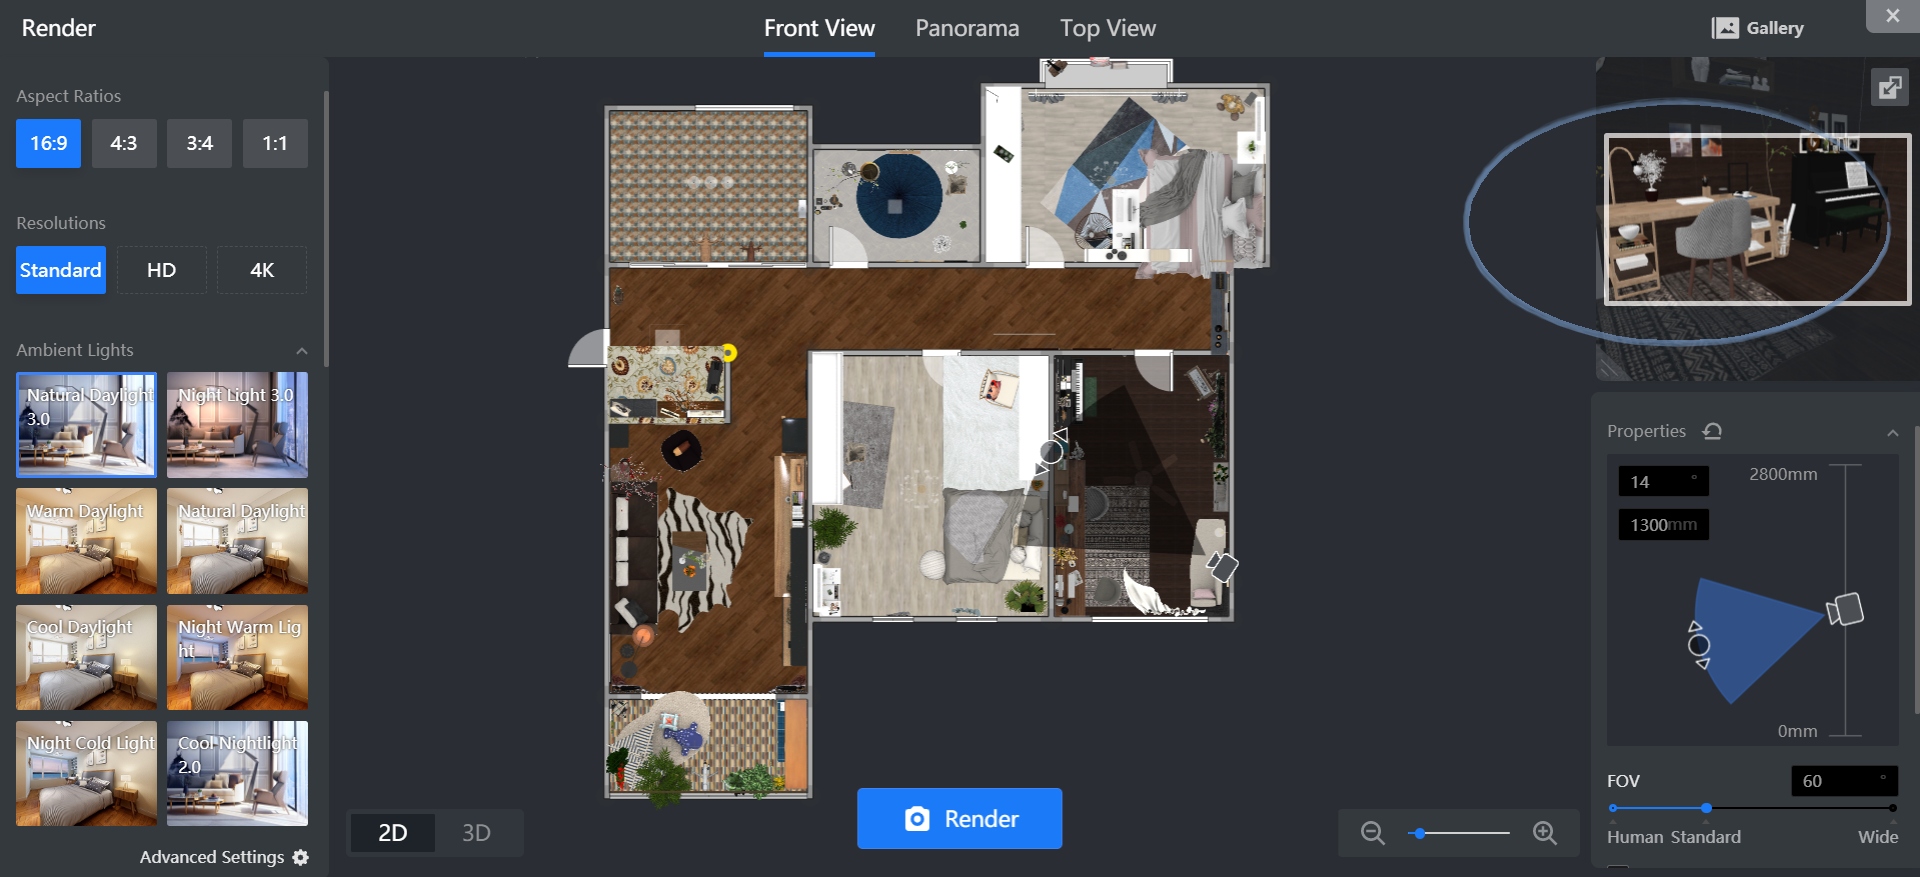
8. Click Render to get your stunning images.
9. Click View more under Gallery to check renderings.
See also:
How to render my floor plan
How to customize lights
How to make the light brighter or dimmer
-
Merchant Platform
Merchant Platform
Apart from the above questions, some of you may want to know how to upload products and swap textures. This part is just a little bit different from the rest because it ought to be operated in the Merchant Platform.
Merchant Platform is a Coohom SaaS service. Different roles may see different functionalities in the interface. To enter your Merchant Platform, please:
1. Login with your Coohom account.
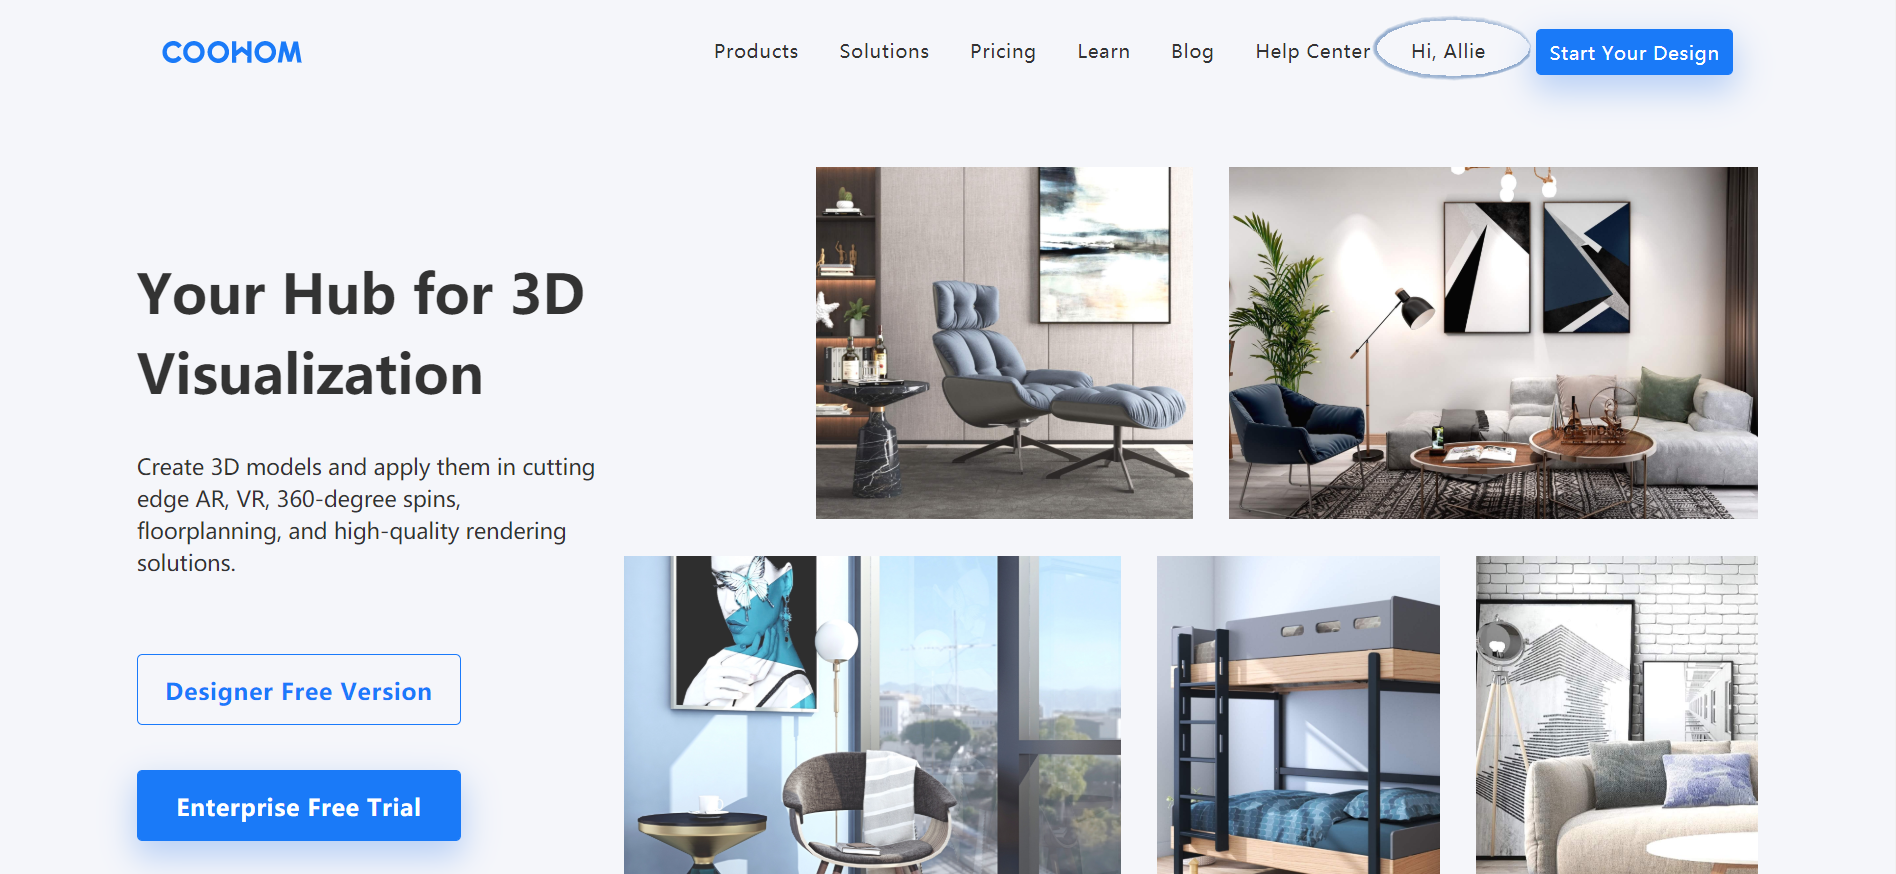
2. Click Hi, [your name] at the top of the front page to enter MP.
See also:
Getting Started in Coohom Merchant Platform
How to edit my product information
How to replace my model texture
How to upload enterprise 3D models
How to upload enterprise textures